by Joanne James25. July 2014 08:00Yay it's Friday already! Today I'm sharing my card for this week's theme challenge over at Less is More where it's all about taking inspiration from the song 'Singing in the Rain'. Given the glorious weather we've been having in the UK of late, I'm just hoping today's card isn't tempting fate! Here it is:
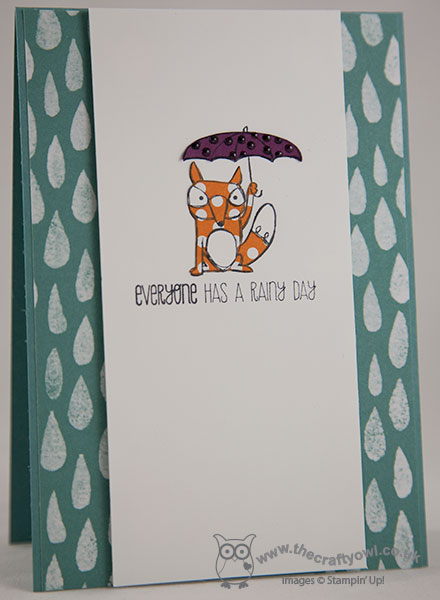
I don't have many stamps that fit with the theme of rain, even less so singing in the rain, but I have been wanting to use this sheet of DSP from the Moonlight DSP stack on something to do with rain as the pattern says 'raindrops' to me, so this seemed like a good opportunity. I also found this cute little fox with an umbrella in one of the new hostess sets, Life's Adventure, so this gave me enough to get started.
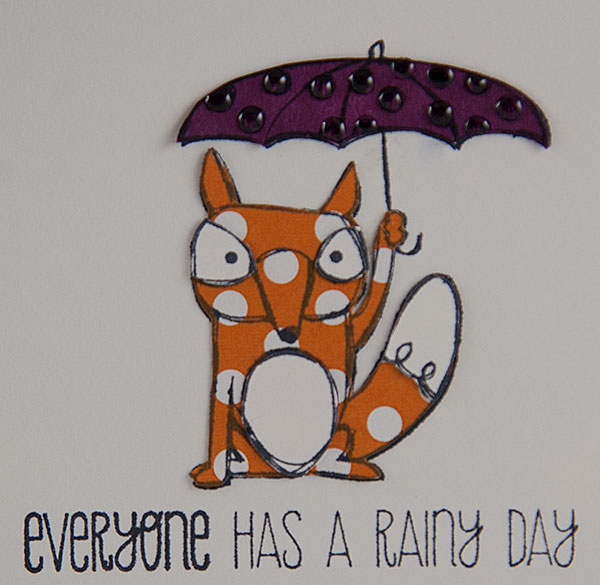
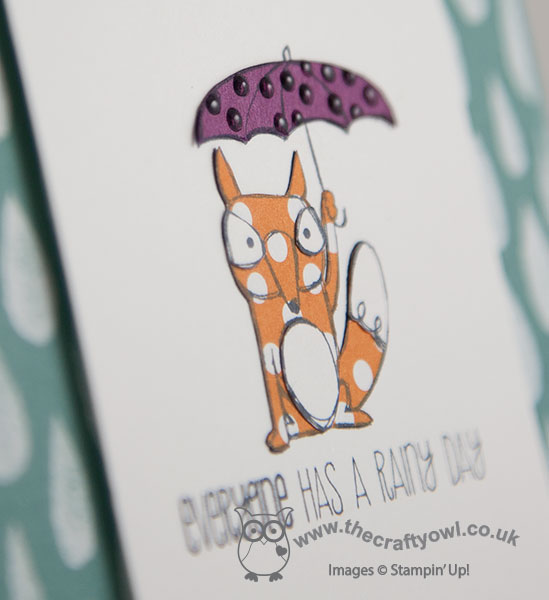
I actually took much of my inspiration from Sarah's card this week, as she had a cute paper pieced duckling on her DT card and I decided to do a little paper piecing of my own. I stamped the fox onto the card layer, then again onto some spare white cardstock, onto a piece of Pumpkin Pie retired dotty paper and lastly the umbrella onto a piece of Rich Razzleberry. I then cut each out carefully with my paper snips and paper pieced them together - you can see the detail on the picture below, including the Crystal Effects that I added to the spots on the umbrella (I think they look more like raindrops!)
Cute, eh?! Whilst this card is all about the rain, I'm sure the bright colours would cheer someone up who was feeling a little down - I'll let you know when I eventually send it to someone, assuming I remember! Life's Adventure is an exclusive hostess stamp set, that you can only purchase if you either host a Stampin' Up! party or are a member of my Stampers 6 Club: for those of you that haven't heard of this before, this is where you commit to a minimum spend of £25 per month for 6 months and then in one month o the 6 you get to be the hostess, with a minimum of £25 of free hostess credits to spend. A virtual party, if you will, with none of the hassle of hosting or inviting your friends around if that's not your thing. I am starting a new Stampers 6 Club in August and currently have one space left - if you would like to participate, then get in touch. Once this last space has been filled, I will begin collating a waiting list for an additional Stampers 6 Club so either way you've nothing to lose.
Back tomorrow with another project; until then, happy stampin'!
Stampin' Up! Supplies Used:
by Joanne James24. July 2014 08:00Today I'm sharing a card I made for this week's challenge over at CAS(E) This Sketch:
The minute I saw this sketch, I knew exactly what I wanted to do with it - I love it when that happens! I definitely had stars in my eyes with this one - have a look at my card and you'll see what I mean:
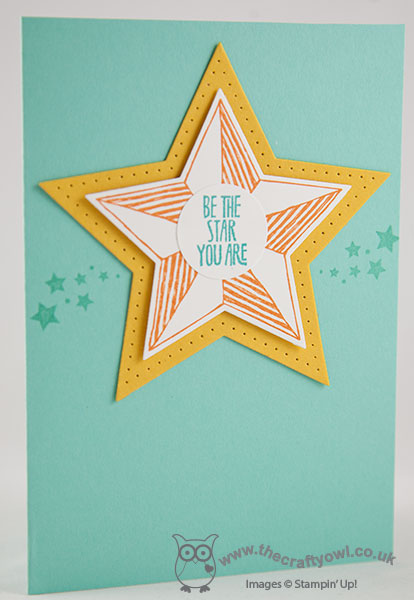
I decided to use one of my favourite products from the new annual catalogue, the star framelits, along with some of the images from the co-ordinating 'Be The Star' stamp set for this card. I simply stamped one of the stars in Pumpkin Pie onto Whisper White, then cut it out with the framelit of the same size. Using the framelit the next size up, I cut out another star from Crushed Curry cardstock and paper pierced this around the edge using my Eclectic piercing template. I finished the star with the 'be the star you are' sentiment stamped in Bermuda Bay and punched out with a 1" circle punch. Lastly, I used the small bundle of stars stamp in Coastal Cabana directly onto the base layer of cardstock.
All being well I'll be spending a family day at the beach today - buckets and spades at the ready! Hope you have a fun day however you choose to spend it.
Back tomorrow with another project; until then, happy stampin'!
Stampin' Up! Supplies Used:
by Joanne James23. July 2014 08:00Yes folks it's Wednesday already and so it's time for my Design Team card for this week's challenge over at Colour Me...!, where we have a 'playful collection of colours for you this week:
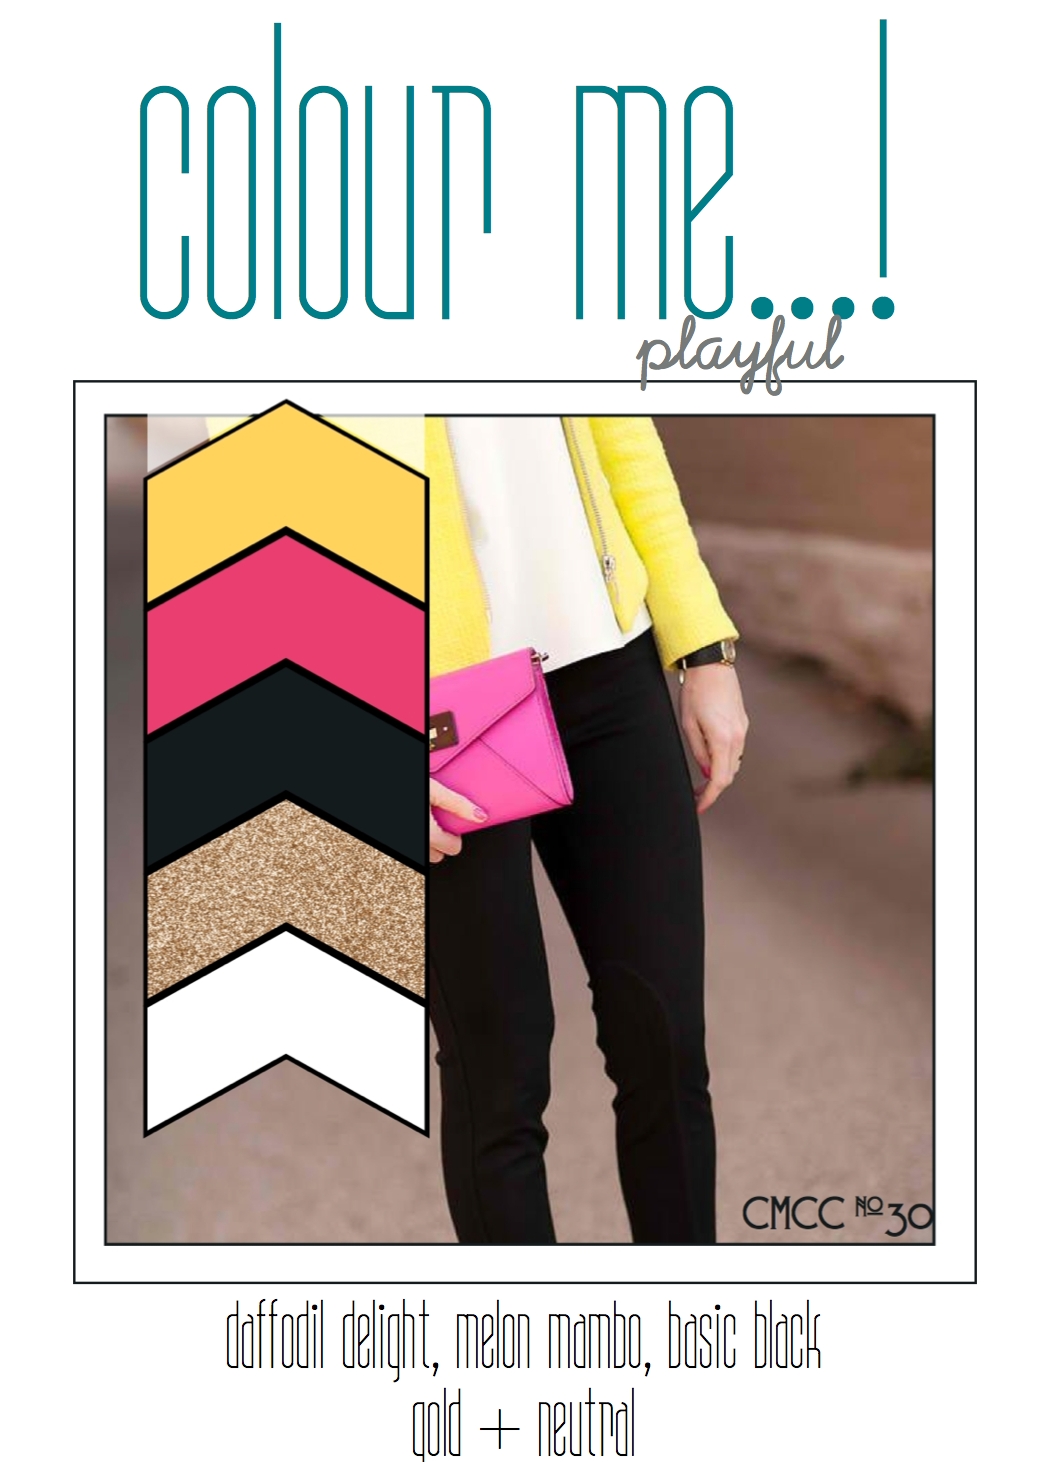
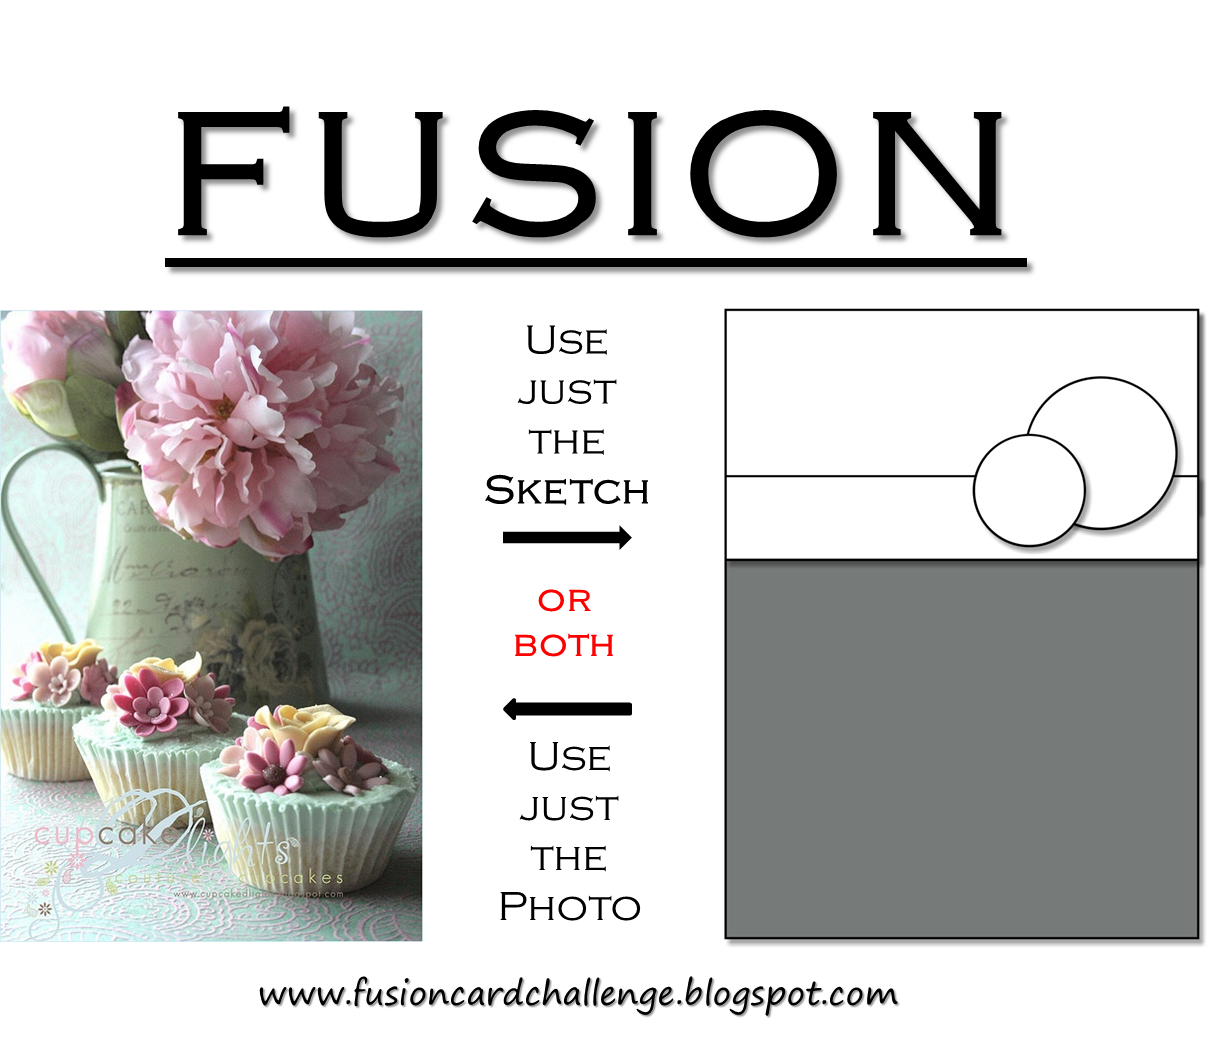
Now it's time to confess - I found this a really tricky collection of colours this week! I love brights, but I found it tricky to combine this overall combination and produce something I was truly happy with. So several binned prototypes later, and with the help from the sketch above over at Fusion, here is this week's card:
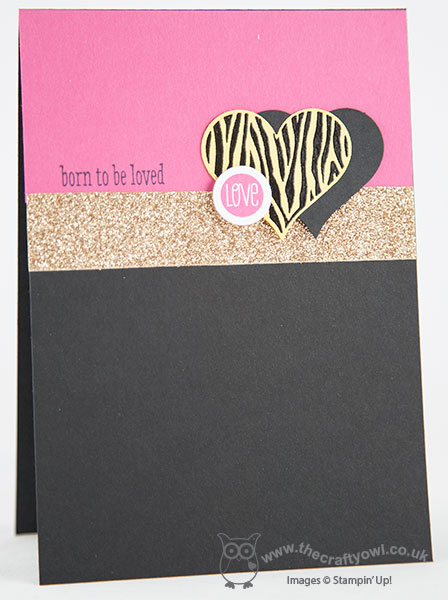
I decided to use pink and black as my key colours, with highlights of yellow and gold. Using a base of Basic Black, I added a top panel of Melon Mambo, stamped with 'Born to be loved' from the 'Groovy Love' stamp set, then added a wide band of Champagne Glimmer Paper across the join (Stampin' Up! has just introduced pure gold coloured glimmer paper, which would look equally as nice - I just don't own any yet!) I then stamped the animal print heart from the same set in Versamark onto Daffodil Delight and heat embossed with black embossing powder to give a textured shine. I punched the heart out with the co-ordinating heart punch, and punched a second heart out of Basic Black cardstock and overlapped the two before adhering onto my card. Lastly, I stamped the 'love' stamp from the same set in Melon Mambo onto Whisper White and punched this out with my 3/4" circle punch and adhered using a dimensional to add height.
So what do you think? Check out the other Colour Me...! designers for their take on this colour combination. I for one will be stalking this week's gallery in earnest to see how you all make this colour combination work for you!
Back tomorrow with another project; until then, happy stampin'!
Stampin' Up! Supplies Used:
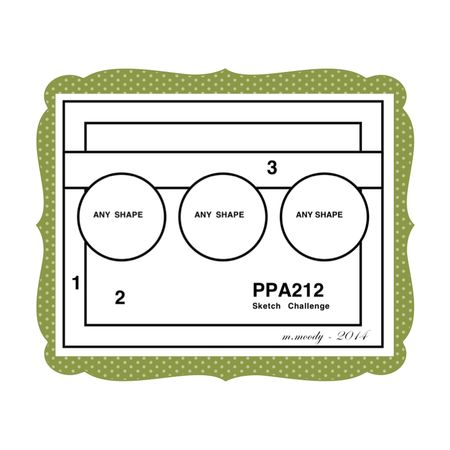
by Joanne James22. July 2014 10:00I haven't participated in the Pals Paper Arts challenge for a little while, but when I saw Margaret's sketch this week I knew it would be perfect for a special card that I wanted to make:
A friend of mine is moving to Australia - she is a native Australian, so for her it's just 'going home', but for her British husband and young children, it's emigrating to the other side of the world. So the move is a big deal and comes with mixed emotions on all sides. The great thing is though that they are taking the opportunity to spend a few months travelling the world on leaving Britain and before arriving in Australia, so rather than focus on the move I thought it would be fun to make a card to wish them all the very best for their travels. I knew I wanted to make a card using the 'Around the World' stamp set - here's what I came up with:
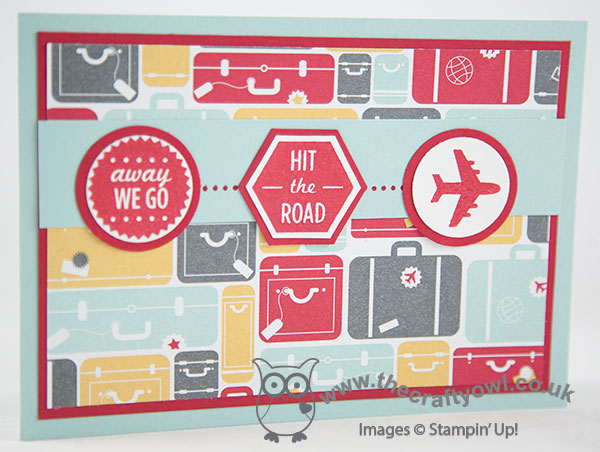
I used a Pool Party base and a mat of Real Red, along with a piece of the now retired 'I am Me' designer series paper (I am still awaiting the arrival of my new papers and besides, this one was perfect for my theme!) I added the cross-panel in Pool Party, then stamped three of the images from the Around the World stamp set in Real Red on Whisper White. I did take advantage of the 'any shape' instruction on the sketch and did a little 'mix and match', with two circles and a hexagon. The circles I cut out using my Circle Framelits and then mounted them onto some Real Red circles cut with my 1 1/4" circle punch; the hexagon I cut by hand so that I could mount it on a Real Red hexagon punched with my hexagon punch. I tied them all together by stamping the trail from the aeroplane stamp onto the Pool Party card behind them.
So a bright, fun card to wish my dear friend and her family the best of luck on their forthcoming travels.
Back tomorrow with this week's Wednesday Weekly Deals and my Colour Me...! card for this week. Until then, happy stampin'!
Stampin' Up! Supplies Used:
* I Am Me Designer Series Paper - retired
fac25a92-9dfa-4e6f-ba60-a4b558e2da25|0|.0|96d5b379-7e1d-4dac-a6ba-1e50db561b04
Tags: Around The World, I Am Me, Big Shot, circle punch, Circles Framelits, Hexagon Punch, Shop online, Stampin' Up, Stampin' Up Card, Stampin' Up Card ideas, Stampin' Up Supplies
Cards | Stamping
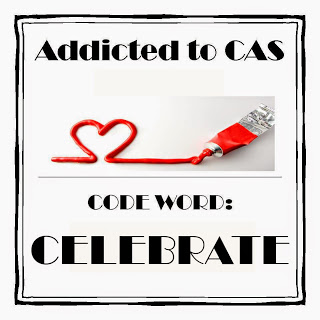
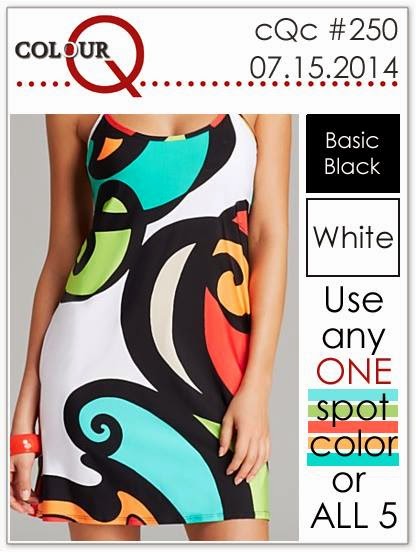
by Joanne James21. July 2014 08:00Another Monday, another week! Today I'm sharing a card that fits the bill for the theme over at Addicted to CAS it's 'Celebrate'. I also combined with black, white and all 5 colours over at Colour Q too for good measure:
I decided to create a fun congratulations card, using one of the stamps in my new 'Bravo' stamp set and some stencilling with my new stars mask - here's my card:
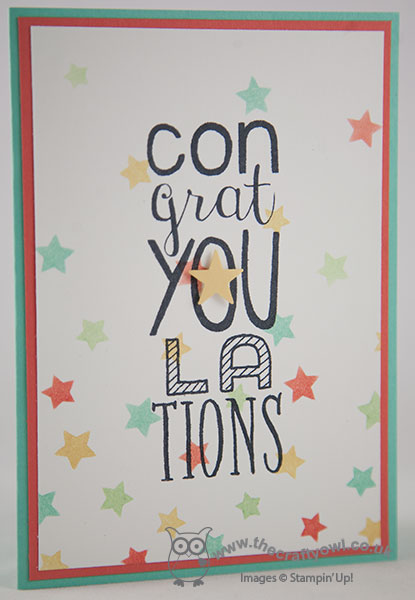
I used Coastal Cabana from my base with a mat of Calypso Coral, then randomly sponged the coloured stars in the challenge colours to create my background. I finished with the 'Congratulations' stamp in black and a punched star in So Saffron, which I popped on a dimensional, to finish. A truly CAS card that looks great in the challenge colours; this is the first time I've used my stencil, but it definitely won't be the last.
Back tomorrow with another project; until then, happy stampin'!
Stampin' Up Supplies Used:
by Joanne James20. July 2014 08:00Good morning blog readers! Today I'm sharing my card for The Paper Players challenge, where Sandy has chosen monochromatic CAS as the theme this week:

I decided on yellow as the colour for my card this week, with a touch of gold for glamour - here's my card:
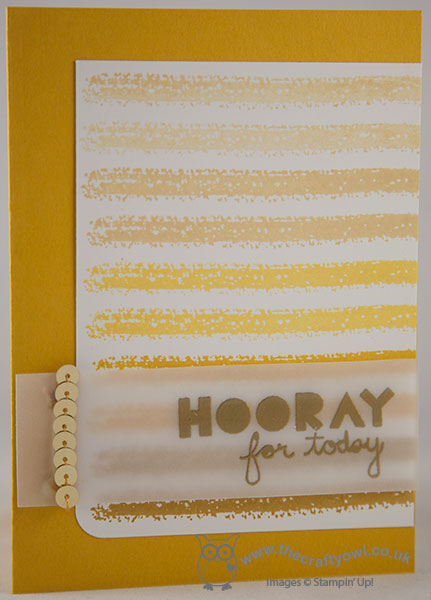
I often choose blues or greens for this type of card, simply because you need a few tonal shades of the same colour for an ombre pattern to be effective, but with the addition of Hello Honey to the Stampin' Up! colour palette, I thought I would have a go with yellows. Yellow is one of my favourite colours and I love how this card turned out. I used Crushed Curry for my card base, then simply cut a panel of Whisper White and stamped the stripe from 'Work of Art' in rows down the length of the panel, starting with So Saffron, then following with Daffodil Delight, Crushed Curry and lastly Hello Honey. I finished with a simple 'Hooray for Today' sentiment stamped in Versamark and heat embossed in gold and popped this up on dimensionals, which are hidden from view under the letters and the strip of gold sequins that finishes this panel.
So there you have it - my clean and simple monochromatic card. I hope you like my card today and that it inspires you to hop on over to the Paper Players challenge blog to check out the other wonderful cards created by the talented design team and join in and upload your challenge creations. The Paper Player challenge takes place weekly, opening on a Sunday at 8am (PST) and closes at noon on Friday (PST). Here's a quick recap of our challenge rules:
1. Create a new paper project
2. Upload your creation to your blog with a link back to us and provide a direct link to the post featuring your challenge submission.
3. Please link your card to no more than three challenges, TOTAL.
4. Have FUN!
We look forward to seeing your colourful creations! Right I'm off to team training for the day today - looking forward to a day of uninterrupted crafting with my team. Back tomorrow with another project; until then, happy stampin'!
Stampin' Up! Supplies Used:
by Joanne James18. July 2014 15:53Apologies for my blog absence yesterday - I spent most of the day icing biscuits for teacher thank you gifts as today is the last day of the academic year for my James Juniors. I promise my self I'll start earlier every year, but what always seems to happen is I squeeze in a few more commissions and then also a few extra names get surrepticiously added to the list of thank yous by the children which means even more baking and icing!
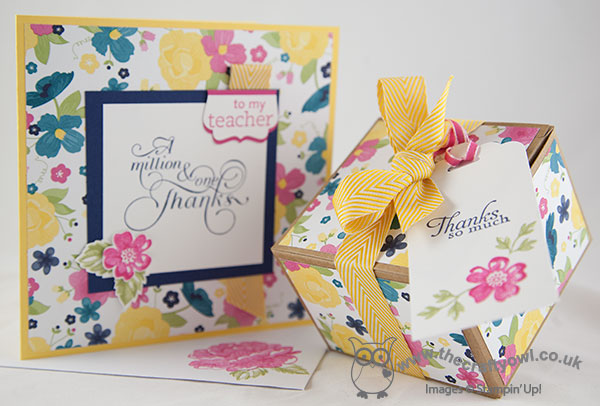
I've shared my teachers gifts on my blog previously - you can check them out here if you would like to be reminded - so today I thought I would share a matching card and gift box commission that I made for someone else to give to their teacher. So here is my card:
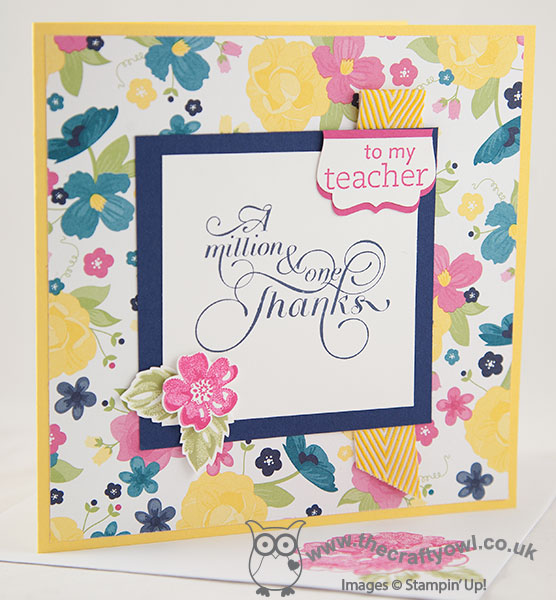
For my card I used the retired Gingham Garden DSP (this was requested - lucky I still have a pack!) however most of the other product is current and you could easily create this set in an alternative paper without the teacher tag as a thank you gift for someone special. The star of the show is definitely the 'Million and One' sentiment stamp - perfect to show your appreciation of someone special.
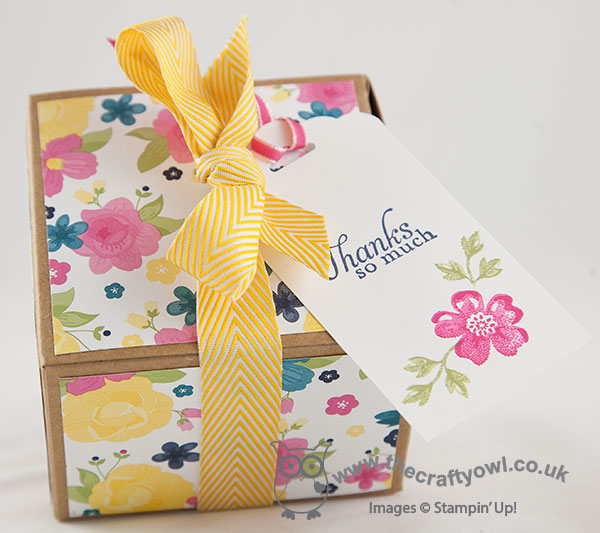
Here is the matching gift box - I love these kraft boxes, they are so useful and very sturdy, and at £2.75 for 4 represent great value. I'm doubly pleased that the Extra-Large Gift Boxes have returned and made it into the annual catalogue as a stock item - these are great for larger gifts.
Right, I've a few more jobs to do before I go and pack a picnic - we're off to see an outdoor theatre production of Peter Pan and The Lost Boys this evening. I've seen this theatre company perform the Railway Children previously, so I'm expecting great things - I'll report back tomorrow! Until then, happy stampin'!
Stampin' Up! Supplies Used:
b2c764e4-ee3d-4662-a516-9667d67d1b95|1|5.0|96d5b379-7e1d-4dac-a6ba-1e50db561b04
Tags: boxes, Gingham Garden, Million & One, Kraft Gift Boxes, Decorative Label Punch, For My Family, Scalloped Tag Topper Punch, Shop online, Stampin' Up, Stampin' Up Card, Stampin' Up Card ideas, Stampin' Up Supplies, Stamp-a-ma-jig, Stippled Blossoms
Boxes | Cards | Stamping
by Joanne James16. July 2014 08:00Good morning blog readers - it's Wednesday so today I am definitely prepared and 'on the ball'! Today I'm sharing my Design Team card for this week's challenge over at Colour Me...!, where this week's colour palette is Subtles, featuring Lost Lagoon, Smoky Slate and Island Indigo:
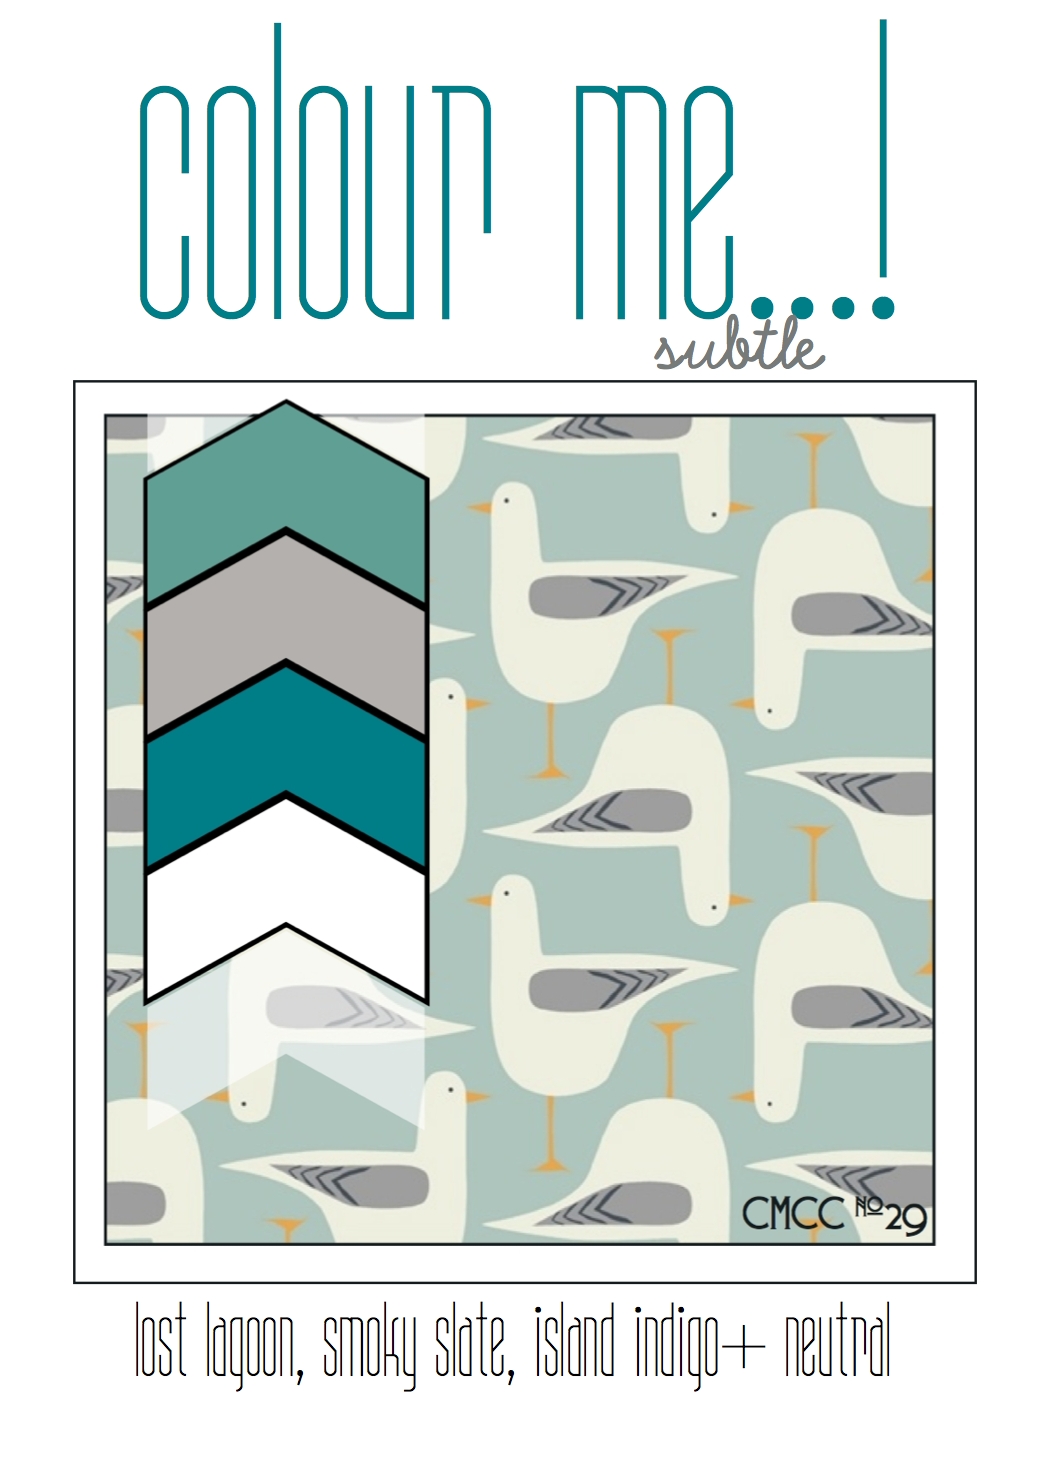
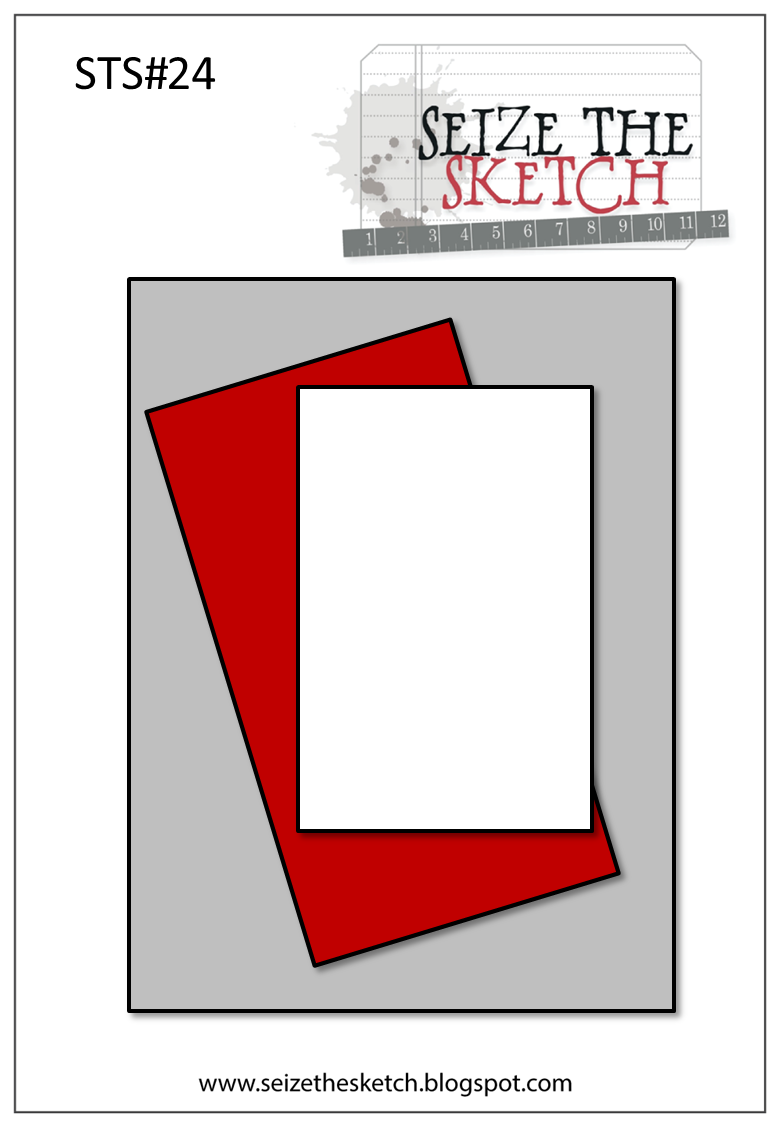
I decided these colours would make a nice baby card, as they are quite masculine and a change from traditional powder blue and got to work with my Zoo Babies stamp set and the above sketch layout from Seize the Sketch:
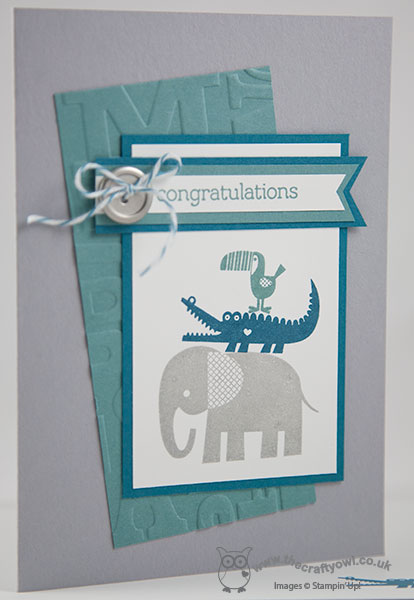
I used Smoky Slate for my card base and having stamped my animals on Whisper White in each of the challenge colours (I love how you can build little towers with them!) I mounted my animal panel on Island Indigo and for my offset layer I used a piece of Lost Lagoon cardstock which I embossed with the Alphabet Press embossing folder. Lastly, I stamped 'congratulations' from the Zoo Babies stamp set in island Indigo onto Whisper White and created a layered banner flag, finished off with a Basic Metal Buttton tied with retired Island Indigo baker's twine.
So that's what I chose to do with the colours. Why not pop over to the Colour Me...! blog for more colour inspiration and see what Hayley, Tara, Sherrie, Claire, Julia and Anja have done with these colours.
Back later with this week's Wednesday Weekly Deals; until then, happy stampin'!
Stampin' Up! Supplies Used:
by Joanne James15. July 2014 22:24No blog post yesterday and a late one today - so much going on at the moment as the end of the school year draws ever closer! I've been busy finishing commissions for teacher cards and gifts today and popped by the Less is More blog to see what the current challenge is, as I haven't managed to fit in the last couple due to other commitments. This week it's One Layer Challenge combined with a theme - and when I saw what it was I just had to have a go! Yes - it's doodle fingerprints:
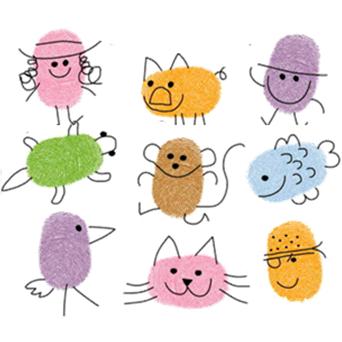
I've made these with my children many times and we have a Christmas tradition of painting a plate with a picture made out of hand or fingerprints each year, but never thought I'd be using my Stampin' Up! inks to create a challenge card no less! Given that I've had teacher thank yous on my mind all week, I knew exactly what I wanted to make - a fingerprint caterpillar:
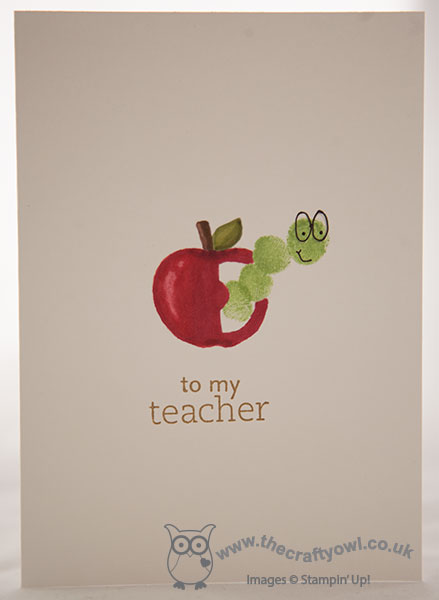
Isn't he cute?! I used one of the apple embellishments from the Project Life Playground kit as a stencil for my apple and had my first public attempt at colouring in with my Blendabilities (still more practice required!), then using Wild Wasabi ink fingerprinted my caterpillar book worm into place using Wild Wasabi ink. I doodled his face with my Project Life journaling pen and added a 'to my teacher' sentiment (from the retired set 'for my family').
Not the most time consuming of cards to be fair, but jolly good fun - I could have spent all afternoon doodling and fingerprinting, with so many ideas for more cards if only time allowed! This is also the kind of card you could easily create with little ones - great if they want to make their own teacher thank you cards.
That's me done for today; back tomorrow with my Design Team card for the Colour Me...! Challenge and the new Wednesday Weekly Deals. Until then, happy stampin'!
Stampin' Up! Supplies Used:
by Joanne James13. July 2014 08:00It's Sunday and today I'm sharing my weekly card designed for this week's challenge over at The Paper Players, where I'm a Guest Designer for the next few months. This week we LeAnne is hosting and she has a colour challenge for us using the following colour palette:
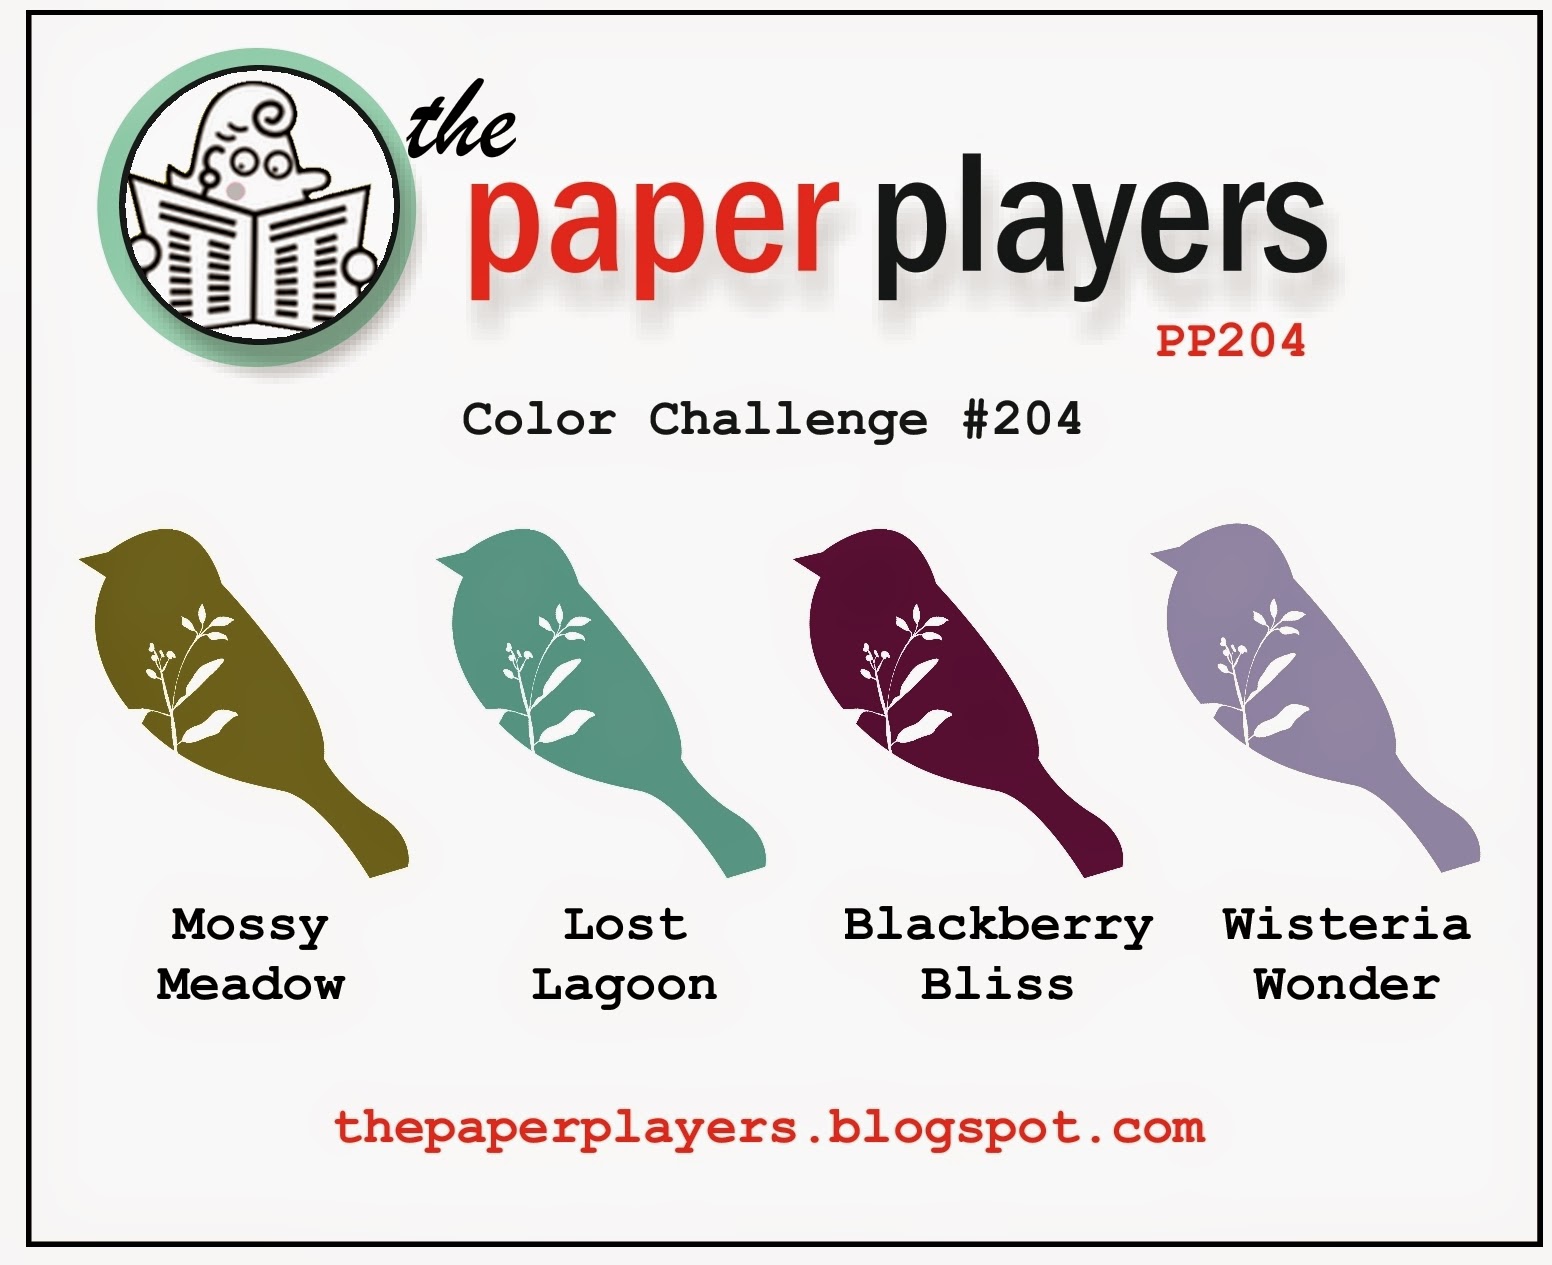
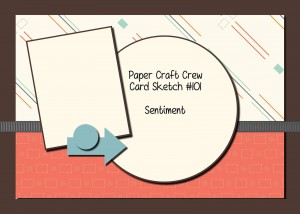
I also used the sketch over at The Paper Craft Crew this week for the layout of my card. I chose to make the new In-Colours of Blackberry Bliss and Lost Lagoon the focus of my card, but the other two colours also feature - take a look:
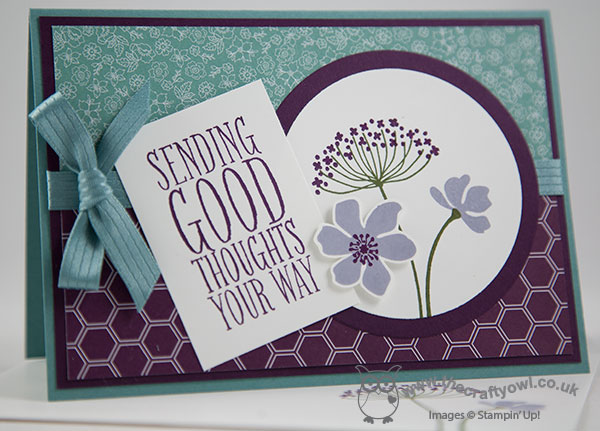
I used two pieces of DSP for the background of my card - the honeycomb from the Midnight DSP stack and the tiny blue flowers from the All Abloom DSP stack and I used a piece of the lovely Lost Lagoon satin ribbon to cover the join and create a statement bow. As these papers both have quite busy patterns, I decided to go with a fairly simple stamped focal point, with a sentiment from the 'Perfect Pennants' alongside a simple floral circle using Summer Silhouettes in Mossy Meadow, Blackberry Bliss and Wisteria Wonder. Lastly, I fussy cut one of the Wisteria Wonder flowers and mounted it onto a dimensional for extra interest.
I hope you like my card today and that it inspires you to hop on over to the Paper Players challenge blog to join in and upload your challenge creations. The Paper Player challenge takes place weekly, opening on a Sunday at 8am (PST) and closes at noon on Friday (PST). Here's a quick recap of our challenge rules:
1. Create a new paper project
2. Upload your creation to your blog with a link back to us and provide a direct link to the post featuring your challenge submission.
3. Please link your card to no more than three challenges, TOTAL.
4. Have FUN!
We look forward to seeing your colourful creations! Right I'm off to a ballet exam today (chauffeur not dancer, of course!). Back tomorrow with another project; until then, happy stampin'!
Stampin' Up! Supplies Used: