Today I'm sharing my design team card for our new challenge over at As you See It where it's time for a recipe challenge:
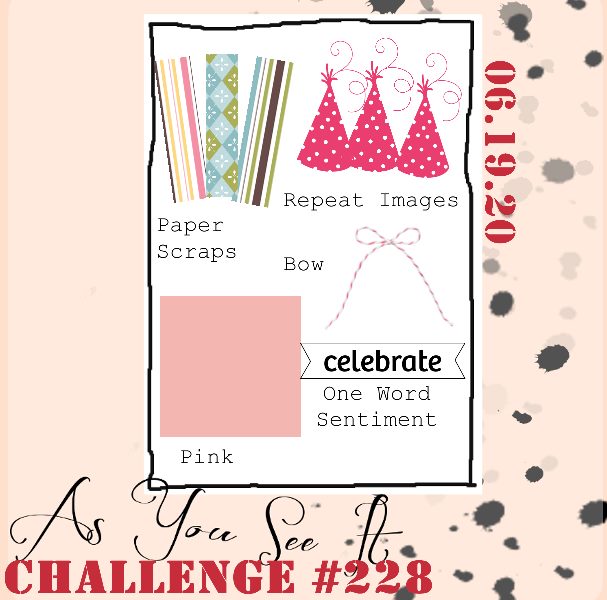
I thought I'd go simple with my card today, but I reached for some new goodies and by the time I had incorporated all the elements of this week's recipe, I ended up creating something altogether more fancy - take a look:
Here's the low-down on today's card:
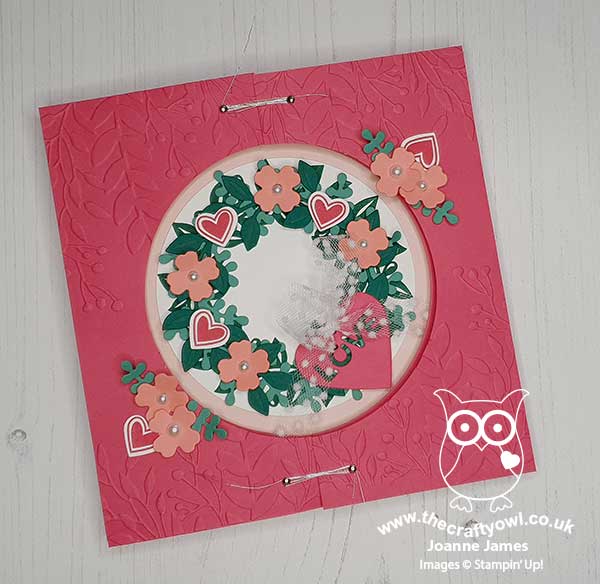
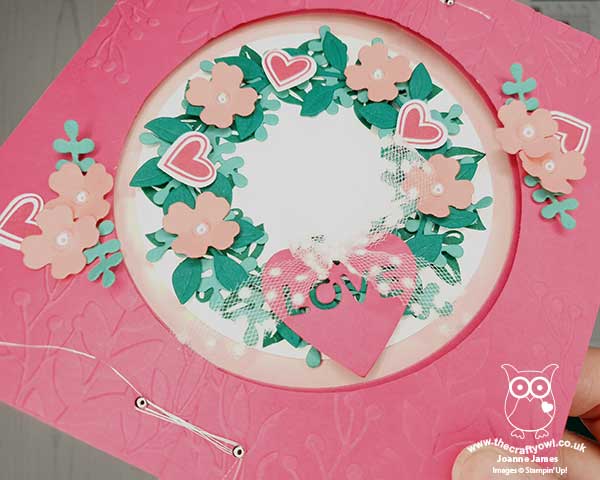
I decided to create a square card with a wreath in the centre as I wanted to play with my new 'Arrange A Wreath' bundle as I am running an online class with it on 27th July so wanted to start getting the ideas flowing. I decided to go with hearts and flowers so that I could incorporate my 'pink' and 'repeating images' elements. I ended up creating a fancy fold style card, with an outer wrap that I added a couple of panels to that I embossed with one of the new 'Greenery' embossing folders, and diecutting a circle in the centre to reveal my wreath on the inner card below. The outer flaps are held closed by some silver twine wrapped around a couple of mini brads, that when untwined open up to reveal the body of the card inside:
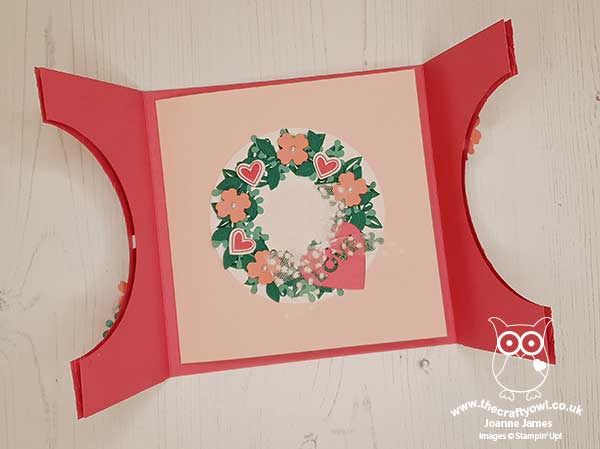
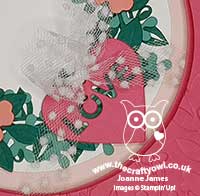
This is the layer where I created my wreath, which is a combination of stamped and diecut pieces. Fortunately there is a die in the Wreath Builder Die set that has the word 'love' cut out of a heart, so I used that for my one-word sentiment (check) and added a bow of white spotted tulle ribbon (check!). This card layer then opens as a conventional card to reveal the inside where you can write your greeting:
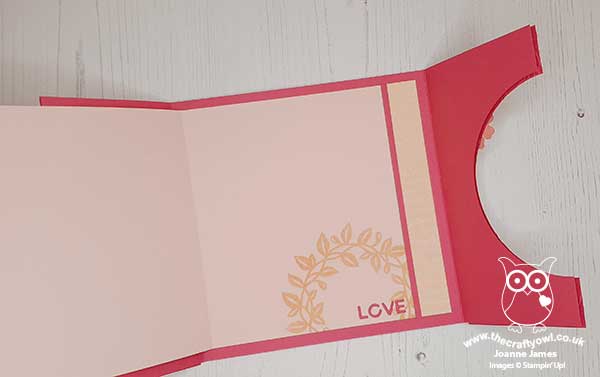
I added a little tone-on-tone sentiment and the letters that diecut out of the heart on the front, along with a strip of Petal Pink DSP leftover from another project (check!!)
I have no idea what kind of fold this is called - I saw one similar on Pinterest but without any details, and I had a search but am honestly none the wiser! So if it has a name that you know of, do let me know! Either way, it definitely constitutes 'fancy' in my book so I will be linking up with the team over at Just Add Ink where that is their challenge theme this week:

Here is the visual summary of the key products used on today's project for you to pin for easy reference:
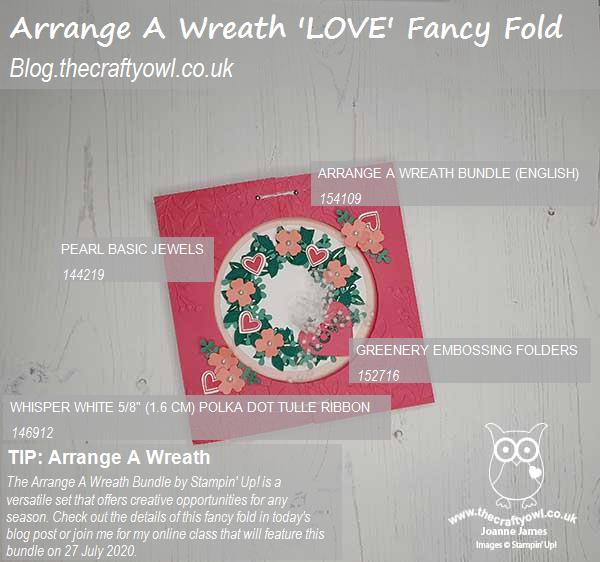
You can see all of my 'How To' summaries on my 'How To - Tips and Techniques' Pinterest board in case you've missed any.
What do you think? When I'd finished I wondered if I'd got a little carried away, as this card is certainly a little busier than my usual cards.
Here's a summary of our challenge rules:
- Create any card, scrapbooking page, 3D project or packaging project that fits the challenge.
- Please include the challenge graphic and link back to the challenge in your blog post. Turn off word verification so we can leave you lots of lovely comments. Make sure you link the post not the whole blog to the Linky. Use #AYSIXXX when uploading to a public gallery.
- If you’re unsure about ‘the rules’, check the details under the Challenge Guidelines tab on the As You See It Challenge homepage.
We look forward to seeing your creations in the AYSI gallery.
And talking of Just Add Ink - I have some exciting news today! In an hour's time there will be another blog post from me as I am guesting with the lovely Kelly Kent, one of the JAI design team, and her Paper Adventures team on a blog hop so be sure to come back and check it out. Until then, happy stampin'!
Stampin' Up! Supplies Used: