It's the start of October and there's lots of news to share with you! A fantastic joining offer and two new Christmas-themed kits launch today. First up:
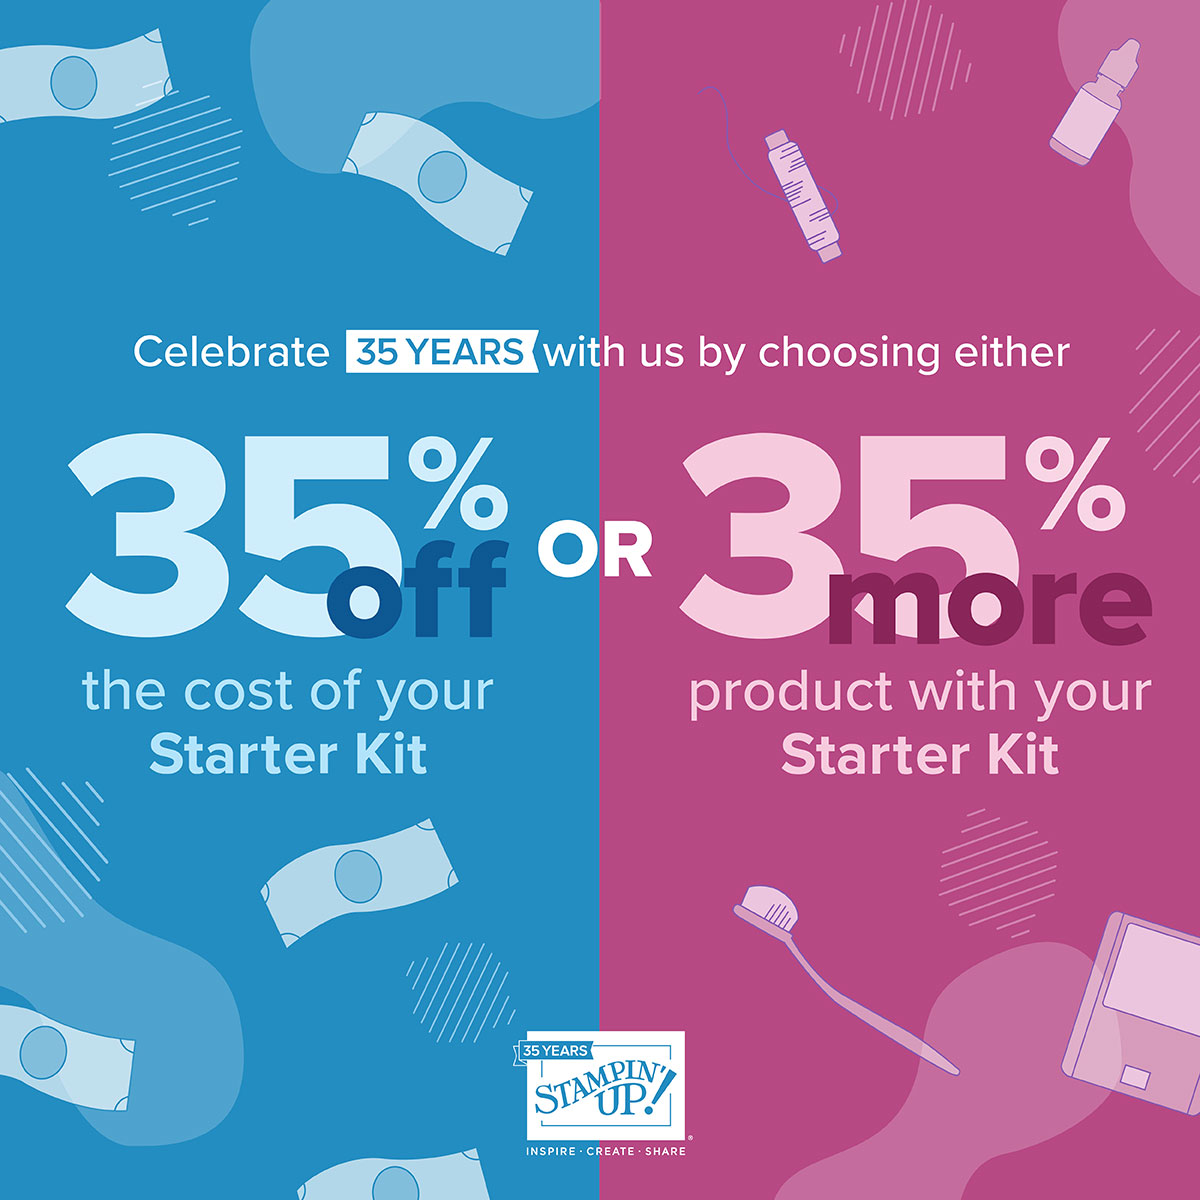
Stampin' Up! wants to celebrate our 35th anniversary in style! From 3 to 31 October, anyone who joins our fun crafting community as a new demonstrator can choose either 35% OFF the cost of their Starter Kit or get 35% MORE product with their Starter Kit! What a deal!
New demonstrators can choose one of the following options for their Starter Kit:
Option 1: Get 35% OFF the normal cost of a Stampin’ Up! Starter Kit. Those who select this option will receive £130 worth of product for only £64.35!
Option 2: Get 35% MORE product with their Starter Kit. Those who select this option will receive £175.50 worth of product by spending £99!
No matter which option new demonstrators choose for your Starter Kit, both provide you with free business supplies and free shipping on your Starter Kit—not to mention all the fun that comes with being part of Stampin’ Up!
If that wasn't enough - it gets better! Those who sign up for a Starter Kit during this offer will also be automatically registered for FREE to our virtual OnStage@Home event on 11 November—an event that has a £72 value! At this virtual, one-day event, we’ll celebrate our 35th Stampin’ Up! anniversary, watch lots of presentations, and view new products in action from the January–April 2024 Mini Catalogue and Sale-A-Bration Brochure. In fact, attendees will be able to order brand new products for the Craft Along Experience where they’ll follow along and create crafts from the comfort of their own homes!
Joining offers like this one don't come along often, so whether you're looking for friendship, a hobby, a business or lots more besides, there really is no better time to consider joining Stampin' Up! If you would like more information or help in deciding which option suits you best, do get in touch with me - I would love to chat to you about the benefits of being a part of our stamping community. If you've read this far and have already decided you want to be a part of it - click here to join my awesome Stampin' Up! team.
In addition to this month's joining offer, there are also two new kits that are available from today in the online store:
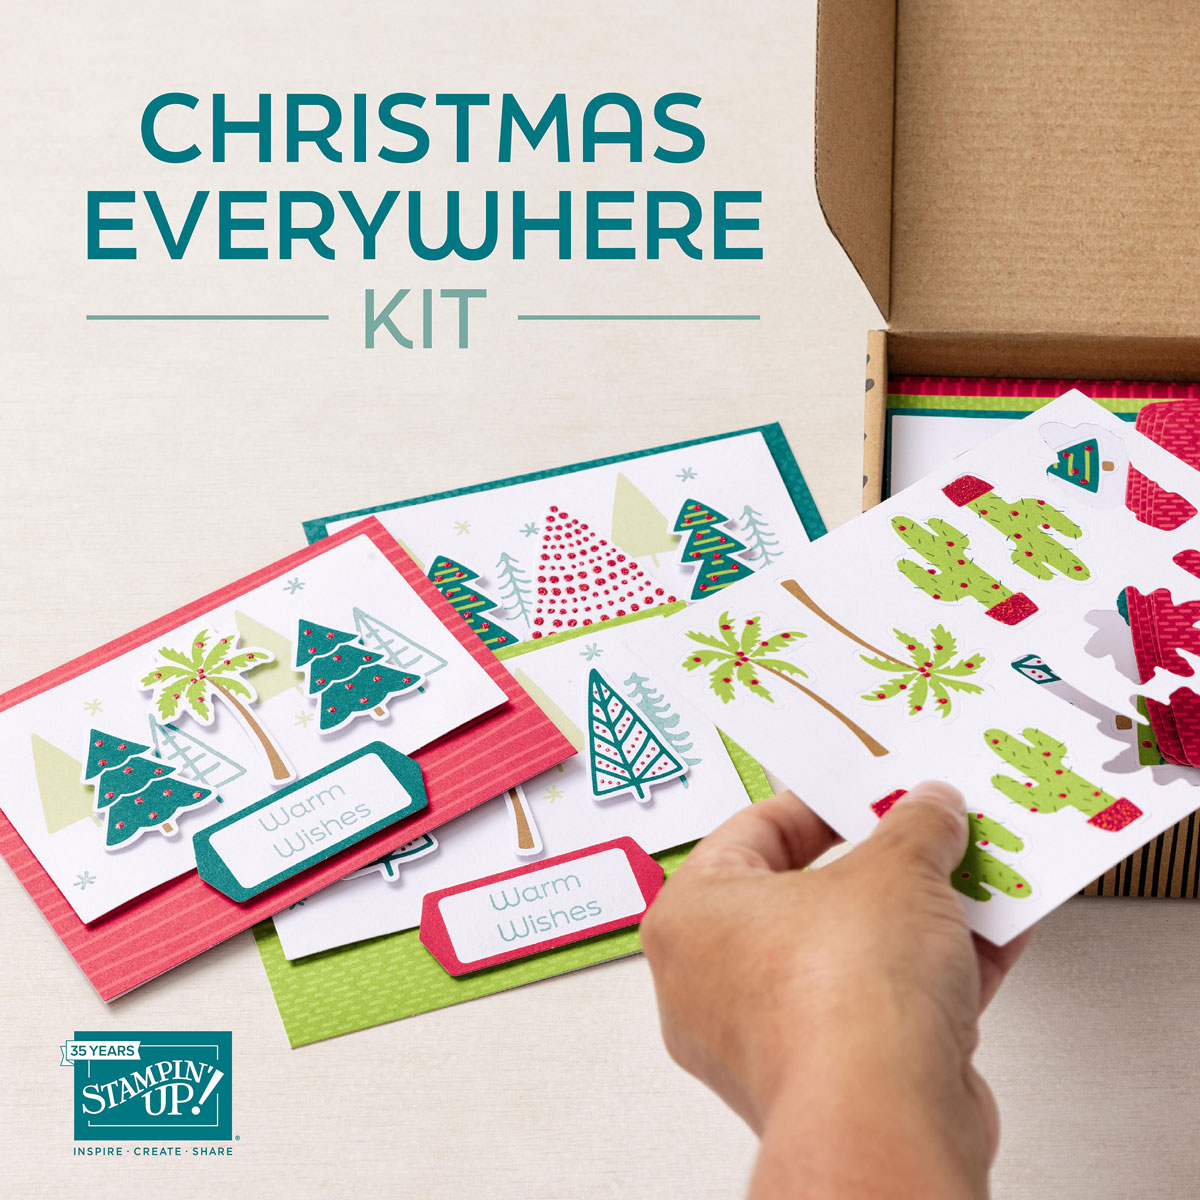
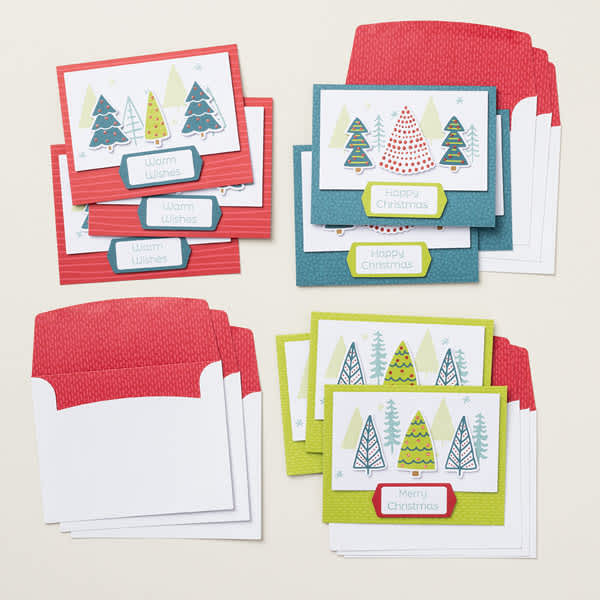
Celebrate Christmas with everyone, everywhere with the Christmas Everywhere Kit by Stampin’ Up! It comes with everything you need to create 9 Christmas cards in 3 festive designs featuring trees from around the world. Get an early start on your Christmas crafting and send some festive cheer to friends and loved ones wherever they are! Here's a couple of additional images of the kit in more detail:


Here'a a link to the unboxing video for this kit:
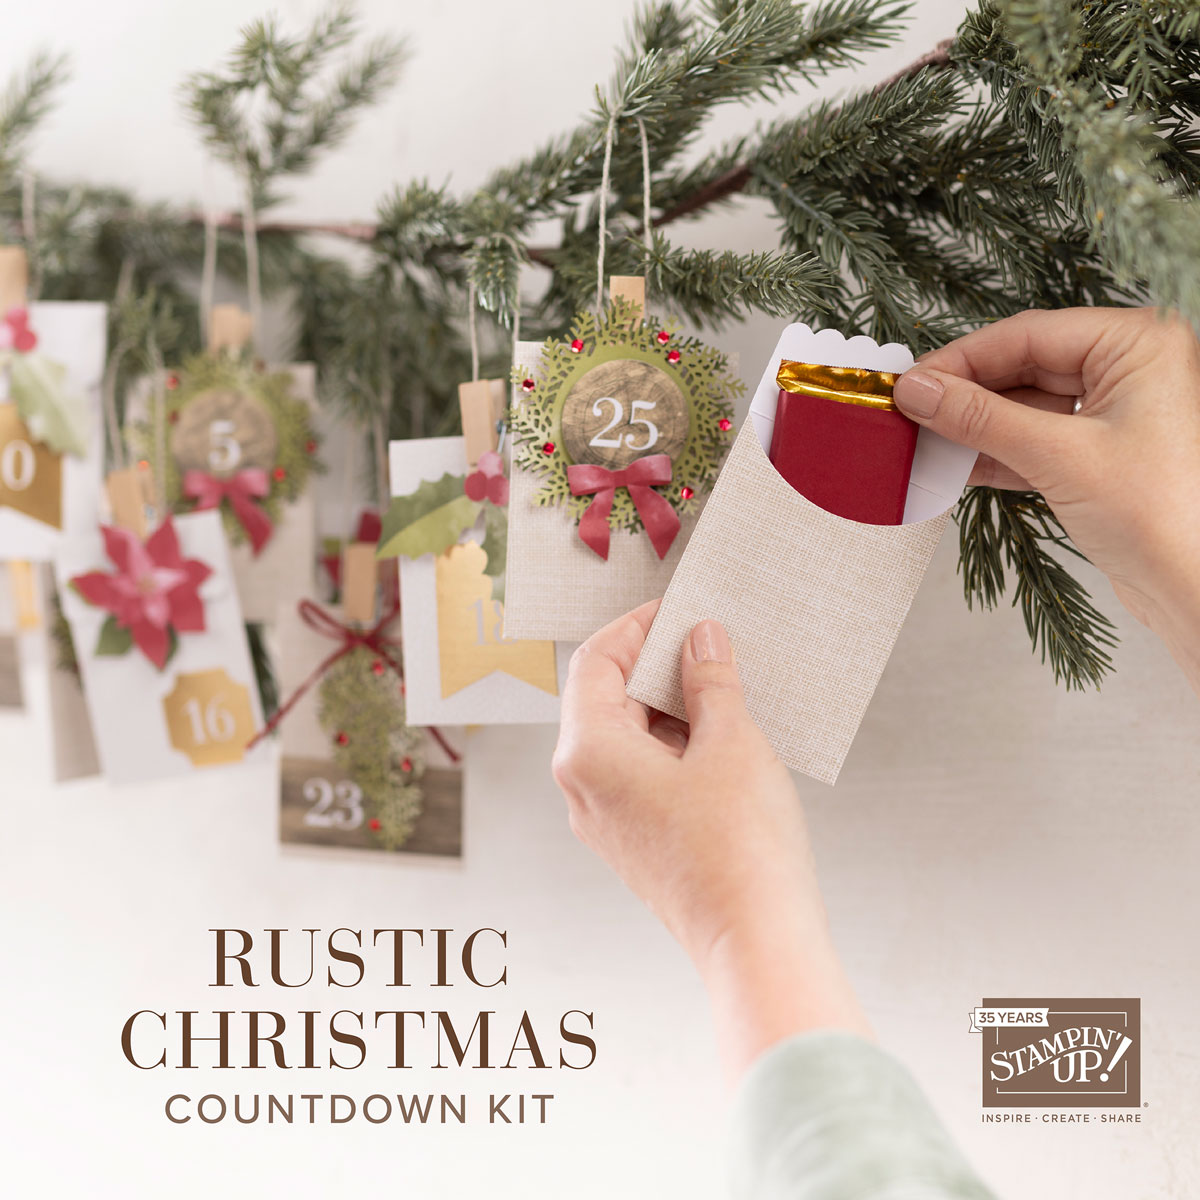
The second kit released today is the Rustic Christmas Countdown Kit. This kit has all you need to make a rustic, 25 day paper advent calendar. What a great way to bring a classic, cosy Christmas feeling to your home this season!
Here's a couple of additional images of the kit in more detail:


Here'a a link to the unboxing video too:
Aren't they just great?! Both of these kits are available right now by placing an order with me or in my online store by clicking on either of the links below - remember to add the current host code (see the box on the right hand side of my blog) for a thank you from me:
Lots to think about in this post! Back later with today's creative project - until then, happy shopping - or maybe even joining!