
Today it's Sunday and time for this week's new challenge over at The Paper Players! It's the turn of the fabulous Ann to host this week and she has a theme challenge for us to work with:

I wasn't quite sure where to go with Ann's theme this week, so I started with a browse of my stamp set shelf for inspiration. I saw this quote and that's where this week's project began - take a look:

Here's the low-down on today's card:
Enjoy Life - The quote is featured in the retired 'Enjoy Life' stamp set and whilst not about romantic love per se, I thought that it would make a lovely centrepiece for a summer-inspired project. I stamped it onto white cardstock and diecut using my Nested Essentials Dies.
New Horizons - I leafed through my (extensive) designer series paper collection and found this lovely sunny landscape in the retired New Horizons pack that worked perfectly for my background.
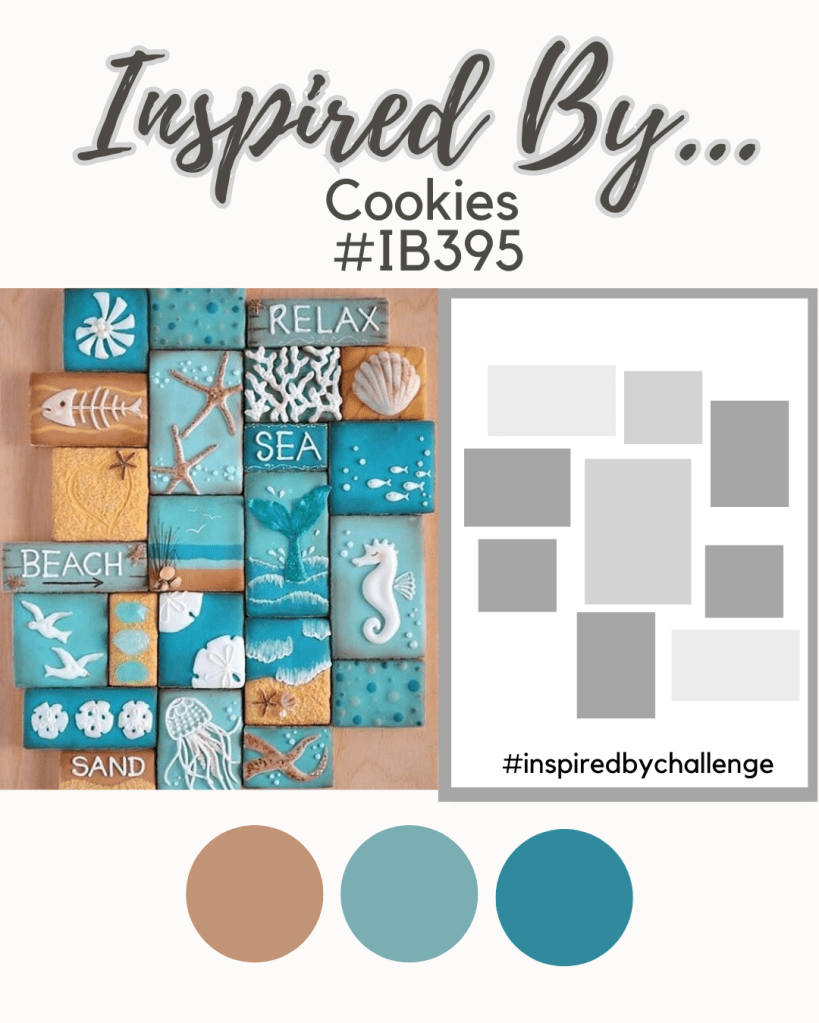
It's In The Detail - Trying to decide how to bring my chosen quote and paper together, I happened upon the Inspired By Challenge inspiration this week and finally had the answer! Not the beachy theme, the colour scheme or the cookies - but the sketch layout. I decided to take some of the other stamps from the 'Enjoy Life' stamp set and stamp them in black onto an identical piece of designer paper to the one I was using for my background, cutting them out with my square Stylish Shapes Dies. I popped the diecut pieces up on dimensionals to add interest to the landscape and frame the quote in an interesting way:

I used the whole of the 6x6" sheet of DSP and decided I liked it so much that I would frame it and hang it on the wall of my craft room, which I recently painted in a sunny shade of yellow. Here's the finished piece in its frame:

Whilst my project does not embody romantic love, there is a definite nod to summer and a love of life, so I'm hoping Ann thinks I'm close enough to what she was looking for to meet the brief ;-).
Before you reach for your ink and papers, check out what our amazing team has created to inspire you this week:
The Paper Players Design Team
Here's a quick recap of our challenge rules:
1. Create a new paper project
2. Upload your creation to your blog with a link back to us and provide a direct link to the post featuring your challenge submission.
3. Please link your card to no more than four challenges, TOTAL.
4. Have FUN!
Enjoy your day; we will be enjoying a BBQ lunch in the summer sun and just pottering around the house today. I am still aching from Friday's strenuous gym session and paddleboarding excursion combined, so I need to rest in order to do it all again next week! We are forecast a third heatwave here this week, so I am trying to make the most of the reasonable temperatures before it's too hot to move. Besides, there will also be tennis at Wimbledon so if that's not an excuse to watch the TV, I'm not sure what is! I'll be back soon with another project. Until then, happy stampin'!
Stampin' Up! Supplies Used:
