by Joanne James15. September 2016 08:05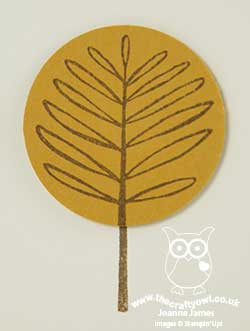
Today it's time for a new challenge over at Create With Connie and Mary and this week we have a colour combination for you:
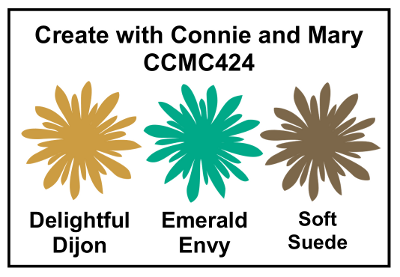
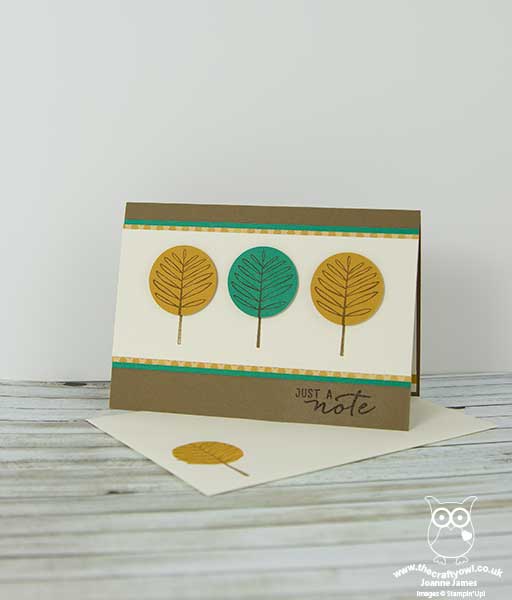
This colour combination initially had me stumped as it's not a trio I would necessarily put together. I played around with a few ideas then eventually came up with something using the new Totally Trees set. Here's my card:
Here's the low-down on today's card:
Totally Trees - This modern set of trees is right up my street - it's the kind of stamp set that really appeals to me. It's a two step stamp set, with branches and leaves needing to be stamped and aligned separately. Whilst I used both stamps together to decorate my envelope, for my card I stamped the tree trunks in Soft Suede on a piece of Very Vanilla, then stamped them again onto Emerald Envy and Delightful Dijon cardstock. I then punched out tree tops using my 1 3/8" circle punch and popped them onto dimensionals.
Moroccan Border - I used a piece of Delightful Dijon patterned paper from the Moroccan DSP pack to border my central horizontal panel. Whilst there isn't much it showing, it adds a subtle pattern and interest to the mat, which is then mounted on a further mat of Emerald Envy. I also used a piece of the green and mustard washi tape from the Moroccan pack to decorate the inside of my card.
Any Colour Embossing - Lastly, in order to allow my sentiment to stand out, I stamped it in Soft Suede then immediately heat embossed it with clear embossing powder. This does darken it a little and the glossy finish helps it stand out more. In case you're wondering which stamp set I took my sentiment from - it's one of the ones that comes with the Watercolour Wishes card kit.
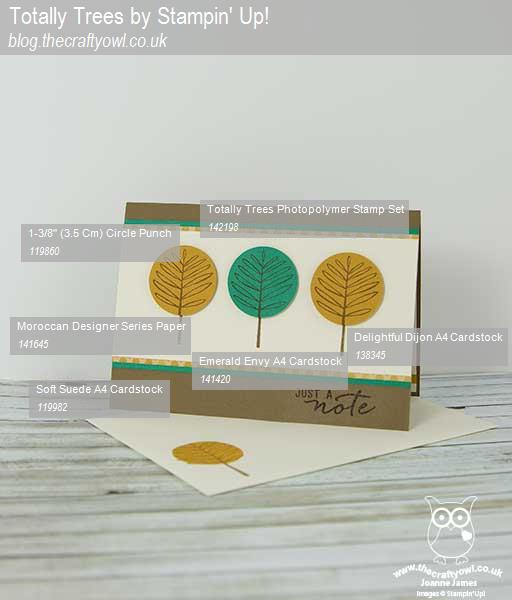
Here is the visual summary of the key products used on today's project for you to pin for easy reference:
You can see all of my 'How To' summaries on my 'How To - Tips and Techniques' Pinterest board in case you've missed any.
Do visit the other Design Team members to see what they did with this week's colours; there's lots of inspiration over on their blogs too!
Enjoy your day and I'll be back tomorrow with another project. Until then, happy stampin'!
Stampin' Up! Supplies Used:
by Joanne James29. June 2015 09:49Happy Monday everyone! Well, we didn't manage to barbeque yesterday as it was the worst weather day of the week here in the UK, but no matter - this week is supposed to be a scorcher, despite the fact that it's the start of Wimbledon Tennis Fortnight (a sure recipe for rain!) so I'm sure there will be lots of opportunity. My week is shaping up to be a busy one - with only three weeks until the end of the school term, there is something on pretty much every other day between now and the end of term so forgive me if my blogging becomes brief! Anyway, a good start to the week as I've two cards to share today! This first is my card for this week's challenge over at Colour Q:

Don't you just love those flip flops?! The colours along with the butterflies prompted me to create a fun 'cutting edge' card that I am also linking up with the current challenge over at SUO Challenges where they are asking us to create a card that features a cut edge that is something other than a straight line. This is what I came up with:
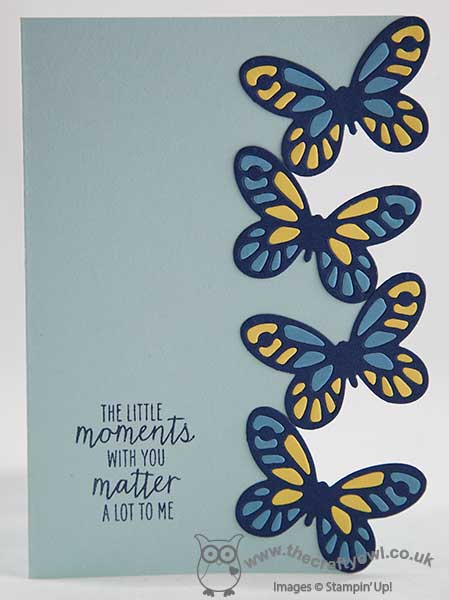
I used Soft Sky for my card base, then diecut four butterflies in Night of Navy using the smallest butterfly in the new Bold Butterfly framelits and adhered them to the edge of my card, carefully cutting around them by hand to remove the edge of the card base and expose the back panel. I then cut another two butterflies each in Daffodil Delight and Marina Mist and paper-pieced the small pieces into the navy butterflies. I stamped the sentiment from Watercolour Wonder onto the front of my card in Night of Navy and stamped the spotty strip repeatedly along the back inside edge of the card in Soft Sky for some added detail behind the butterflies, although you can't see this in the above photo as it's not flat and only visible when closed (I need to take another picture which I will add to this post later - these type of cards are so tricky to photograph!). This card looks so pretty in real life - the fussy cut edge really lifts this card and makes it something special.
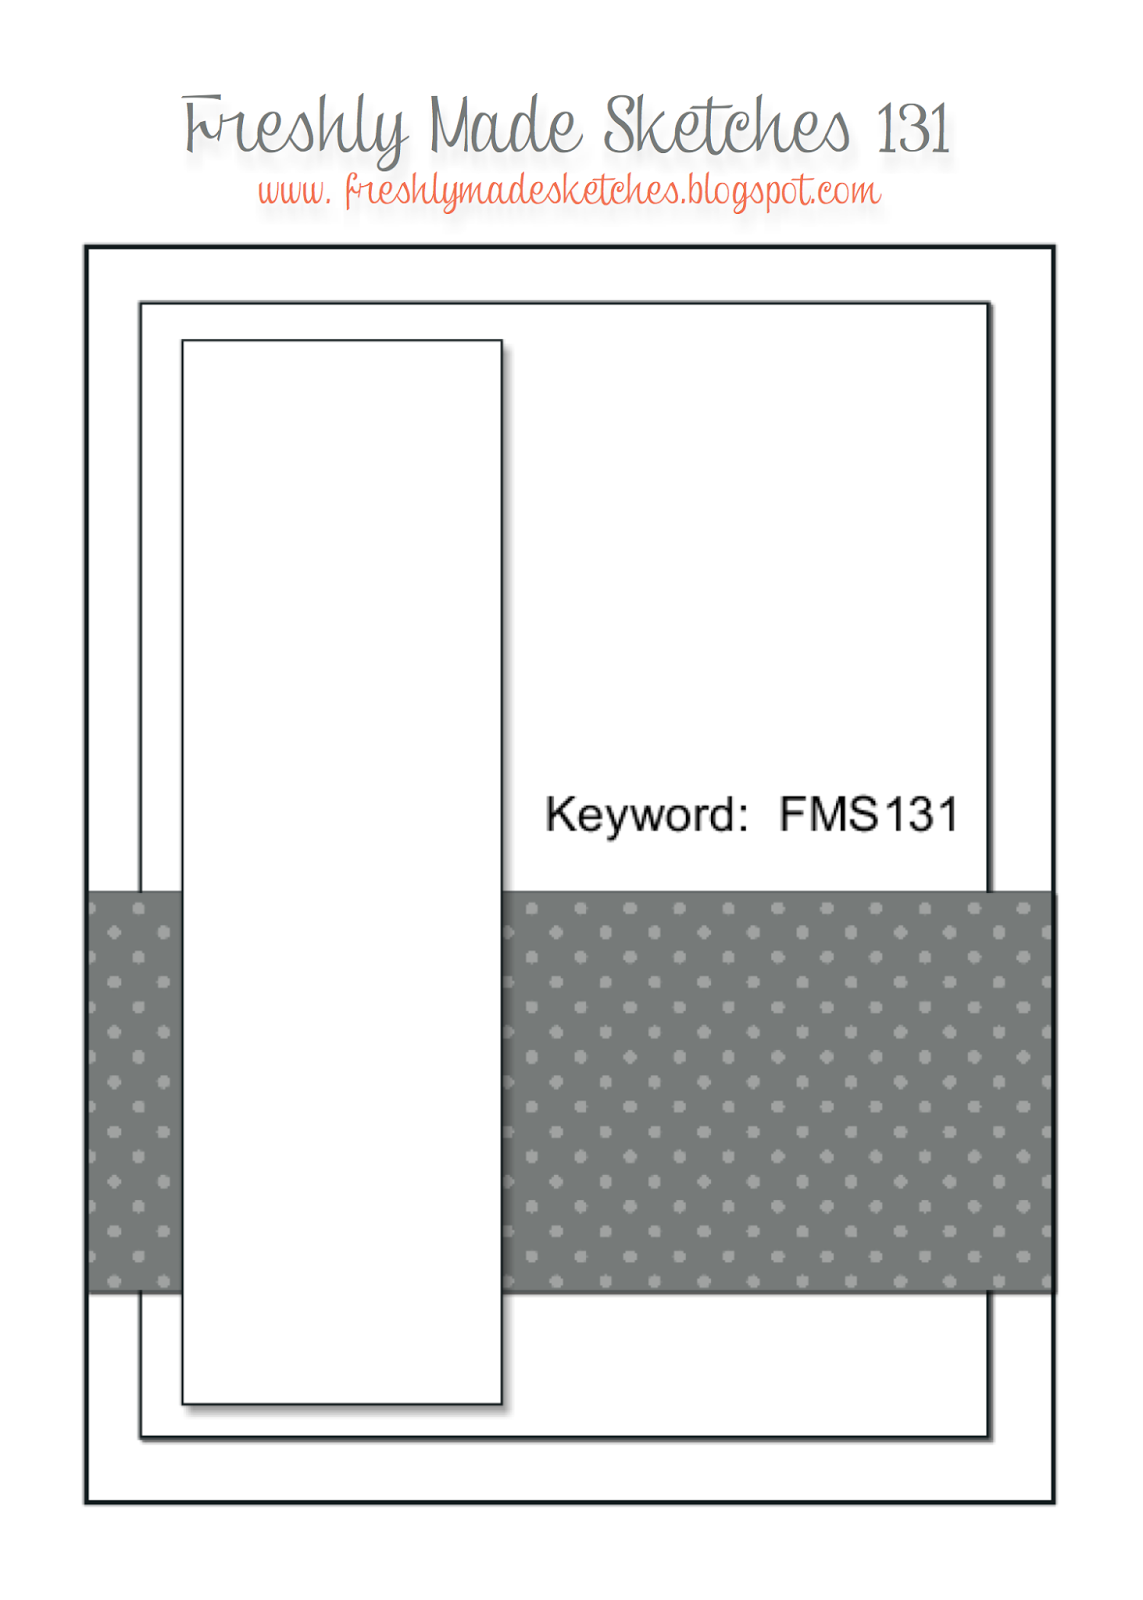
My second card today is using this week's sketch over at Freshly Made Sketches where the lovely Jen Mitchell has a great sketch that would work so well for so many layouts:
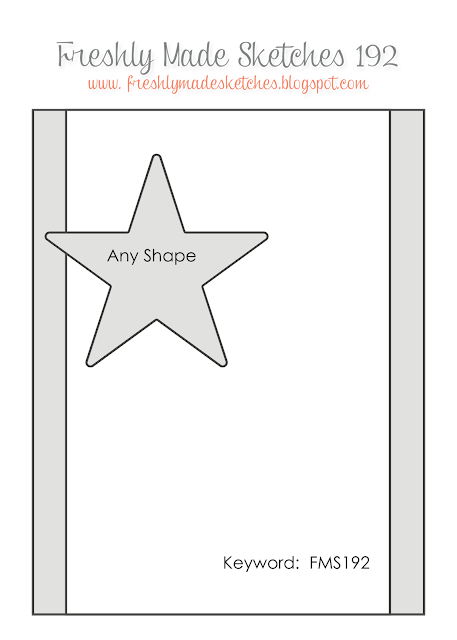
I flipped the sketch through 180 degrees (it's allowed!) to create a rather topical card that was inspired by a cupcake of all things that appeared in my Facebook feed over the weekend, commemorating the decision by the US Supreme Court over the weekend to legalise same sex marriage across all US states:
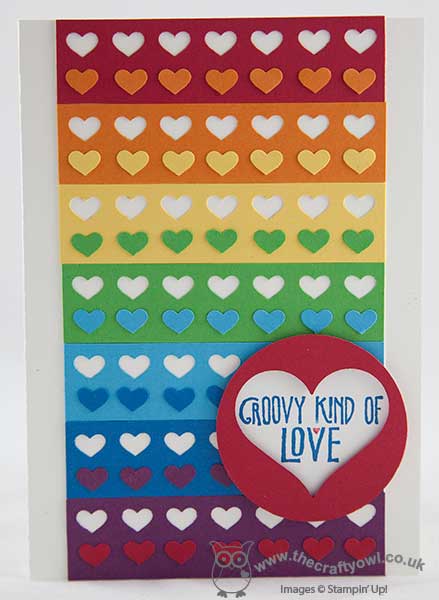
I used a rainbow of strips of cardstock, punching each with my Hearts Border punch before adhering to my base of extra-thick Whisper White cardstock (love this for card bases!) I then took the punched out hearts and adhered these individually in a row beneath the negative punched space on the strip above. My focal point is a couple of 2" circles, the first in Whisper White and stamped with one of the sentiments in the 'Groovy Love' stamp set, inked up with Pacific Point and Real Red Stampin' Write markers. The second circle was punched from Real Red cardstock, with a heart punched out of the centre using the Sweetheart punch so that the sentiment could show through the negative space and popped up over the first on Dimensionals for added depth. Very 'gay pride' with the hearts and rainbows, don't you agree? I am also entering this card into a demonstrator-only challenge that Stampin' Up! are currently running with the tagline #punchitup where we have to use a combination of two of four specific punches and as you can see, I went with hearts!
That's my creative post for today; I will be back tomorrow with another project and may be back in the meantime with other news, depending on how far I get through today's 'to do' list so do pop back later! Until then, happy stampin'!
Stampin' Up! Supplies Used:
Card One:
Card Two:
cf37e0b6-0757-4f9a-aa8f-aef99f5fa071|0|.0|96d5b379-7e1d-4dac-a6ba-1e50db561b04
Tags: Bold Butterfly Framelits, Watercolour Wonder, Big Shot, Hearts Border Punch, Stampin' Up, Stampin' Up Card, Stampin' Up Card ideas, Stampin' Up Supplies, Sweetheart Punch, circle punch, Punch Art, Groovy Love
Cards | Punch Art | Stamping
by Joanne James7. June 2014 20:55Today I'm sharing the original card I designed for this week's challenge over at The Card Concept, which I also adapted for my Springtime Hello card class this week. Here is this week's challenge colour palette:
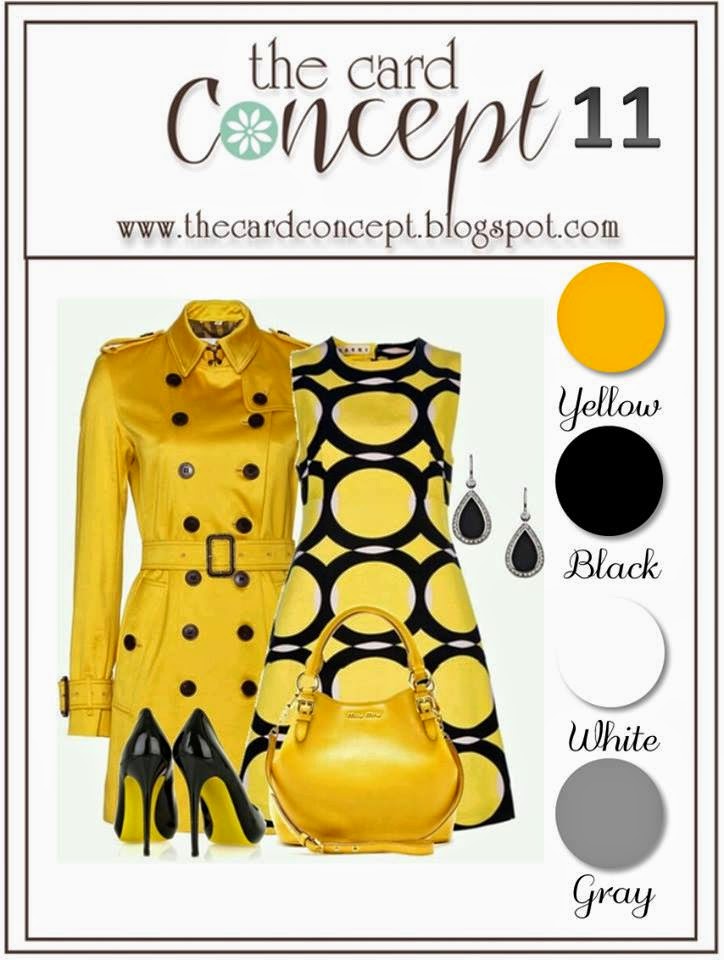
This card is quite different to my previous entry (you can see that card here); much more 'Classy and Elegant' this time around I think - here's my card:
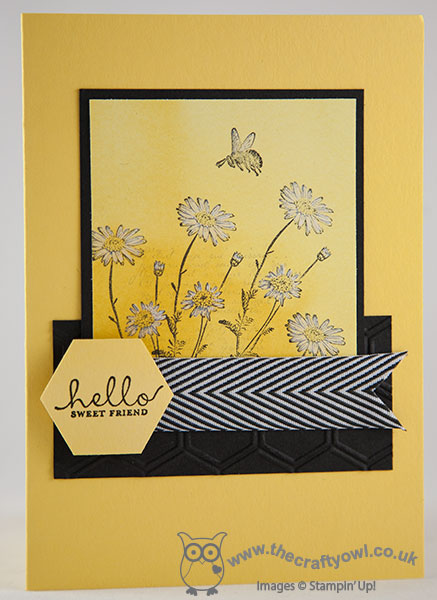
I used Daffodil Delight for my card base and layered up from there. I dry embossed a piece of Basic Black cardstock with the Honeycomb embossing folder, then layered my main stamped panel onto this. I repeat-stamped the daisy stamp from the 'Springtime Hello' onto a piece of Watercolour Wonder DSP so that the panel would have a lovely washed background, and also stamped the text stamp from the retired 'French Foliage' set in Smoky Slate behind this, having stamped off twice first to give a very faint image. You could substitute this stamp with one from the 'Background Borders' set, which is currently reduced and still available on the retired list. I then stamped the bee and using my aquapainter, I washed white kraft ink over the bee's wings and the daisy flower petals to give a subtle hint of natural colour, whilst allowing the yellow of the DSP to show through. I finished with a piece of Basic Black 3/4" Chevron ribbon and heat embossed my sentiment fro the Six Sided Sampler set in black embossing powder onto a punched hexagon and popped it onto a dimensional.
I hope you like today's card; back tomorrow with another project. Until then, happy stampin'!
Stampin' Up! Supplies Used:
78975a09-b85c-4eee-828c-ac9a94da521d|0|.0|96d5b379-7e1d-4dac-a6ba-1e50db561b04
Tags: Shop online, Springtime Hello, Six-Sided Sampler, Hexagon Punch, Watercolour Wonder, Hexagon Embossing Folder, Aquapainter, Big Shot, Stampin' Up, Stampin' Up Card, Stampin' Up Card ideas, Stampin' Up Supplies, Honeycomb Embossing Folder
Cards | Classes | Stamping
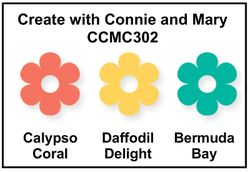
by Joanne James13. May 2014 21:06Today I'm sharing a card I made for this week's challenge over at Create with Connie and Mary, where they have a lovely vibrant colour palette to play with; I also used the layout over at CAS(E) This Sketch:
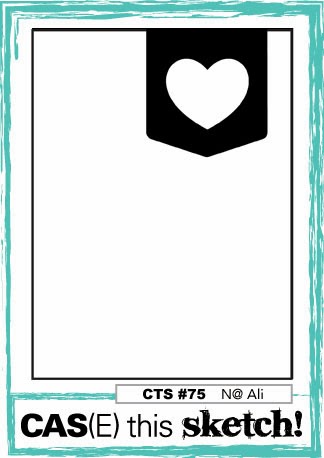
This card gave me the perfect opportunity to make a feature of a lovely piece of Watercolour Wonder paper that I've had in my box for a while and also to try something different with the tab panel. Here is my card:
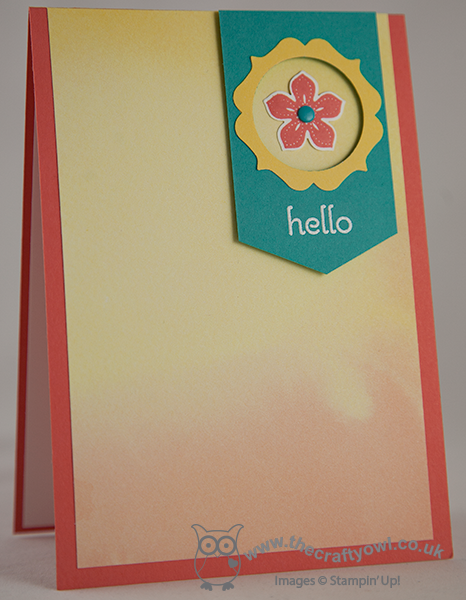
I used Calypso Coral for the base of my card, topped with a piece of Watercolour Wonder DSP. Now I know that, strictly speaking, the paper pack says that Daffodil Delight and Tangerine Tango are the feature colours in the Watercolour Wonder papers, however the watercolour effects mean that on some of the sheets the blending means that there are also opportunities to match with other colours, such as Calypso Coral for example - I just chose an area of paper that avoided the darkest orange tones so it fits perfectly with the rest of my card. I cut my inverted banner from a piece of Bermuda Bay cardstock and used a 1 1/4" circle and the Label Bracket punch to create the Daffodil Delight aperture to showcase my Petite Petals flower - I've been wanting to use this framing idea ever since I saw it on one of Connie Babbert's cards a while ago (you can see Connie's original card here). I also stamped my 'hello' sentiment in Versamark and heat embossed in Whisper White. Lastly, I stamped my flower in Calypso Coral on some Whisper White cardstock and finished it with a Bermuda Bay candy dot.
I really like how this card turned out; I almost stamped a sentiment onto the DSP instead of the banner, but in hindsight I'm really glad I didn't - I love that the watercoloured panel is on show and uninterrupted by any other stamping or design.
Back tomorrow with another project and this week's new Wednesday weekly deals; until then, happy stampin'!
Stampin' Up! Supplies Used:
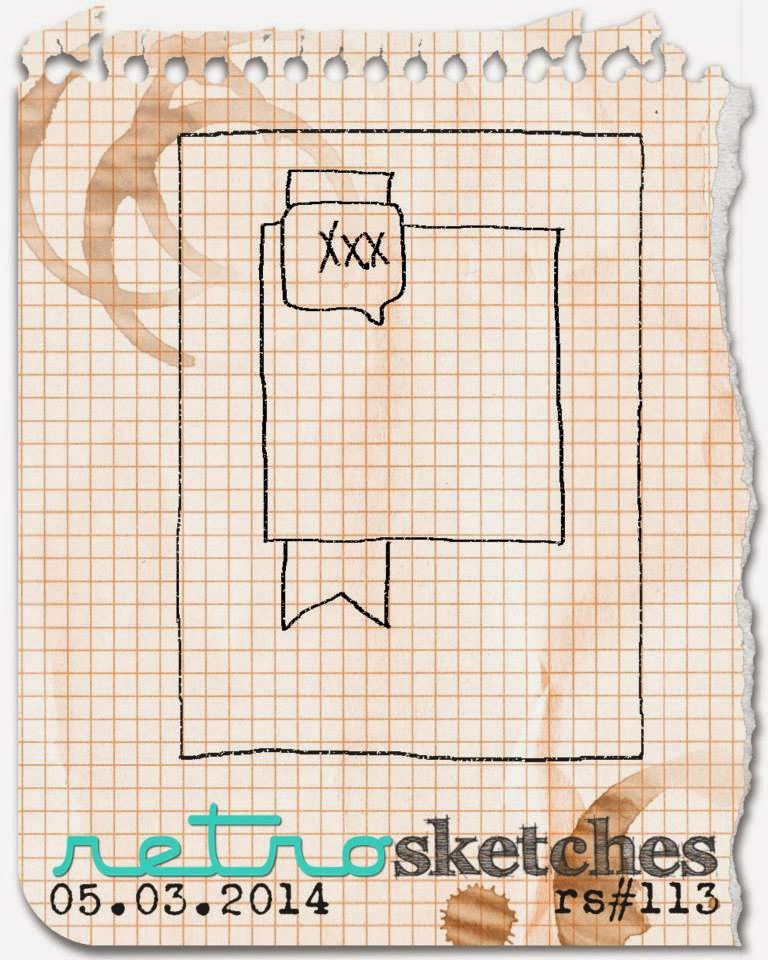
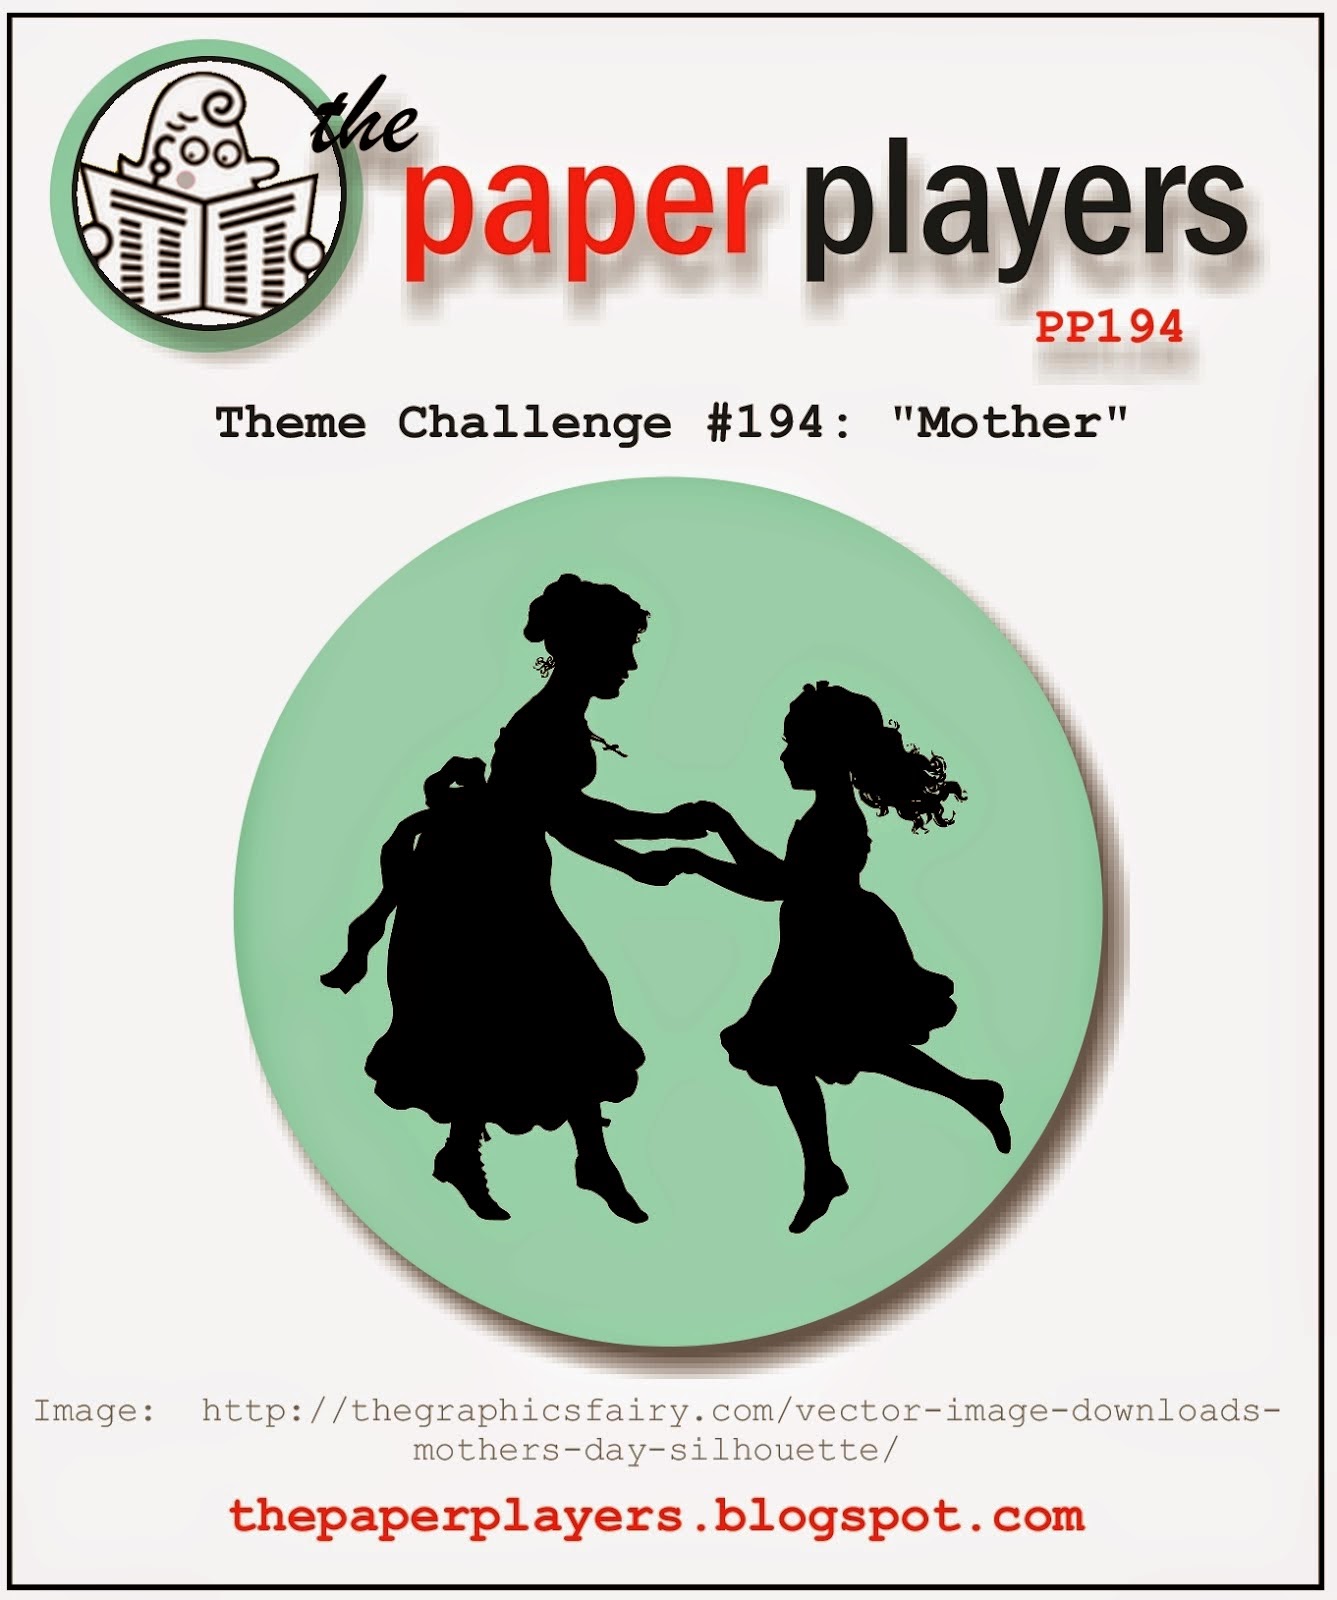
by Joanne James7. May 2014 22:08Good evening all! I had an unexpected uninterrupted day at home today and with the exception of a large basket of ironing, I've spent pretty much the whole day crafting - bliss! I had lots of partially finished projects on my desk and am glad to have been able to complete a fair few of these and cleared some space. I also had some new goodies arrive today and when I saw this week's Colour Me ...! challenge colours and photo inspiration, I just knew I was going to have to ink one of them up to complete a card for this challenge! I also used this week's sketch over at Retrosketches for my layout and tied it in with Jaydee's theme of 'Mother' over at The Paper Players this week:
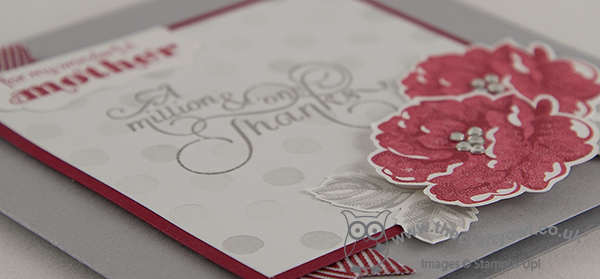
I always think of Cherry Cobbler as a Christmas colour, so it's nice to use it for something that isn't seasonal. Here is my card:

This card was the perfect excuse to ink up my new Stippled Blossoms stamp set. I've much admired this set for some time as I love the effect of the two-step stamping on the flowers, which look so typical of old English roses, but only recently purchased it. It's essential to use a stamp-a-ma-jig to get the images perfectly aligned - and there is no matching framelit, so the blossoms all need to be fussy cut by hand - but it is so worth it. I used my flowers to frame my central panel, a sheet of Watercolour Wonder DSP in White/Smoky Slate, onto which I heat-embossed the sentiment 'A Million and One Thanks' in Pewter. I matted this onto a square of Cherry Cobbler and used a Smoky Slate base. We've already celebrated Mothering Sunday here in the UK, but I decided to stay with this theme for my card. I thought this sentiment was quite appropriate; I know I don't thank my own Mother or Mother-in-law enough for everything they do for me and my family. I added a label (punched with the edge of the Decorative Label Punch) to incorporate 'to my delightful Mother' too and I finished off my card with a simple chevron ribbon trim and some rhinestones to add some sparkle.
Do check out the links to the challenges above for more design inspiration, especially Colour Me ...! where my long-distance Stampin' Up! buddy LeAnne Pugliese is the guest designer this month; you can check out her card on her Wee Inklings blog here.
Back tomorrow with another project (maybe even another video!); until then, happy stampin'!
Stampin' Up! Supplies Used:
862dbbcc-ef43-4e17-b01b-909f77482fcd|0|.0|96d5b379-7e1d-4dac-a6ba-1e50db561b04
Tags: Stippled Blossoms, Stampin' Up, Stampin' Up Card, Stampin' Up Card ideas, Stampin' Up Supplies, Stamp-a-ma-jig, Shop online, Delightful Dozen, Watercolour Wonder, Million & One, Decorative Label Punch
Cards | Stamping
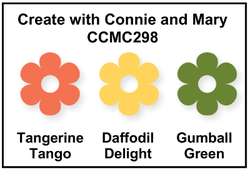
by Joanne James13. April 2014 22:33Today I'm sharing a card I made using the poppy in the Happy Watercolour set. I used the sketch over at Freshly Made Sketches for my simple layout and was inspired by the colours over at Create with Connie and Mary this week:
I decided to go with quite a simple design - here's my card:
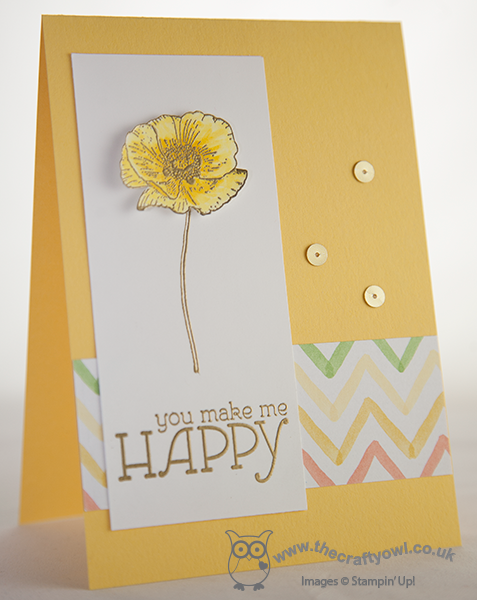
I used a Daffodil Delight card base and stamped my poppy stem only in Versamark and stamped it onto my base card and heat embossed in gold, then did the same again with the flowerhead on a separate piece of cardstock, coloured it with Daffodil Delight and my aquapainter and cut it out, then popped it onto my card on a dimensional. I know poppies are traditionally red, but they come in all kinds of different colours, including yellow - which also give the card a bright feel.
Here's a close up of the flowerhead:
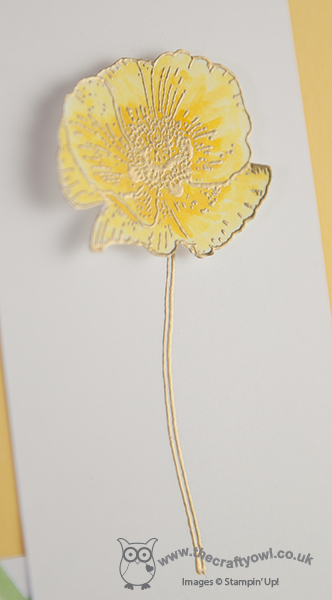
For my horizontal cross-section panel beneath the poppy, I used a piece of Watercolour Wonder DSP that features all of the challenge colours above. This is the only place where the green and orange features on my card, yet the colour works really well in breaking up what would otherwise be a rather monochromatic card. I added a few gold sequins to finish, and done.
If you'd like more ideas on how to use these colours, check out the design team inspiration - lots of great work on show, as always.
I'm off to take my juniors tenpin bowling with some friends today and then go and purchase some paint tester pots for Ben's bedroom redecoration - I love the Easter holidays!
Back tomorrow with another project; until then, happy stampin'!
Stampin' Up! Supplies Used: