I've been absent from my blog for a few days - once again precious time with my Juniors this week as we make the most of our school summer holidays hasn't left me time for blogging during the latter part of this week. Luckily for you today it's Sunday and time for this week's new challenge over at The Paper Players! The lovely Laurie is the hostess this week and she has a sketch for us to work with:
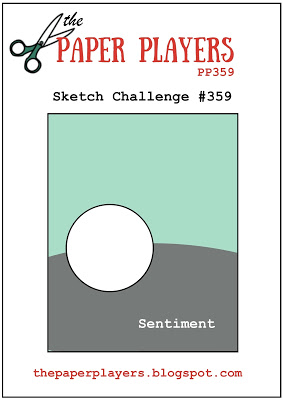
I tried a few different things for my card today, but kept wanting to put a sentiment in the circle! Since I was trying to be truly faithful to Laurie's sketch, I kept at it then it hit me - the answer was in a piece of paper I have been saving for just such an opportunity! Take a look:
Here's the low-down on today's card:
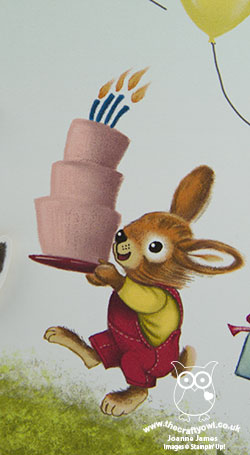
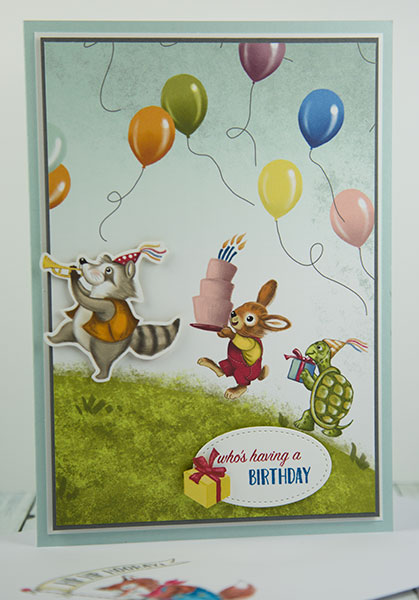
What Birthday Memories Are Made Of - In the end this card makes me feel like a little bit of a cheat, since there is very little stamping and the gorgeous sheet of Birthday Memories Designer Series Paper does all the hard work! There are some gorgeous papers in this pack, all of which contain intricate and colourful birthday imagery reminiscent of days gone by. The sheet I've used today is a design that covers the whole of the 12" x12" sheet and is really one that is hard to cut into. It makes a beautiful gift box lid or gift bag where you can see the entire animal parade.
Big Is Beautiful - I happened to have a half-width of this sheet of designer paper left over from another project, so decided to upsize my card to the larger size of 14.9cm x 21cm in order to accommodate as much of the design as possible, including those fun floating balloons. To emphasise the shape of the sketch, which I represented with the little racoon, I decided to fussy-cut another identical racoon out of one of the other sheets of DSP and pop it up on dimensionals, allowing it to hang over the edge of my central panel.
Don't Forget The Envelope - The only stamping on my card front was for my sentiment I couldn't resist embellishing with a gift that I also cut out of the DSP too), and on the inside. I also used the 'Birthday Delivery' stamp set to stamp and decorate my envelope front and back though - a special handmade card shouldn't stop at the card front, although I don't often photograph mine to share with you. For some great examples of this be sure to check out my teamie Nance's blog - her cards always look as fabulous on the inside as on the outside :-)
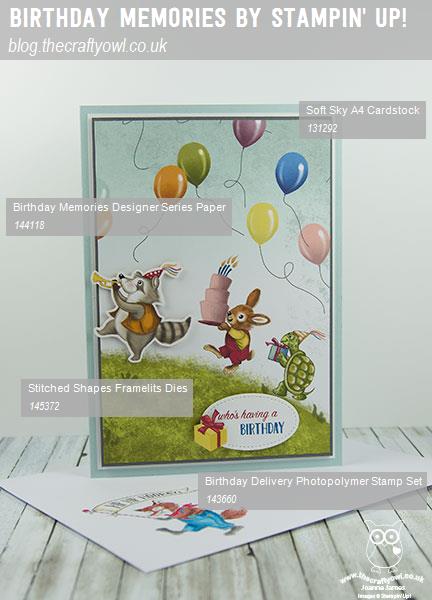
Here is the visual summary of the key products used on today's project for you to pin for easy reference:
You can see all of my Product and 'How To' summaries on my 'How To - Tips and Techniques' Pinterest board in case you've missed any.
This paper is truly gorgeous and it's almost as if it was made for Laurie's sketch this week. I love this card - I just need to find a special little person to send it it to now!
Before you reach for your ink and papers, check out what our amazing team has created to inspire you this week:
The Paper Players Design Team
Here's a quick recap of our challenge rules:
1. Create a new paper project
2. Upload your creation to your blog with a link back to us and provide a direct link to the post featuring your challenge submission.
3. Please link your card to no more than four challenges, TOTAL.
4. Have FUN!
I look forward to seeing what you create with our sketch this week. Enjoy the rest of your weekend as it will be over all too quickly; we are lucky that we have a Bank Holiday here in the UK so it's a slightly longer one than usual - I'm hoping for some sunshine! I'll be back this week with some of the projects from my last class and maybe even another sneak peak or two of some great sets from the upcoming Autumn-Winter seasonal catalogue, so stay tuned. Until then, happy stampin'!
Stampin' Up! Supplies Used: