Today it's Sunday and time for this week's new challenge over at The Paper Players! It's my turn to host this week and I have my favourite, a sketch challenge for you to work with:
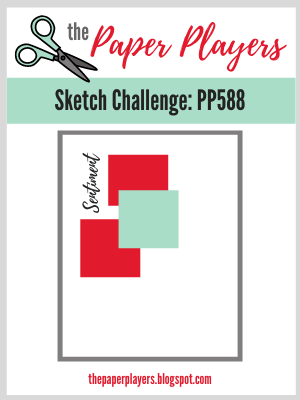

I designed a sketch with three elements - they can be any shape - and a vertical sentiment tucked alongside. My sketch was inspired by a card I made previously using squares of designer paper, however for today's card I went in a completely different direction - take a look:
Here's the low-down on today's card:
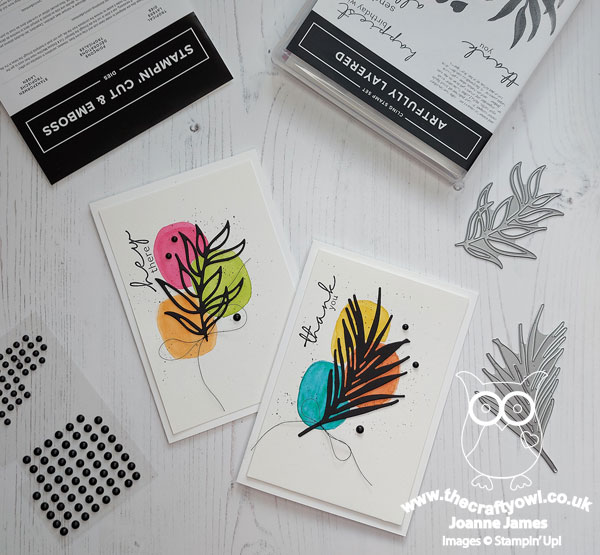
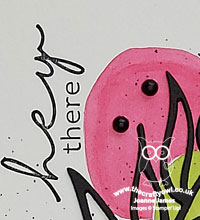
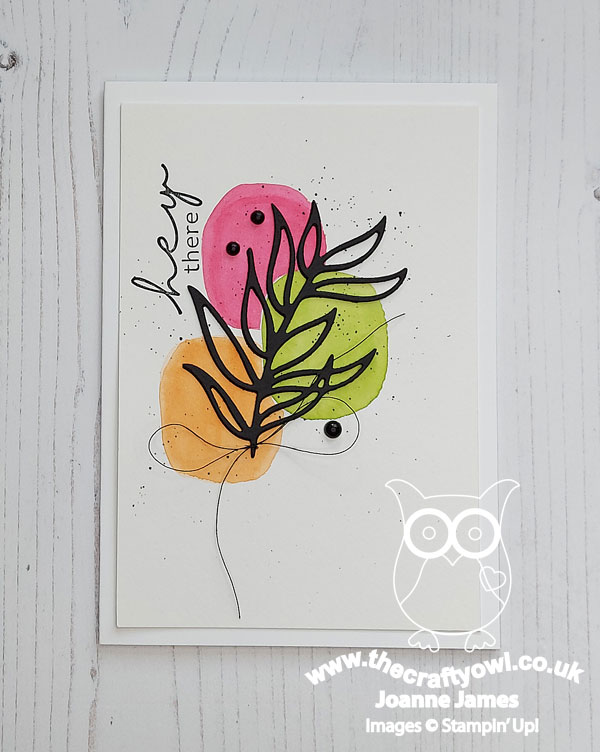
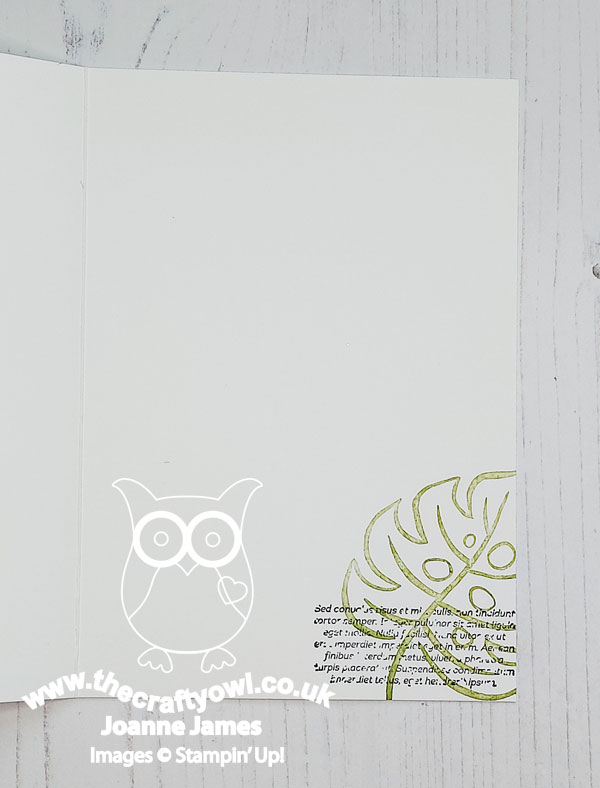
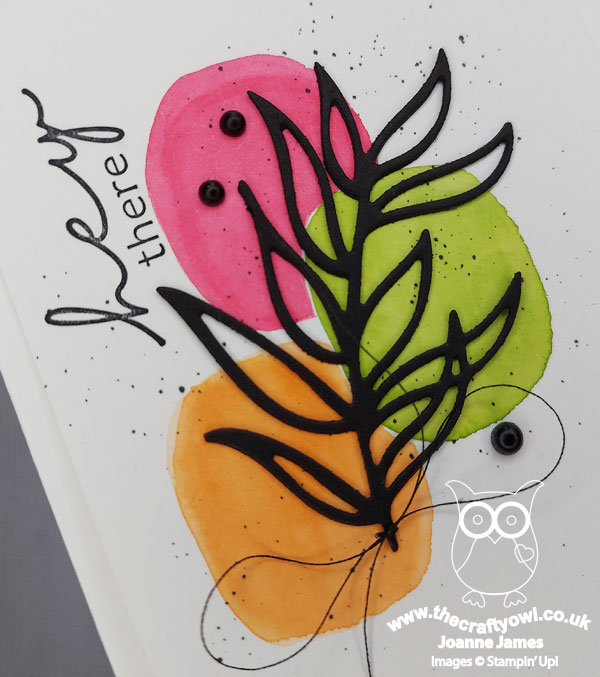
Artfully Layered - Today's card features the 'Artfully Layered' bundle - I just love these leaves! Today's card really is about the Tropical Leaves Dies and my card makes a dramatic feature of one of the leaves, diecut in black. There is just a little stamping, with the sentiment on the front and a little extra to decorate the inside:
Inspired Abstract Watercolouring - I decided to brave it and use my aquapainter to watercolour three rounded squares for my three elements and use these as a backdrop to my leaf. I used the trio of bright colours over at Color Throwdown as I thought they would pair well with the black and painted each shape carefully, deciding not to overlap them and building colour gradually. I'm not the best when it comes to watercolouring but was totally inspired by my CAS Colours & Sketches teammate, Cecile Ribon, who creates the most amazing CAS cards using simple watercoloured shapes and outline stamped images and/or delicate diecuts - if you're not familiar with it I would urge you to take a look at her blog here, she is so artistic! Having added my watercoloured shapes, I added some black ink splatters using my Black Blends marker before adhering my diecut. I used anothe Cecile trademark of a stitch of twine at the base of my leaf, along with a trio of enamel dots, to complete my card:
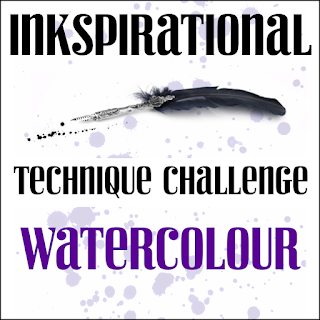
What do you think? I'm really quite please with the end output so I'm going to link up over at Inkspirational too, where they are also challenging us to watercolour this week.
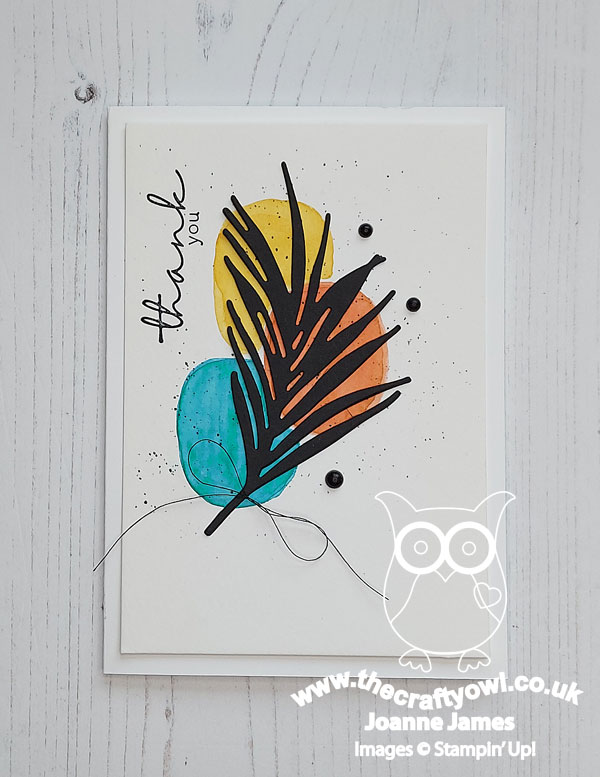
An Alternative Colourway - I liked my card so much, I decided I would have another go using the inspiration photo over at Just Add Ink too. I considered going in a different direction, given the distinctly autumnal feel of their photo, but I just couldn't bring myself to dig out my autumn leaves as we are just heading into summer on this side of the world! So I changed out my sentiment and chose a different diecut leaf and used the same layout for a second version. Here is the Just Add Ink inspo photo:

And here's my second card that was inspired by those warm, autumnal colours:
So what do you think of today's cards? Do you have a favourite? Do leave me a comment below - I'd love to hear your thoughts.
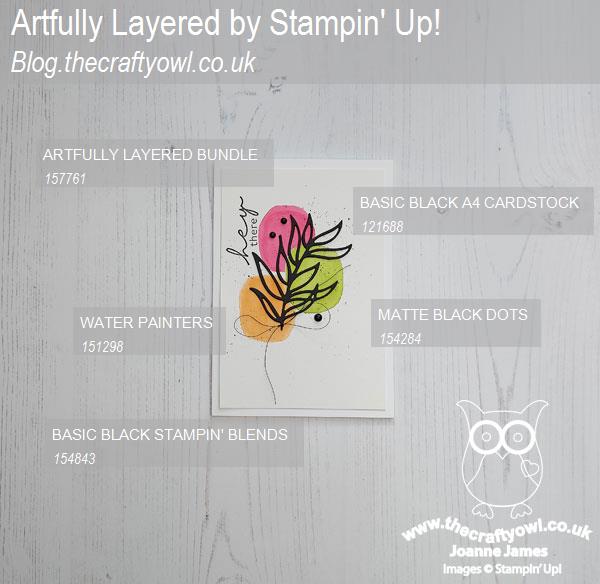
Here is the visual summary of the key products used on today's project for you to pin for easy reference:
You can see all of my Product and 'How To' summaries on my 'How To - Tips and Techniques' Pinterest board in case you've missed any.
Before you reach for your ink and papers, check out what our amazing team has created to inspire you this week:
The Paper Players Design Team
Here's a quick recap of our challenge rules:
1. Create a new paper project
2. Upload your creation to your blog with a link back to us and provide a direct link to the post featuring your challenge submission.
3. Please link your card to no more than four challenges, TOTAL.
4. Have FUN!
Enjoy your day; we are having a quiet day at home today before the James Juniors are back to school this week. I'll be back tomorrow with another project. Until then, happy stampin'!
Stampin' Up! Supplies Used: