It's Sunday and time for this week's new challenge over at The Paper Players! I am your host this week and I have a colour challenge for us to work with:

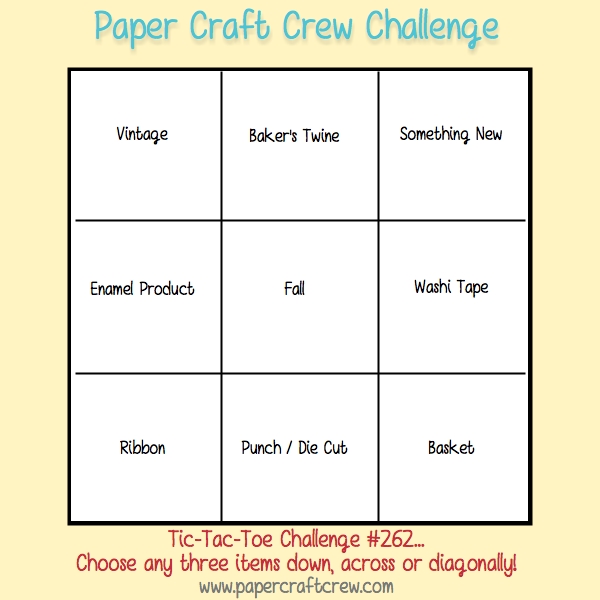
I took the opportunity to make a fall-inspired thank you card this week that works for a few additional challenges too; I used the sketch over at Just Add Ink, the middle vertical column of the tictactoe board over at Paper Craft Crew and the theme challenge over at Global Design Project:


My starting point for today's card was this gorgeous patterned paper from the Painted Harvest designer series paper pack - take a look:
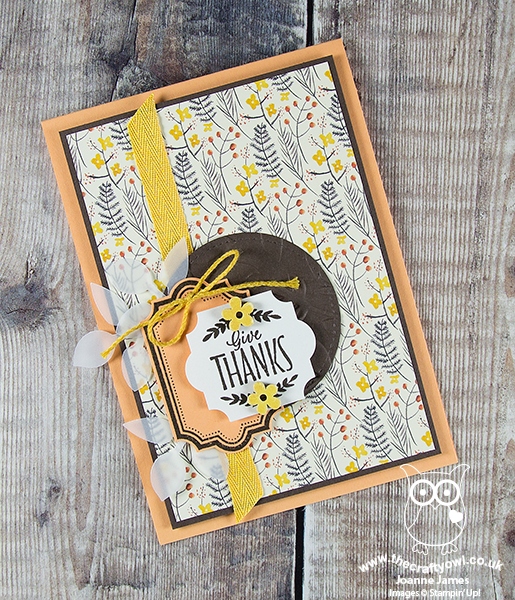
Here's the low-down on today's card:
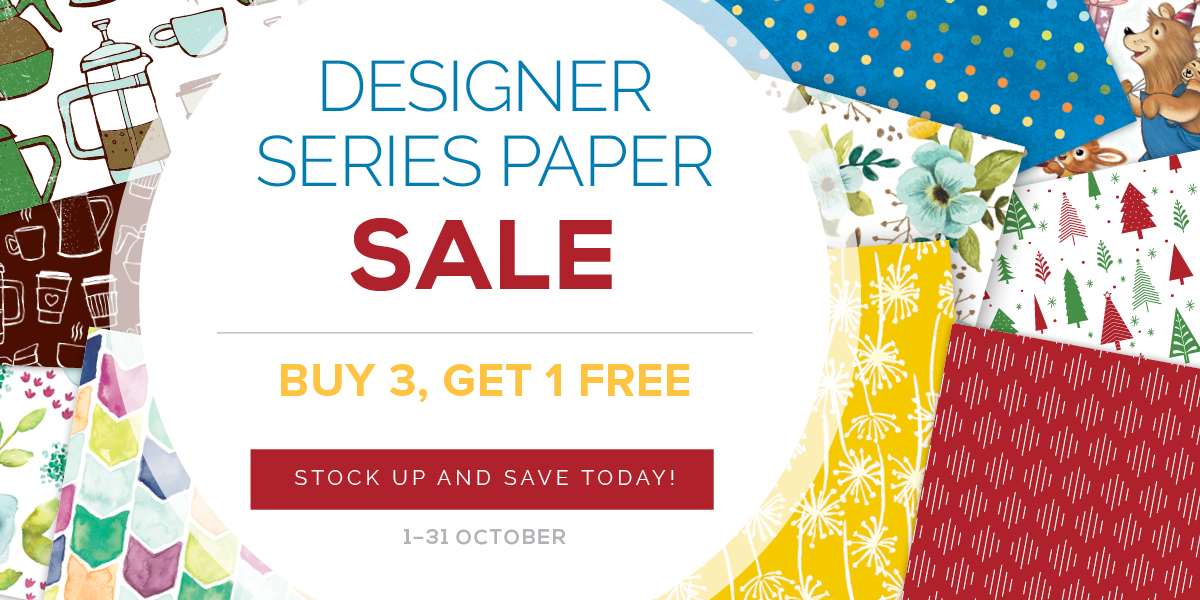
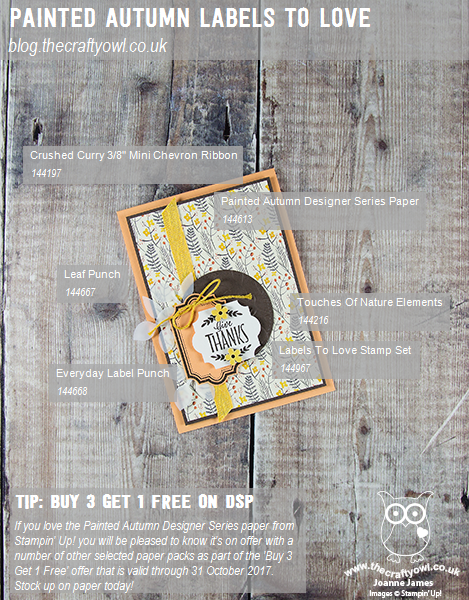
Even More Painted Autumn For Your Pennies - You all know how much I love designer series paper, and the Painted Autumn collection is definitely up there as one of this season's favourites. Bold, watercoloured images in beautiful autumnal colours what could be better? How about more for less? Yes, Painted Autumn is one of the designer series papers that is included in the 'Buy 3, get 1 free' sale that is running throughout October. You can read more about that here or purchase directly from my online store - I for one will be stocking up for sure.
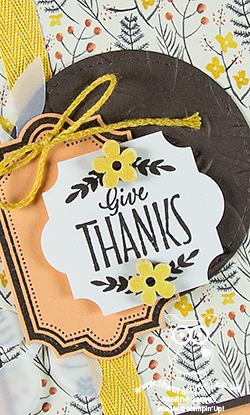
Give Thanks For Labels To Love - I used the sentiment and border stamp from the 'Labels To Love' stamp set on my card today. This set, on page 45 of the seasonal catalogue, is an additional set that coordinates with the Everyday Label Punch besides the 'Merry Little Labels' set that the punch is bundled with. There are some great sentiments in this set but I think this one is my favourite - we all have so much to be thankful for. I added a couple of the Touches of Nature wooden flowers that I heat embossed with some now-retired Crushed Curry embossing powder to my label, along with some vellum leaves and a leaf-embossed stitched circle behind to create a bit of a collage of my focal point.
Not Just An Everyday Label - The Everyday Label Punch is proving a very popular choice for many of my customers and it's easy to see why: in addition to punching out the standard shape, there are a number of ways the punch can be used to make either shorter or longer labels, to create layers or even to create different shapes. By shortening my punched label I created more of a square shape for the sentiment on my card today. I love a punch that is versatile and has lots of alternative uses!
Here is the visual summary of the key products used on today's project for you to pin for easy reference:
You can see all of my Product and 'How To' summaries on my 'How To - Tips and Techniques' Pinterest board in case you've missed any.
Before you reach for your ink and papers, check out what our amazing team has created to inspire you this week:
The Paper Players Design Team
Here's a quick recap of our challenge rules:
1. Create a new paper project
2. Upload your creation to your blog with a link back to us and provide a direct link to the post featuring your challenge submission.
3. Please link your card to no more than four challenges, TOTAL (that includes any you design for) .
4. Have FUN!
I look forward to seeing what you create with this week's colour palette. Enjoy the rest of your weekend as it will be over all too quickly; my niece is celebrating her 18th birthday this coming week so we are off for a family gathering of 'cake and cocktails' this evening to celebrate, which we are all looking forward to.
I'll be back tomorrow with another project; until then, happy stampin'!
Stampin' Up! Supplies Used: