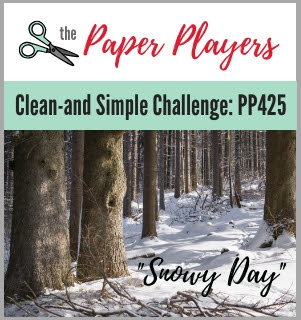
Today it's Sunday and time for this week's new challenge over at The Paper Players! It's the turn of the fabulous Claire to host this week and she has a fun clean and simple challenge for you to work with:

Remember: this is clean and simple week. What do we mean by 'clean and simple' ? Create a card that has:
- Minimal layers and embellishments
- Plenty of open space, also known as 'white space'
- Is simple and uncluttered
I had a clear idea of what I wanted to create for Claire's challenge this week and the colours at Color Throwdown complemented it perfectly (see the challenge badge above) - take a look:
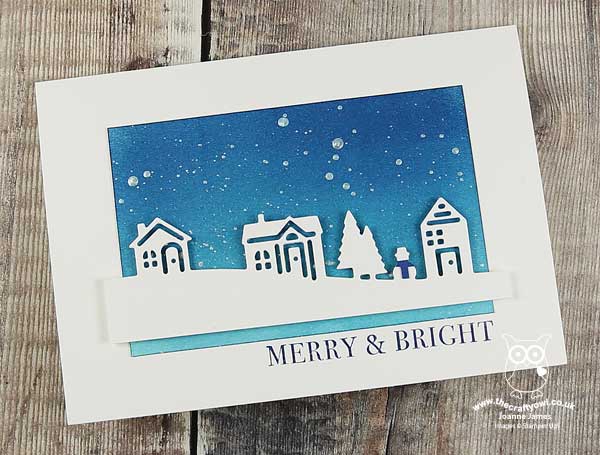
Here's the low-down on today's card:
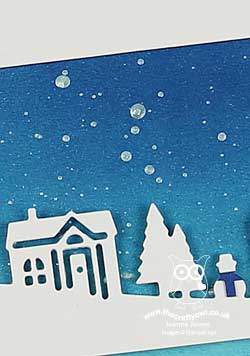
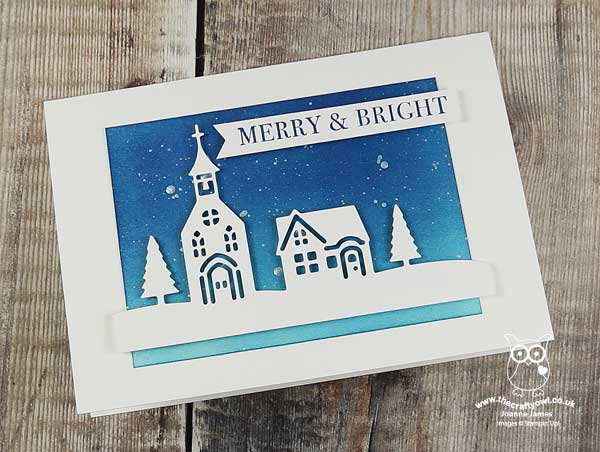
Hometown Greetings - This week's theme was a perfect excuse to start on this year's Christmas cards, so I pulled out my Hometown Greetings Edgelits Dies to create a focal point for my snowy day scene and simply cut them out of extra thick whisper white card stock. I added a little blue scarf to my snowman but otherwise left them untouched and popped them up on dimensionals above my sponged sky.
Blended Sky - I wanted to create a blended sky background for my little scene and couldn't decide between watercolouring and an ink-blended background. I opted for the latter, having been inspired by this amazing background that Linda Van Wely-Zwolle. I am in awe of the fabulous backgrounds she creates on her cards (there are lots of other examples on her blog too) so I thought I would have a go at creating a similarly intense colour. I used a sponge brayer and a combination of the retired Tempting Turquoise and current in-colour Blueberry Bushel to create my ombre sky and used a base of Shimmery White cardstock - it's difficult to see in the photos, but it gives these panels a lovely all-over shimmer.
Textured Shimmer Snow - To finish my sky, I had to add the snow to create my snowy day. I used a dry aquapainter to flick frost white shimmer paint across my sky panel to create a random pattern of shimmery textured snow. I love the way the liquid created a mix of fine spray and larger globules - I know the snow doesn't look like flakes, but I think this is what snow looks like from a distance when it's falling. Here's a close up so that you can see the detail:
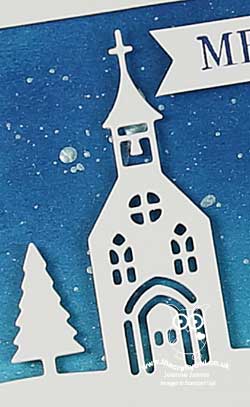
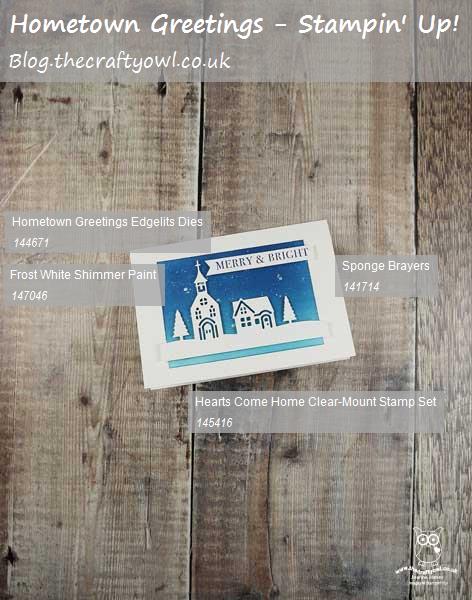
I liked my first card so much I made a second one using a second piece of snowy background that I created at the same time and one of the other dies in the set:
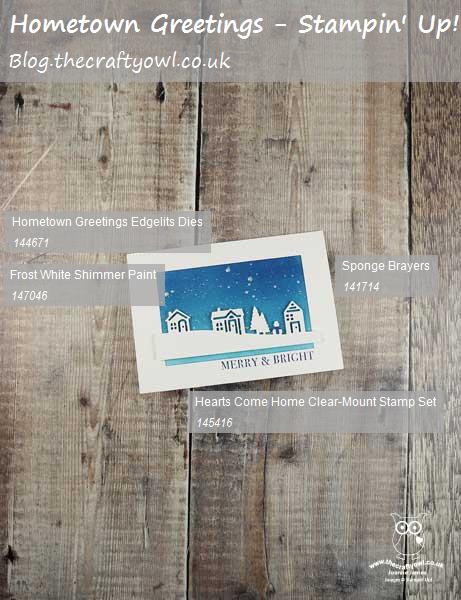
Here is the visual summary of the key products used on today's projects for you to pin for easy reference:
And here's the second one:
I also made another card using the same layout but approached it in a completely different way - but you'll have to pop by tomorrow to see that one! You can see all of my Product and 'How To' summaries on my 'How To - Tips and Techniques' Pinterest board in case you've missed any.
Before you reach for your ink and papers, check out what our amazing team has created to inspire you this week:
The Paper Players Design Team
Here's a quick recap of our challenge rules:
1. Create a new paper project
2. Upload your creation to your blog with a link back to us and provide a direct link to the post featuring your challenge submission.
3. Please link your card to no more than four challenges, TOTAL.
4. Have FUN!
You can see all of my 'How To' summaries on my 'How To - Tips and Techniques' Pinterest board in case you've missed any.
Enjoy your day; I am looking forward to a day of homework supervision then some cosy family time indoors, having spent yesterday outside watching sport with both of the James Juniors - not so much fun in the current sub-zero temperatures we are experiencing here in the UK! I'll be back tomorrow with another snowy day-themed card that looks quite different to today's cards. Until then, happy stampin'!
Stampin' Up! Supplies Used: