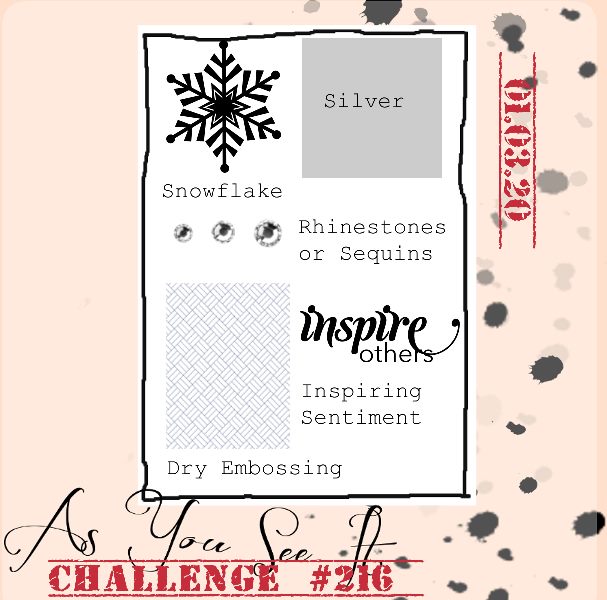
This is my second post today - if you missed it, you can read my earlier post about Sale-A-Bration and the new Spring-Summer mini catalogue here. In this post I'm sharing my design team card for our first challenge of the new year over at As you See It where it's time for a seasonally-themed recipe challenge:

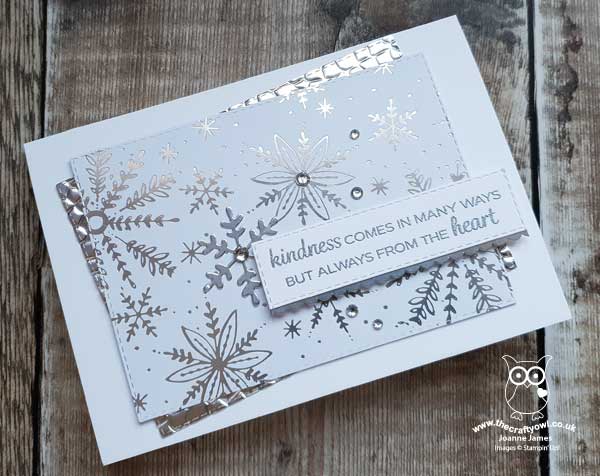
I used Amy's versatile layout over at Freshly Made Sketches for the design of my card, then grabbed my recipe ingredients and set to work. This is what I came up with:
Here's the low-down on today's card:
A Hint of Hammered Metal - Today's card uses some unusually wintery product, considering it is the launch day for the Spring-Summer mini catalogue, but whilst lots of the items used are from the Autumn-Winter seasonal catalogue, it's still all available (kind of!). Firstly the hammered metal embossing folder that I used for my silver foil background layer is a carryover product and continues to be available to purchase. You can't see much of the effect on today's card, but it does look great on a larger panel, adding lots of great texture and detail.
Au Revoir Feels Like Frost - I decided to use a piece of foiled snowflake Feels Like Frost DSP for the main rectangle on the front of my card. Whilst we have bid farewell to this popular paper, it is for the first time an 'au revoir' rather than a goodbye forever - it is one of the favourite items that will return again with the launch of the 2020 Autumn-Winter mini catalogue - yay! So if you don't have a stash of this paper already, you've only another 7 months to wait until you can buy some more!!
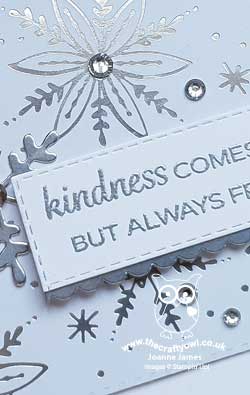
New Year Inspiration - The sentiment on today's card is taken from a brand new set, called 'Beautifully Braided'. I had this set out on my desk as it features in my January technique card class and couldn't resist using these uplifting words on my card today. As the Headmaster at Ben's school often says to the children, "If you can be only one thing, be kind" - words to live by, in 2020 and beyond I think. Finally, a sprinkling of rhinestones completes my card.
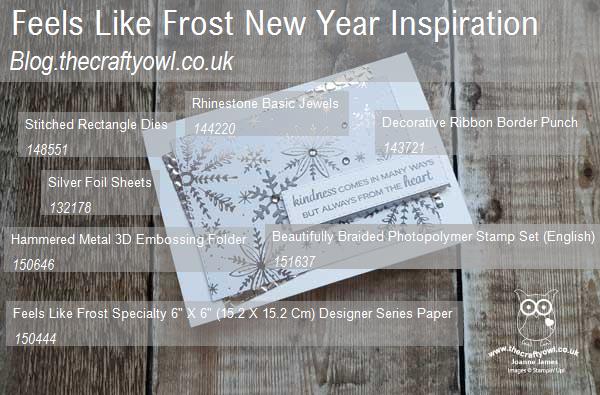
Here is the visual summary of the key products used on today's project for you to pin for easy reference:
You can see all of my 'How To' summaries on my 'How To - Tips and Techniques' Pinterest board in case you've missed any.
Before you put your creative thinking caps on, why not check out the blogs of the other As You See It team members:
Amy Jasper
Heather Cooper
Jan Clothier
Jane Knudsen
LeAnne Pugliese
Here's a summary of our challenge rules:
- Create any card, scrapbooking page, 3D project or packaging project that fits the challenge.
- Fill in the blanks with the words that are right for you and then create your project with those words in mind. Tell us, in your blog or on your site, what words you used.
- Please include the challenge graphic and link back to the challenge in your blog post. Turn off word verification so we can leave you lots of lovely comments. Make sure you link the post not the whole blog to the Linky. Use #AYSIXXX when uploading to a public gallery.
- If you’re unsure about ‘the rules’, check the details under the Challenge Guidelines tab on the As You See It Challenge homepage.
We look forward to seeing your creations in the AYSI gallery.
Enjoy your day and I'll be back tomorrow with another project. Until then, happy stampin'!
Stampin' Up! Supplies Used: