
It's Sunday and time for a new challenge over at The Paper Players! Before I get into my post, I must just give a shout out to the lovely Linda, Hannelie and Colleen who have been the most awesome guest designers with us for the last six months; these ladies have done a fabulous job and I will miss your contributions and do hope you continue to play along with us from time to time. Thank you for sharing your designs and creativity with us! Whilst we are sad to see these ladies leave, it also means we will have some new guest designers joining us too; watch out for more news on this with my mid-week reminder post on Wednesday to see who will be joining us to kick off 2017!
Meanwhile, it's the turn of the lovely Jaydee to host this week and she has a glamorous colour challenge for us to work with:
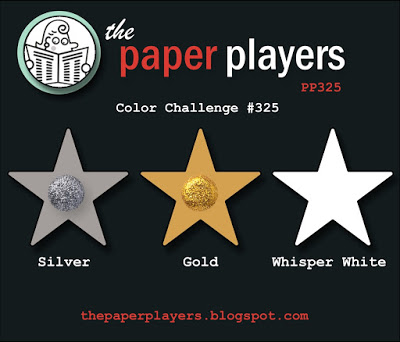
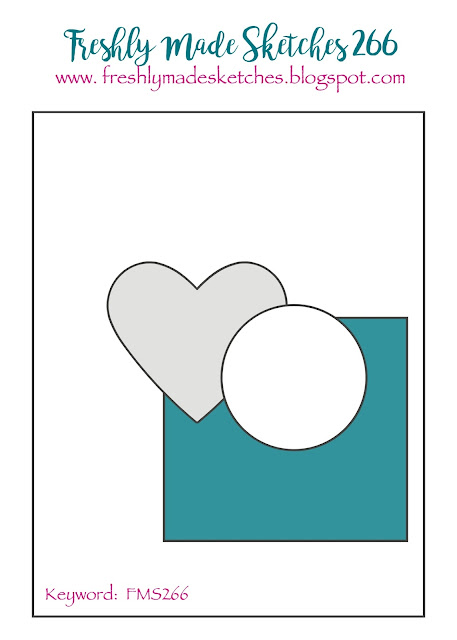
All the sparkle of silver and gold, paired with brilliant white! I decided that a glamorous stocking was going to be my focal point today and I also used Amy's sketch over at Freshly Made Sketches for my layout - here's my card:
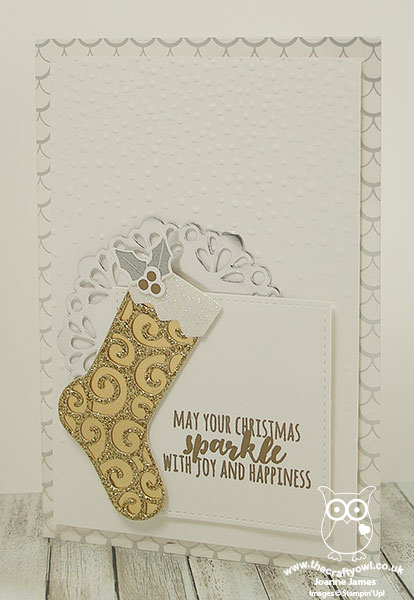
My card today is another one with lots of layers and a variety of foil and glimmer paper to add lots of sparkle: my diecut stocking is gold foil layered with gold glimmer and a white glimmer top with embossed holly decoration, I layered a silver foil doily behind and added a piece of silver foil acetate between my white cardbase and mat, which I embossed with my favourite embossing folder of all time, Softly Falling, for added detail. I used my Stitched Shape Framelits for my sentiment square (you will be pleased to know theses will be available to order again early January in time for Sale-A-Bration - yay!) and chose a sentiment from the Christmas Pines stamp set to complete my card as this seemed the most appropriate, which I also heat embossed in gold.
This is the kind of stocking I imagine someone like Joan Collins to own (or maybe Donald Trump, since he seems to be a fan of all things glitzy and gold!) - either way, definitely all about the luxury! I'm more of a traditional red and white girl myself :-)
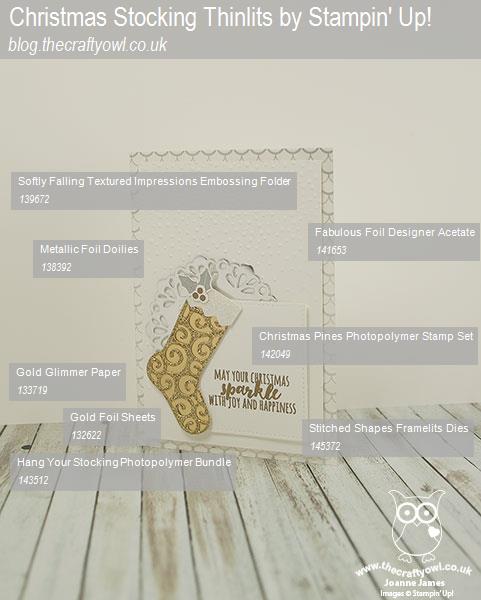
Here is the visual summary of the key products used on today's project for you to pin for easy reference:
You can see all of my Product and 'How To' summaries on my 'How To - Tips and Techniques' Pinterest board in case you've missed any.
Before you reach for your ink and papers, check out what our amazing team has created to inspire you this week:
The Paper Players Design Team
Here's a quick recap of our challenge rules:
1. Create a new paper project
2. Upload your creation to your blog with a link back to us and provide a direct link to the post featuring your challenge submission.
3. Please link your card to no more than four challenges, TOTAL.
4. Have FUN!
I look forward to seeing what you create with this colour palette this week. This morning I will be recovering from a Christmas night out yesterday and this afternoon we are officially decorating the James household for Christmas. My wreath is made and hanging proudly on my front door already, so with the tree up and the rest of the decorations in place, I'm sure it will start to feel like Christmas is well and truly on its way!
Enjoy the rest of your weekend as it will be over all too quickly; I'll be back tomorrow with another project; until then, happy stampin'!
Stampin' Up! Supplies Used: