Today it's Sunday and time for this week's new challenge over at The Paper Players! It's the turn of the fabulous LeAnne to host this week and she has a bright and fresh colour challenge for us to work with:

I haven't had much time to play beyond my design commitments lately, but can never resist a good sketch so I decided to combine this week's trio of colours with the fabulous sketch over at Just Add Ink this week (hello ladies!). I resisted the urge to go floral and inspired by the glorious weather we are having in the UK at the moment cast my mind back to memories of childhood holidays and created a summery card with some new (free!) dies - take a look:
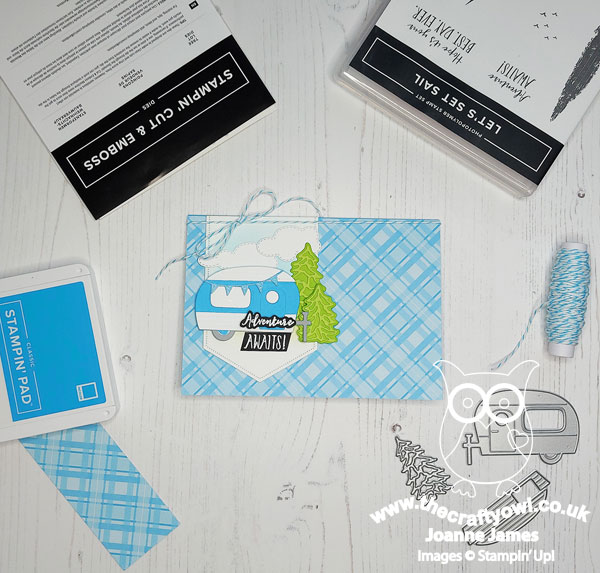
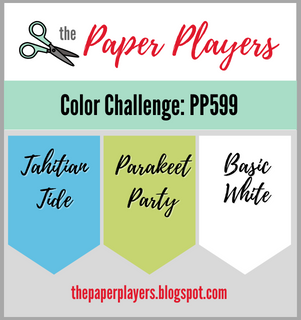
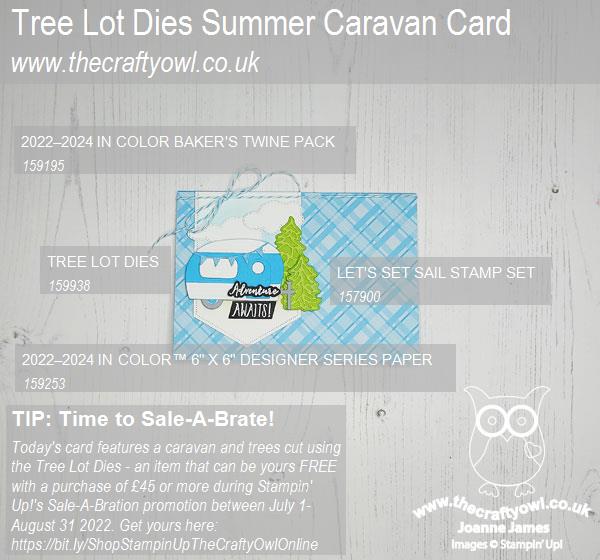
Here's the low-down on today's card:
Tree Lot Dies - Both the caravan and the trees on today's card were cut using the Tree Lot Dies - one of a number of products that can be yours FREE during the current Sale-A-Bration promotion. Designed to co-ordinate with the 'Trees For Sale' stamp set in the new July-December mini catalogue, a number of the dies work well on their own too - and not just for Christmas cards either. The Tree Lot Dies can be yours free with an order of £90 or more - why not buy the co-ordinating stamp set as a starting point?
Get Creative With Colour - LeAnne's colour palette this week is an interesting one; the inclusion of white alongside two colours might at first glance seem limiting, but the are lots of ways to get creative with these colours and create interest. I used a piece of Tahitian Tide in-colour designer paper as my base - this gives both pattern and shades of colour. I also used some in-colour ombre glimmer paper for the flags on my caravan and used a neat trick to create two shades of Parakeet Party for my trees: I cut both layers of my tree from parakeet Party cardstock, then coloured each base tree all over with my dark Parakeet Party Stampin' Blends marker. This gave this piece a darker finish and allowed contrast with the detailed top layer.
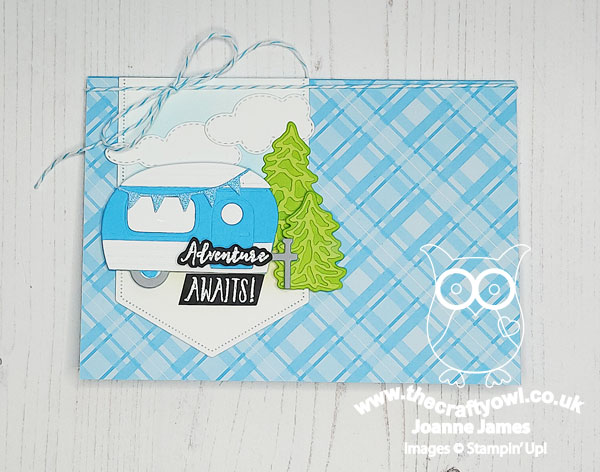
Texture Tricks - In addition to variation in colour, I used texture to add interest to my card design: the caravan die has lots of embossed detailing, I layered my trees, I added some subtle blended background colour to my banner before I built my scene (I used a retired Stitched Nested Label Die for the banner itself), added some stitched diecut clouds courtesy of the Give It A Whirl Dies, the glimmer paper pennant banner, a baker's twine bow and lastly a heat-embossed sentiment, from the 'Let's Set Sail' stamp set - you can see these details more closely below:
I actually wanted a sentiment from the retired 'Glamper Greetings' set that said 'Home is where you park it' but I couldn't find my stamp set anywhere in the chaos that is my craft room - it is long overdue a thorough clean-out! 'Adventure Awaits' didn't quite suite the sketch as well, but was still an appropriate sentiment for my card, which is headed to a previous team member of mine who in a few month's time is about to embrace retirement and depart on a belated gap-year in her motor home - I'm sure many adventures await her on her travels.
So what do you think? I love this fresh colour combination - do leave me a comment below with your thoughts, I'd love you to share your views.
Here is the visual summary of the key products used on today's project for you to pin for easy reference:
You can see all of my Product and 'How To' summaries on my 'How To - Tips and Techniques' Pinterest board in case you've missed any.
Before you reach for your ink and papers, check out what our amazing team has created to inspire you this week:
The Paper Players Design Team
Here's a quick recap of our challenge rules:
1. Create a new paper project
2. Upload your creation to your blog with a link back to us and provide a direct link to the post featuring your challenge submission.
3. Please link your card to no more than four challenges, TOTAL.
4. Have FUN!
Enjoy your day; I am still playing catch up, but will definitely be taking some time out this afternoon to watch the men's singles final at Wimbledon; it should be a great match and I've definitely earned it - I might even treat myself to a Pimms too; well, it would be rude not to!! I'll be back soon with another project. Until then, happy stampin'!
Stampin' Up! Supplies Used: