Today it's Sunday and time for this week's new challenge over at The Paper Players! It's the turn of the fabulous Claire to host this week and she has a bright colour challenge for us to work with:
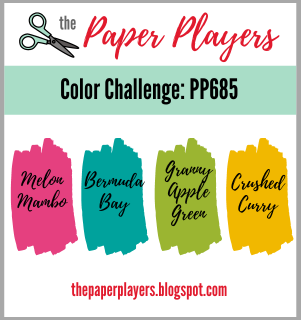


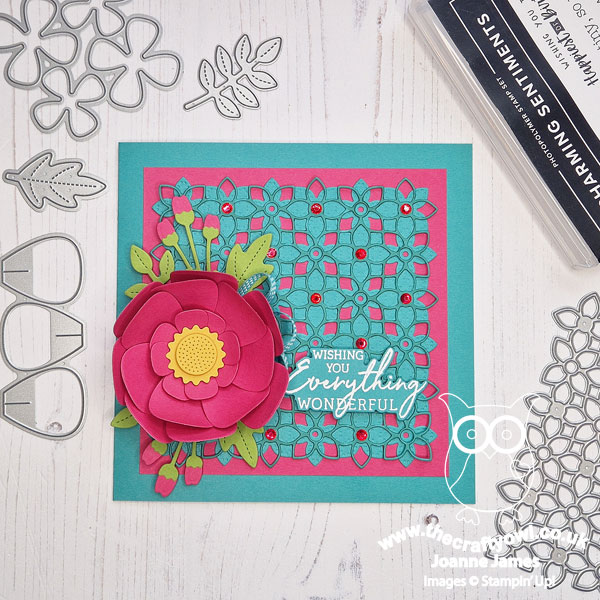
I love brights so was excited to get to work with Claire's chosen colours this week. I decided to go square this week and use the fabulous Jen T's sketch over at Freshly Made Sketches this week for the layout of my special birthday card - take a look:
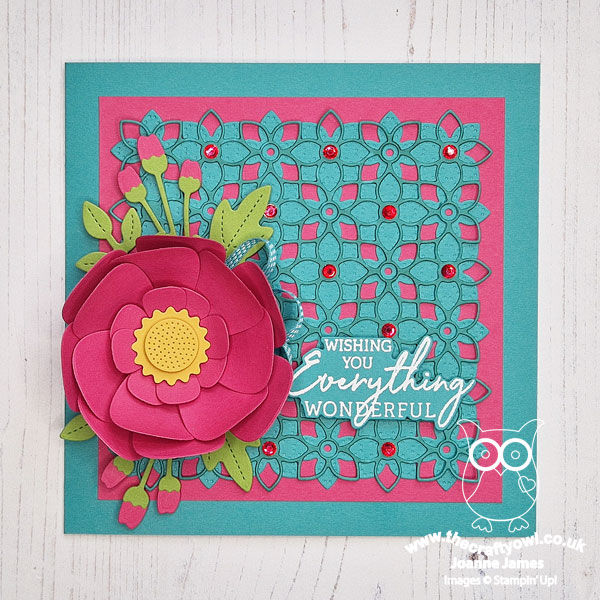
Here's the low-down on today's card:
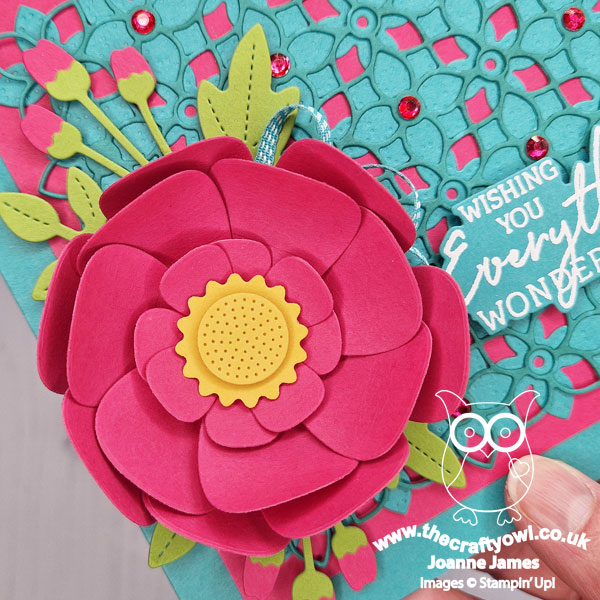
Petal Patterns Background - Since I was going with a square card today, I decided to use my Petal Patterns Dies for my background. I diecut them in Bermuda Bay and layered them onto a piece of Melon mambo onto my Bermuda Bay cardbase. I offset the top layer and before I glued it to the solid layer, I went over the outline die with my light Bermuda Bay Stampin' Blends marker to make it stand out more. I also added some rhinestones that I had coloured with my Melon Mambo Stampin' Blends marker to the centre of the flowers to highlight the pink.
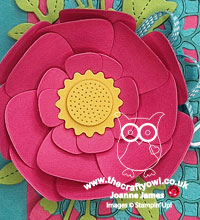
Paper Florist Dies Flower - The background would look pretty on its own, but the focal point of today's card is most certainly the over-the-top flower that I created using the Paper Florist Dies. I wanted to create a peony-type flower that was full of dimension, so I layered the centre then kept adding the outer petals until I was happy. I added some diecut leaves and flower buds behind it and a few loops of Bermuda Bay ribbon from my stash - isn't it pretty?
All those layers make this the perfect card to share with the team over at The Flower Challenge where their current challenge is to 'add layers'.
And A Charming Sentiment - I finished my card with a heat-embossed sentiment from the 'Charming Sentiments' stamp set, diecut with the co-ordinating Sentiment Silhouettes Dies. This is also the final part of my middle column for the challenge over at TicTacToe Challenge this week (square card/diecut/embossing)
Here is the visual summary of the key products used on today's project for you to pin for easy reference:
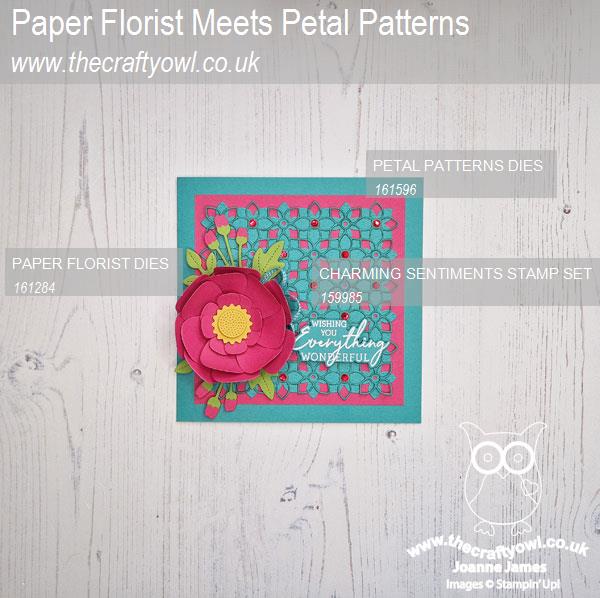
You can see all of my Product and 'How To' summaries on my 'How To - Tips and Techniques' Pinterest board in case you've missed any.
Since this card won't fit into an envelope, I am going to make a co-ordinating box to present it in. This is a special card for someone with a milestone birthday later in the year, so it will be worth the effort. I really love the 3D effect of this card! Everything on this card is either retired (Bermuda Bay) or is due to retire at the end of the month; this will be the last opportunity to purchase any of the dies or the stamp set that I used on today's card, so if they are on your wishlist, you don't have long to act.
Before you reach for your ink and papers, check out what our amazing team has created to inspire you this week:
The Paper Players Design Team
Here's a quick recap of our challenge rules:
1. Create a new paper project
2. Upload your creation to your blog with a link back to us and provide a direct link to the post featuring your challenge submission.
3. Please link your card to no more than four challenges, TOTAL.
4. Have FUN!
Enjoy your day; the hubby is off to Washington DC for the week today, so it will be just the youngest of the James Juniors and I at home. Since there is another week of school holiday to go, I am taking the opportunity to get some decorating done so my week will be a busy one. Never fear - I have some things to share here too though so be sure to pop by this week. I'll be back tomorrow with another project. Until then, happy stampin'!
Stampin' Up! Supplies Used: