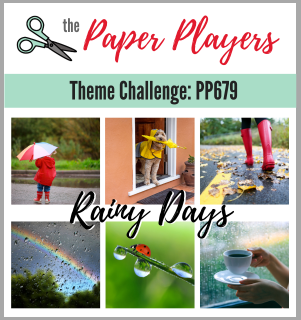
Today it's Sunday and time for this week's new challenge over at The Paper Players! It's the turn of the fabulous Claire to host this week and she has a fun theme challenge for us to work with:
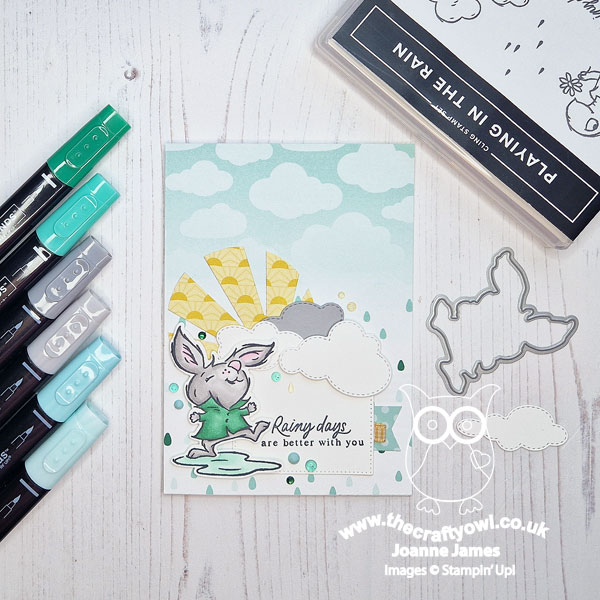
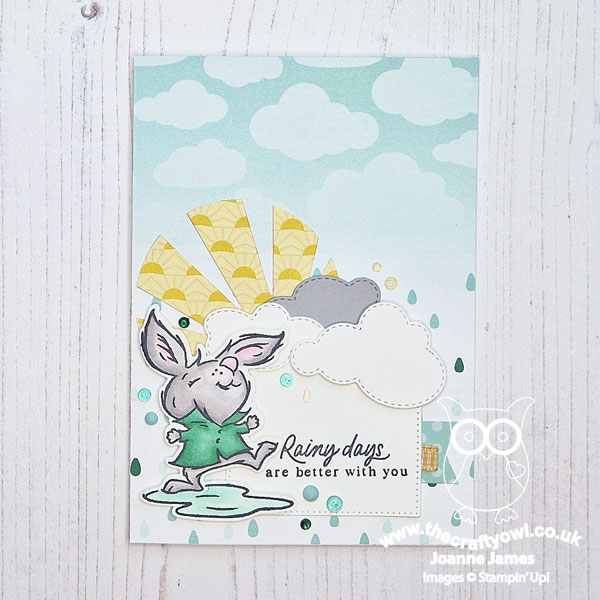
This theme couldn't be more appropriate for the British weather, especially this past few days, when once again it has, as the expression goes, been raining cats and dogs once again! My cheery little bunny isn't put off though - take a look:
Here's the low-down on today's card:
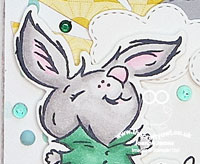
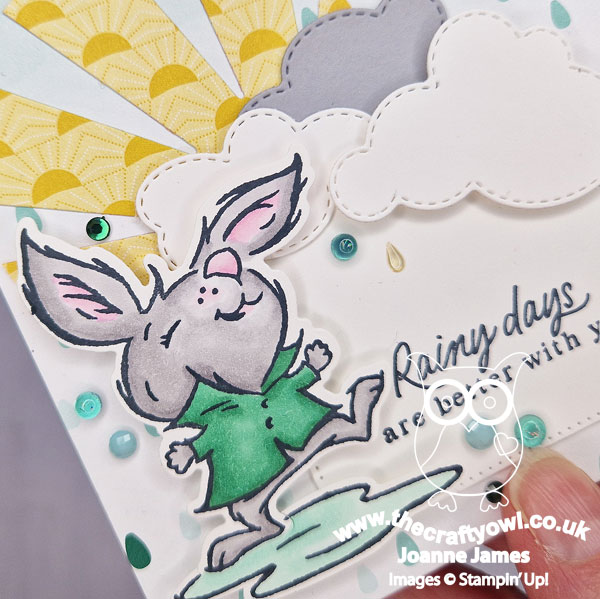
Rainy Days - My bunny and sentiment come from the 'Playing In The Rain' stamp set and are cut out with the coordinating Playing In The Rain Dies. I coloured him with my Blends markers and gave him a green jacket to pick up the colours in the background paper.
Sunny Days - I know Sale-A-Bration is now over, but the Sunny Days papers were just perfect for today's card. I used a background of clouds and rain, then used a sun-patterned piece to cut out an abstract sun to tuck behind the clouds.
Collage Cute - I added a mix of stitched clouds, a ribbon tab and a mix of sparkly raindrops, enamel dots and sequins and layered them up to give my card a fun, collage feel:
Here is the visual summary of the key products used on today's project for you to pin for easy reference:

You can see all of my Product and 'How To' summaries on my 'How To - Tips and Techniques' Pinterest board in case you've missed any.
Before you reach for your ink and papers, check out what our amazing team has created to inspire you this week:
The Paper Players Design Team
Here's a quick recap of our challenge rules:
1. Create a new paper project
2. Upload your creation to your blog with a link back to us and provide a direct link to the post featuring your challenge submission.
3. Please link your card to no more than four challenges, TOTAL.
4. Have FUN!
Enjoy your day; I have no big plans today, maybe some baking and if I'm lucky a little creative time. One thing's for sure - it will be too wet for gardening! All being well I'll be back tomorrow with another project. Until then, happy stampin'!