Today it's Sunday and time for this week's new challenge over at The Paper Players! It's the turn of the fabulous LeAnne to host this week and she has my favourite, a sketch challenge for us to work with:
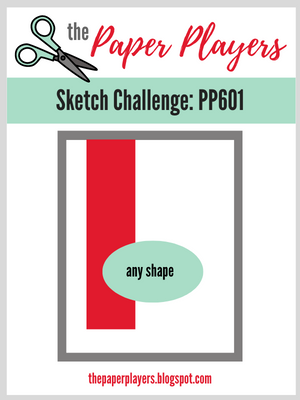
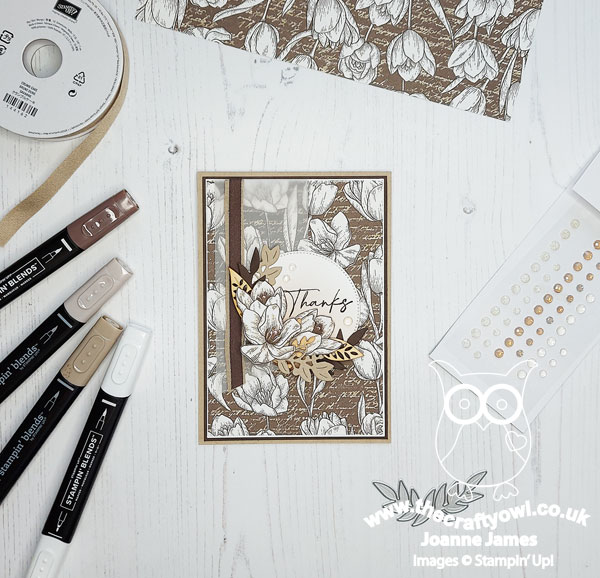
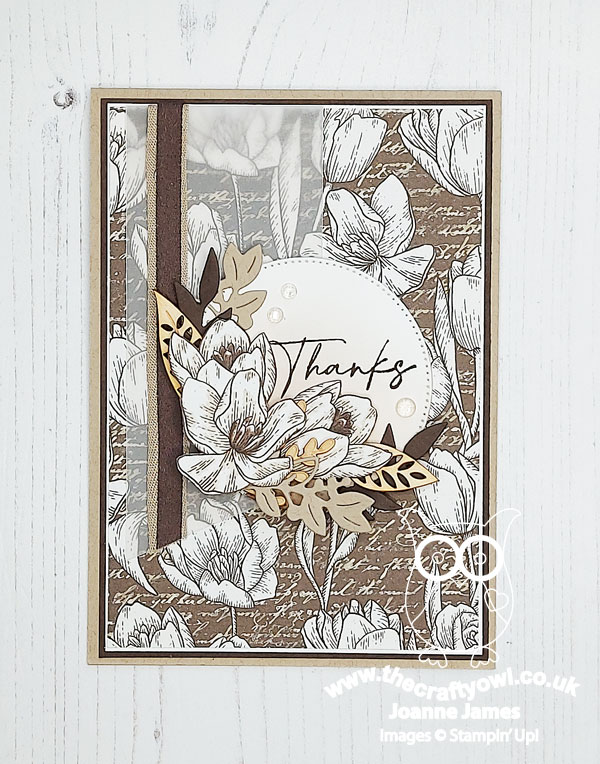
I wasn't sure how to tackle today's sketch initially, but I thought the focal point 'any shape' might lend itself to some fussy cutting, so I decided to reach for some of my designer papers and see where the mood took me! I settled on the lovely browns and neutrals of the Abigail Rose Suite and ended up creating a 'kitchen sink' of a focal point - take a look:
Here's the low-down on today's card:
I decided to use this bold pattern of white florals on a brown scripted background for my base, then fussy cut more of the flowers and used those as the basis for the decoration for my focal point. I used a stitched circle for my base, blending some inks to create an ombre effect and then layering a selection of leafy diecuts in shades of browns, along with some (retired) wooden leaves and sprigs and my trio of fussy cut flowers for decoration. I added a touch more colour to my fussy cut flowers using my Stampin' Blends, to give them a little more definition and added some Elegant Faceted Gems for a touch of sparkle:
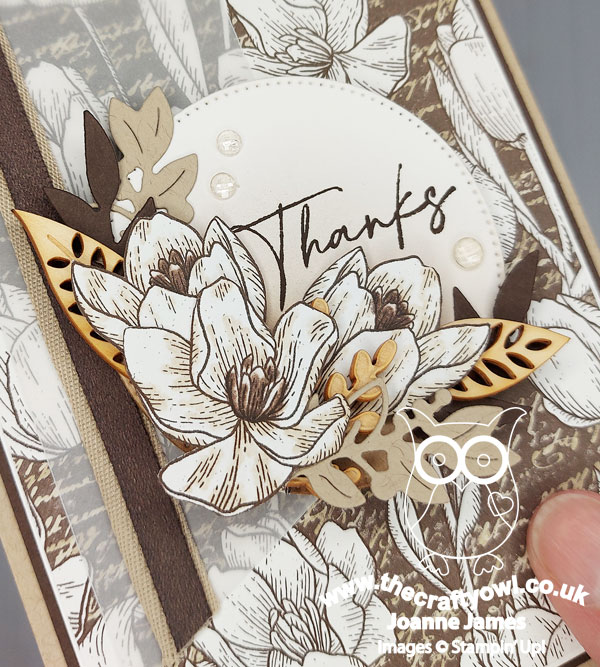
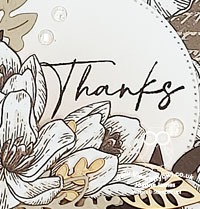
I just kept layering and adding in bits and pieces until I felt happy with the way the decoration framed my sentiment (taken from the 'Hand Penned' stamp set) - hence my 'kitchen sink' reference! I decided to make my vertical banner element from vellum, so that it didn't obscure too much of the pattern beneath it. I also added some layered ribbon for detail and texture and to pick up the colour scheme (the Crumb Cake ribbon I used is retired but I've included a link below to a suitable current alternative).
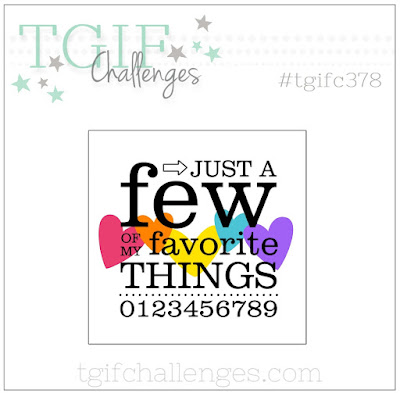
Very little stamping on today's card and just like my last one another card with lots of bits and pieces, but actually easy to recreate - the paper definitely does the 'heavy lifting' and I love the way the fussy cut flowers tie in with the base below. I'm also linking my card up with the ladies over at TGIF Challenges who are crafting with their favourite things this week - anyone who knows me well can attest to my love of designer series paper - I love it all, any pattern, any size and this card is definitely a showcase of that!
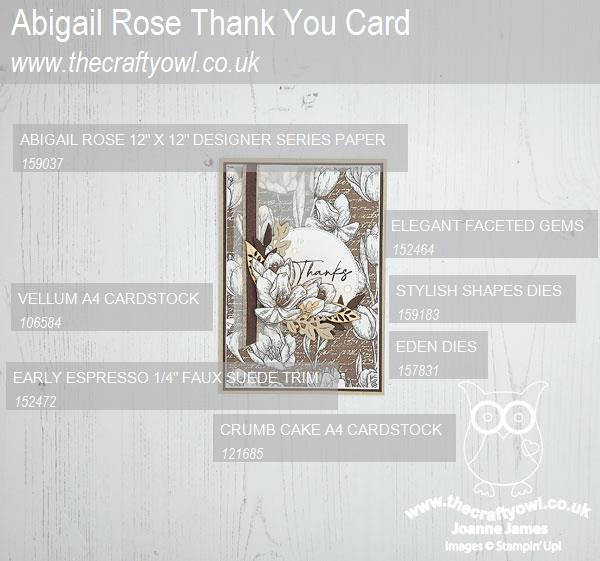
Here is the visual summary of the key products used on today's project for you to pin for easy reference:
You can see all of my Product and 'How To' summaries on my 'How To - Tips and Techniques' Pinterest board in case you've missed any.
Before you reach for your ink and papers, check out what our amazing team has created to inspire you this week:
The Paper Players Design Team
Here's a quick recap of our challenge rules:
1. Create a new paper project
2. Upload your creation to your blog with a link back to us and provide a direct link to the post featuring your challenge submission.
3. Please link your card to no more than four challenges, TOTAL.
4. Have FUN!
Enjoy your day; not much going on here 'chez James' this weekend - just enjoying a relaxing weekend in the garden, hopefully with a little crafty time thrown in now things have cooled down a little. I'll be back tomorrow with another project. Until then, happy stampin'!
Stampin' Up! Supplies Used: