by Joanne James2. December 2022 13:00
Today I'm sharing my design team card for our new challenge over at As you See It where it's time for a speed challenge chosen by Jan:
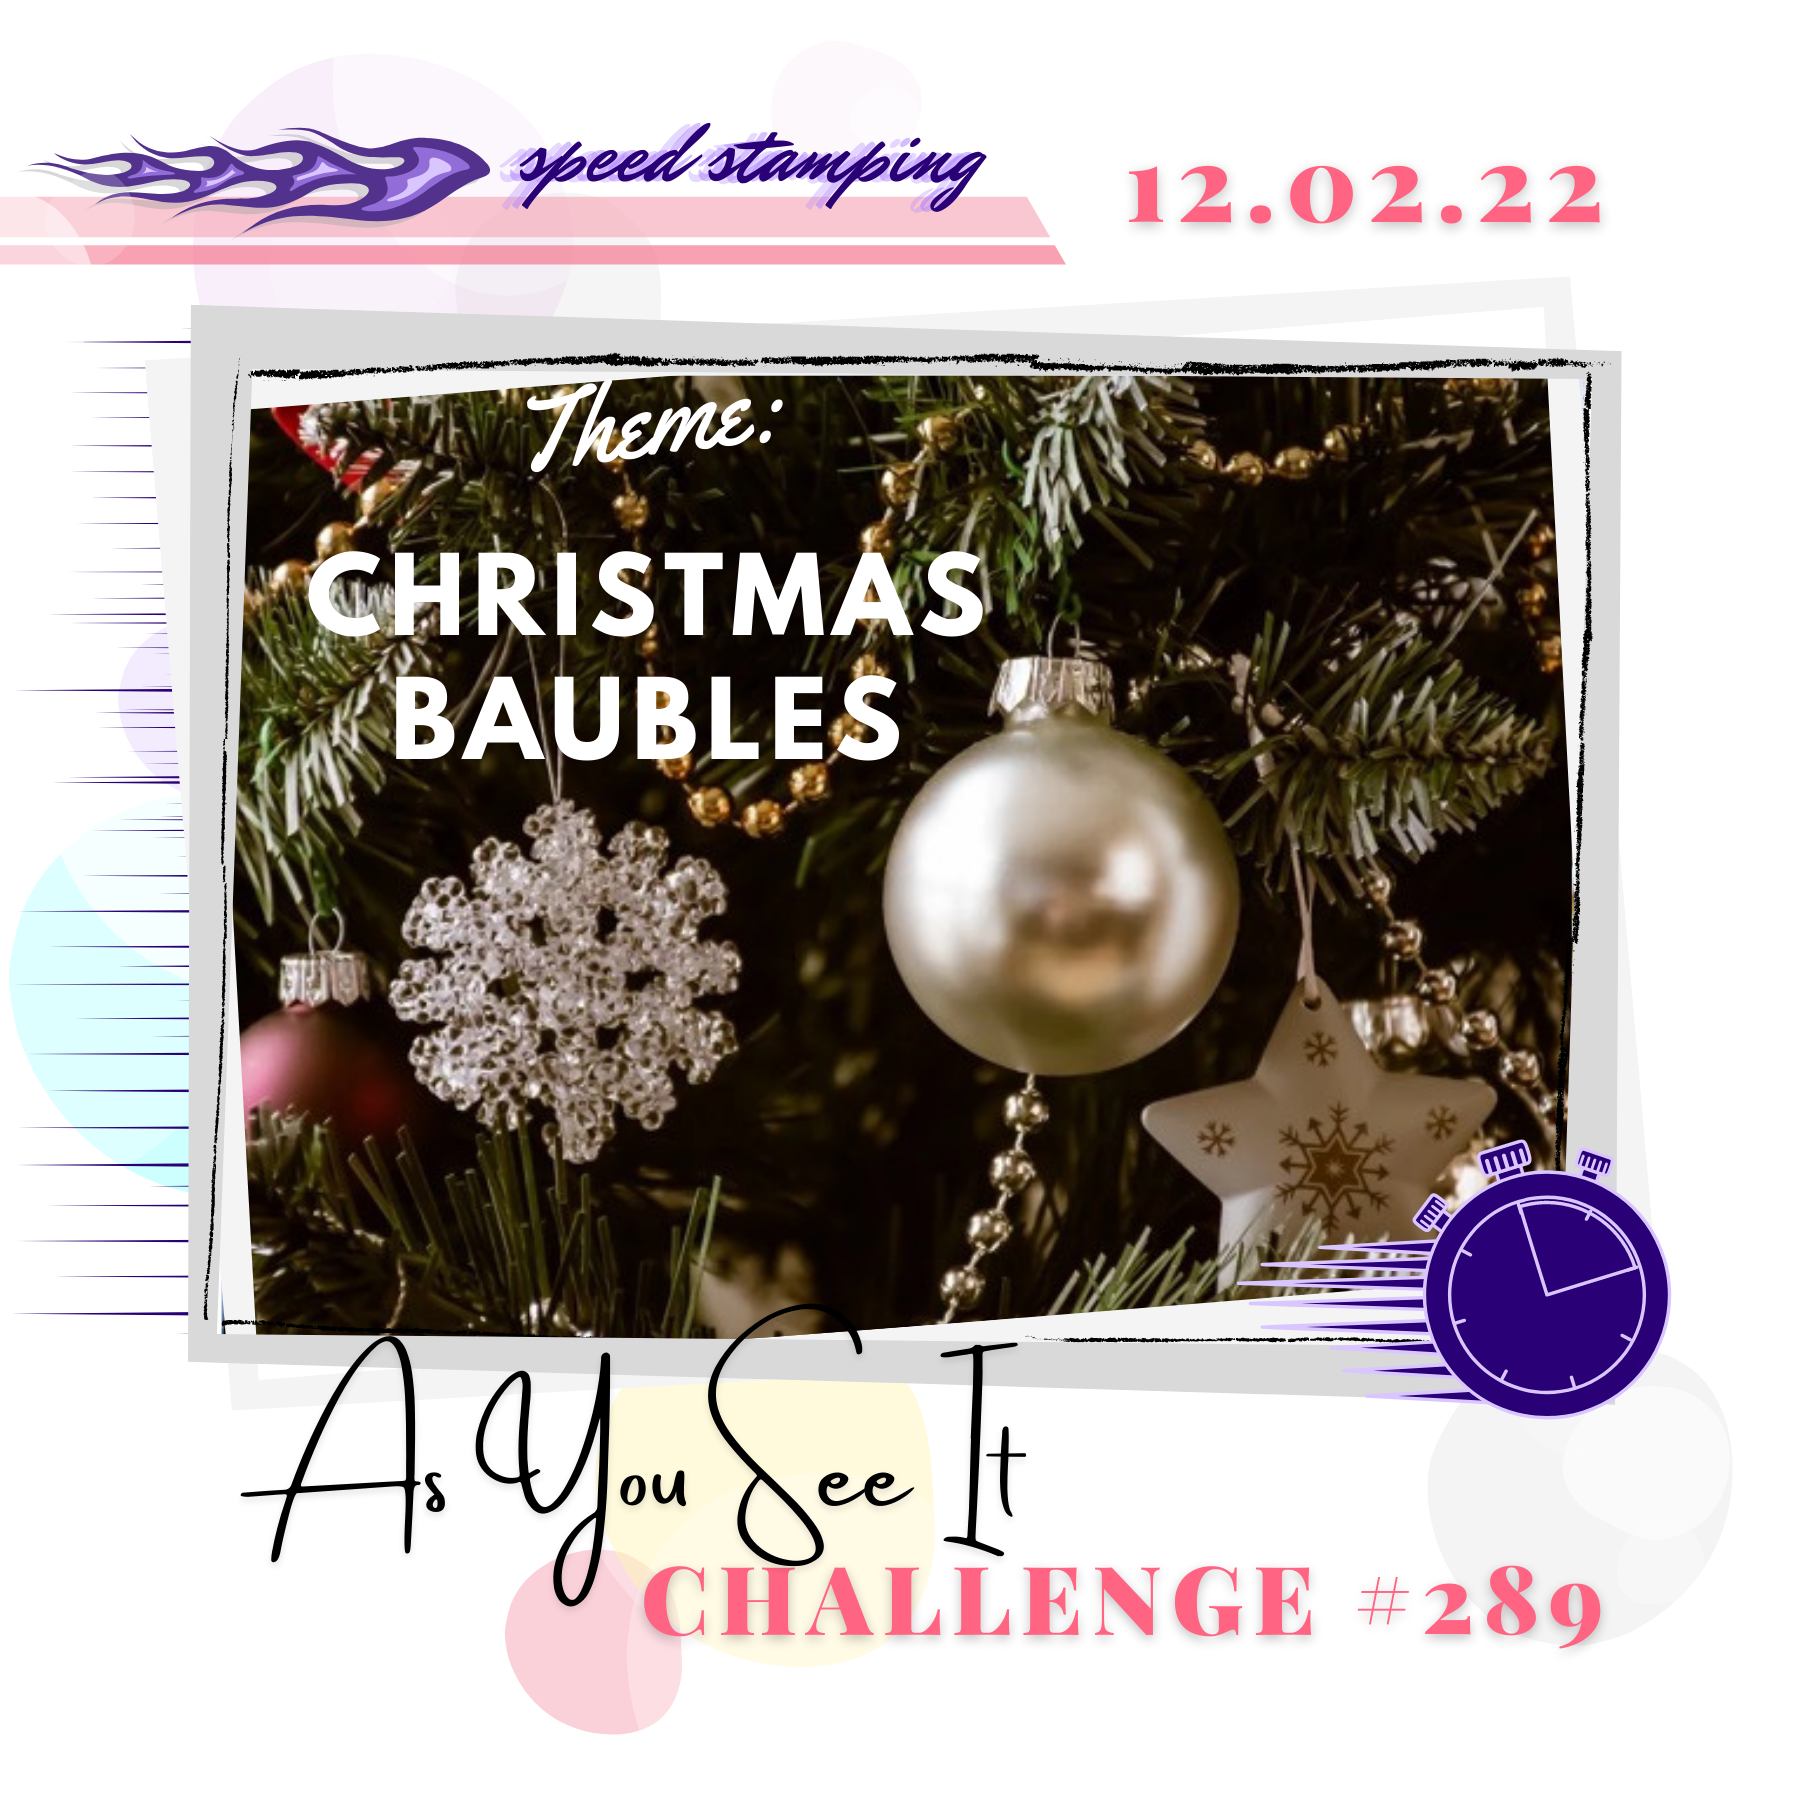

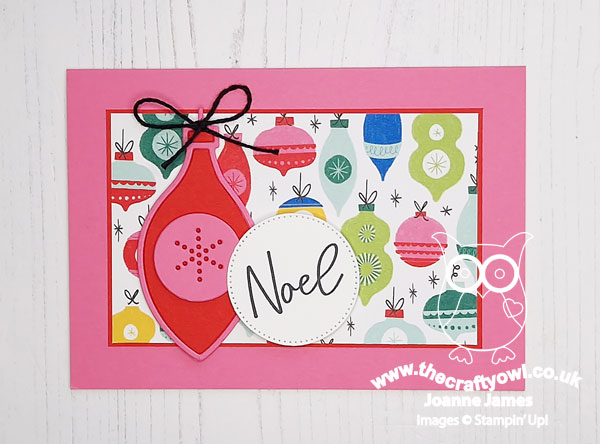
The dreaded speed challenge! I had both paper and dies featuring ornaments to hand, but no current stamps, so this week was definitely a case of 'go hard or go home', so I grabbed the Sketch Saturday layout and decided to go for it! This is what I came up with:
Here's the low-down on today's card:
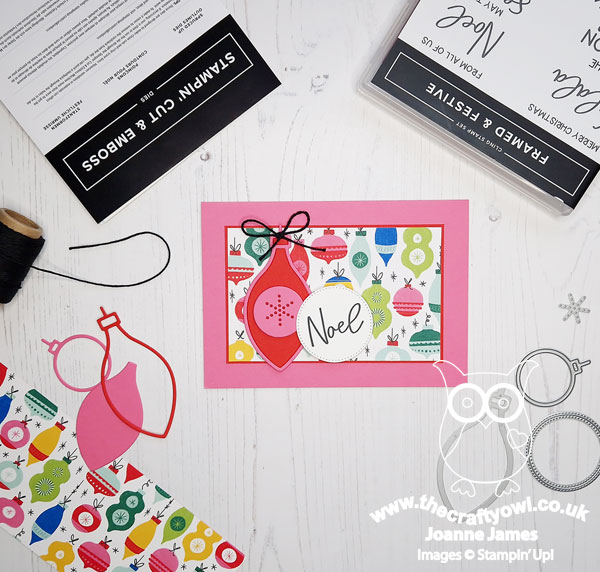
Today's card was all about the planning! I designed my card and wrote a list of the sizes I needed to cut my layers to and gathered my scraps of coloured cardstock and paired them with each die ready for cutting. I put my sentiment stamp into my Stamparatus and once I had everything to hand, set my stopwatch and started cutting! The real highlight of today's card is the brightly coloured, ornament patterned paper from the 'Celebrate Everything' hostess paper pack - I cut a panel of this then diecut an ornament using my Spruced Up Outlines Dies for a co-ordinated focal point:

I added a simple sentiment from 'Framed & Festive' that I diecut at the same time as my ornament to save time and as I still had time I added a black twine bow for a final finishing touch just as my 10 minute timer went off - not a second to spare! My desk was an absolute bomb site - a true 'craftermath', but I did it! A stamped ornament would have made for a much quicker card and I did contemplate just using the designer paper and a sentiment, but where's the fun in that, right?! It's not a speed challenge if there's no pressure!
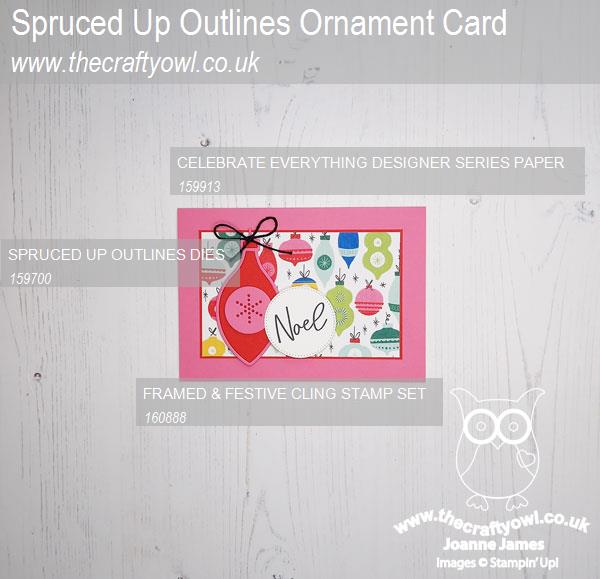
Here is the visual summary of the key products used on today's project for you to pin for easy reference:
You can see all of my 'How To' summaries on my 'How To - Tips and Techniques' Pinterest board in case you've missed any.
Here's a summary of our challenge rules:
- Create any card, scrapbooking page, 3D project or packaging project that fits the challenge.
- Please include the challenge graphic and link back to the challenge in your blog post. Turn off word verification so we can leave you lots of lovely comments. Make sure you link the post not the whole blog to the Linky. Use #AYSIXXX when uploading to a public gallery.
- If you’re unsure about ‘the rules’, check the details under the Challenge Guidelines tab on the As You See It Challenge homepage.
- In a speed stamping challenge, please time yourself and say in your post how long your card took to complete.
What can you create using ornaments in 10 minutes or less? We look forward to seeing your creations in the AYSI gallery.
Enjoy your day; I have a day of housework and errands and I'll be back tomorrow with another project. Until then, happy stampin'!
Stampin' Up! Supplies Used:
aa7a9b67-e31e-42a1-a93e-09ce9e9d8250|0|.0|96d5b379-7e1d-4dac-a6ba-1e50db561b04
Tags: Stampin' Up, Stampin' Up Card, Stampin' Up Card ideas, Stampin' Up Supplies, Shop online, Shop Stampin' Up online, Shop Stampin' Up! Online, As You See It Challenge, Spruced Up Outlines Dies, Celebrate Everything, Framed and Festive, Stylish Shapes Dies, Twinkling Lights Dies
Cards | Shop Online | Shop Stampin' Up! Online | Stamping
by Joanne James11. November 2022 09:00
Today I have my card for the new challenge over at Festive Friday.
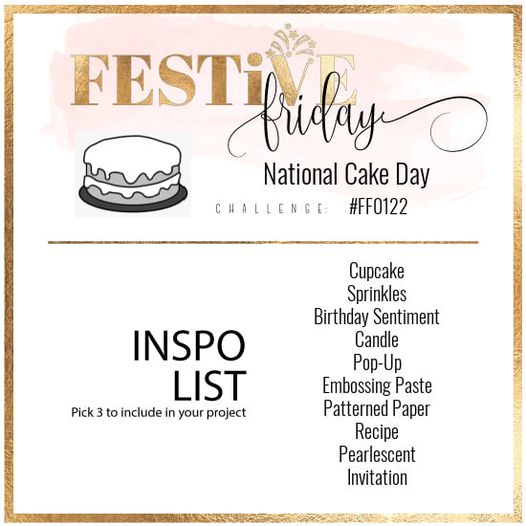

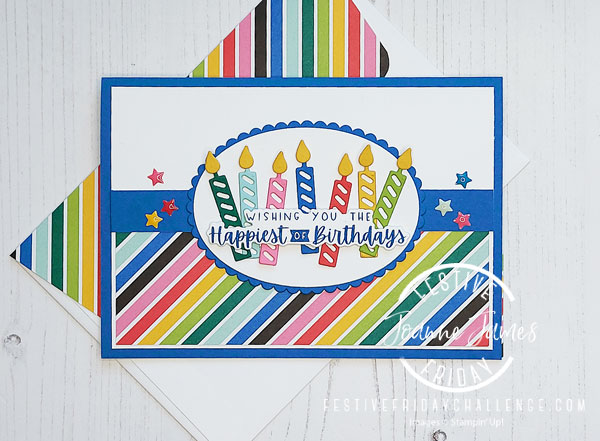
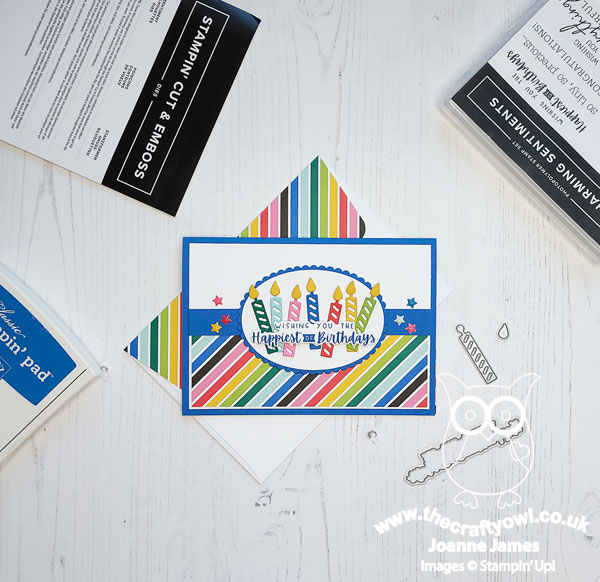
The challenge that we are celebrating this week is 'National Cake Day' which is on 26th November. Remember the fun thing is that at Festive Friday you do not need to actually celebrate the occasion; your goal is to simply use three or more items from the inspiration list on your project. This week I used birthday sentiment, candle and patterned paper and using the current sketch layout over at Atlantic Hearts Sketch Challenge this is what I came up with:
Here's the low-down on today's card:
Charming Sentiments - For today's card I used both a sentiment and dies from the Charming Sentiments bundle. This is a great sentiment set with dies that cut out each of the sentiments exactly; but did you also know that the dieset has a number of very useful extras, including stars and candles for example? That's where I got the candles from that feature on my card today - so useful, everything you need in one bundle!
Celebrate Everything - I took the colour scheme for my card today from the stripes in the paper that I featured on the bottom half of my card front, that comes from the 'Celebrate Everything' DSP pack - you know how much I love these papers, right?! I did take a little liberty with the sketch, as my stripes are diagonal rather than straight - but it's clear where the inspiration has come from:

A Surprise Inside - This is a birthday card that's something of a two-in-one - I added a pocket to the inside to hold some money too:
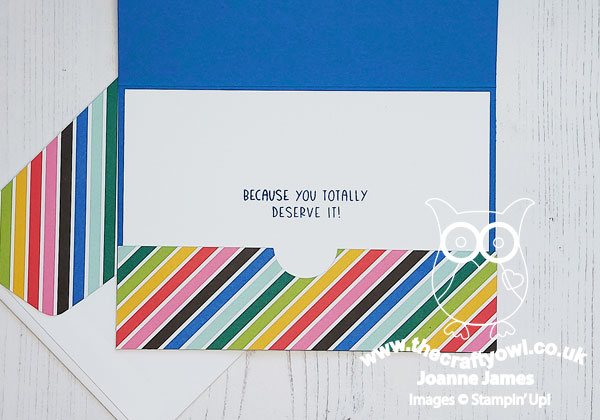
A little extra paper to the envelope flap completes this colourful card that is winging its way to my nephew whose birthday it is next week.
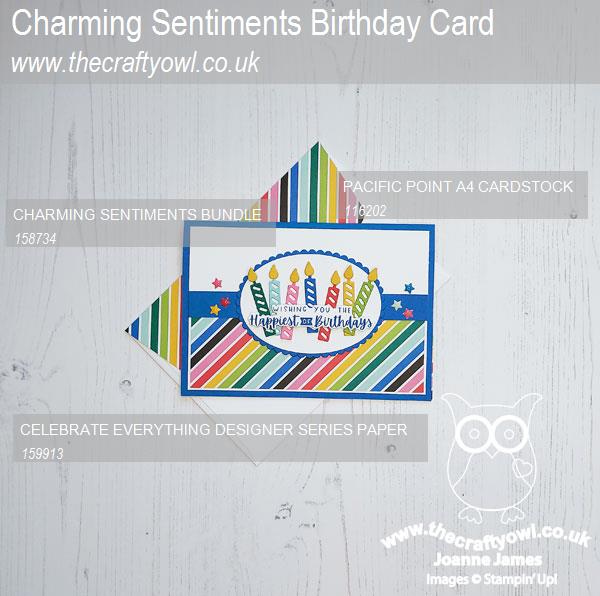
Here is the visual summary of the key products used on today's project for you to pin for easy reference:
You can see all of my 'How To' summaries on my 'How To - Tips and Techniques' Pinterest board in case you've missed any.
How does our board inspire you? I can’t wait to see what YOU create! For more inspiration, be sure to visit the rest of the Festive Friday Challenge Design team:
Ann Schach
Beth McCullough
Sharon Hashimoto Burkert
Melanie Hungerford
Helen Jennings
Melva Peters
Jaydee
Diane Evans
Joanne James
Enjoy your day and I'll be back tomorrow with another project. Until then, happy stampin'!
Stampin' Up! Supplies Used:
5a757949-fb1f-4309-9bde-7e9c7c5f3b1d|0|.0|96d5b379-7e1d-4dac-a6ba-1e50db561b04
Tags: Shop Stampin' Up! Online, Stamping Shop Stampin' Up online, Shop online, Stampin' Up, Stampin' Up Card ideas, Stampin' Up Supplies, Stampin' Up Card, Festive Friday, Charming Sentiments, Sentiment Silhouettes, Celebrate Everything, Birthday
Cards | Shop Online | Shop Stampin' Up! Online | Stamping
by Joanne James14. October 2022 08:00
Today I have my card for the new challenge over at Festive Friday.
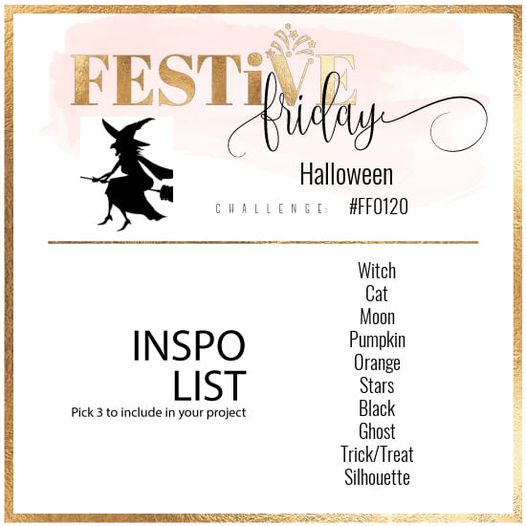

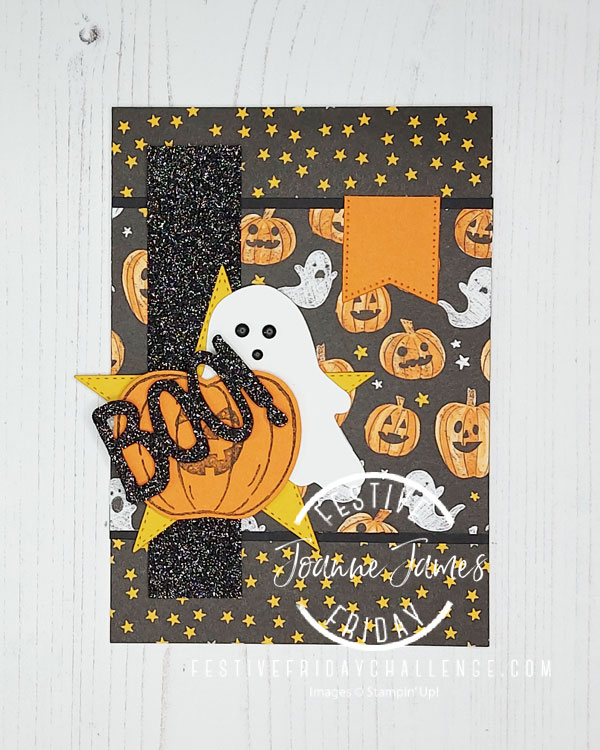
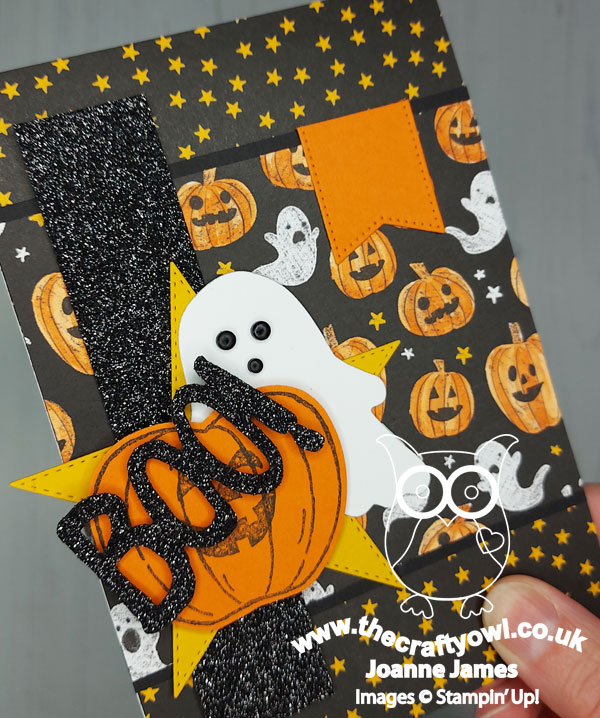
The challenge that we are celebrating this week is 'Halloween' which is on October 31st. Remember the fun thing is that at Festive Friday you do not need to actually celebrate the occasion; your goal is to simply use three or more items from the inspiration list on your project. This week I bowed to the theme and used pumpkin, orange, stars, black and ghost and using the sketch layout over at Try Stamping on Tuesday this is what I came up with:
Here's the low-down on today's card:
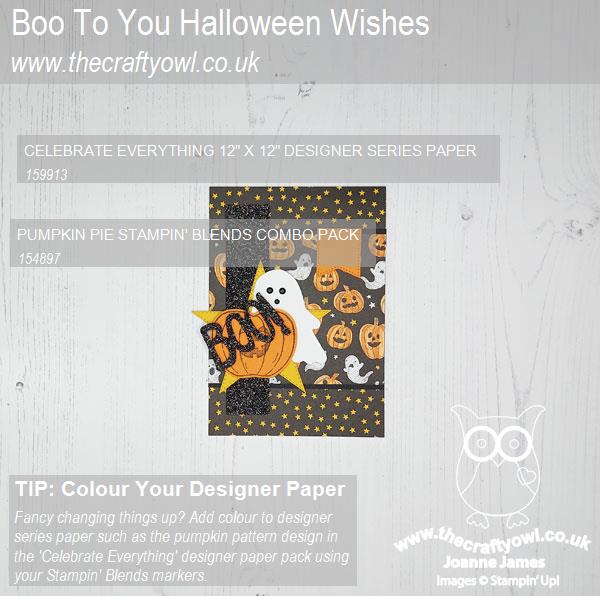
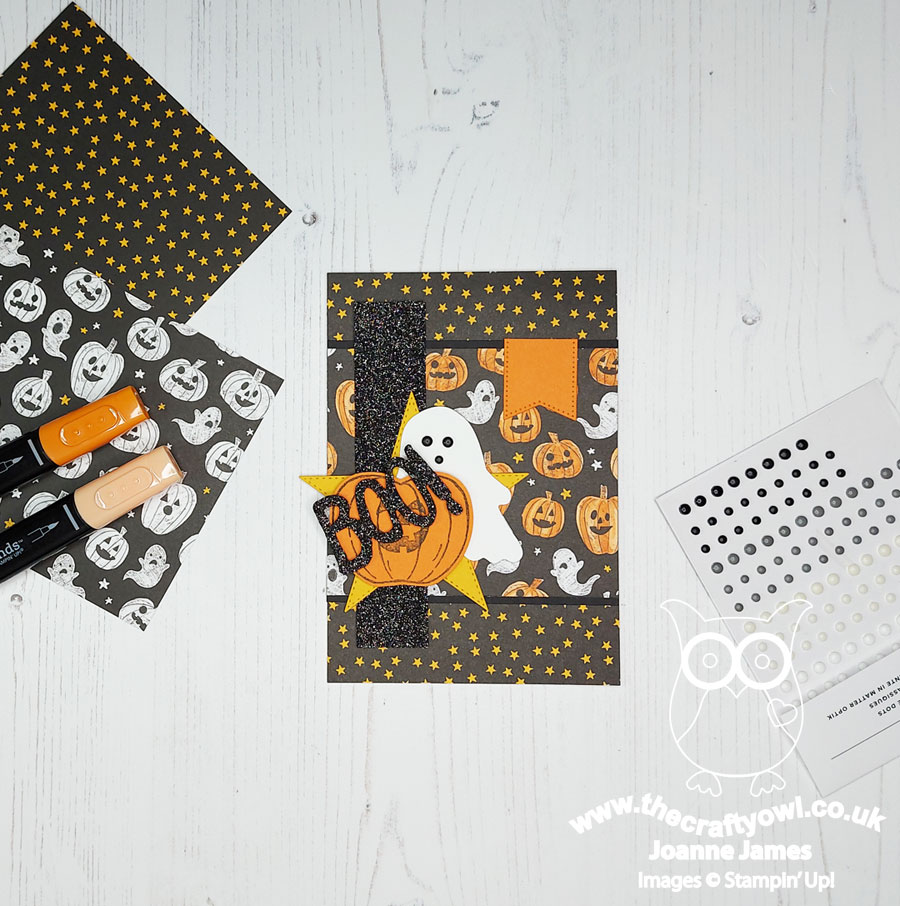
My card started out with the starry and pumpkin/ghost patterned paper from the 'Celebrate Everything' hostess designer series paper pack - these papers really are the pack that keeps on giving with a pattern for every occasion! Normally I wouldn't mix two such bold papers, but the yellow stars on the pumpkin/ghost sheet mean the two work together perfectly. I used my Pumpkin Pie Stampin' Blends markers to colour the pumpkins on the designer paper instead of leaving the whole design white - I love that you can do this! - and I added these papers to my cardbase, then used a strip of black glimmer paper and a collection of diecuts (all retired - Boo to You, Harvest Hellos, Apple Punch and Stitched Stars Dies) to create a focal point that picked out the detail of the papers:
Cute, right?! I really wanted to stamp 'trick or treat' on the orange banner, but could I find a retired stamp anywhere in my collection with those words? Nope. I'm sure there's one here somewhere ... I just have to find it!
I am also linking this card up with the lovely ladies over at SUO Challenges where their theme is 'Halloween' currently too.
Here is the visual summary of the key products used on today's project for you to pin for easy reference:
You can see all of my 'How To' summaries on my 'How To - Tips and Techniques' Pinterest board in case you've missed any.
How does our board inspire you? I can’t wait to see what YOU create! For more inspiration, be sure to visit the rest of the Festive Friday Challenge Design team:
Ann Schach
Beth McCullough
Sharon Hashimoto Burkert - off this week
Melanie Hungerford
Helen Jennings
Melva Peters
Jaydee
Diane Evans
Joanne James
Enjoy your day and I'll be back tomorrow with another project. Until then, happy stampin'!
Stampin' Up! Supplies Used:
4c07863c-b2e0-418b-ac3d-eee96d7052f3|0|.0|96d5b379-7e1d-4dac-a6ba-1e50db561b04
Tags: Shop Stampin' Up! Online, Stamping Shop Stampin' Up online, Shop online, Stampin' Up, Stampin' Up Card ideas, Stampin' Up Supplies, Stampin' Up Card, Festive Friday, Celebrate Everything, Halloween, Harvest Hellos, Boo To You Framelits, Stylish Shapes Dies, Stitched Stars
Cards | Shop Online | Shop Stampin' Up! Online | Stamping
by Joanne James4. October 2022 12:00
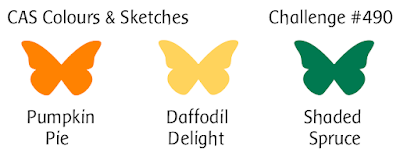
It's Tuesday and time for a new challenge over at CAS Colours & Sketches. We are starting a new month and the lovely Michal is our host for October. We are starting the month with a colour challenge:

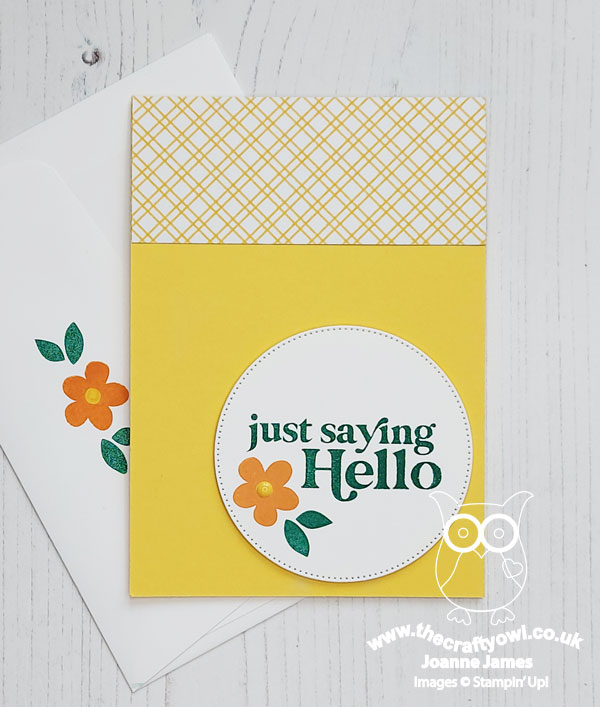
For my card today I decided to use the sketch design (but not the colours/inspo photo) over at Fusion for a bright and cheery card that has a distinctly summery feel - take a look:
Here's the low-down on today's card:
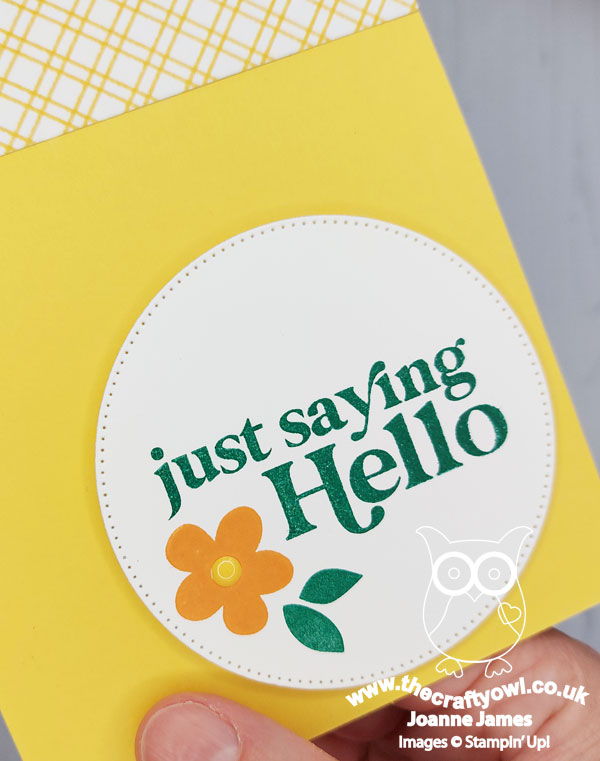
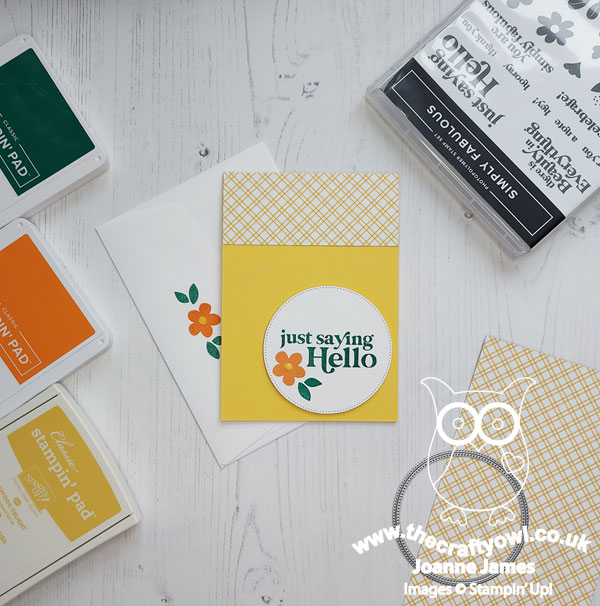
I thought Michal's colour choices were perfect for a bold flower and sentiment, courtesy of my favourite 'Simply Fabulous' stamp set. I stamped them onto a diecut circle and used a sunny Daffodil Delight card base, with a piece of 'Celebrate Everything' gingham paper across the top of the panel. I resisted the urge to add some white baker's twine and finished my flower centre with nothing more than an enamel dot embellishment:
A co-ordinating flower on my envelope and inside complete this easy card.
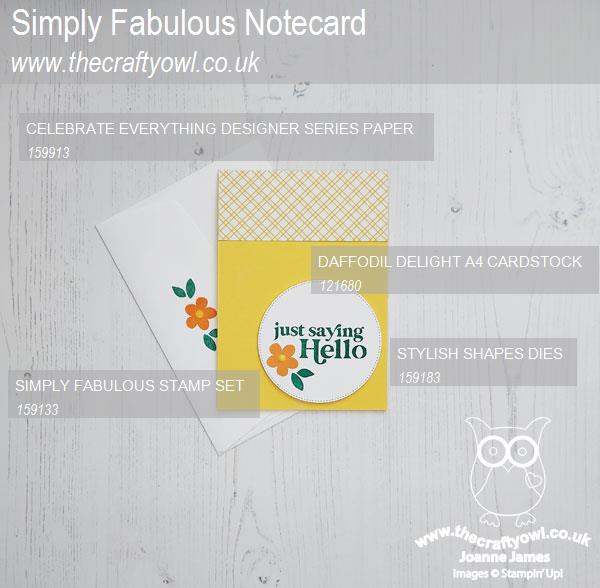
Here is the visual summary of the key products used on today's project for you to pin for easy reference:
You can see all of my 'How To' summaries on my 'How To - Tips and Techniques' Pinterest board in case you've missed any.
As a reminder, for our colour challenges, you must use all of the stated challenge colours. You may also use neutral colours; however, the challenge colours should be the most noticeable ones featured on your card. We use Stampin' Up! color names for reference, but you are welcome to use any other companies' products as long as you match the challenge colours as closely as possible.
Enjoy your day; I'm having a desk day as there is lots of Stampin' Up! news to impart so I've quite a few posts to write - and of course there's shopping to take advantage of today's free shipping offer - yay! I'll be back on Thursday with another project. Until then, happy stampin'!
Stampin' Up! Supplies Used:
10bcec32-9df1-4a15-8875-09c29050fb48|0|.0|96d5b379-7e1d-4dac-a6ba-1e50db561b04
Tags: Stampin' Up, Stampin' Up Card, Stampin' Up Card ideas, Stampin' Up Supplies, Shop online, Shop Stampin' Up online, Shop Stampin' Up! Online, CAS Colours and Sketches, Stylish Shapes Dies, Simply Fabulous, Celebrate Everything, Host a Party
Cards | Host a Party | hosting | Shop Online | Shop Stampin' Up! Online | Stamping
by Joanne James23. September 2022 12:00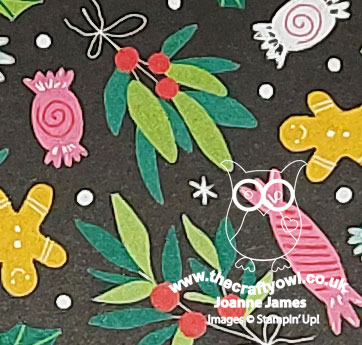
Today I'm sharing my design team card for our new challenge over at As you See It where it's time for my favourite, a sketch challenge:
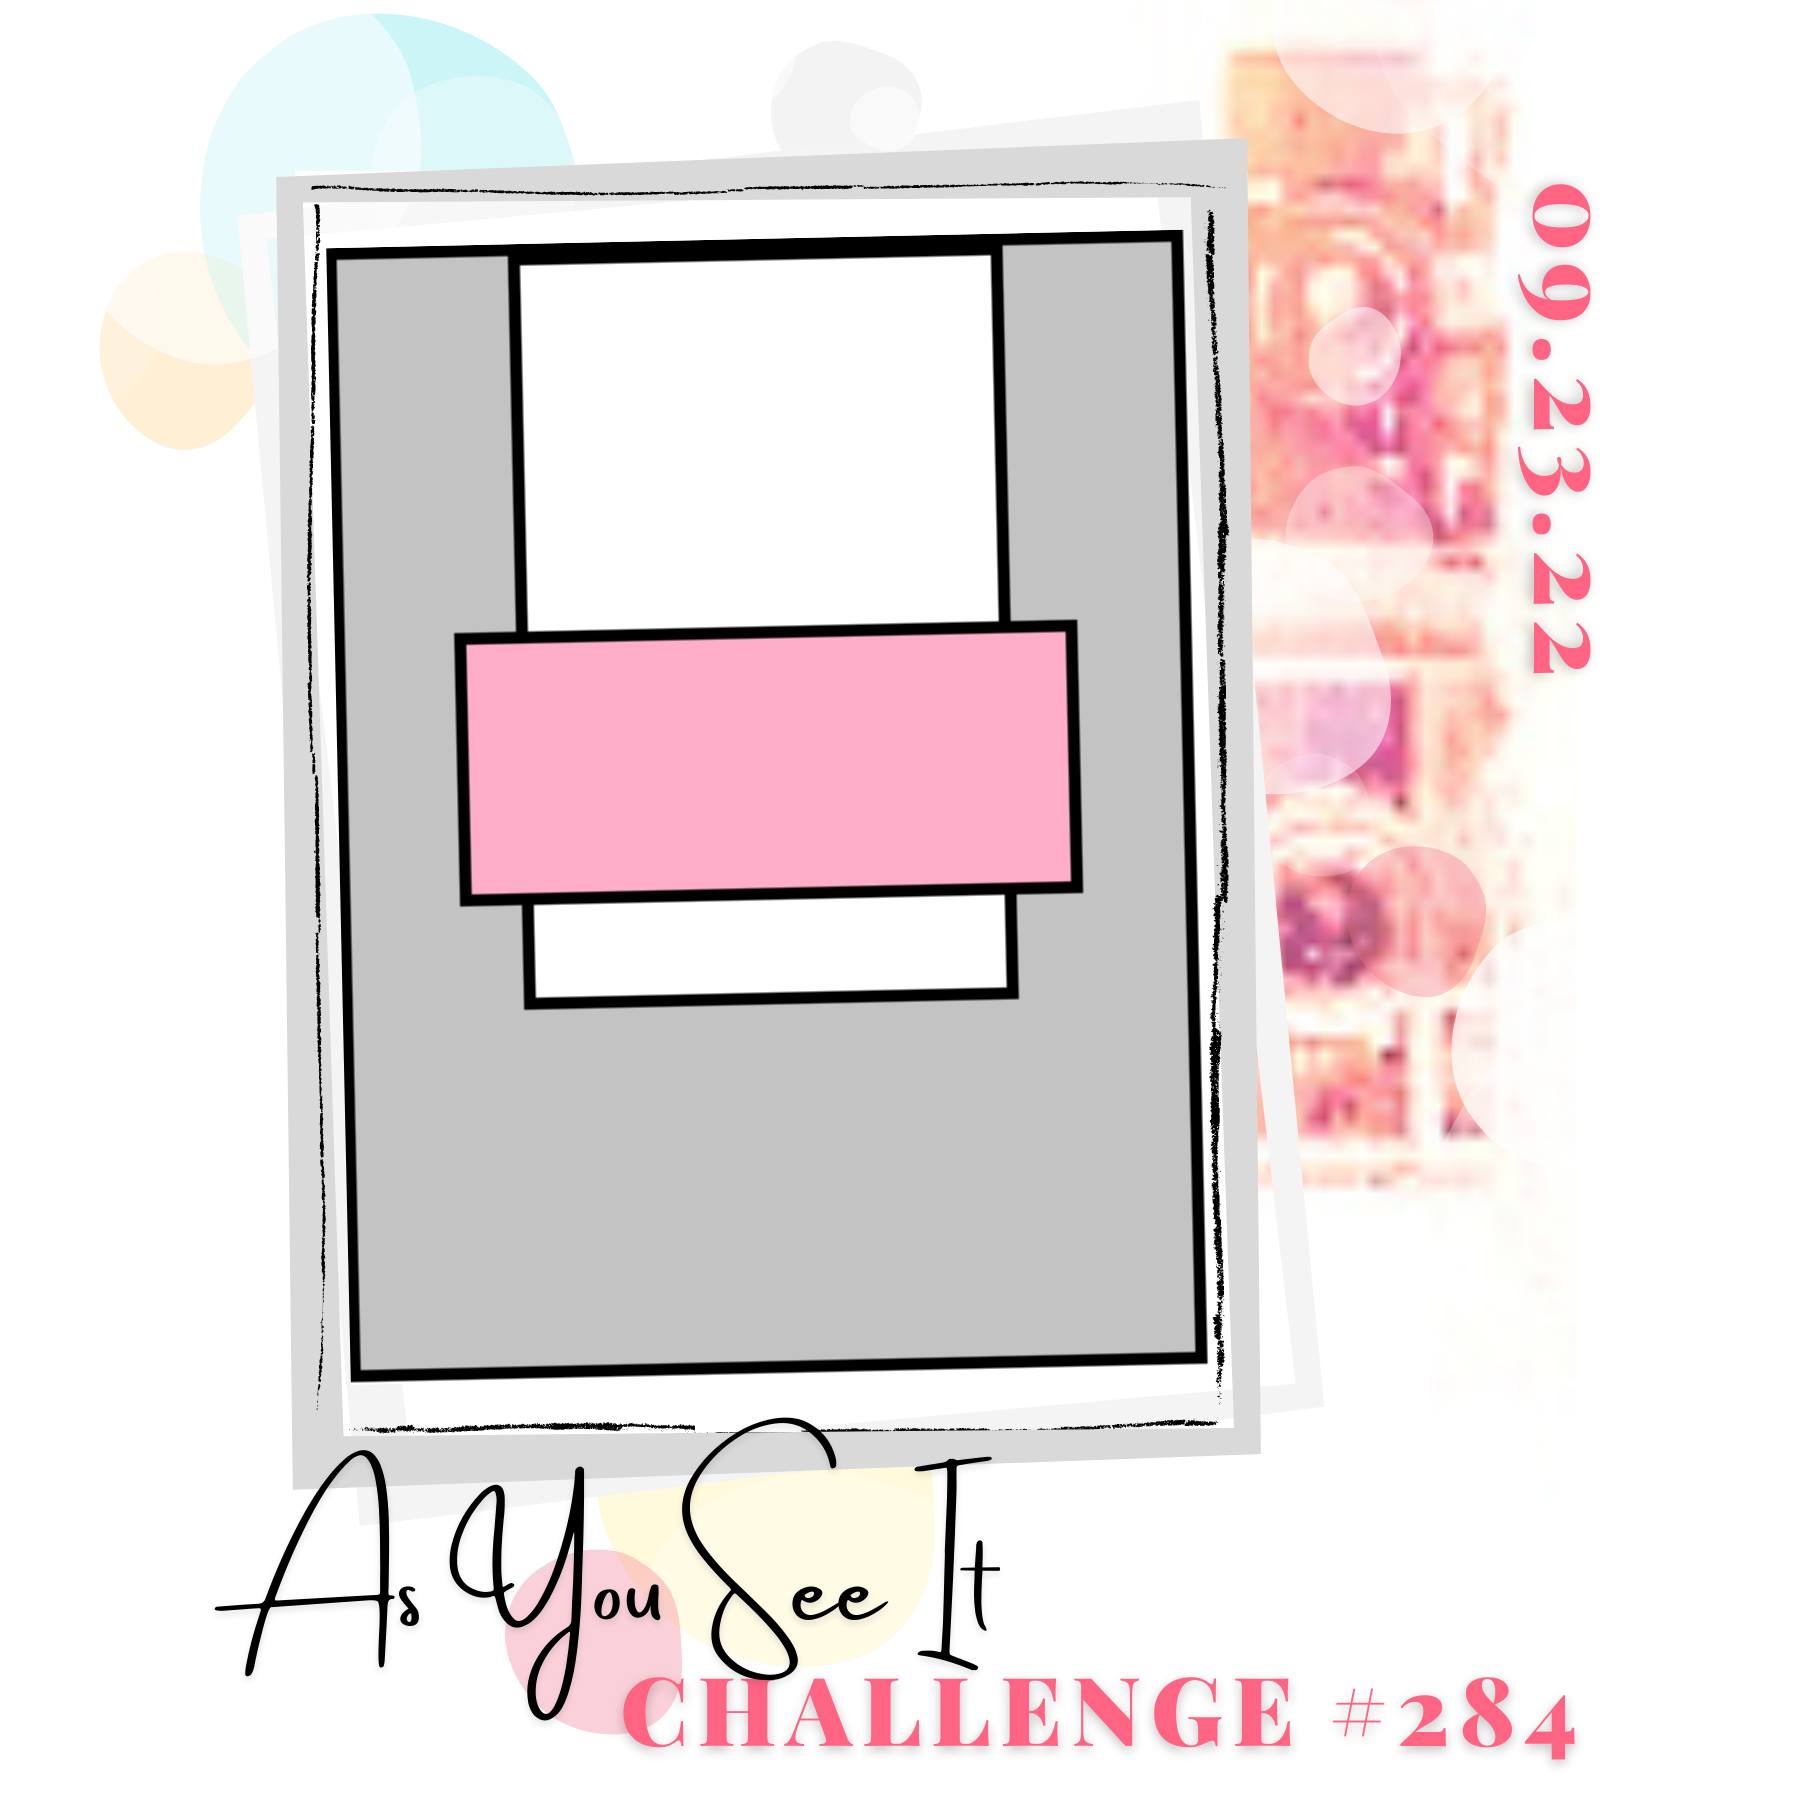
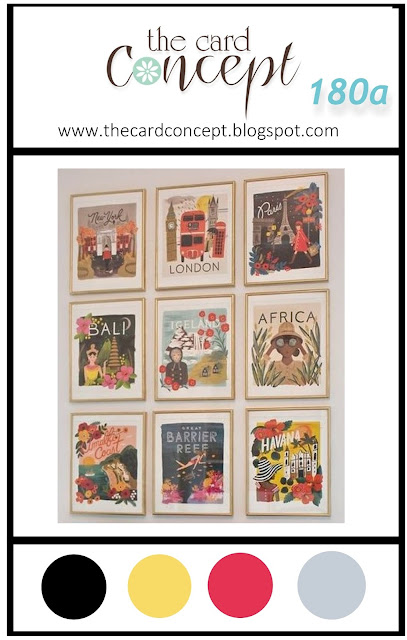
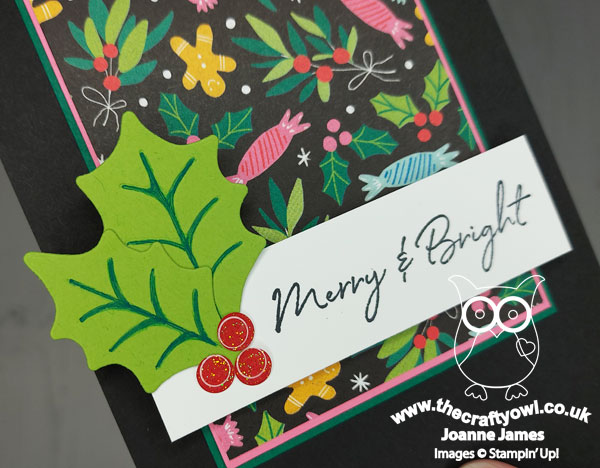
I love a good sketch, but I don't mind admitting this week's card was a struggle! Too little craft time and a chaotic craft room are not a good mix, so with my card making deadline looming, I was feeling the pressure. A few failed attempts and I decided therefore that simple would be best. I had seen the inspiration photo earlier in the day over at The Card Concept (there are actually two now for their second challenge of the month - fun!) and whilst I wasn't inspired by the travel theme, I loved their first inspo photo of brightly coloured stylised prints and the one for Bali was the inspiration for my card design today. The bold colours on a dramatic black background with bright pink floral accents led me to grab another of the designs in the 'Celebrate Everything' designer series paper pack and pull together a simple clean and layered Christmas card - take a look:
Here's the low-down on today's card:
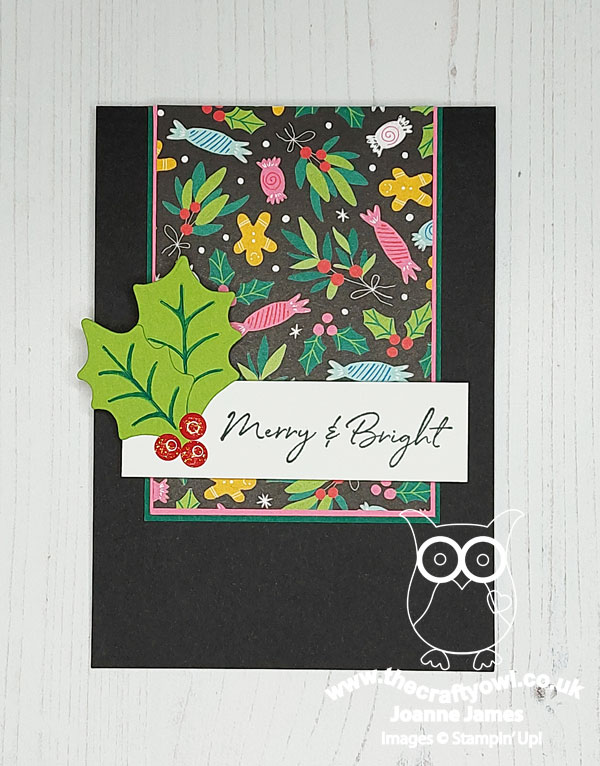
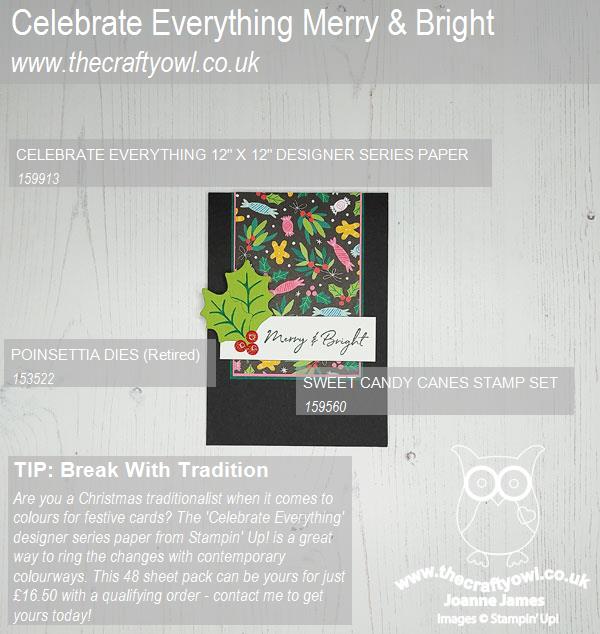
I cut a panel of this brightly patterned paper, double mounted it onto Polished Pink and Shaded Spruce, and added it to a Basic Black cardbase. I added a sentiment from the 'Candy Canes Christmas' stamp set that seemed to fit this bold, fun design and accented it with a couple of diecut holly leaves (taken from the retired Poinsettia Dies, as they were just the right shape and style). I added some detail to the embossed lines with a Shaded Spruce marker to echo the holly design on the paper and finished with a trio of large red glittery enamel dot berries, taken from my stash:
So what do you think? Are you a traditionalist when it comes to Christmas colour schemes or do you like to break the mold every now and again and go with something more contemporary? I admit a black card base is not my usual Christmas card 'go to', but I think it works. I'm not sure I'm going to win any awards with this one (haha!) and the design team over at As You See It have created some AMAZING cards with this sketch, so you should definitely check those out. One thing's for sure I love the 'Celebrate Everything' designer series paper pack - this is definitely the paper that keeps on giving!
Here is the visual summary of the key products used on today's project for you to pin for easy reference:
You can see all of my 'How To' summaries on my 'How To - Tips and Techniques' Pinterest board in case you've missed any.
Here's a summary of our challenge rules:
- Create any card, scrapbooking page, 3D project or packaging project that fits the challenge.
- Please include the challenge graphic and link back to the challenge in your blog post. Turn off word verification so we can leave you lots of lovely comments. Make sure you link the post not the whole blog to the Linky. Use #AYSIXXX when uploading to a public gallery.
- If you’re unsure about ‘the rules’, check the details under the Challenge Guidelines tab on the As You See It Challenge homepage.
- In a sketch challenge, you are welcome to rotate or flip a sketch. You can replace shapes used such as substituting a circle panel for a square panel. However, we must be able to still see the basis of the original sketch in your finished product.
We look forward to seeing your creations in the AYSI gallery.
Enjoy your day; I'm off to a funeral - the wet and gloomy day definitely is reflective of that mood. I am hoping to be back in my craft room tomorrow though, so will hopefully be ready to share another project. Until then, happy stampin'!
Stampin' Up! Supplies Used:
9dc351f9-2ba3-4880-bcc6-507385c730d7|0|.0|96d5b379-7e1d-4dac-a6ba-1e50db561b04
Tags: Stampin' Up, Stampin' Up Card, Stampin' Up Card ideas, Stampin' Up Supplies, Shop online, Shop Stampin' Up online, Shop Stampin' Up! Online, As You See It Challenge, Christmas, Poinsettia Dies, Candy Cane Christmas, Celebrate Everything
Cards | Host a Party | hosting | Shop Online | Shop Stampin' Up! Online | Stamping
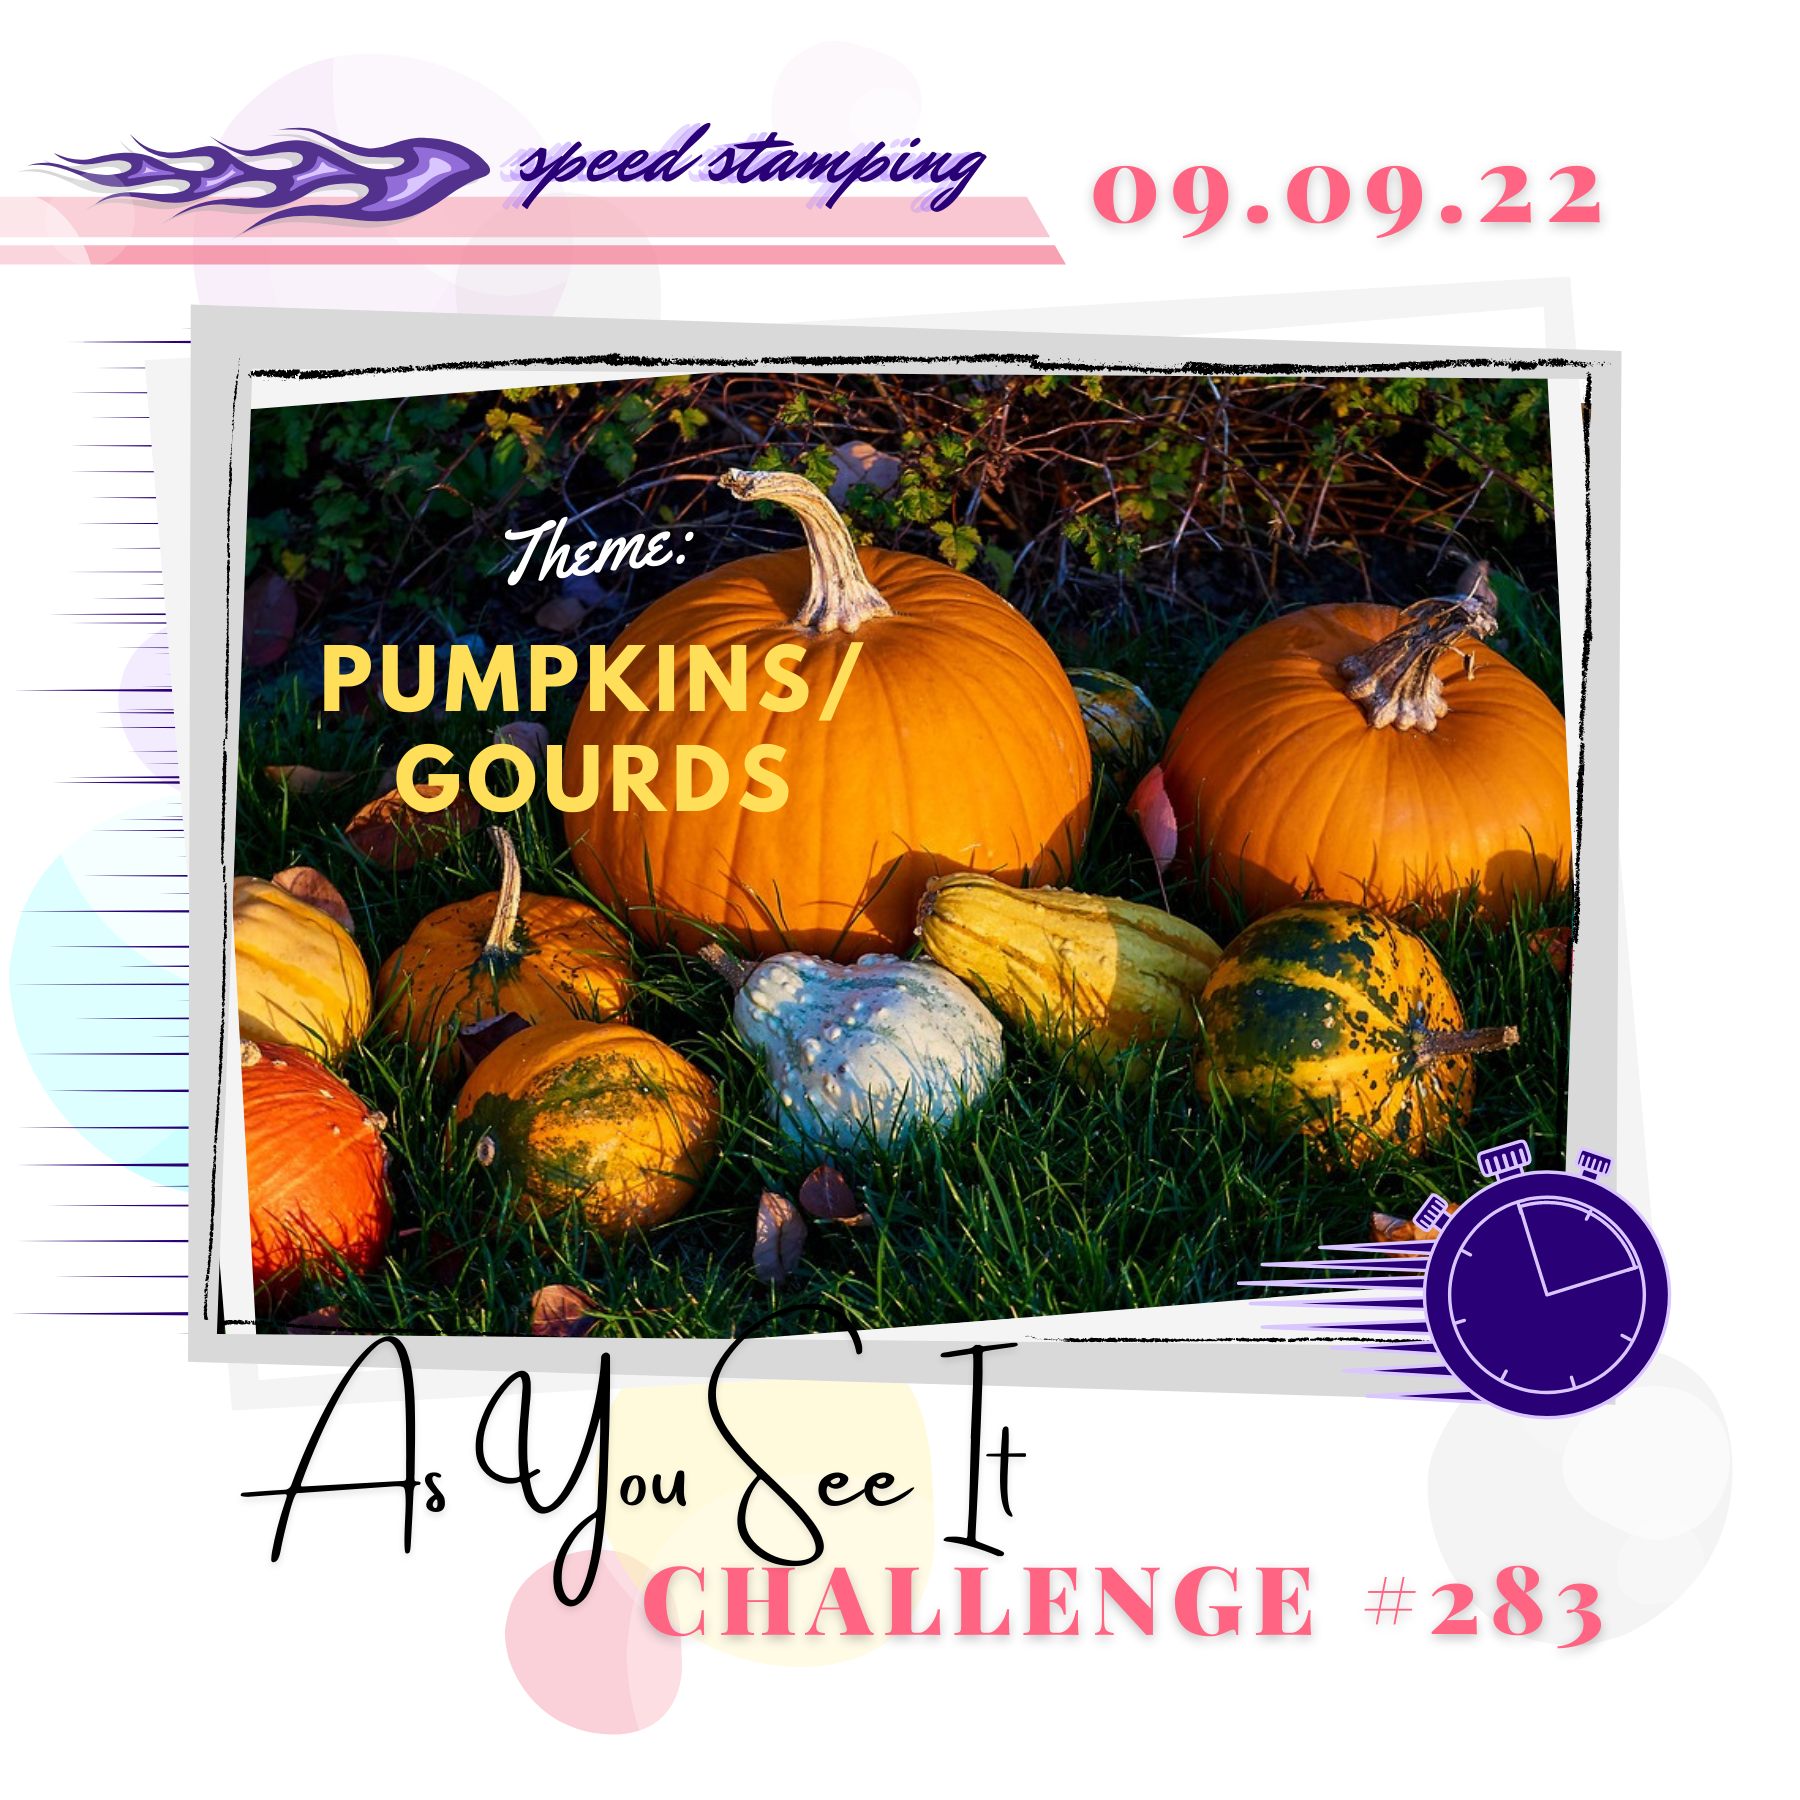
by Joanne James9. September 2022 13:00
Today I'm sharing my design team card for our new challenge over at As you See It where it's time for a seasonal speed challenge:
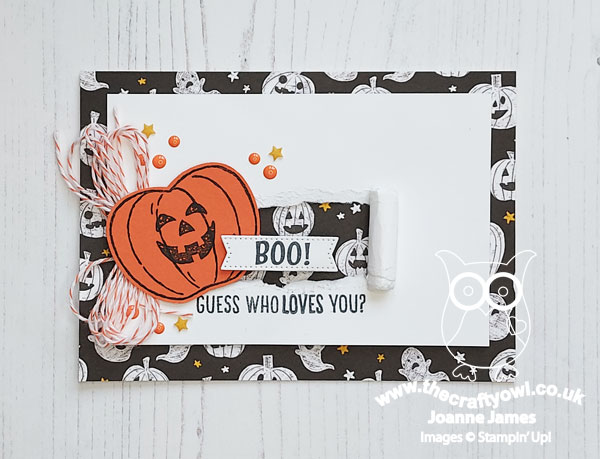
Having cast my eye over my supplies, the only current pumpkin products I had was the 'Celebrate Everything' designer series paper which features this cute pumpkin/ghost patterned paper. So I had a good root through my retired box, grabbed a couple of retired stamp sets and my retired apple punch and decided to CASE a card I saw on social media yesterday by Yvonne Spikmans, one of the current Stampin' Up! artisan designers using my collection of bits and pieces. I started my stopwatch and set to work - this is what I came up with:
Here's the low-down on today's card:
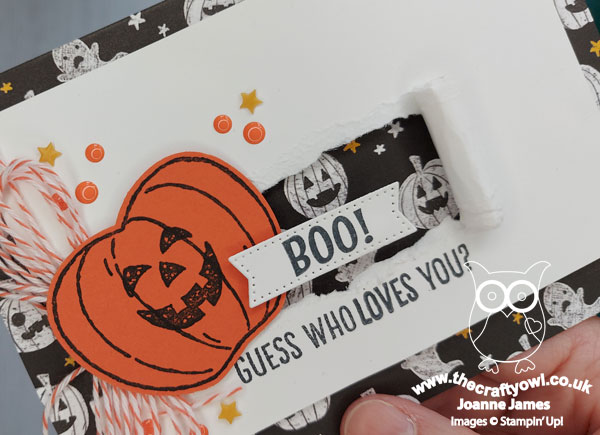
I added my DSP to a blank card base and then created a 'torn reveal' to a piece of white cardstock. I stamped a pumpkin onto some orange cardstock (Tangerine Tango - retired) using the retired 'Harvest Hellos' stamp set and punched it out with my retired apple builder punch, then added it across my torn section. The sentiment comes from the retired 'Banner Year' stamp set and I stamped the 'Boo' onto a banner that I retrieved from my box of scraps. A bundle of twine and sprinkle of enamel dots and stars complete this fun card:
This card was actually surprisingly quick to make - I remembered to photograph my finished time:

9 minutes and 27 seconds - not too shabby and nicely under the 10 minute mark - result! The key to a quick card is most definitely to be prepared: planning your card and gathering your supplies ahead of time is allowed and will definitely make things easier.
This card will be a good surprise note for one of the James Juniors as Halloween draws nearer.
No visual summary of the key products used on today's project or supplies list as most items I've used are retired; the design could be used in lots of different ways though - what sets would you use? Do leave me a comment below - I'd love to hear your thoughts.
Here's a summary of our challenge rules:
- Create any card, scrapbooking page, 3D project or packaging project that fits the challenge.
- Please include the challenge graphic and link back to the challenge in your blog post. Turn off word verification so we can leave you lots of lovely comments. Make sure you link the post not the whole blog to the Linky. Use #AYSIXXX when uploading to a public gallery.
- If you’re unsure about ‘the rules’, check the details under the Challenge Guidelines tab on the As You See It Challenge homepage.
- In a speed stamping challenge, please time yourself and say in your post how long your card took to complete.
We look forward to seeing your creations in the AYSI gallery.
Enjoy your day and I'll be back on Sunday with another project for our new challenge over at The Paper Players. Until then, happy stampin'!
dad9fd70-56fc-47c2-a795-211dbe2c8a0a|0|.0|96d5b379-7e1d-4dac-a6ba-1e50db561b04
Tags: Stampin' Up, Stampin' Up Card, Stampin' Up Card ideas, Stampin' Up Supplies, Shop online, Shop Stampin' Up online, Shop Stampin' Up! Online, As You See It Challenge, Banner Year, Harvest Hellos, Celebrate Everything, Apple Builder Punch
Cards | Shop Online | Shop Stampin' Up! Online | Stamping
by Joanne James4. September 2022 08:00
Today it's Sunday and time for this week's new challenge over at The Paper Players! It's the turn of the fabulous Ann to host this week and she has a seasonal theme for us to work with:
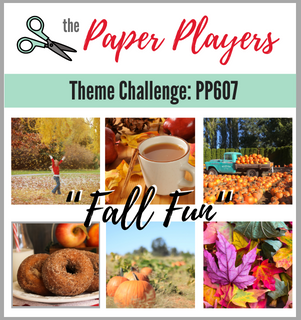
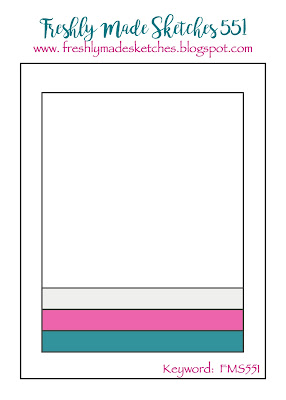
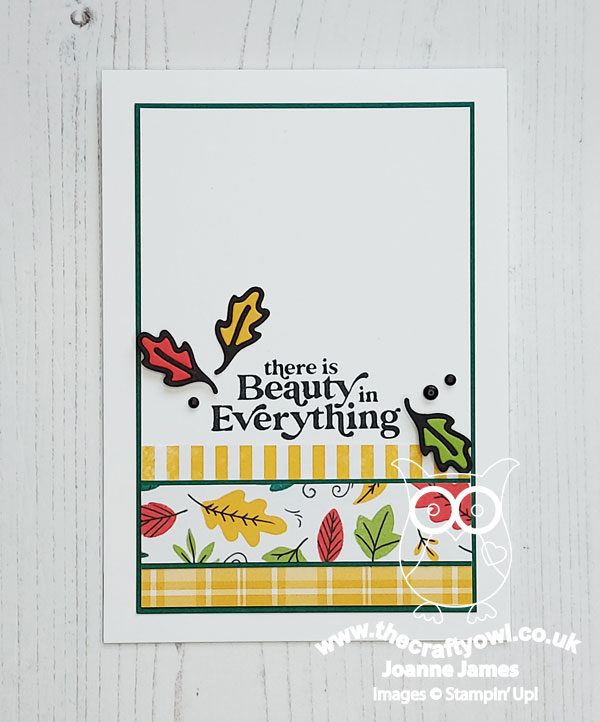
I'm back following my week off last week; I've been enjoying a well-earned break in the Florida sunshine so Ann's theme this week of 'Fall Fun' brought me back down to earth with a bump! I'm not ready for pumpkins and spiced lattes just yet though; I took my inspiration from the bright autumn leaves in our challenge badge and paired them with the lovely Kim's fantastic sketch over at Freshly Made Sketches to come up with this colourful creation - take a look:
Here's the low-down on today's card:
Celebrate Everything - Kim's sketch features a trio of stripes - perfect to feature a trio of designer papers. A great sketch if you have some co-ordinating scraps to use up: I paired a scrap of yellow gingham with two new papers cut from the Celebrate Everything designer series paper stack; this is a hostess reward and contains 48 sheets of 12" x 12", so is such great value for many and has a range of fabulous seasonal patterns and designs. I love the colourful autumn leaves, so used a stip of this paper in the centre and built the rest of my card around it.
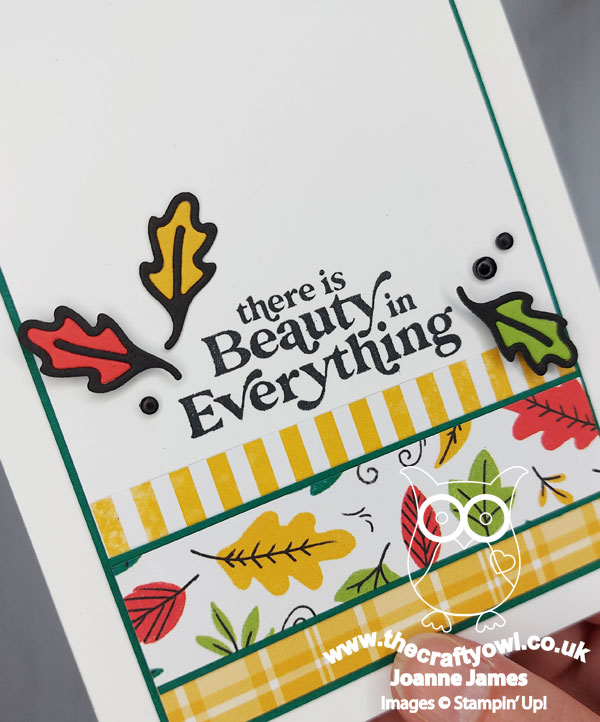
Simply Fabulous - I chose a sentiment from one of my most favourite stamp sets, 'Simply Fabulous', that works perfectly for a seasonal card - I think the changing colours of the autumn leaves is one of the true beauties of nature, don't you agree?
Country Wreaths Diecut Leaves - I accented my sentiment with some matte enamel dots and a trio of diecut leaves from one of the leaves in the Country Wreaths Dies set - I thought they co-ordinated nicely with that central strip of paper. I stuck one on flat and popped the other two up on dimensionals to complete my card:
That's my card complete - a seasonal notecard for my stash.
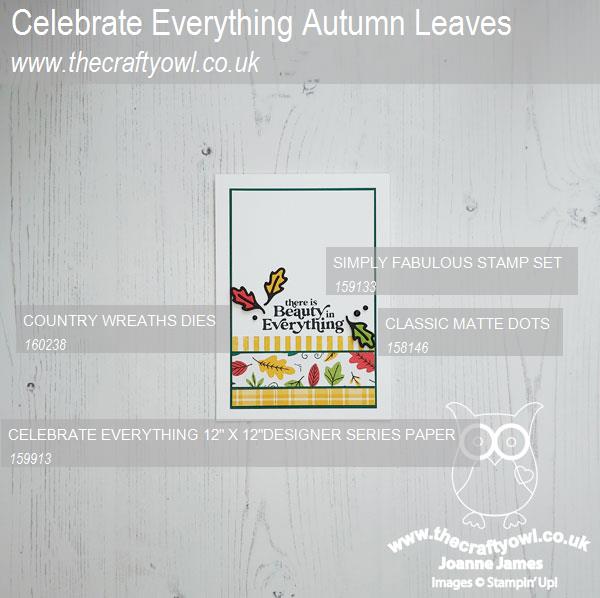
Here is the visual summary of the key products used on today's project for you to pin for easy reference:
You can see all of my Product and 'How To' summaries on my 'How To - Tips and Techniques' Pinterest board in case you've missed any.
Before you reach for your ink and papers, check out what our amazing team has created to inspire you this week:
The Paper Players Design Team
Here's a quick recap of our challenge rules:
1. Create a new paper project
2. Upload your creation to your blog with a link back to us and provide a direct link to the post featuring your challenge submission.
3. Please link your card to no more than four challenges, TOTAL.
4. Have FUN!
Enjoy your day; we are getting ready for the James Juniors to return to school this week and finishing the last of the post-vacation ironing - joy! I'll be back tomorrow with another project. Until then, happy stampin'!
Stampin' Up! Supplies Used:
bbd801fe-6d9f-4512-97df-d55af498172f|0|.0|96d5b379-7e1d-4dac-a6ba-1e50db561b04
Tags: Shop Stampin' Up! Online, Stamping Shop Stampin' Up online, Shop online, Stampin' Up, Stampin' Up Card ideas, Stampin' Up Supplies, Stampin' Up Card, The Paper Players, Celebrate Everything, Country Wreaths Dies, Simply Fabulous
Cards | Shop Online | Shop Stampin' Up! Online | Stamping