by Joanne James24. January 2014 20:12So today I'm sharing a card I made to welcome the latest addition to the family for some friends of mine - their fourth daughter (hence the title of my blog post today!) I decided to steer clear of the pastel pinks that are traditional for baby girl cards and go brighter; after all, when it's your fourth baby girl it's nice to ring the changes, right?! So here's my card:
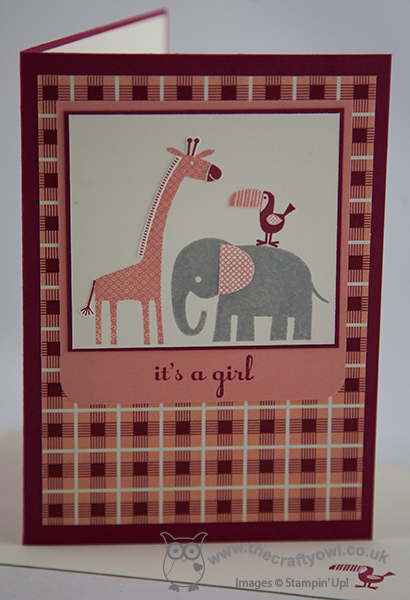
I used the 'Zoo Babies' stamp set to create my montage of animals and based my colour scheme on the checked DSP from the 'Birthday Basics' set. I used paper piecing to highlight some of the animals' features, as opposed to colouring with marker, so that they would stand out against the bold patterned paper. I smiled to myself as Rebecca came to give my card her seal of approval and said "Are you going to add 'another' with your Raspberry Ripple marker Mum?" As you can see, I resisted the temptation!!
I'm linking today's card up with Less is More where the challenge this week is 'New Baby', the sketch challenge over at CAS(E) this Sketch! and Addicted to CAS, where the challenge is 'New' - well, this card is for a new baby and was created with a new (to me!) stamp set, so I think that qualifies!
Back tomorrow with another project; until then, happy stampin'!
Stampin' Up! Supplies Used:
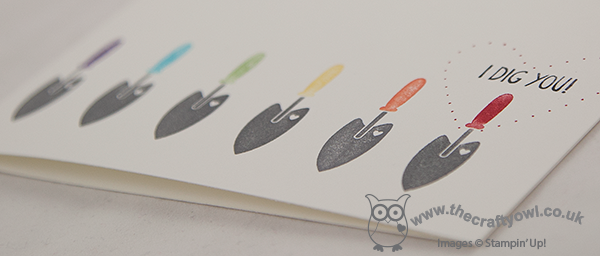
by Joanne James23. January 2014 20:07I have another one layer card to share with you today; I sat down at my desk yesterday with the intention of making something completely different, but having finished the card that I blogged yesterday my head was still in the 'one layer' zone and I suddenly remembered an idea I had had a while ago, but not committed to paper. So I raided my Stampin' Write marker box and came up with the following quick, fun card:
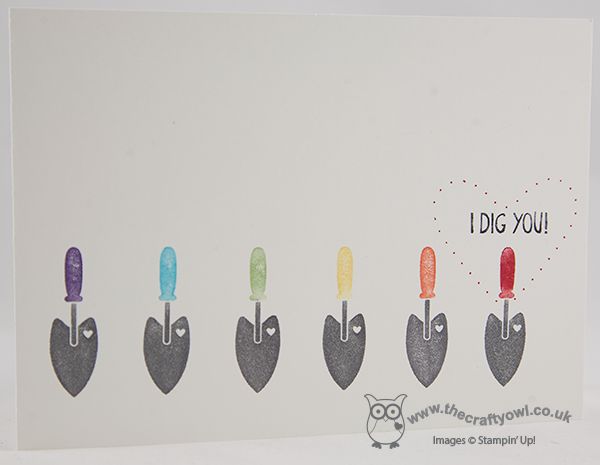
This fun little shovel is from the 'Tag It' stamp set, a great stamp set with a mix of images suitable for a variety of occasions, and for which Stampin' Up! donates £2 from every set sold to Ronald McDonald House Charities. I started with the stamp on the right, which is the complete stamp including the 'I Dig You' sentiment, then worked back from right to left using my stamp-a-ma-jig to ensure perfect placement to create my rainbow of trowels. I wanted my red trowel to be the focal point, so in addition to including the sentiment, I inset it in a read dotted outline heart using the fine tip of my Real Red marker pen and my paper piercing template.
Another cute one layer card with a Valentine's theme - I think I'll link this one up with the challenge over at The Paper Players this week too. Back tomorrow with another project; until then, happy stampin'!
Stampin' Up! Supplies Used:
by Joanne James22. January 2014 09:43I'm sticking with the Valentine's theme today as today's card is also this week's entry for The Paper Players weekly challenge, where Sandy has asked us to create a one layer Valentine's card:
I decided to use the heart as per the challenge tile, but today's card is also showing you how to use one of my favourite Stampin' Up! products, the Expressions Thinlits dies, in a different way. You've seen me use the die cut word itself as in yesterday's card, and I've also used the negative space created by the die cut (you can see an example of that here). Today I thought I would show you how you can use them to create a mask, which gives yet another effect and one that is particularly suited to a one-layer card. Here is my card:
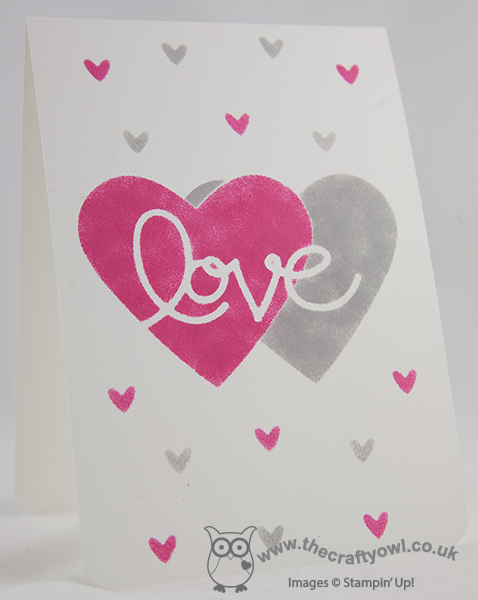
I cut out the die cut word 'love', along with two overlapping hearts cut with my Hearts Framelits and created a mask. Then using Melon Mambo and Smoky Slate ink and a couple of sponge daubers, I carefully sponged around the die cuts to give the illusion of two overlapping hearts, with love running through the centre. I created a second mask using the small heart from the Owl Builder Punch; I could have used a stamp, but I wanted to retain the soft sponged effect so created another stencil then simply sponged a few random hearts across some of the remaining white space. I rounded the bottom corners of the card, but otherwise left well alone; as the Paper Players point out this week, less is more!
I'm really pleased with how this card turned out and it shows yet another way you can use the thinlits to achieve an alternative effect. If you too are 'in love' with 'love' and the other words in the Expressions Thinlits set, don't forget these are only available until 1st February when the current seasonal Autumn-winter catalogue ends - click on the link below to my online store if you would like to purchase. I know I wouldn't be without mine - they can be used in so many ways.
Back tomorrow with another one layer card; until then, happy stampin'!
Stampin' Up! Supplies Used:
59edc7bc-b5db-4717-93b4-ad2ce2d82116|0|.0|96d5b379-7e1d-4dac-a6ba-1e50db561b04
Tags: Hearts Framelits, Expressions Thinlits Dies, Owl Punch, Sponging, Stampin' Up, Stampin' Up Card, Shop online, Stampin' Up Card ideas, Stampin' Up Supplies, Valentines, Valentine's, one layer cards
Cards | Stamping
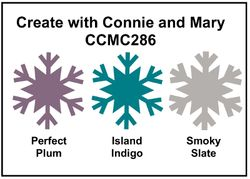
by Joanne James21. January 2014 20:39Good evening blog readers! I had lots of jobs to do today, but after a morning of paperwork I decided the housework could wait and I spent the afternoon cardmaking instead (oops!!) Today I'm sharing another Valentine's card, this time with a more masculine feel. I used the colours from this week's challenge over at Create with Connie and Mary as my starting point:
I decided to use my 'Hearts A Flutter' stamp set, as although this is one of my favourite sets and one I use a lot all year round, I haven't used it on any of my Valentine's cards yet this year. Here is my card:
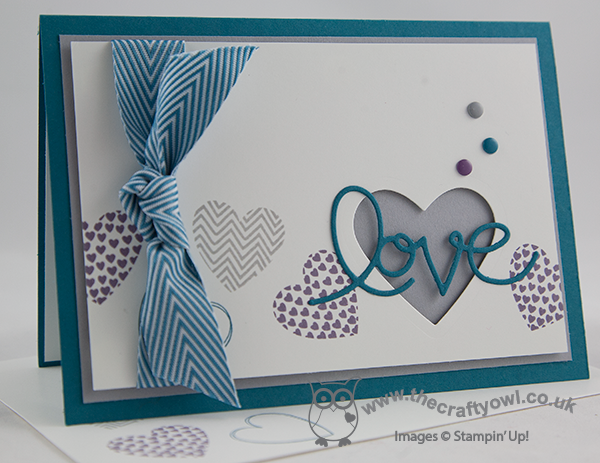
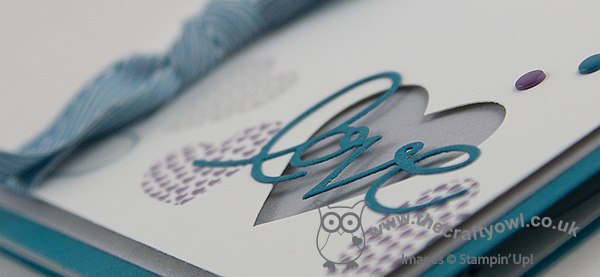
I stamped my hearts somewhat randomly across the lower half of my card, either side of my focal point. I mounted the top layer of cardstock on dimensionals for two reasons: firstly, to make the ribbon easier to attach and secondly so that the heart that I cut out (I used my hearts framelits for this) would have some depth and my die cut 'love' would have more impact. I deliberately chose to use Smoky Slate for my middle layer, as I wanted the heart to have a more masculine appeal, especially as I used ribbon on my card too; Island Indigo Chevron Ribbon isn't too girly, but adds a luxurious feel to the card. A few candy dots to finish just to add balance and done.
Whilst I designed this card with a man in mind, I think it would work equally well for a woman, especially if you're not the kind of person who is into all things pink and red.
Back tomorrow with another Valentine's themed card; until then, happy stampin'!
Stampin' Up! Supplies Used:
3b716918-6b62-4e10-9759-5e7a63b00c72|0|.0|96d5b379-7e1d-4dac-a6ba-1e50db561b04
Tags: Anniversary, Candy Dots, Hearts a Flutter, Hearts Framelits, Expressions Thinlits Dies, Magnetic Platform, masculine cards, Shop online, Stampin' Up, Stampin' Up Card, Stampin' Up Card ideas, Stampin' Up Supplies, Valentine's
Cards | Stamping
by Joanne James20. January 2014 20:33Today I have another Flowerfull Heart card to share with you; this time a larger A5 size card that could be used for a wedding, anniversary, birthday or Valentine's for someone special. So here is my card:
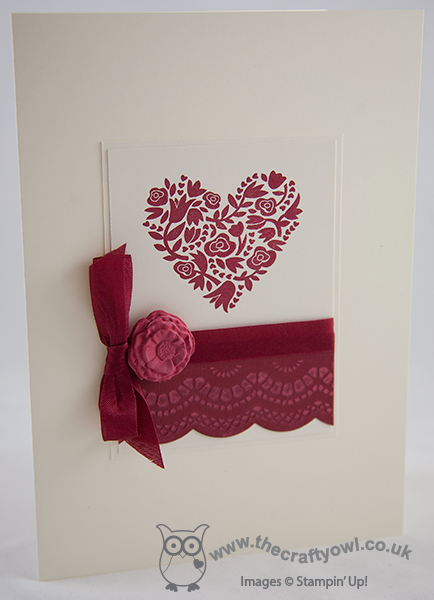
I love this card! It is elegant in its simplicity, yet at the same time packed with detail. Whilst the card has a lot of 'white space' (the actual base card colour is Very Vanilla, just to confuse you!), I created a double-layered centre panel on which I stamped both the Flowerfull Heart in Cherry Cobbler and then edged the bottom with some Cherry Cobbler Core'dinations cardstock, which I embossed then sanded lightly to show the contrasting layer. I covered the join with some Cherry Cobbler seam binding ribbon which I tied in a bow at the side, then lastly finished with a flower made from Stampin' Up!'s Simply Pressed Clay, which I first coloured with Cherry Cobbler reinker before moulding. Here's a close up of the flower:
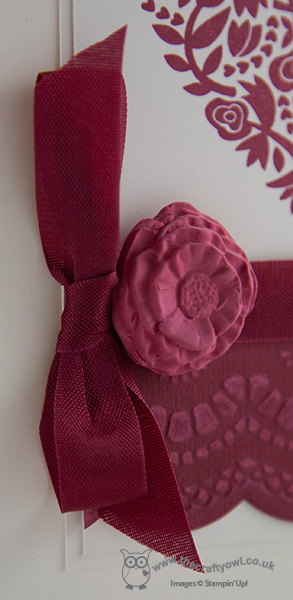
These really are so easy to make: you just press the clay into the mould, pop it out and leave it to dry. you can colour it before or after you put it in the mould, depending on the effect you're after.
A quick post from me today; having barely got rid of my last cold, I now seem to be catching another, so it's a hot drink and early night for me!
Back tomorrow with another project; until then, happy stampin'!
Stampin' Up! Supplies Used:
by Joanne James19. January 2014 21:09Once a quarter, my wider upline team get together for a team training day. We craft, we share business tips and ideas and we catch up with friends. It's a fun day devoted to our Stampin' Up! businesses and one of the many benefits of being a part of a wider Stampin' Up! team. One of the important parts of these events is the process of 'swapping'. Everyone prepares a card, scrapbook or 3D sample using current products in line with a chosen theme. Today our theme was the forthcoming Sale-A-Bration campaign; as promised, today I'm sharing the swap I prepared:
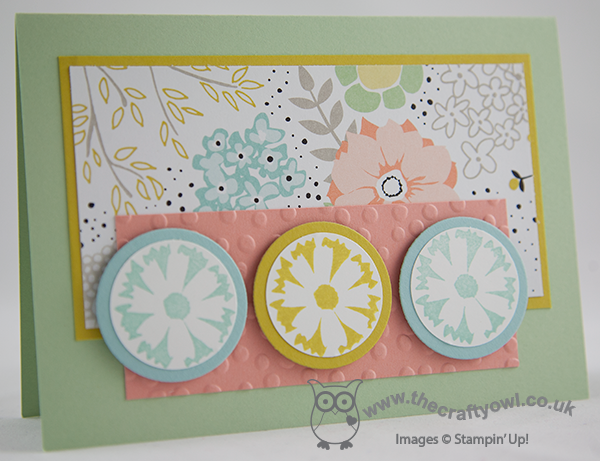
This card uses three of the products that you can earn free with a £45 purchase: The Petal Parade stamp set, the Decorative Dots Textured Impressions Embossing Folder, and one of the Sweet Sorbet Designer Series paper designs. I used a 1 1/4" circle punch and my circle framelits to cut out the flowers and mounted them on dimensionals for extra interest.
If you would like to make this card, you have only nine more days to go until Sale-A-Bration is live and these products will be available online or through the Sale-A-Bration mini catalogue - not much longer to wait now! I am already taking party bookings for the Sale-A-Bration period; if you would like to host a party during Sale-A-Bration, then contact me to book a slot. Sale-A-Bration is a great time to join Stampin' Up! too; if you would like to know more about the benefits of becoming a Stampin' Up! demonstrator, then check out the link on the right hand side of my blog page or get in touch for an informal chat; I would be happy to share with you the benefits that being a demonstrator can offer.
Back tomorrow with another project; until then, happy stampin'!
Stampin' Up! Supplies Used:
62e6793d-d5e1-45a9-95f4-cd0426435fd3|0|.0|96d5b379-7e1d-4dac-a6ba-1e50db561b04
Tags: Decorative Dots Textured Impressions Embossing Folder, Stampin' Up, Stampin' Up Card, Stampin' Up Card ideas, Sweet Sorbet, Shop online, Sale-a-bration 2014, join Stampin' Up, Petal Parade, Circles Framelits, circle punch
Cards | Join My Team | Sale-a-bration | Stamping | Swaps
by Joanne James18. January 2014 20:52Well it's the weekend and in our house that can only mean one thing - even more Lego on the living room floor than during the week! This morning we even paid a visit to the Lego store to spend some of the money that James' juniors received at Christmas, so we've further added to the total brick count. I would share a picture of the living room floor, but to be honest I'm embarrassed at the state of it; at least I'm out at team training all day tomorrow, so I can pretend it's neat and tidy whilst I'm gone :-)
Anyway, today's card is my entry for this week's Pals Paper Arts challenge. This week it's a sketch by the very talented Margaret Moody:
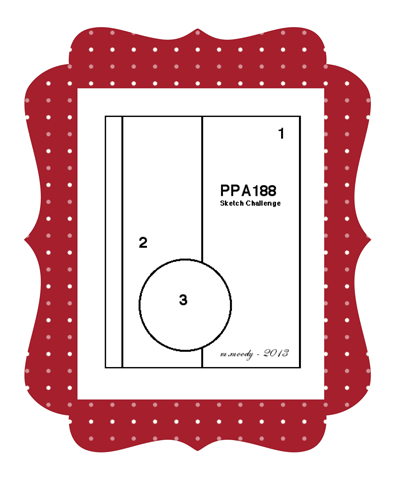
This is something of a classic sketch, as it's a layout that can be used for all kinds of occasions. I decided I was in need of a bright card today, so went with this bold and cheerful birthday card:
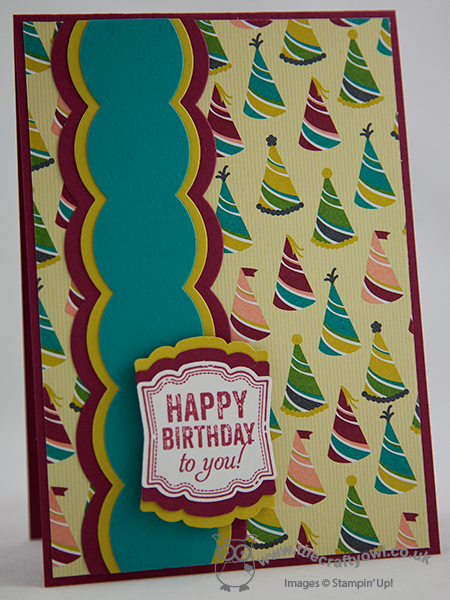
I let the bold and bright 'Birthday Basics' DSP pattern take centre stage with its colourful party hats. Instead of leaving my vertical band straight, I decided to echo the scallop trim seen on some of the hats and create a layered strip that I cut with the Large Scallop Edgelit - it reminded me of party streamers too (I know, I have a vivid imagination!) I finished off with a sentiment from the 'Label Love' set stamped in Raspberry Ripple and punched with the Artisan Label Punch, then layered on another two pieces of punched cardstock in co-ordinating colours.
I really like this card, as it's as versatile as the layout and would suit either a boy or a girl. Don't forget to check out how the design team over at the Pals interpreted this week's sketch for lots more card making inspiration.
Back tomorrow with all the latest news from training and a picture of my swaps. Until then, happy stampin'!
Stampin' Up! Supplies Used:
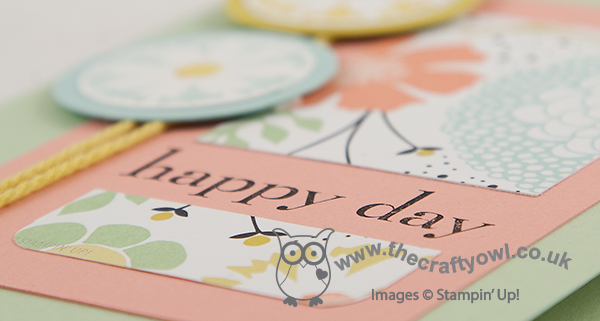
by Joanne James17. January 2014 19:30Good evening blog readers! Today I've been busy putting together my swaps for our team training session on Sunday and watching a couple of netball matches at school this afternoon. The theme for our swaps at training this month is 'Sale-A-Bration' and along with my final swap card, which I'll share with you on Sunday, I've made one or two other cards using some of the items you can earn free with a £45 order during the Sale-A-Bration promotion, which starts on 28th January. Here's another card that I made using one of the flower stamps from the Petal Parade set, that also features one of the papers from the Sweet Sorbet DSP pack:
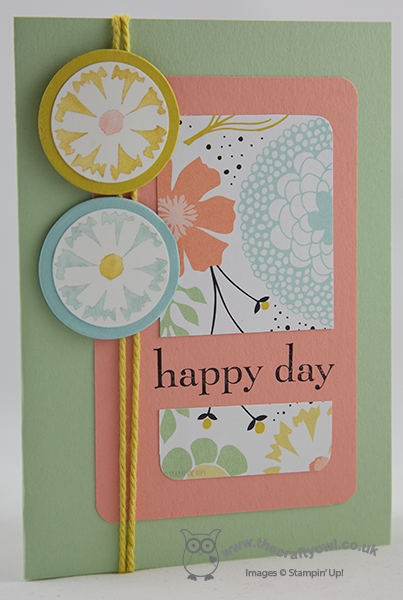
This time I used my Stampin' Write markers to colour the flowers so that I could give them a two-tone look with different coloured centres, and I anchored them to the card with some of the fabby extra-thick baker's twine that is another of the SAB promotional products.
I created a split front to my patterned paper layer and included the 'happy day' sentiment from the stamp set of the same name.
I'm off now to finish my swaps. Back tomorrow with another card; until then, happy stampin'!
Stampin' Up! Supplies Used:
by Joanne James15. January 2014 20:43A quick post from me today! With all the coughs and colds that are ever-present in our house at the moment, I thought I would take the opportunity today to create a get well soon card. Here is my card:
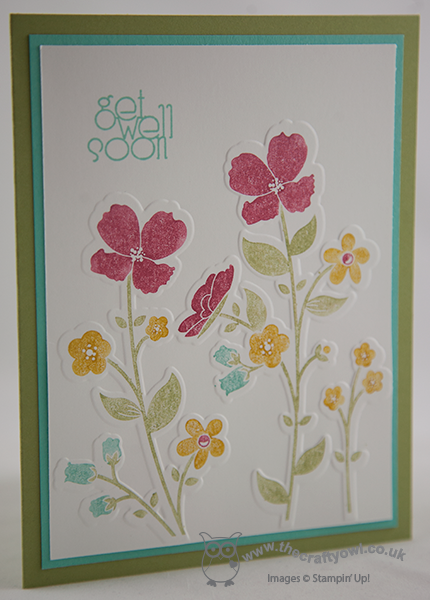
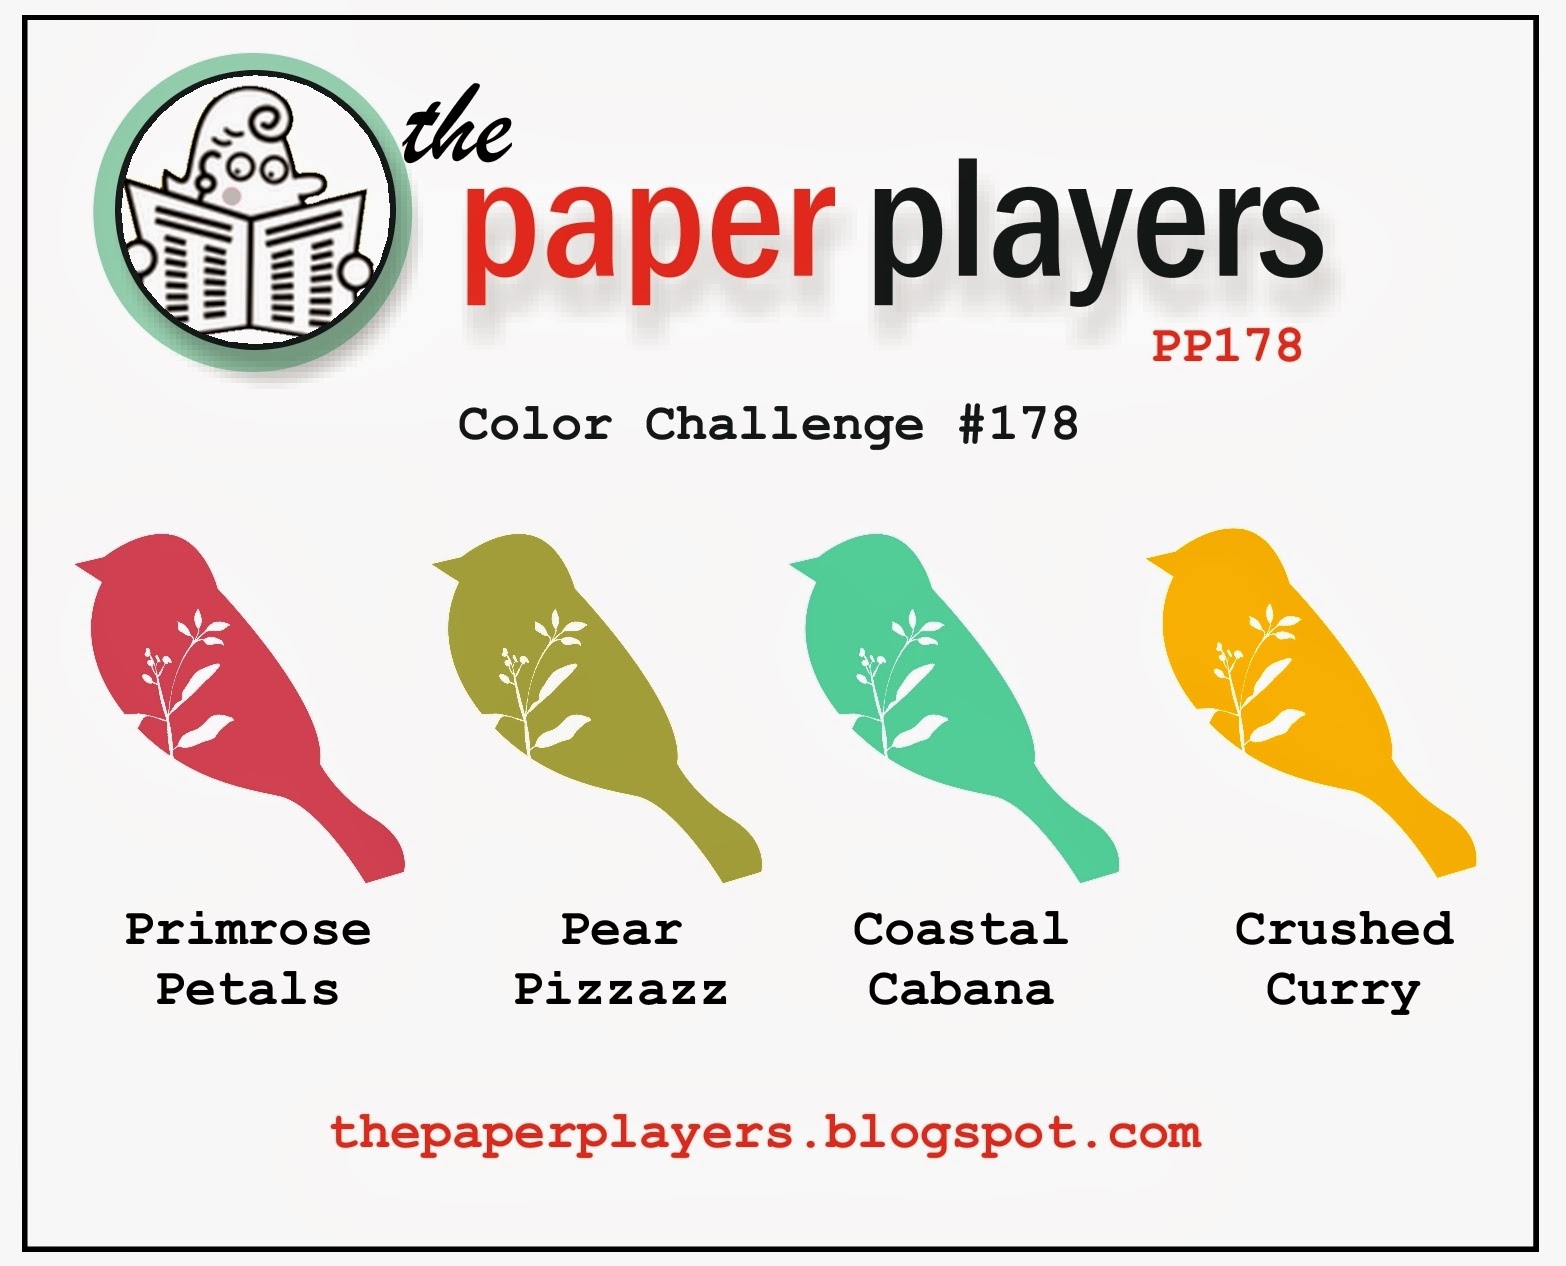
I used my Stampin' Write Markers to ink up the flowers on my 'Wildflower Meadow' stamp, leaving out the dots and replacing the bird with the sentiment. I then simply embossed the coloured image and mounted using the Coastal Cabana blue as my accent colour. I took the colours from this week's challenge over at 'The Paper Players' as the inspiration for my card:
I actually found it tricky to work with four different colours and did break the 'blue and green should never be seen without a colour in between' rule with this one, but I like it!
Back tomorrow with a one layer card: until then, happy stampin'!

Stampin' Up! Supplies Used:
by Joanne James14. January 2014 12:51Well, it had to happen - I successfully shared my cold with my daughter, who as a result is off school today feeling considerably down in the dumps! Even a bonus dose of 'Animal Rescue' on TV can't make up for missing two of her favourite lessons of the week - Art and PE. I'm sure a couple of days in the warm to catch up on some sleep and get things under control will help no end. As for me - my day is not quite turning out as planned, although this does mean one thing - an early blog post for a change!
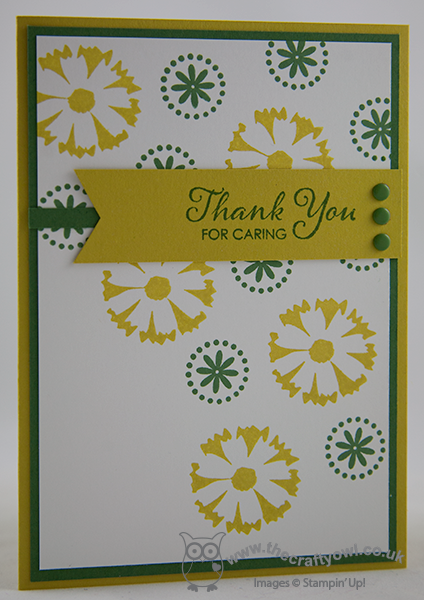
The title of my post today is 'Two For One - Time Two' for two reasons: I am entering today's card into two challenges, and I also used two different flower sets to create my pattern. So, here is my card:
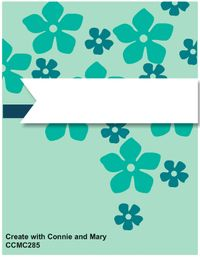
My card layout was inspired by this week's sketch challenge at Create with Connie and Mary CCMC285 - here is the sketch:
My colour combination was inspired by the current colour combination over at Dynamic Duos DD#85 - Summer Starfruit and Garden Green:
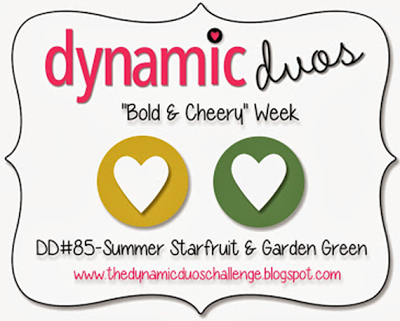
So here's a confession for you: I've had a Garden Green inkpad for 12 months and the first time I broke the seal on it was yesterday to make this card!! Whilst I use Garden Green card occasionally, I don't use Regals collection ink pads very often at all (Cherry Cobbler being the notable exception, of course). I have one other ink pad in this collection still in it's cellophane too; any guesses as to which one?! For a first time use, I quite like this colour combination. And for my other combination - did you spot which flower stamp sets my pattern came from? The yellow flower is from the 'Petal Parade' set that will be available during Sale-A-Bration at the end of the month and the green one is from 'Mixed Bunch'. I toyed with embellishing my flower centres, but decided against it, instead using three candy dots to 'anchor' my banner in place.
I'm off to replenish the tissue box and hopefully make a start on swaps for team training this weekend.
Back tomorrow with another card; until then, happy stampin'!
Stampin' Up! Supplies Used: