Traveler Happy Father's Day Card

by Joanne James11. June 2014 21:17

With Father's Day coming up this weekend, I thought I should share a few more suitably themed cards with you for anyone in need of last minute ideas! Today's card has both something old and something new - here's my card:

I used Soft Suede for my card base, then created a simple central panel by stamping the globe image from the new Traveler stamp set in Versamark and heat embossed in gold embossing powder. I created a mask for the globe using a piece of scrap cardstock, then carefully sponged in the colours on the globe using sponge daubers and Island Indigo, Garden Green and Encore Gold inks. Here's a close up of the central image:

This is one of those cards that looks so impressive in real life and the colours are really vibrant against the gold. I then matted this panel on some brushed gold cardstock and finished the card by stamping the 'Happy Father's Day' sentiment from the Delightful Dozen stamp set (it's on the retiring list) and heat embossing in gold, then stamping it in Versamark again slightly offset to create a shadow and add some depth to the card. I also created a slightly altered version of the same card, this time stamping the sentiment on a piece of Island Indigo to inject a little more colour - browns have their place, but I don't believe that just because cards are for men, they shouldn't have some brighter colours too.

These cards would work equally well for a male birthday or other masculine card with a change of sentiment; or maybe even a graduation or travel-themed card. That's all from me today; back tomorrow with another card. Until then, happy stampin'!


Stampin' Up! Supplies Used:

Table built using Product Table Builder by The Crafty Owl - Independent Stampin' Up! Demonstrator.


Tags: , , , , , , , , ,

Cards | Stamping

Get Well Soon Dad!

by Joanne James9. June 2014 23:10

Today I'm sharing a card I made using this week's sketch over at CAS(E) This Sketch and the lovely colours at Colour Q:


 My Dad had a knee replacement operation last week and so I wanted to send him a 'get well soon' card that would brighten his day - here is my card:

I used a base of Night of Navy along with a mat in Tangerine Tango and using the sticking plaster from an old 2013 Sale-A-Bration set, Patterned Occasions (minus the attached sentiment), stamped it in the challenge colours and cut them out and adhered them to my card following the sketch layout. I coupled them with a simple 'get well soon' sentiment from the ever-so-useful Delightful Dozen stamp set (due to retire at the end of this month) and added a tiny Bashful blue heart punched with my trusty owl punch to finish.

I love the look of the stuck-on sticky plasters, which works so well with the get well theme - I'm sure my Dad wishes his knee could have been fixed that easily!

Back tomorrow with another card; until then, happy stampin'!


Stampin' Up! Supplies Used:

Table built using Product Table Builder by The Crafty Owl - Independent Stampin' Up! Demonstrator.


Stippled Blossoms Mother's Day Card

by Joanne James7. May 2014 22:08

Good evening all! I had an unexpected uninterrupted day at home today and with the exception of a large basket of ironing, I've spent pretty much the whole day crafting - bliss! I had lots of partially finished projects on my desk and am glad to have been able to complete a fair few of these and cleared some space. I also had some new goodies arrive today and when I saw this week's Colour Me ...! challenge colours and photo inspiration, I just knew I was going to have to ink one of them up to complete a card for this challenge! I also used this week's sketch over at Retrosketches for my layout and tied it in with Jaydee's theme of 'Mother' over at The Paper Players this week:

I always think of Cherry Cobbler as a Christmas colour, so it's nice to use it for something that isn't seasonal. Here is my card:

This card was the perfect excuse to ink up my new Stippled Blossoms stamp set. I've much admired this set for some time as I love the effect of the two-step stamping on the flowers, which look so typical of old English roses, but only recently purchased it. It's essential to use a stamp-a-ma-jig to get the images perfectly aligned - and there is no matching framelit, so the blossoms all need to be fussy cut by hand - but it is so worth it. I used my flowers to frame my central panel, a sheet of Watercolour Wonder DSP in White/Smoky Slate, onto which I heat-embossed the sentiment 'A Million and One Thanks' in Pewter. I matted this onto a square of Cherry Cobbler and used a Smoky Slate base. We've already celebrated Mothering Sunday here in the UK, but I decided to stay with this theme for my card. I thought this sentiment was quite appropriate; I know I don't thank my own Mother or Mother-in-law enough for everything they do for me and my family. I added a label (punched with the edge of the Decorative Label Punch) to incorporate 'to my delightful Mother' too and I finished off my card with a simple chevron ribbon trim and some rhinestones to add some sparkle.

Do check out the links to the challenges above for more design inspiration, especially Colour Me ...! where my long-distance Stampin' Up! buddy LeAnne Pugliese is the guest designer this month; you can check out her card on her Wee Inklings blog here.

Back tomorrow with another project (maybe even another video!); until then, happy stampin'!


Stampin' Up! Supplies Used:

Table built using Product Table Builder by The Crafty Owl - Independent Stampin' Up! Demonstrator.


Flowerpot Fun

by Joanne James17. March 2014 21:45

I've had a great start to my week today with a pleasant morning smelling fragrances and catching up with some good friends. Today I'm sharing my entry for this week's Paper Pal Arts Colour Challenge:

When I saw these colours, I immediately thought how lovely they would be for a spring flower bouquet. I decided to get out my Secret Garden stamp set and framelits and start creating - here's my card:

Not quite a bouquet, granted - I went for a Crumb Cake flowerpot instead! I then stamped a variety of flowers, colouring some of them with ink and a blender pen and layered them, raising some of them on dimensionals, to fill my flowerpot. A few Wild Wasabi leaves to add some green and a 'For my mother' gift tag complete my card. I think this would make a lovely Mother's Day card and the flowers would certainly last longer than the real thing.

Only two more weeks until Mothering Sunday here in the UK, so if you haven't thought about your cards yet, you'd better get started! I hope you liked today's card - back tomorrow with another project; until then happy stampin'!


Stampin' Up! Supplies Used:

Table built using Product Table Builder by The Crafty Owl - Independent Stampin' Up! Demonstrator.


Welsh Daffodils for Easter!

by Joanne James1. March 2014 20:16

Today I've had the kind of day where I feel like a true working mother - my 'to do' list is reaching epic proportions and I seem to be rushing from one thing to the next and am welcome for the break that sitting down to write my blog today has given me: and breathe ...!

Well being Welsh, there's only one thing I could share with you today: March 1st is St David's Day, the day that celebrates the patron saint of Wales, so it had to be a card featuring the national flower - daffodils. The first time I saw the Petite Petals punch I knew it would make great daffodil petals - it was the perfect shape. I've seen a few examples in blogland - the first one of which I think was by Jackie Topa - but today I'm going to share my version with you. So for working mothers everywhere and Welsh people at home and abroad, Here's today's card:


I stamped the petals in Daffodil Delight onto the same colour cardstock using the spotted flower stamp just to give some pattern, and made the trumpets by using a flower shape from the Itty Bitty Punches which I formed by scrunching around the rounded end of my paper piercing tool. here's a close up of the flowers so that you can see what I mean:

I cut some stems and leaves using the edges of my large oval punch and my paper snips, and mounted these onto a piece of Whisper White cardstock that I background stamped with the large colourwash stamp from the Happy Watercolour set to add some interest. I edged this piece with yellow for definition and mounted my decorated piece onto a Gumball Green card base. I decided to make my card into an Easter card and stamped my sentiment in Whisper White kraft ink and set it within a horizontal line that I drew in with my chalk marker.

I used this week's sketch layout at CAS(E) this Sketch for my card this week and was delighted to see that the challenge over at Less is More this week is to use yellow and green on your card - perfect!

Back tomorrow with another project; until then, happy stampin'!


Stampin' Up! Supplies Used:

Table built using Product Table Builder by The Crafty Owl - Independent Stampin' Up! Demonstrator.


Get Well Soon for The Paper Players PP178

by Joanne James15. January 2014 20:43

A quick post from me today! With all the coughs and colds that are ever-present in our house at the moment, I thought I would take the opportunity today to create a get well soon card. Here is my card:

I used my Stampin' Write Markers to ink up the flowers on my 'Wildflower Meadow' stamp, leaving out the dots and replacing the bird with the sentiment. I then simply embossed the coloured image and mounted using the Coastal Cabana blue as my accent colour. I took the colours from this week's challenge over at 'The Paper Players' as the inspiration for my card:

I actually found it tricky to work with four different colours and did break the 'blue and green should never be seen without a colour in between' rule with this one, but I like it!

Back tomorrow with a one layer card: until then, happy stampin'!

Stampin' Up! Supplies Used:

Table built using Stampin' Up! Product Table Builder from The Crafty Owl.


Island Indigo Flowerfull Heart Slider Card

by Joanne James6. January 2014 21:09

Today has been a fun day, with my first class of the year. A fun - if quiet! - time was had by all, with all my ladies being very accommodating of my continued voiceless state. I'll share more on our class makes later in the week, but today I'm sharing a card that I am entering for this week's Pals Paper Arts challenge, PPA186, which is to use the following colours:


With this in mind, I inked up my Flowerfull Heart stamp again but this time made a slider card - take a look:


I stamped the heart in Versamark and heat embossed with gold embossing powder, then layered the heart on another one made from gold foil. When the ribbon end is pulled, it reveals the message inside:

The inside of the slider card is stamped with my favourite stamp from the 'Follow My Heart' set on the lower inside panel, and the valentine stamp from the 'Delightful Dozen' on the extending top section (I replaced the stamped heart with a gold foil one). I think this would make a lovely masculine valentine's card; the gold foil and embossing adds a real luxurious feel.

I will be sharing a video tutorial on how to make this card as soon as my voice returns, so stay tuned. Meanwhile, check out the inspiration from the designers and participants over at Pals Paper Arts here.

Back tomorrow with another card; until then, happy stampin'!


Stampin' Up! Supplies Used:

Table built using Stampin' Up! Product Table Builder from The Crafty Owl.


Christmas Star - Gold and Silver

by Joanne James23. December 2013 21:51

Today a quick post to share the Christmas cards I made for my Mum and Dad and Mother-in-law respectively - and a little 'sneak peek' of some new product that will be available in the Spring-Summer seasonal catalogue at the end of January. I wanted to use the single stamp 'Christmas Star' for my cards; this is such a great statement stamp but feel like I haven't used it anywhere near enough this season. I was inspired by this Brian King card I saw a while ago here. For my version, I decided to use the same design for each card, but create it in two different colourways. Here's the first one in silver and Midnight Muse:

I wanted the star to take centre stage, so kept the design fairly simple and embossed the star then hand cut and scored along the point lines to create a lovely 3-dimensional effect. I adhered the star to the card with rolled glue dots at the end of each point; this is a better option where you don't want the bulk of a dimensional. To finish I added the Christmas sentiment from the 'Delightful Dozen' stamp set.

For the second version, I used gold and Cherry Cobbler:

Did you spot the 'sneak peek' of the new product? Yes, shiny gold sequins - just one of a number of new gold products that will make their appearance in the Spring-Summer seasonal catalogue in just over a month's time. I just couldn't resist using a few to finish off my Christmas projects.

So here's a picture of both cards together; the question is, which one do you prefer?

I must say, I think it's a tough call - I like them both, and I'm not sure which I would choose as my favourite. Both were well received by the recipients, so I guess that's the main thing!

Tomorrow is Christmas Eve, so will be a day of food preparations for the big day, along with a few fun things too. I'll be back to share another Christmas project too; until then, happy stampin'!


Stampin' Up! Supplies Used:

Table built using Stampin' Up! Product Table Builder from The Crafty Owl.


Tags: , , , , , , , , ,

Cards | Stamping

Afternoon Picnic Birthday Card PP169

by Joanne James31. October 2013 23:15

A late post from me today and it was supposed to be all about Halloween, but as I'm behind this week and the current Paper Players challenge ends tomorrow, I need to have a switch around so that I can link up today's card. This week's challenge over at The Paper Players is a sketch by the lovely Ann Marie - here it is:

I love sketch challenges as you know and I've actually used this layout for several card designs this week (still in the making and not blogged yet, in case you're thinking you haven't seen them!) The card that I'm going to link up though is the one that is most 'true to sketch' and is actually the birthday card I designed for my Mum - here it is:
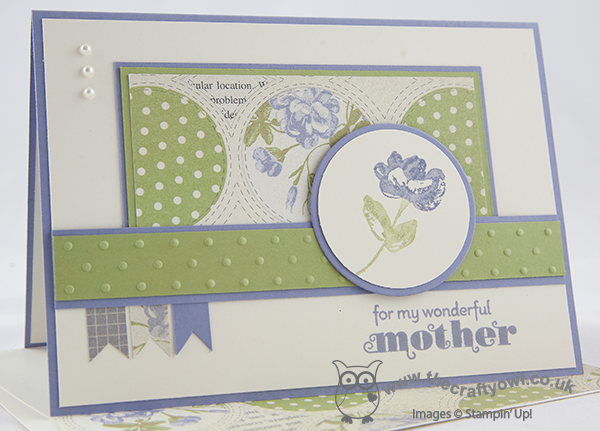
Now it's not my Mum's birthday until Saturday, so I'm taking a chance here, but as she rarely looks at my blog I think I'm safe! I took the inspiration for my colour scheme from some of the papers in the Afternoon Picnic DSP stack and it was an opportunity to use a colour that I rarely do: Wisteria Wonder. I actually had some out on my desk as I've been using it for another project recently, but must confess it's a colour I don't find myself drawn to. I love the idea of lilac, but I find too much Wisteria Wonder rather overpowering. Here I've tried to temper that by using a Very Vanilla background and making good use of Pear Pizzazz, the other main colour in the patterned paper. I used my Stampin' Write markers to colour the flower from the 'Oh Hello' stamp set, which so looks like the flowers that you see in this paper stack and I used an embossed strip across the centre of my card because whilst I think it would have looked nice with a strip of chevron ribbon, I wanted it to be post-friendly and I like the way the embossed dots again echo the pattern of the paper.

So that's my card. I may well share some of today's Halloween makes with you tomorrow (call it early planning for next year!) Whilst I don't tend to go in for Halloween cards and as my regular readers will know, I haven't featured a single Halloween project, one of the things that is really big in the James household is pumpkin carving. Each year we try to grow our own pumpkins in the garden and this year we managed to grow four, two of which were the biggest ever! Our record breaking pumpkin was 1.38m in circumference and weighed 17.9kg - only 2kg lighter than my 6 year old son!!! The children and I spent the happiest of days today carving all four of our pumpkins, so I thought I should share some pictures with you:

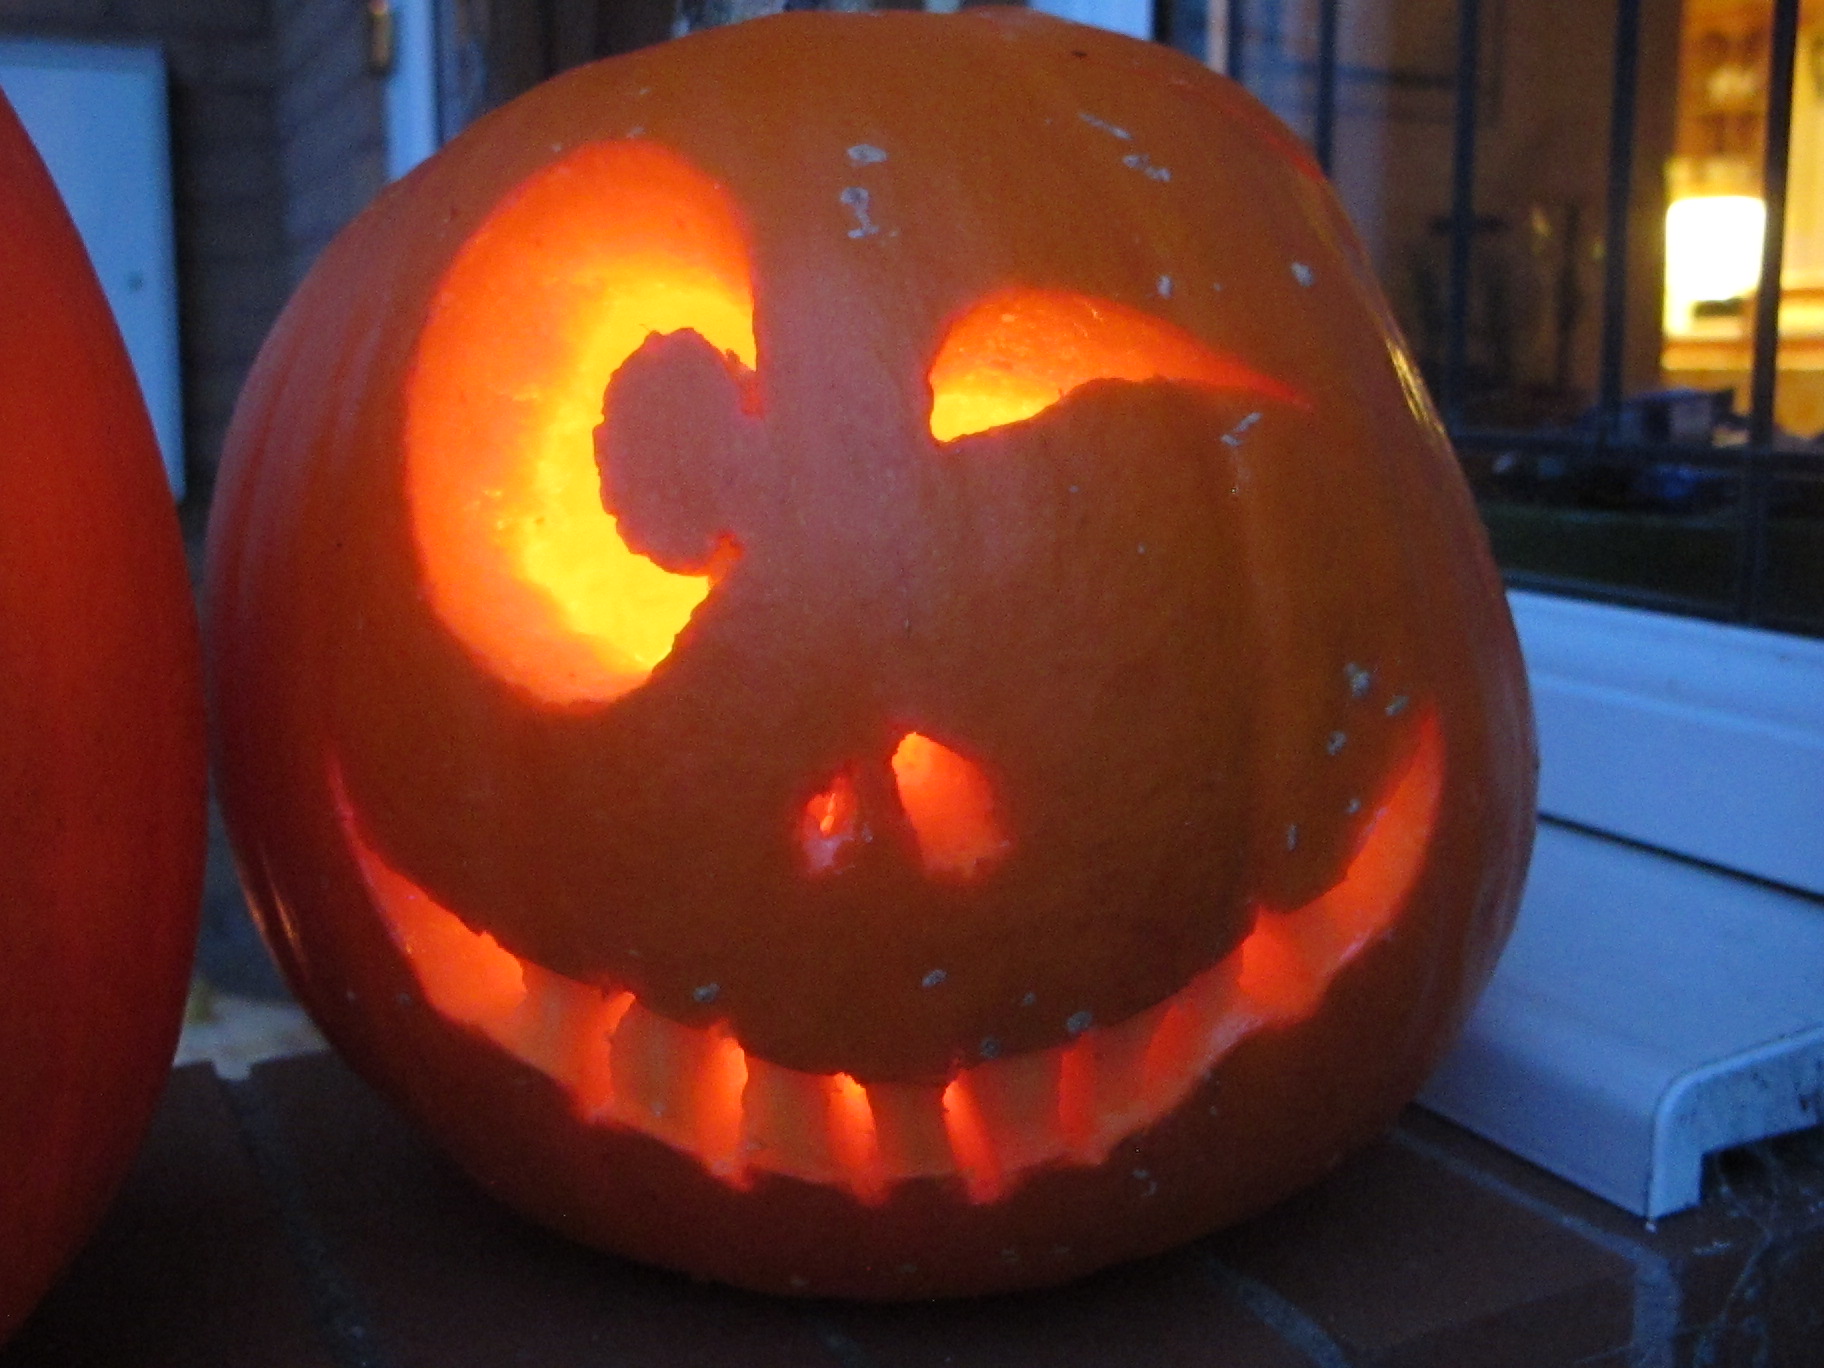
 This is Rebecca's pumpkin, that she carved herself:
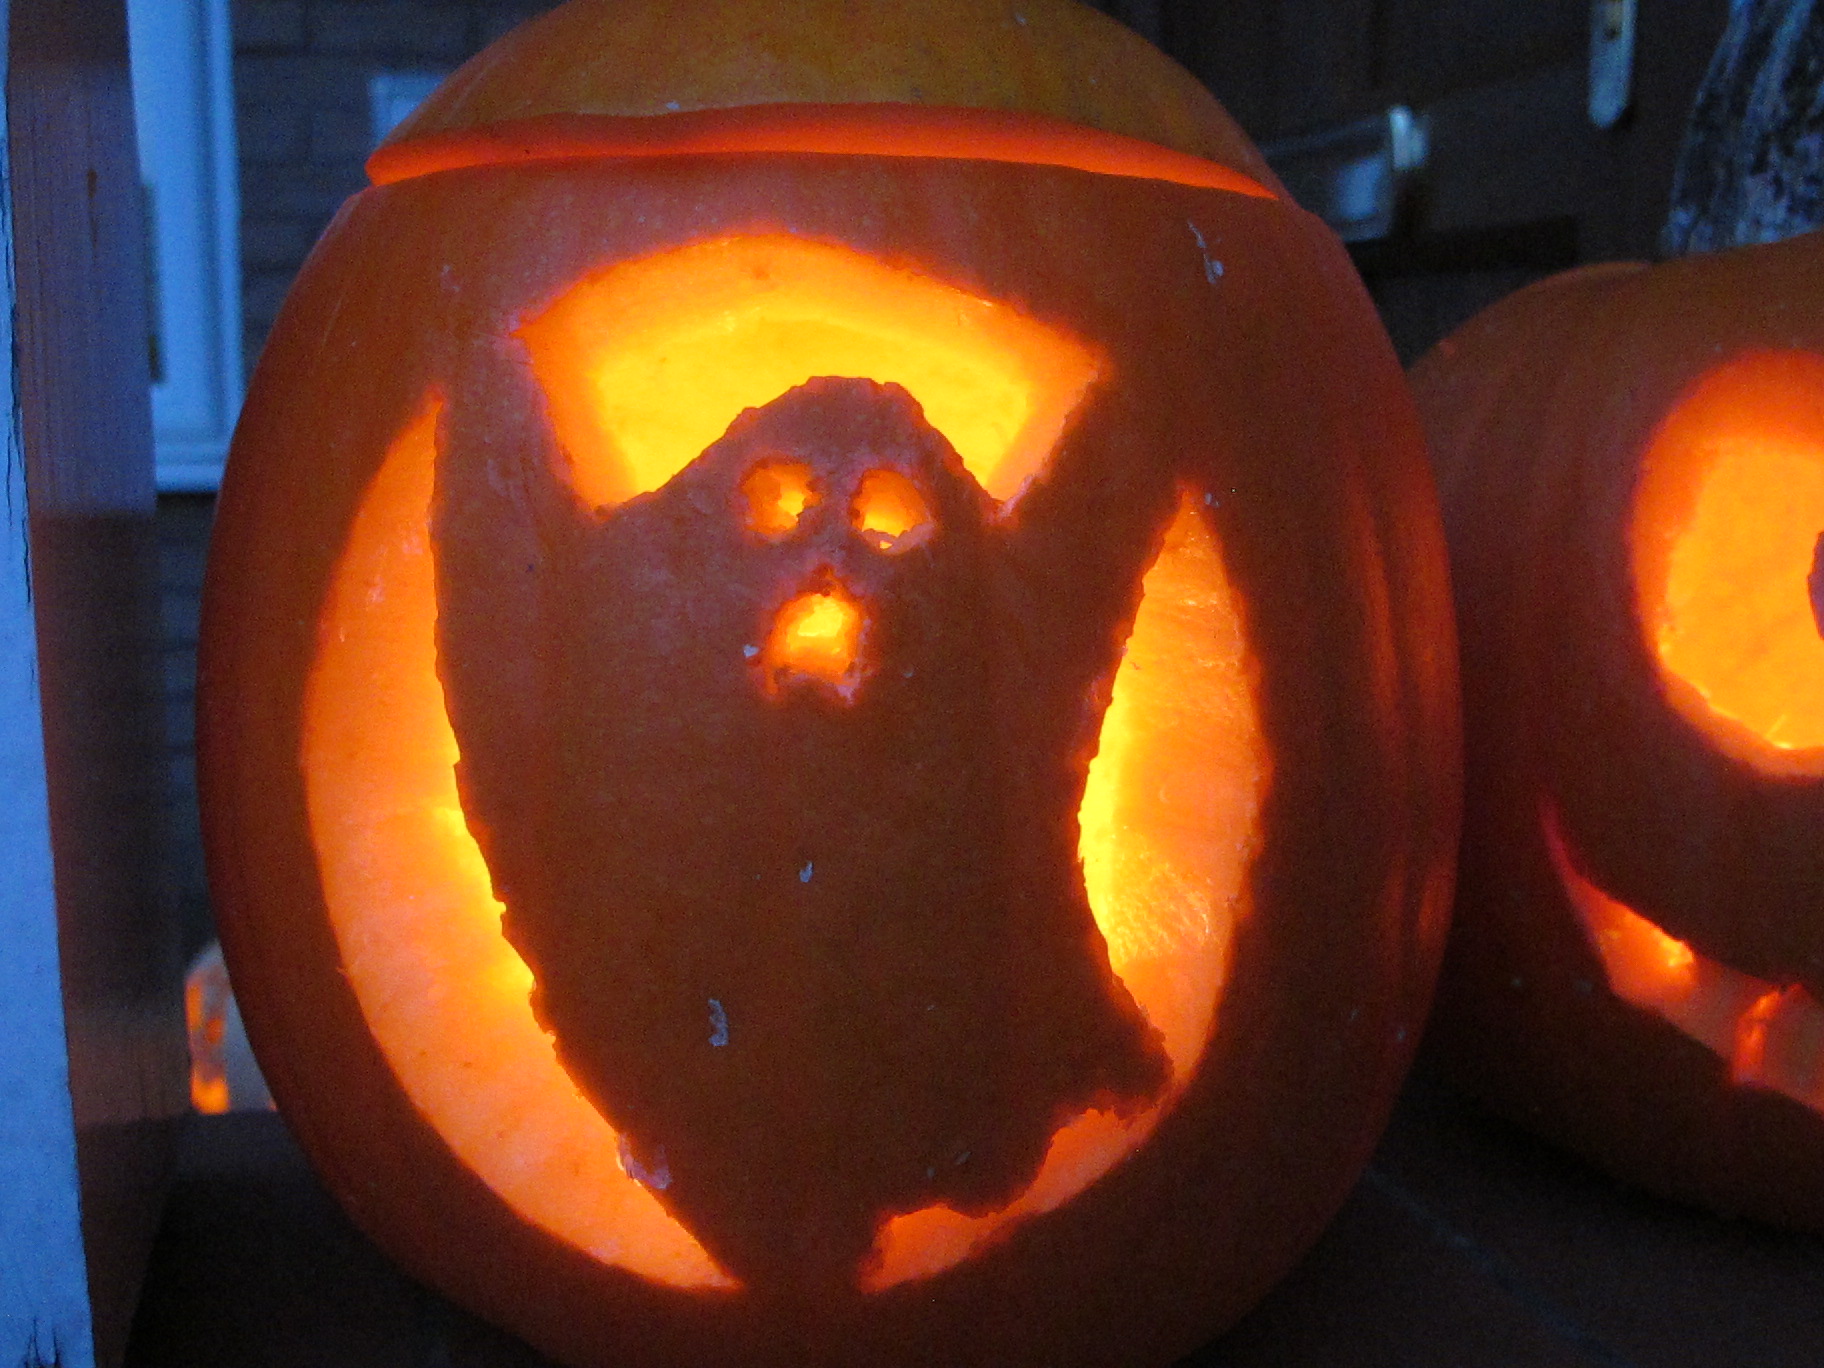
This is Ben's pumpkin, that he too managed himself for the first time this year:
 

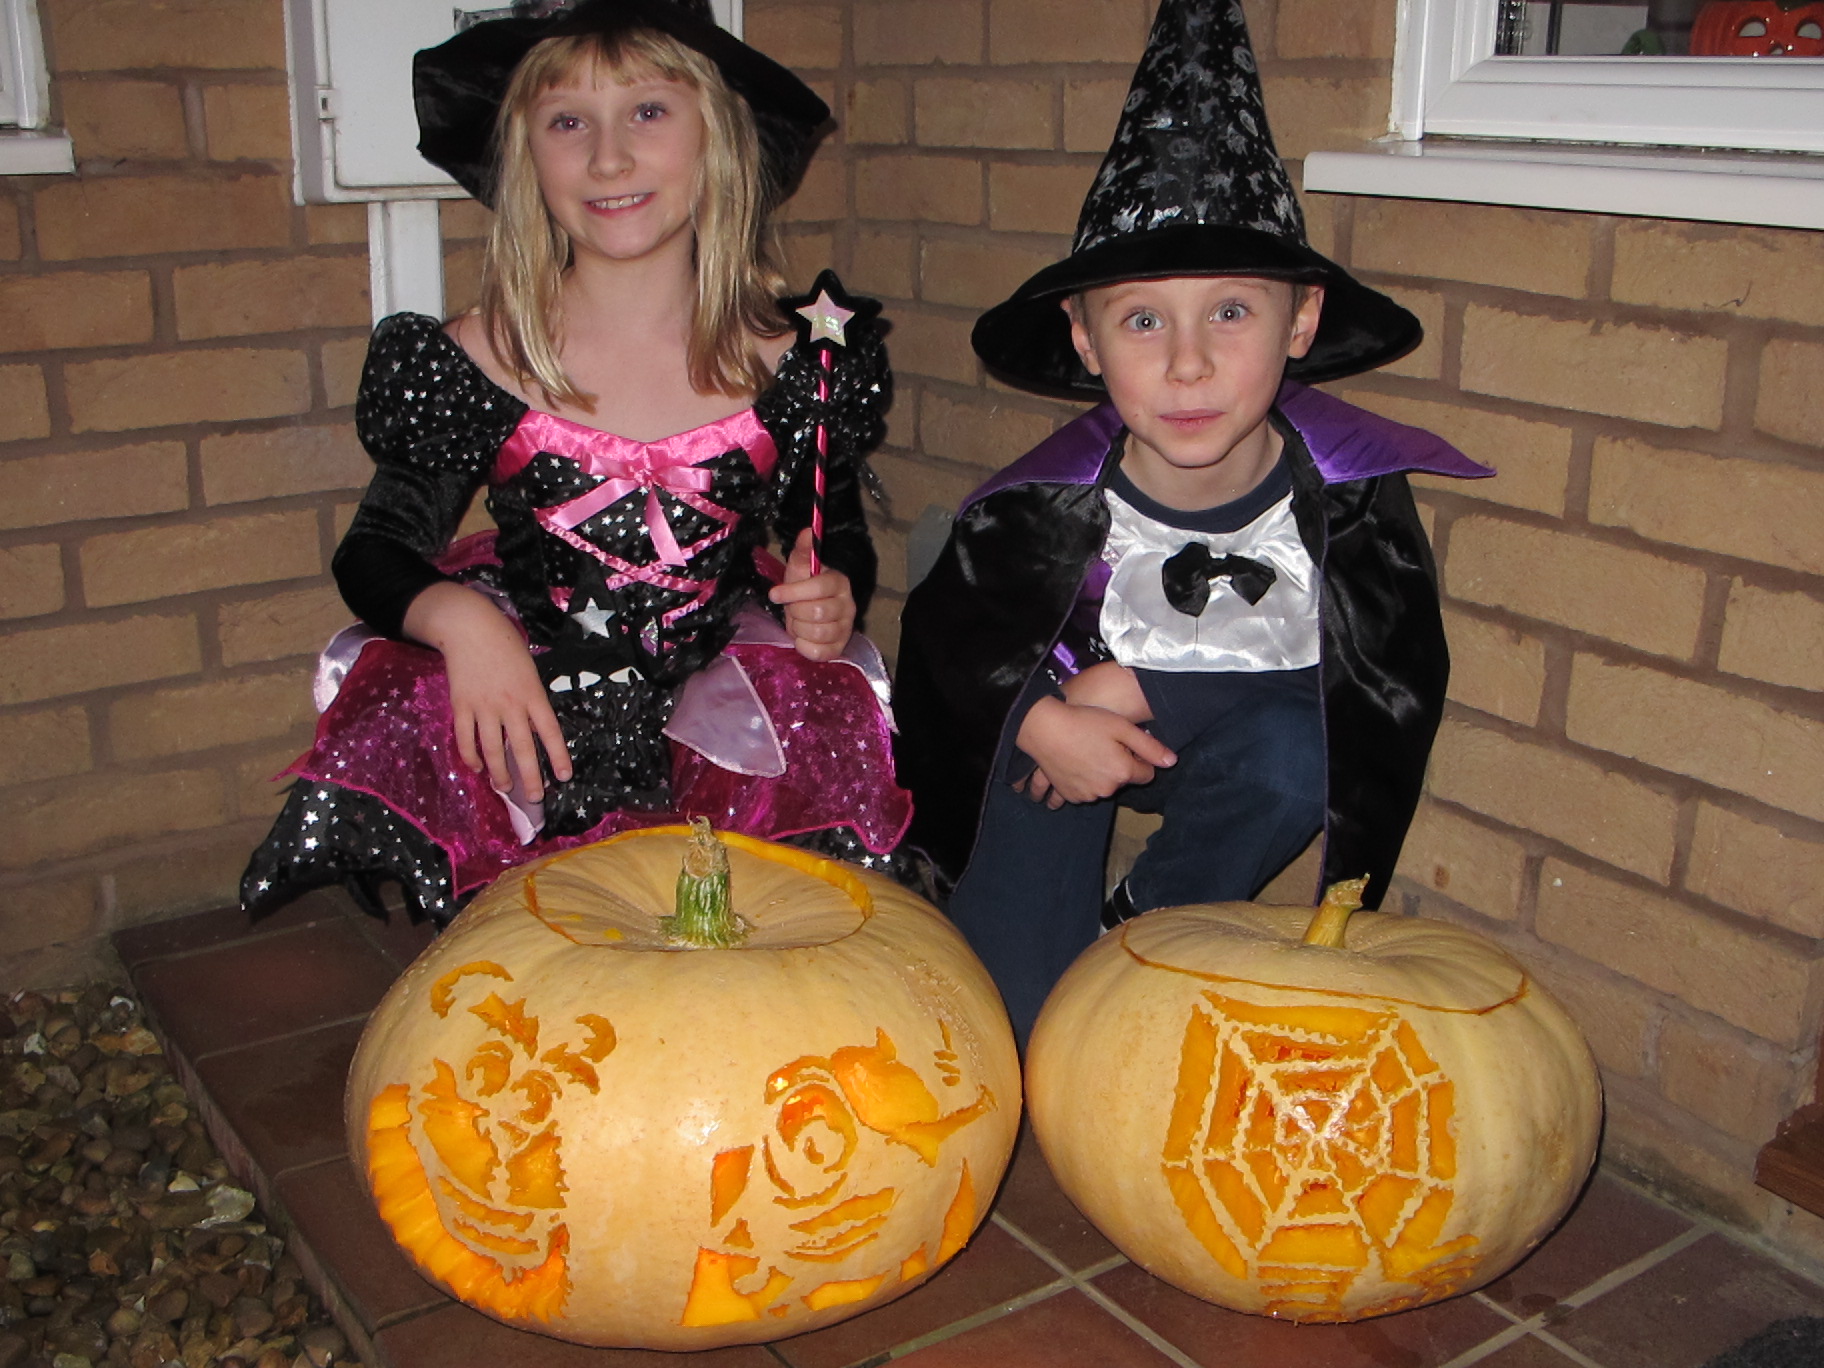
And lastly here are both Ben and Rebecca, with our two 'monster' pumpkins, the largest of which was big enough for a double Monsters University-inspired carving:
 

Not a piece of cardstock in sight, but very creative, nonetheless! I'll be back tomorrow with another project, meanwhile why not pop over to The Paper Players and see what the designers and other participants have done with the above sketch? Until tomorrow, happy stampin'!


Stampin' Up Supplies Used:

One Layer Papillion Potpourri Thank You Cards

by Joanne James24. September 2013 11:17

My second post of the day today, so a quick creative one this time! I just wanted to share some thank you cards I made recently for some customers to pop into the bags with their orders. I made quite a few, so needed something that was quick to execute. I decided to use a selection of the butterflies in the Papillion Potpourri stamp set to create this simple one layer card:

I used the lovely pre-cut and scored Stampin' Up! notelets and the colour scheme was inspired by the Birthday Basics DSP that I also had out on my desk to make the card I'm going to share with you tomorrow. A simple sentiment and a co-ordinating stamped envelope and voila - a pretty card set in no time at all!

Don't forget, the Papillion Potpourri stamp set and co-ordinating Bitty Butterfly punch bundle is available to order at a 15% discount during the month of September, so you have just under a week to take advantage of this offer. If you live local to me, I will be placing an order later this week so if you would like to save on p&p contact me to add you order to it. Otherwise just go to my online store to place your order by clicking on the supplies links below or for the bundle on the right hand side of my blog page.

Also, if you haven't yet checked out the Clearance Rack in my online store, go take a look! There are some great bargains to be had, with some items as much as 80% off.

Back tomorrow with another card; until then, happy stampin'!


Stampin' Up! Supplies Used:

 Whisper White Note Cards & EnvelopesPapillon Potpourri Clear-Mount Stamp SetGumball Green Classic Stampin' PadRaspberry Ripple Classic Stampin' PadSummer Starfruit Classic Stampin' PadCrisp Cantaloupe Classic Stampin' PadBermuda Bay Classic Stampin' Pad

Delightful Dozen - Clear-Mount Stamp Set - by Stampin' Up!

Tags: , , , , , , ,

Cards | Promotions | Shop Online | Stamping

Scrapbooking

Stampin' Up! has introduced a new range of 12x12" scrapbooking product and kit - the full range is now available to purchase online. To download a copy of the new digital Scrapbooking Catalogue click here.

Mini Catalogue

BROWSE THE CATALOGUE

'Tis The Season - the new Stampin' Up! Mini Catalogue is here! For more details and to download your copy click here

Shop Online

Access my online shop 24 x 7, 365 days of the year:

Current September hostess code:

JQEHTZGK

Shop Online

2024-25 Annual Catalogue

BROWSE THE CATALOGUE

Click on the image to download your copy of the 2024-25 annual catalogue. For a full list of current SU! supplies, go to my online store. If you would like any help or advice, please drop me a line at joanne@thecraftyowl.co.uk or give me a call on 07773 421446 - I'd be happy to help.

Join My Team

It's always a great time to join Stampin’ Up! New team members can get £130 worth of products for only £99 + free business supplies + free shipping + all the fun being a part of Stampin’ Up! Stampin' Up! has something for everyone: join my growing team and benefit from my support to enjoy Stampin' Up! however you choose.

If you're interested, call me for a chat to understand how I can help you realise your goals. Alternatively, if you have already decided to sign up and you just can't wait, please click here for the link to the online form where you can sign up and order your starter kit right away! 

Latest Kits!

Stampin Cut and Emboss

The Christmas Ornaments Kit and Card Keeper Kit are the latest kits that will be arriving in the online store later this month - get yours here!

New Online Exclusives

There are new products available exclusively in the online store from 3 July - check them out here.

About Me

Hi I'm Joanne and live in Northampton and when I'm not looking after my husband and two beautiful children, am an avid crafter with a passion for all things Stampin' Up!

I must confess that I have never been a big rubber stamper - until I discovered Stampin' Up! that is. I love the fact that I can get such great results with co-ordinating stamps, inks, papers and punches - the possibilities are endless! Join me on my stamping journey as I share the things I love and be inspired to create amazing things yourself!

Follow Me

Monthly Newsletter

Box Builder

Click the button above to use Box Buster to create your custom box design using the Envelope Punch Board!

Kits Collection Now Available!

Stampin Cut and Emboss

The new Kits Collection from Stampin' Up! is now available!

Click here to see the current kits available and order yours online today.

I Design For


Stampin' Up Stuff

This is my personal blog and is not endorsed by Stampin’ Up! I hope you find it a plentiful source of ideas and personal inspiration but please don't copy my designs for contest submission or use for classes, publication or sale without express permission.