by Joanne James3. July 2014 22:32Good evening all - I've had a busy week so far, most of it out and about so have spent next to no time in my craft room. Good job I have a few things that I've already prepared to share with you! Today I'm sharing one of the cards I made for my new catalogue launch event, featuring the Work of Art stamp set:
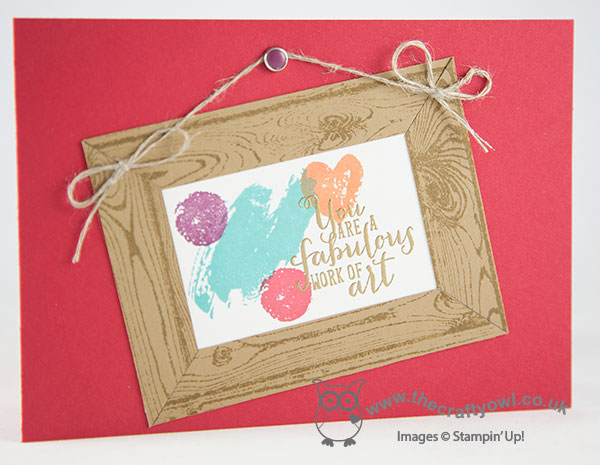
This set, comprising lots of brushstroke-type stamps can be used in lots of different ways and for this card I decided to use it to create my very own 'work of art'. I stamped four of the brushstroke stamps randomly on a piece of Whisper White cardstock, then stamped the sentiment in Versamark and heat embossed in gold. I then stamped the Hardwood stamp in Baked Brown Sugar on a piece of cardstock in the same colour and cut it into strips and created a frame for my picture. I finished off with some linen thread and a candy dot brad to hang it from on my Real Red wall.
Simple enough - but I like it! That's all from me today - a quick post as my bed is calling! Back tomorrow with another project; until then, happy stampin'!
Stampin' Up! Supplies Used:
by Joanne James2. May 2014 20:28Hello everyone - yes, it's Friday at last! And a three day weekend here in the UK too, so bonus! I've been busy working on wedding cards for commissions today so will share those another time. Today I'm sharing one of the cards I made with my ladies in my card class this month. The cards we made all featured the Happy Watercolour stamp set - today's card is a simple card stamped with the poppy stamp:
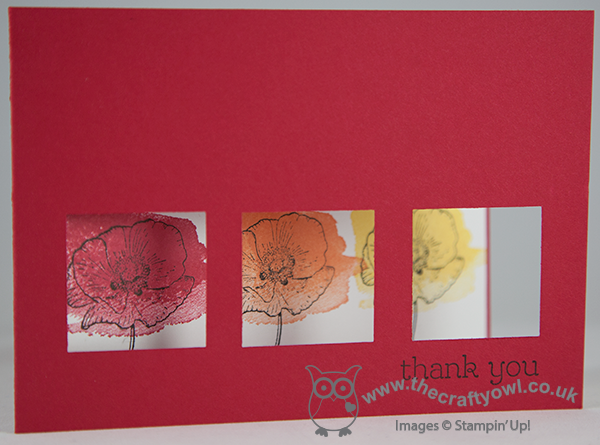
We punched three squares out of the front of the card (I used a retired square punch for this but you could use the Squares framelits as an alternative), then using the stamp-a-ma-jig to align the images on the inside of the card, we stamped the poppies in black so that they could be seen through the punched 'windows'. Each of the poppies was then overstamped with the large watercolour 'splodge' stamp (I think that is a genuine technical term!) like so:
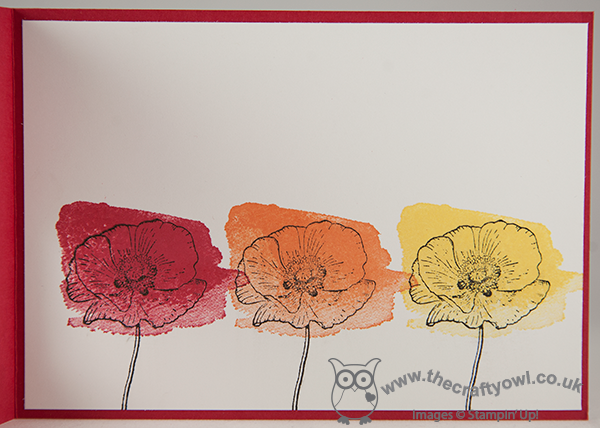
A simple thank you sentiment on the front of this card provides the finishing touch. This card was as much about getting my ladies used to using a stamp-a-ma-jig; many of them own one, but weren't confident in using it so I've been making sure that at least one card in each class offers the opportunity to practice. You know what they say - practice makes perfect :-) I wouldn't be without mine, that's for sure.
Back tomorrow with another card; until then, happy stampin'!
Stampin' Up! Supplies Used:
by Joanne James28. April 2014 21:16Good evening blog readers! Today I'm just in time with a card for this week's Colour Q challenge - here is the colour palette:
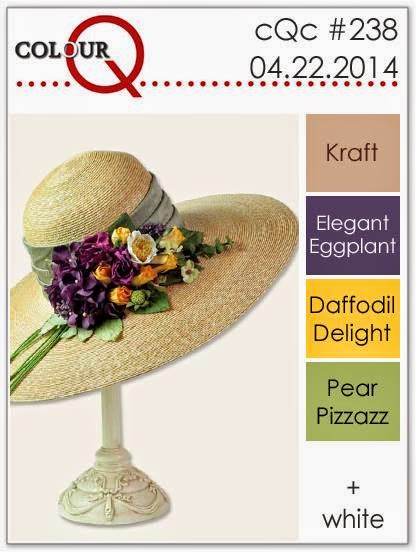
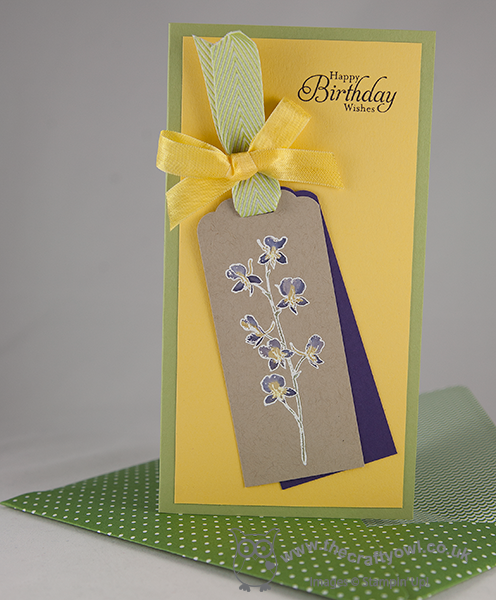
Last week I was chosen as one of the ColourQ Courtiers - you can see my winning card here. I saw this week's colour palette and photo inspiration and decided to make a card using a technique that I'm teaching in my card classes this week - painting on a white watercoloured background within a heat-embossed outline (not sure if there's a more succinct title for this technique, but that's how you do it!). Here is my card:
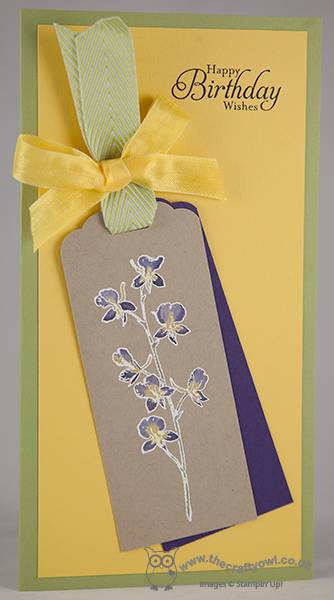
I went for a simple and bright layered background of Daffodil Delight on a Pear Pizzazz base, as I wanted the detail on my tag to take centre stage. I stamped my flower image in white kraft ink onto a piece of Crumb Cake cut with the Scallop Tag Topper Punch, then heat embossed with white embossing powder. Then, using my aquapainter, I painted the whole of the image white using the white craft ink, then when dry used my aquapainter again to over-paint with Daffodil Delight and Elegant Eggplant on the flowers, and Pear Pizzazz for the stems. I backed this tag with a second one cut out of Elegant Eggplant for another splash of colour and finished with a double ribbon bow topper and stamped a simple birthday sentiment.
The stamp that I used on my tag is from the 'Happy Watercolour' set and does require quite a long tag to fit it onto, which doesn't lend itself to a standard A6 card size. So I made a bespoke card, 200mm x 105mm, for which I then needed a bespoke envelope. And so to the exciting news that I hinted at the end of yesterday's post - I have another cool tool for you!
Following on from the huge success of Box Buster from The Crafty Owl, which enables you to make any size box using your Envelope Punch Board, I had so many requests for a similar tool to create an envelope of any size, I thought I had better get on with it - and Envelope Expert from The Crafty owl is the result! In truth I don't make that many unusually sized cards, and therefore envelopes, I didn't appreciate there was such a need to go beyond the 66 standard envelope sizes that come with the board - but having 'busted' boxes, Envelope Expert was pretty straightforward. So for everyone who asked, here it is! you can find this free to use tool at www.thecraftyowl.co.uk/envelopeexpert or simply go to www.thecraftyowl.co.uk and on the menu choose 'Tools' and 'Envelope Expert'. To see Envelope Expert in action, why not watch the short video below:
Now you can make any size card and matching envelope you like, just as easily as you can make an any size box - can you tell how much I love my Envelope Punch Board?!
Back tomorrow with another card; until then, happy stampin' - and envelope-making :-)
Stampin' Up! Supplies Used:
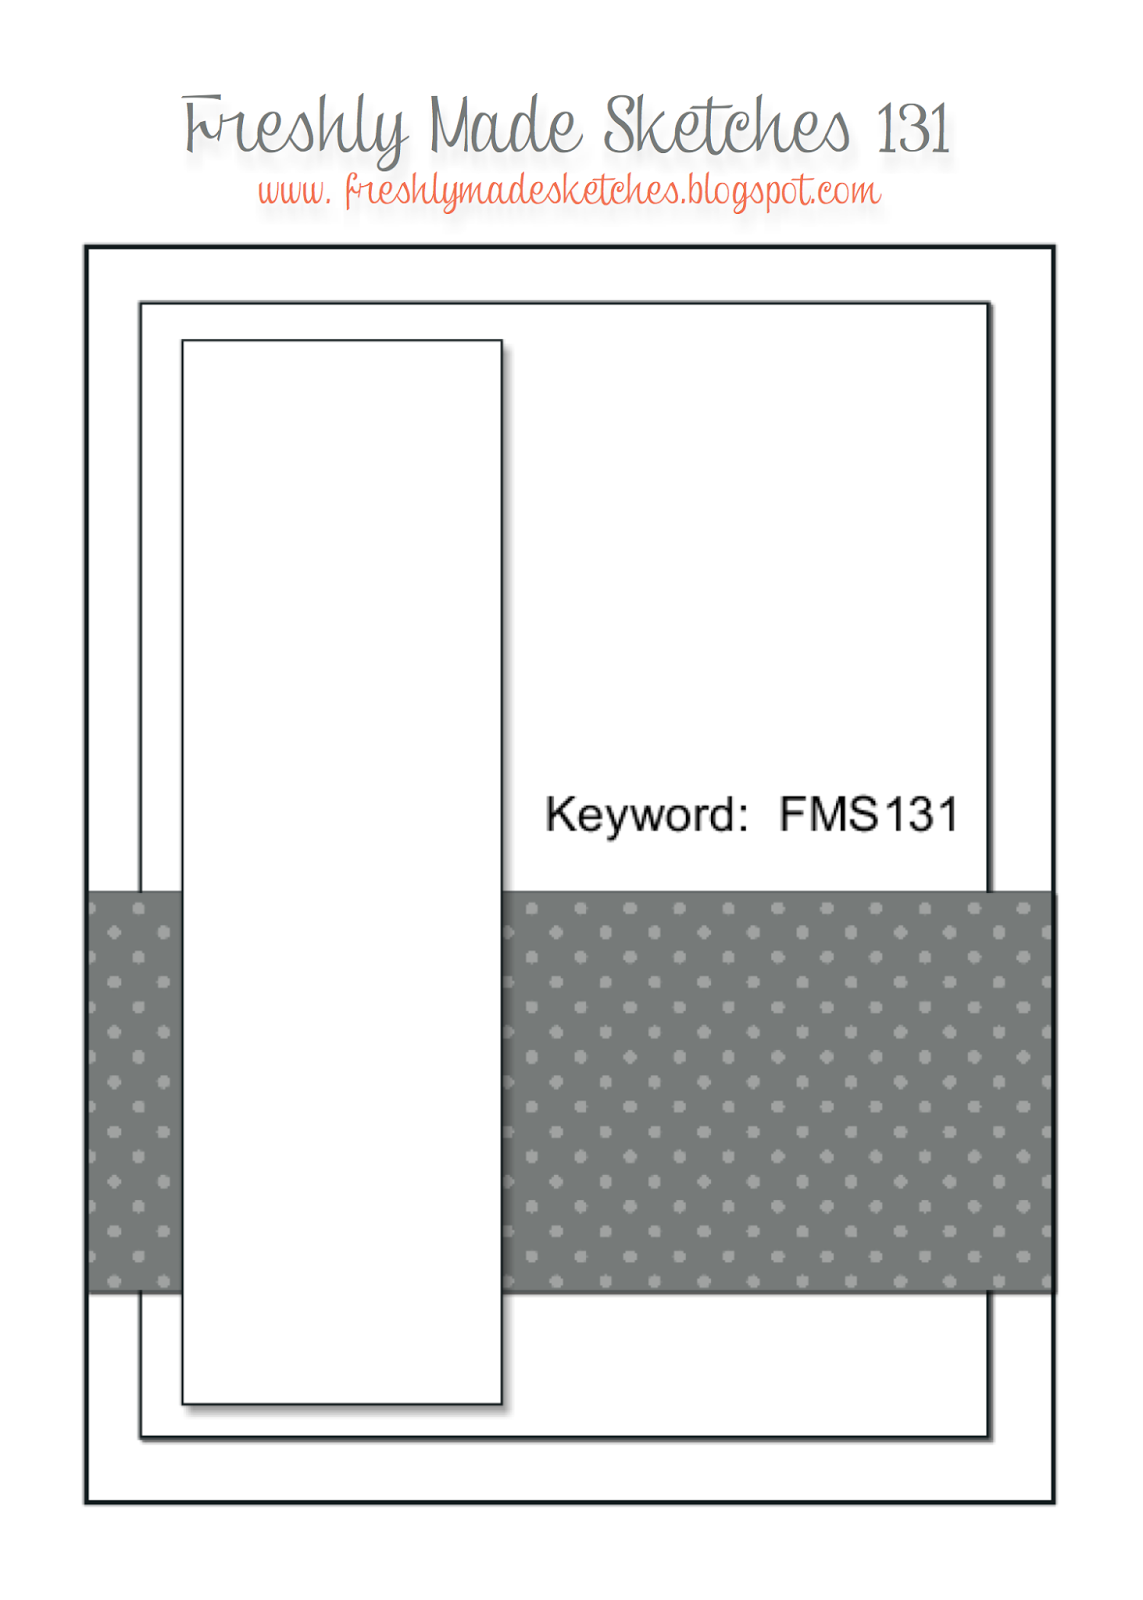
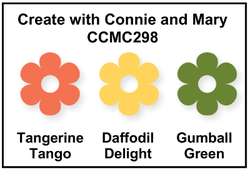
by Joanne James13. April 2014 22:33Today I'm sharing a card I made using the poppy in the Happy Watercolour set. I used the sketch over at Freshly Made Sketches for my simple layout and was inspired by the colours over at Create with Connie and Mary this week:
I decided to go with quite a simple design - here's my card:
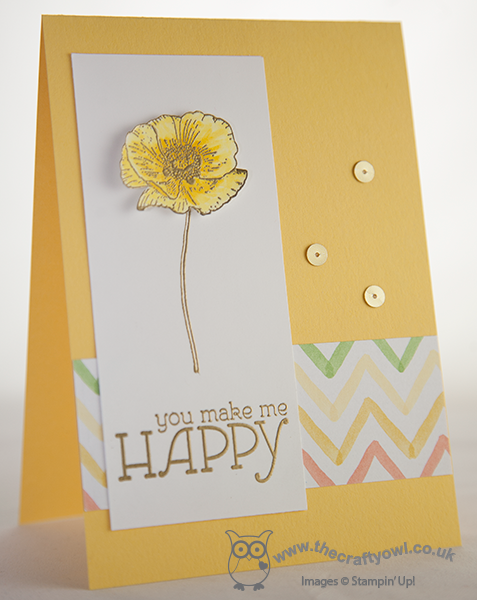
I used a Daffodil Delight card base and stamped my poppy stem only in Versamark and stamped it onto my base card and heat embossed in gold, then did the same again with the flowerhead on a separate piece of cardstock, coloured it with Daffodil Delight and my aquapainter and cut it out, then popped it onto my card on a dimensional. I know poppies are traditionally red, but they come in all kinds of different colours, including yellow - which also give the card a bright feel.
Here's a close up of the flowerhead:
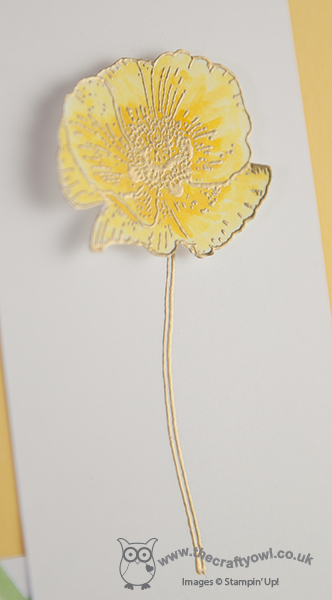
For my horizontal cross-section panel beneath the poppy, I used a piece of Watercolour Wonder DSP that features all of the challenge colours above. This is the only place where the green and orange features on my card, yet the colour works really well in breaking up what would otherwise be a rather monochromatic card. I added a few gold sequins to finish, and done.
If you'd like more ideas on how to use these colours, check out the design team inspiration - lots of great work on show, as always.
I'm off to take my juniors tenpin bowling with some friends today and then go and purchase some paint tester pots for Ben's bedroom redecoration - I love the Easter holidays!
Back tomorrow with another project; until then, happy stampin'!
Stampin' Up! Supplies Used:
by Joanne James22. March 2014 21:25I've had a busy day today preparing for tomorrow's Spring Banner class - photos to follow - and working on some other projects, so just time for a quick post today. I'm sharing a thank you card designed by Monica Gale that we made at our January team training session:

This is a lovely pastel card featuring the orchid stamp from the 'Happy Watercolour' set'. It is stamped onto a scallop topped tag and coloured with Stampin' Write markers and a blender pen and layered on a few layers of Sale-A-Bration Sweet Sorbet DSP in co-ordinating colours. along with an offcut from one of the laser-cut cards from the 'Simply Fabulous Simply Sent' kit sets. Some background stamping and a banner are stamped with two of the other stamps in the 'Happy Watercolour' set and the tag is finished with some ribbon and rhinestones to complete the look.
Come back tomorrow to see the outputs from tomorrow's Spring Banner class; until then, happy stampin'!
Stampin' Up! Supplies Used:
by Joanne James12. March 2014 10:11I'm hoping for a super-efficient day today: the dinner is already prepared and in the slow cooker, I've managed a few admin tasks and I'm getting my blog post in nice and early before I crack on with more creating and ticking a few more things off my ever-growing 'to do' list - I love days like this! Today I'm sharing two versions of essentially the same card - you'll see why shortly!
I loved the colours over at CAS Colours and Sketches this week and had a specific card in mind that I thought would also work for the challenge over at Less is More, where the challenge is One Layer cards featuring Spring flowers. So here are the CAS colours this week:
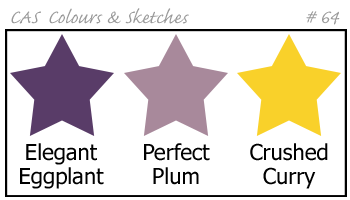
These colours reminded my of iris, a spring flower that we are starting to see in bloom now; I decided to use the orchid stamp from the Happy Watercolour set for my card (an iris is a type of orchid, right?!) because I needed to be able to create something abstract without any green and the stamps in this set are perfect for this. So here is my one layer card:
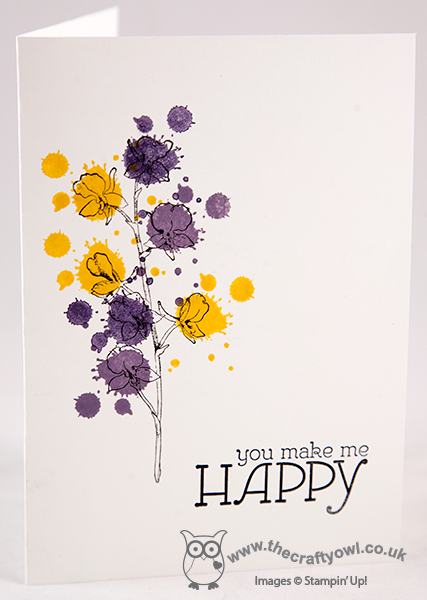
Instead of using one of the watercolour pieces to colour the flowers, I decided the bold colours needed something different so used one of the Gorgeous Grunge 'splodge' stamps instead; I saw something similar at a recent training event by Laura Mackie and decided this stamp would work nicely with the bold colour scheme. The splodges look random, but are perfectly placed: with the aid of my Stamp-a-ma-jig, it was easy to get the correct placement that I wanted. I then finished off with the 'happy' sentiment from the Happy Watercolour set - I love the font on this stamp. Having made this one layer card, I then decided to 'step it up' a little - here is my second card:
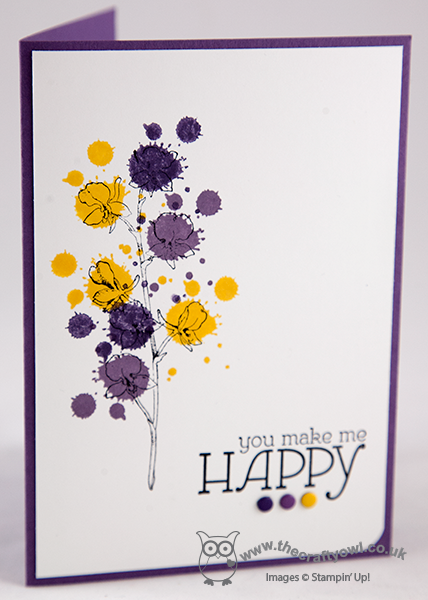
This time I layered on a base of Perfect Plum and finished the sentiment with some co-ordinating Candy Dots, rounding one corner of the white layer with my Envelope Punch Board. Some subtle additions, but they give the card quite a different look I think. I like both of these cards - which one do you prefer?
The 'Happy Watercolour' stamp set will feature in my classes on 28th and 30th April - if you live in Northampton and would like to join me to make some beautiful cards using this set, please get in touch for more information and to book your place. You can find my full class schedule here.
Right, I'm off to get inky! Back tomorrow with another project; until then, happy stampin'!
Stampin' Up! Supplies Used:
2dc518d3-fd24-4030-9b4f-d714327c5af4|0|.0|96d5b379-7e1d-4dac-a6ba-1e50db561b04
Tags: Candy Dots, Envelope Punch Board, Happy Watercolour, one layer cards, Gorgeous Grunge, Shop online, Stamp-a-ma-jig, Stampin' Up, Stampin' Up Card, Stampin' Up Card ideas, Stampin' Up Supplies
Cards | Classes | Stamping
by Joanne James1. March 2014 20:16Today I've had the kind of day where I feel like a true working mother - my 'to do' list is reaching epic proportions and I seem to be rushing from one thing to the next and am welcome for the break that sitting down to write my blog today has given me: and breathe ...!
Well being Welsh, there's only one thing I could share with you today: March 1st is St David's Day, the day that celebrates the patron saint of Wales, so it had to be a card featuring the national flower - daffodils. The first time I saw the Petite Petals punch I knew it would make great daffodil petals - it was the perfect shape. I've seen a few examples in blogland - the first one of which I think was by Jackie Topa - but today I'm going to share my version with you. So for working mothers everywhere and Welsh people at home and abroad, Here's today's card:
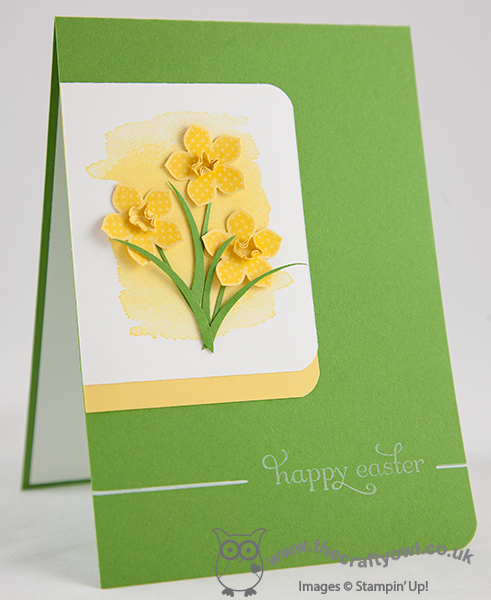
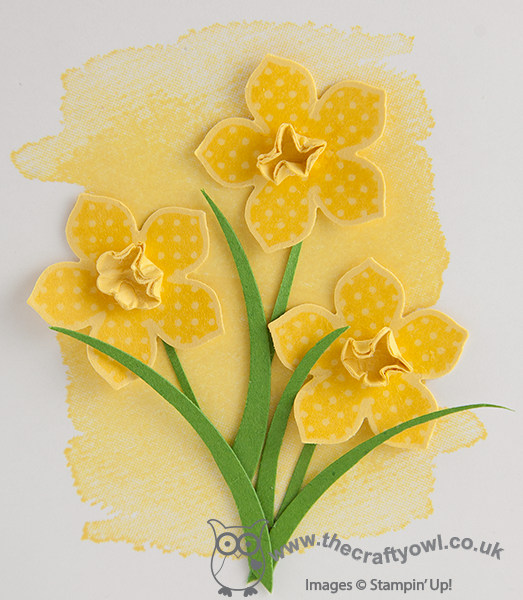
I stamped the petals in Daffodil Delight onto the same colour cardstock using the spotted flower stamp just to give some pattern, and made the trumpets by using a flower shape from the Itty Bitty Punches which I formed by scrunching around the rounded end of my paper piercing tool. here's a close up of the flowers so that you can see what I mean:
I cut some stems and leaves using the edges of my large oval punch and my paper snips, and mounted these onto a piece of Whisper White cardstock that I background stamped with the large colourwash stamp from the Happy Watercolour set to add some interest. I edged this piece with yellow for definition and mounted my decorated piece onto a Gumball Green card base. I decided to make my card into an Easter card and stamped my sentiment in Whisper White kraft ink and set it within a horizontal line that I drew in with my chalk marker.
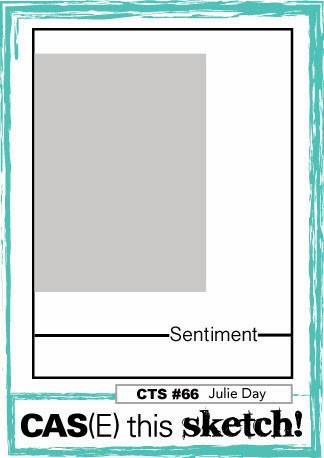
I used this week's sketch layout at CAS(E) this Sketch for my card this week and was delighted to see that the challenge over at Less is More this week is to use yellow and green on your card - perfect!
Back tomorrow with another project; until then, happy stampin'!
Stampin' Up! Supplies Used:
aca38dd3-4a82-4fa0-96b6-1224bf6f20ec|0|.0|96d5b379-7e1d-4dac-a6ba-1e50db561b04
Tags: Punch Art, Petite Petals, large oval punch, Delightful Dozen, Easter, Happy Watercolour, Envelope Punch Board, Shop online, Stampin' Up, Stampin' Up Card, Stampin' Up Card ideas, Stampin' Up Supplies
Cards | Punch Art | Stamping
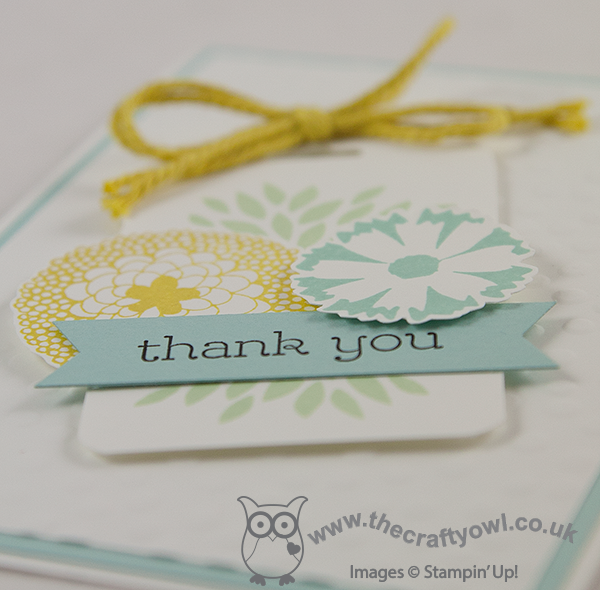
by Joanne James8. February 2014 19:56Yay - it's the weekend! We don't have any special plans this weekend, but sometimes that's a nice way to be. Homework, swimming lessons enough of a dry spell to get outside and shoot some hoops this afternoon and some time spent doing jigsaw puzzles - what could be nicer? Today I'm sharing another of the cards we made at this week's card class, featuring the items that can be yours free with a £45 spend. This card uses my favourite of the Sale-A-Bration stamp sets, Petal Parade - here is my card:
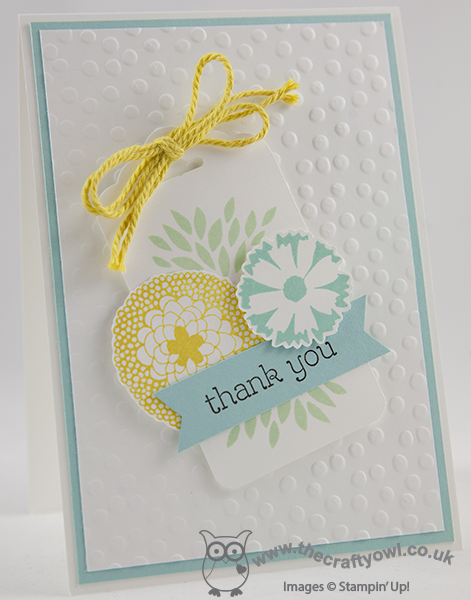
This card is a CASE of this one made by the talented Mary Brown; I loved this card when I saw it - the layering and the fussy-cut flowers really make it something special. In addition to which, it features three great Sale-A-Bration items (Petal Parade, Decorative Dots TIEF and some of the lovely baker's twine from the Sweet Sorbet accessory set) and one of my new favourites from the Spring-Summer catalogue - the Scalloped Tag Topper Punch. For my version of this card I wanted to use different colours and a pop of colour on my sentiment banner and offset my tag at a more jaunty angle. I hope you like it!
Back tomorrow with another card; until then, happy stampin'!
Stampin' Up! Supplies Used:
12b1e757-ed9a-4fad-a80d-7451139c1b34|1|4.0|96d5b379-7e1d-4dac-a6ba-1e50db561b04
Tags: Big Shot, Scalloped Tag Topper Punch, Decorative Dots Textured Impressions Embossing Folder, Happy Watercolour, Sale-a-bration 2014, Petal Parade, Sweet Sorbet, Shop online, Stampin' Up, Stampin' Up Card, Stampin' Up Card ideas, Stampin' Up Supplies, Classes
Cards | Classes | Stamping