Today it's Sunday and time for this week's new challenge over at The Paper Players! It's my turn to host this week and I have a timely theme challenge for us to work with:
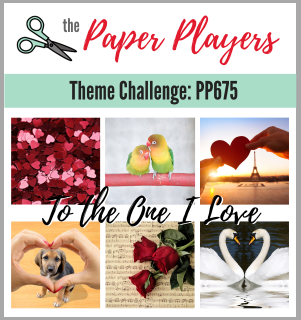

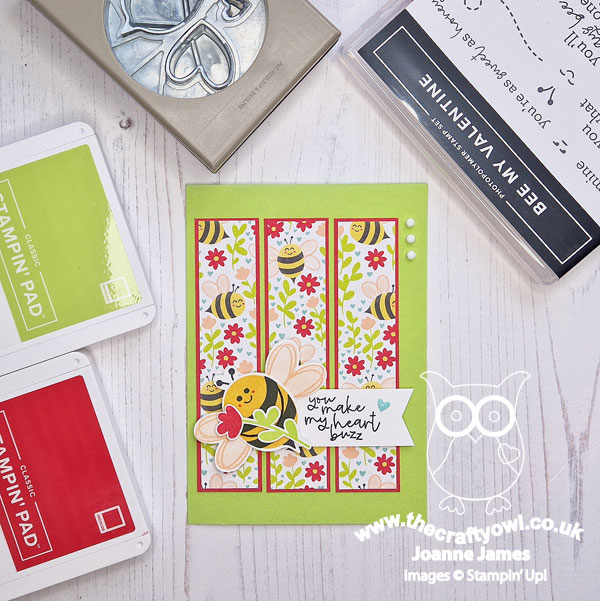
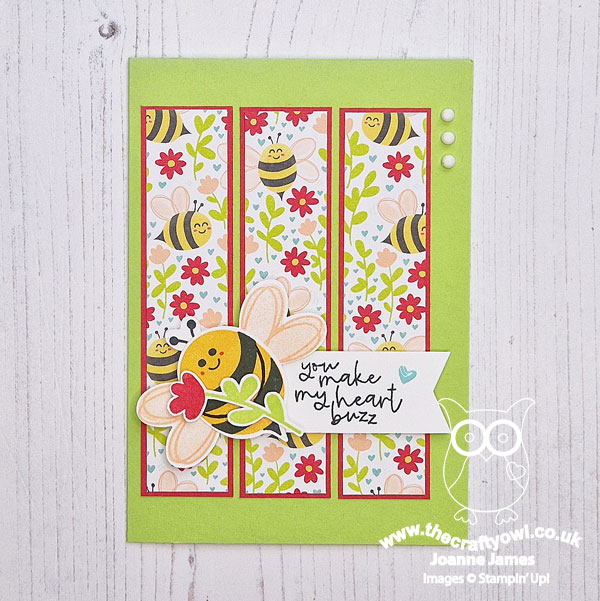
This week it's theme week and since February is here and Valentine's Day is around the corner, I chose the theme of 'Love'. Your card doesn't have to be a Valentine's card - it could be for a wedding anniversary or simply to say 'I love you', but should be made with a loved one in mind. I almost went with a pink and red heart-filled creation, but more of that later in the week! For today I wanted to make a bright and colourful Valentine's card featuring those cheerful bees and the Bee Mine suite - I just can't get enough of them! I used the sketch over at Try A Sketch On Tuesday for my layout and this is what I came up with:
Here's the low-down on today's card:
Bee Mine - I cut three panels of Bee Mine designer series paper and mounted them onto Sweet Sorbet cardstock before adding to my Lemon Lime Twist cardbase. In hindsight I should have made them shorter and positioned them higher to be more faithful to the TSOT sketch, but I was so keen to show off as much of the pattern as possible I overlooked that detail when I adhered them to my card and positioned them more centrally. Hopefully the ladies over there will forgive me ;-)
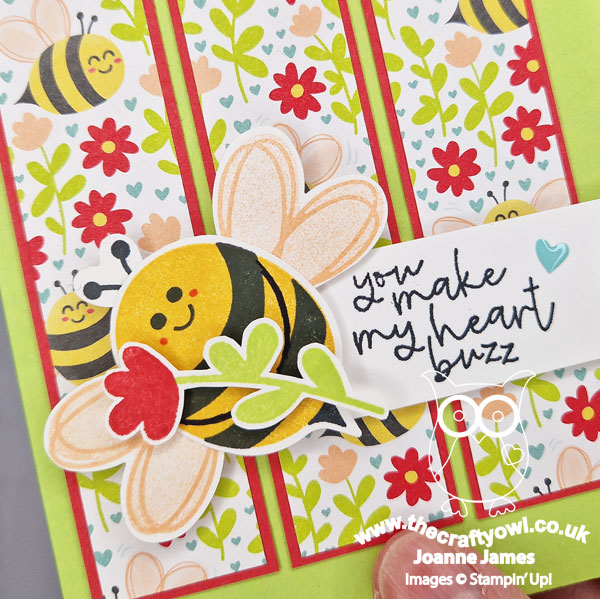
Bee My Valentine - I anchored my sentiment from the 'Bee My Valentine' stamp set with a bee, stamped from the same set and punched out with the Bee Builder Punch. This punch really is so versatile; it will punch the bee's body and wings, but also has a small heart that can be used as a heart or to punch out the bee's antennae. The wings double-up as larger heart too and the bee body could also work as a speech bubble - so many creative possibilities! I love a punch that has multiple uses!
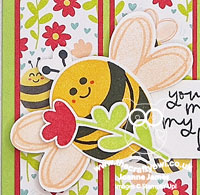
Armed With A Tip - I made my bee in the likeness of one of the ones in the designer series paper pattern. I added a couple of dots of red to her cheeks and a pair of arms, to hold her fussy cut flower. And so to my tip! If you are not confident adding your arms freehand, you can use the negative space of the punched bee body as a stencil: simply place the rounded 'head' of the stencil onto the body and draw in the arms with a Stampin' Write marker. You're welcome!
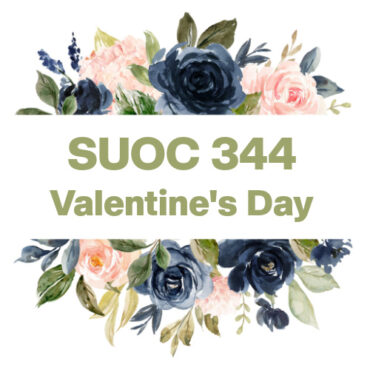
I'm also linking today's card up with my friends over at SUO Challenges where the theme is 'Valentine's Day'. This card is going to be my Valentine's card for the youngest of the James Juniors; not too girly, blue hearts and a punny sentiment - I think it might just be considered acceptable for a discerning teenager!
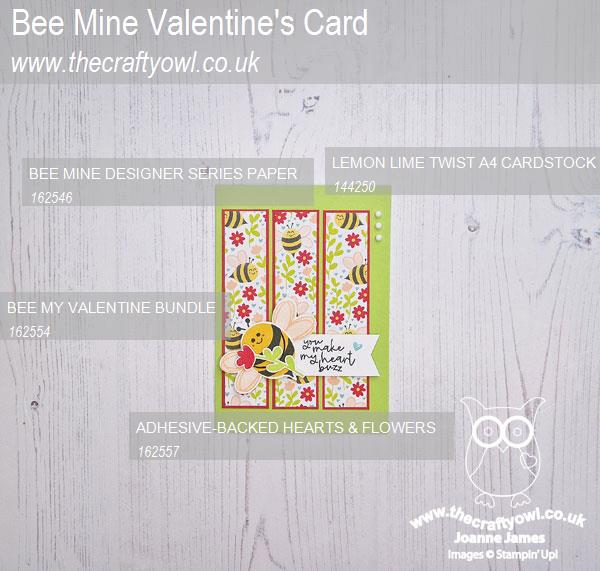
Here is the visual summary of the key products used on today's project for you to pin for easy reference:
You can see all of my Product and 'How To' summaries on my 'How To - Tips and Techniques' Pinterest board in case you've missed any.
Before you reach for your ink and papers, check out what our amazing team has created to inspire you this week:
The Paper Players Design Team
Here's a quick recap of our challenge rules:
1. Create a new paper project
2. Upload your creation to your blog with a link back to us and provide a direct link to the post featuring your challenge submission.
3. Please link your card to no more than four challenges, TOTAL.
4. Have FUN!
Enjoy your day; I'll be back tomorrow with another project. Until then, happy stampin'!
Stampin' Up! Supplies Used: