by Joanne James22. August 2014 08:00Yay - it's Friday and a two-post day! If you haven't seen my earlier post about this week's enhanced sign up offer, please scroll back or click here for more information. Valid for one week only, it's worth checking out!
So for today's creative post, I was inspired by the beautiful colours and inspiration photo over at Colour Q this week:
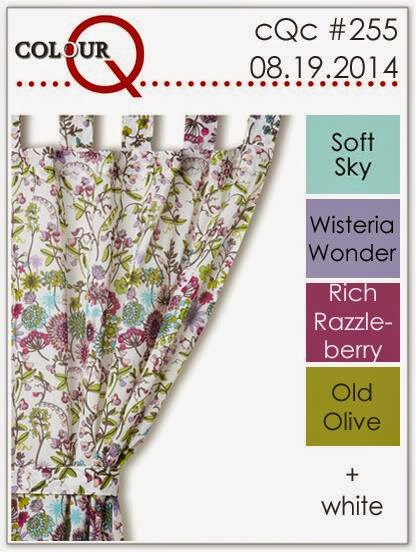
So here's the thing - I love the colour purple. If you asked me my favourite colour, I wouldn't say purple (I'd say blue or yellow, in case you were wondering!) however as one of my downlines pointed out to me once, I must like purple - lots of my clothes are shades of purple and I do find myself drawn to it as a colour. All that said, it's not a colour I often use in my cardmaking either, so when I saw this challenge, I thought I should at least remedy that in part - here's my entry to this week's challenge:
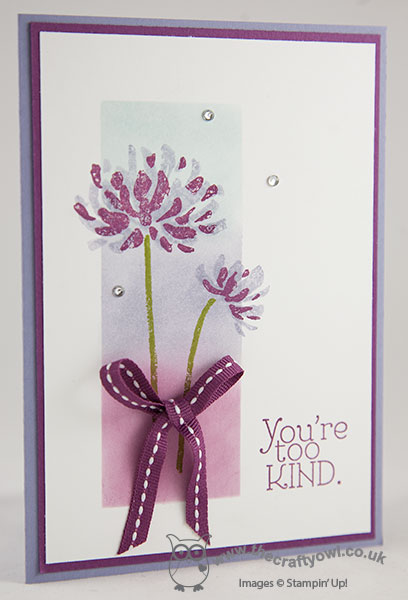
I used the Old Olive for the flower stems, then focused my card around the other three colours. I created a mask and sponged a panel blending the remaining three colours, then stamped the flower stems over the top, stamping off the Wisteria Wonder flowerhead once first to give a paler flower and then stamping the second layer in Rich Razzleberry, using my stamp-a-ma-jig to ensure perfect placement. Lastly, I added a sentiment and a bow using some retired stitched grosgrain ribbon (you could substitute the new cotton ribbon in the same colour) and a few rhinestones to finish. The result? I love it - maybe I should make purple cards more often!
That's me done for today - it's a Bank Holiday weekend here in the UK, the last one before the kiddies go back to school in just over a week's time, so we have some family activities planned (more on that next week).
Enjoy your weekend; back tomorrow with another project, until then, happy stampin'!
Stampin' Up! Supplies Used:
by Joanne James22. August 2014 00:05Today I have some very exciting news to share with you! From today for one week only, 22nd August-29th August, if you join Stampin' Up! you will receive an extra £20 worth of products of your choice with the standard £99 starter kit - that's £150 worth of products instead of the usual £130 and all for just £99 cost to you (and free postage!).
There are so many benefits to joining Stampin' Up! right now:
- You can pre-order new products before they are released to the general market - there's still the opportunity to get your hands on goodies from the new seasonal Autumn-Winter catalogue before it goes on general release to customers on 28th August
- An ongoing 20% discount on all product purchases
- Attendance at exclusive Stampin' Up! events, such as the Stampin' Up! European Convention to be held in Brussels this coming October - there's still time to register for this fantastic event!
In addition, if you join my team you will also receive an exclusive welcome pack and demonstrator handbook to help you build your new Stampin' Up! business, along with a free copy of my exclusive Product Table Builder Software worth £35 that is a must for any blogger who wishes to maximise their online sales. Not to mention the FUN! We are a close-knit team that has members far and wide and in addition to our face-to-face get-togethers and training meets, we are also part of a vibrant online community of fellow Stampin' Up! demonstrators who are always on hand with advice, encouragement and support.
So whether you just want to be a hobby demonstrator and take advantage of quality Stampin' Up! products at permanently reduced prices, or whether you would like to earn an income doing something you love, please give me a call on 07773 421446 to talk about what joining my team can do for you - I would love to hear from you! of course if you've been 'on the fence' and the opportunity to get your hands on even more free goodies is for you, then click here to sign up today - I look forward to you joining my team!
Back later with today's creative post!
by Joanne James21. August 2014 20:41Yesterday the beach, today Christmas! I follow the Merry Monday Christmas Challenge all year round, but must confess I don't often manage to enter 'out of season', even though I tell myself that this would be a good way to be more prepared with my own Christmas card stash! With lots of new pre-order items to play with though, this week there was no excuse! This week Sue's challenge is to use black, silver and gold on your Christmas card:
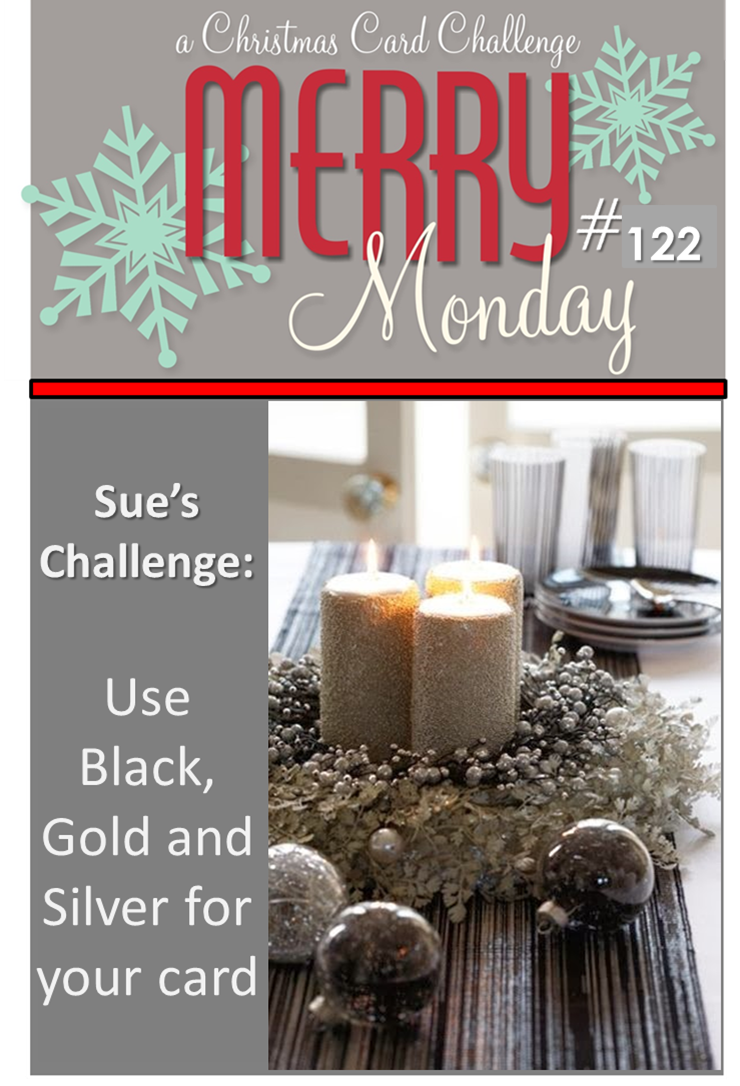
I don't usually use both gold and silver together on a card (I don't know why!), but when I saw this challenge I knew exactly what I wanted to make (I love it when that happens!) Here is my card featuring a new stampset called 'The Newborn King' from the new seasonal autumn-winter catalogue out next week (28th August - not long now!):
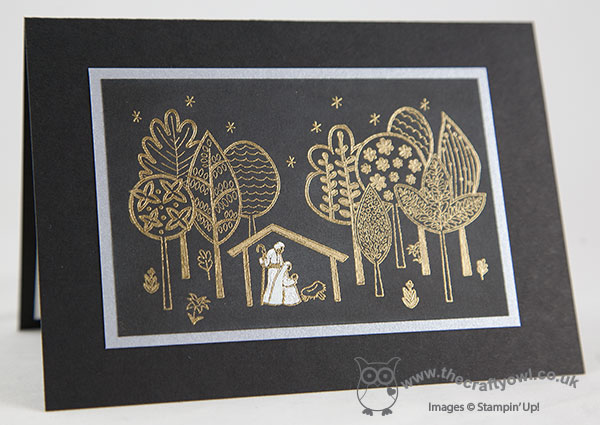
I stamped the single image in Versamark onto Basic Black cardstock and then heat embossed with gold embossing powder. I then took my gold Stampin' Dazzle marker and went over a few areas of the image and coloured them in. Slightly more tricky to see on my phototgraph, I then coloured in Joseph and Mary's clothes with the silver Stampin' Dazzle marker and their headdresses using my white gel pen. Lastly, I mounted this piece onto a mat of brushed silver then adhered this to my Basic Black card base.
I would not have thought of using black on a Christmas card in this way had it not been for the challenge and I'm really pleased with how this turned out. Also, it's embellishment-free, so is post-friendly too - bonus! Check out the lovely ladies over at Merry Monday for more festive design inspiration using this colour combination.
That's all from me today - back tomorrow with a one-week only sign-up deal that will knock your socks off; if you've been thinking about joining Stampin' Up!, then make sure you come back tomorrow for the low-down - this is one pre-Christmas deal you're not going to want to miss!
Until then, happy stampin'!
Stampin' Up! Supplies Used:
*The Newborn King - available 28th August
by Joanne James20. August 2014 09:30It's Wednesday so time for the challenge over at Colour Me...! where this week we have a subtle palette to work with:
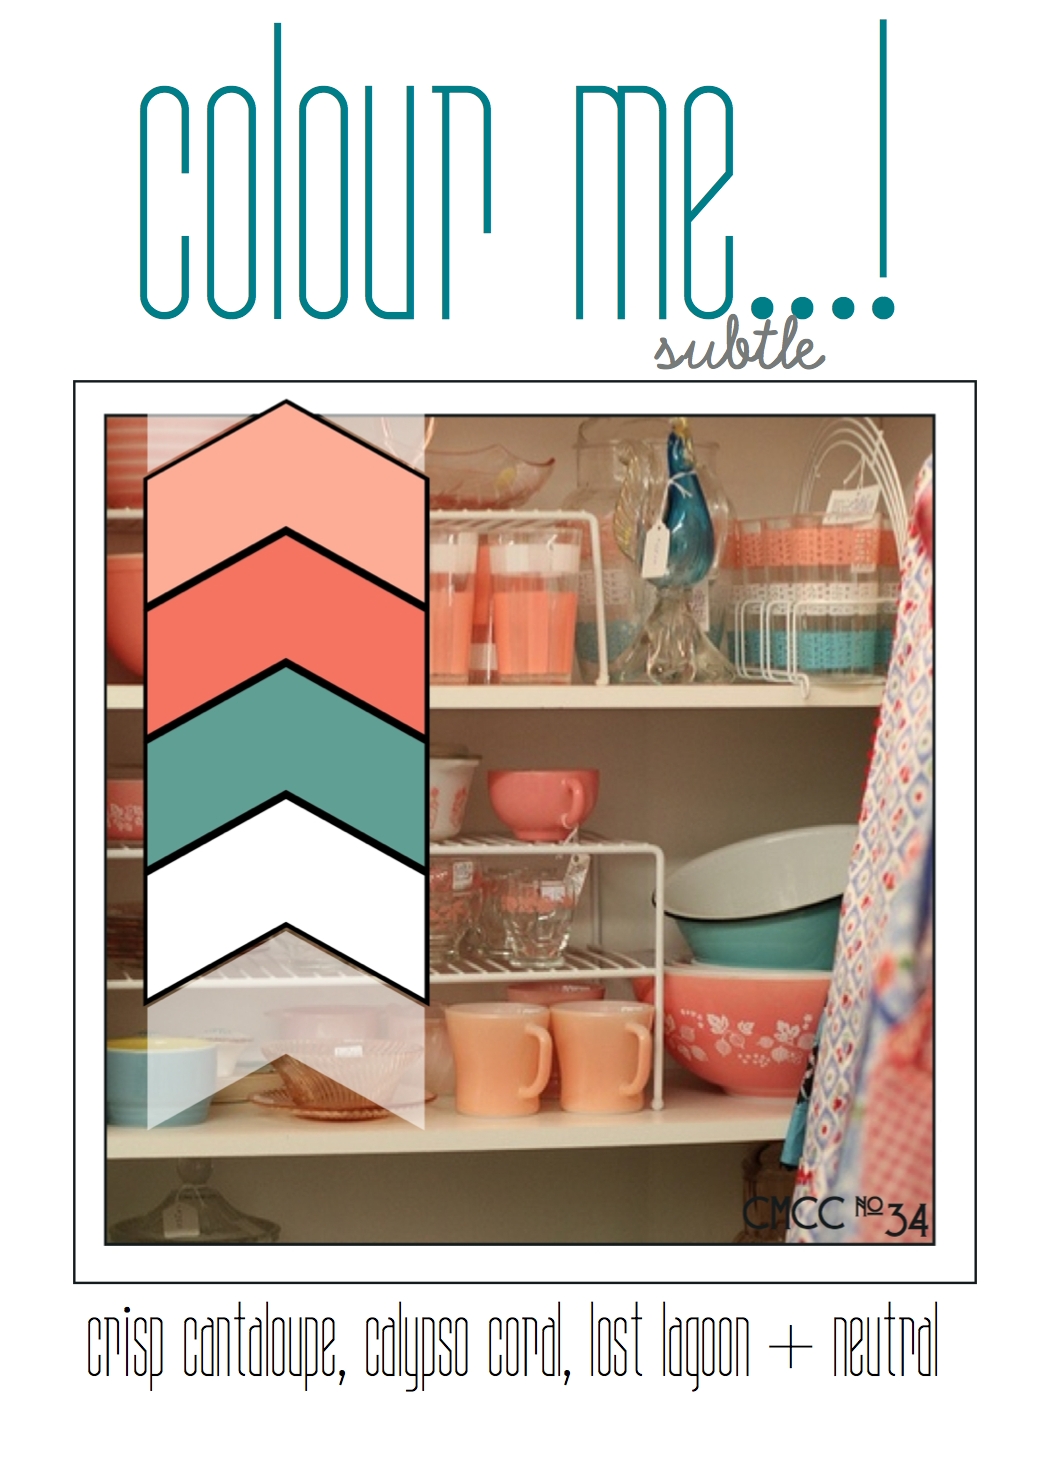
This week I have another Sea Street card for you! These pinky-peach tones reminded me of lobsters and I had a piece of the Lost Lagoon wavy paper from the All Abloom stack sat on my desk leftover from another project, so I decided to go with an idea that I've had floating around in my head for a while! Here's today's card:
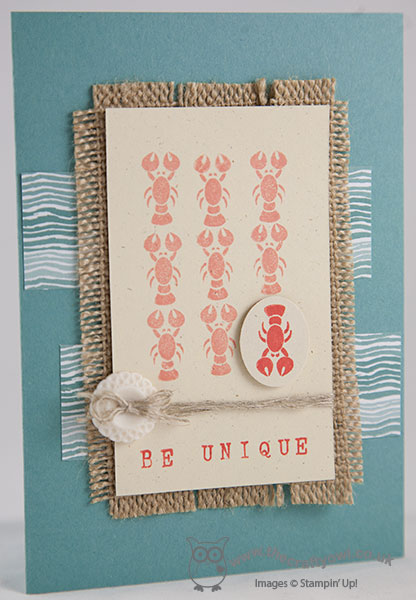
Using a base of Lost Lagoon, I adhered a couple of strips of the wavy paper from the All Abloom DSP paper stack to give the feeling of the sea, then created a mat using Burlap ribbon - I used three pieces, removed the side stitching and frayed the edge. I then took a pieces of Naturals Ivory cardstock and using my stamp-a-ma-jig, lined up 8 lobsters stamped in Crisp Cantaloupe in a grid shape. I stamped the ninth lobster in Calypso Coral, punch him out using the small oval punch them adhered him onto my card upside down, using a dimensional. I finished the panel with the sentiment 'Be unique' and a vintage button threaded with some linen twine, in keeping with my beach/rustic feel. Again, using my Alphabet Rotary stamp, I finished this sentiment on the inside of my card, as you can see below:
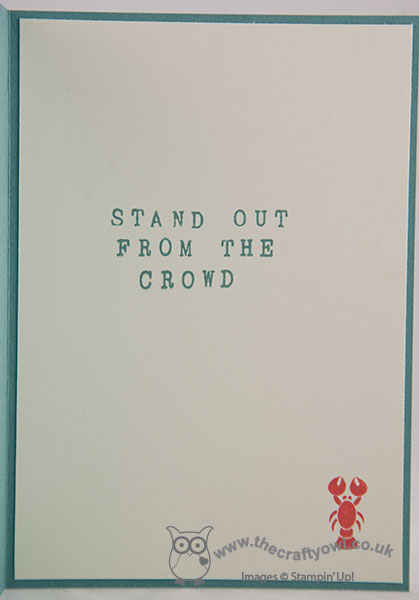
I made this card with Rebecca in mind; she will be back at school shortly and as children go, she is the ultimate conformist. I sometimes need to remind her that it's ok to be different and she should be confident to step away from the crowd at times, that uniqueness is something to be celebrated. I just love the Alphabet Rotary stamp for these kinds of one-off messages - so easy! I'm finding it really useful with my Project Life documenting too.
I hope you like my fun card this week - why not visit the other Colour Me...! designers and check out their takes on this week's colour combination:
And our talented guest designer for August -
Stephanie K
Back tomorrow with another project; until then, happy stampin'!
Stampin' Up! Supplies Used:
by Joanne James19. August 2014 21:33Today I'm sharing another of the cards we made at our quarterly training session last month, designed by Monica Gale. Yes, it is a Christmas card, but with the exception of the sentiment, uses products that can all be purchased from the Annual Catalogue. Here is the card we made:
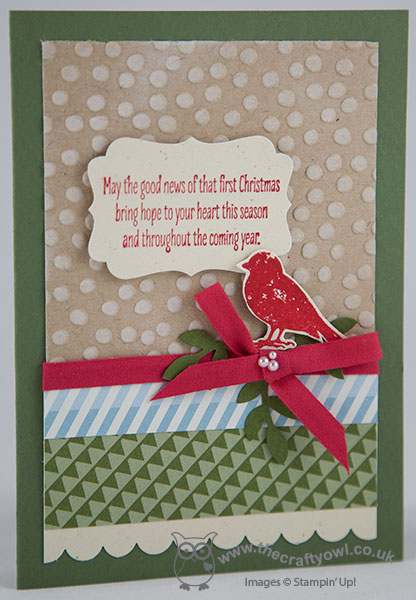
Using Mossy Meadow for the card base, we then cut a piece of kraft cardstock, embossed with the dots embossing folder and lightly wiped with white kraft ink to give the impression of snow. We cut a piece of Naturals Ivory cardstock and punched the edge with the scallop punch, then layered a couple of pieces of DSP from the All Abloom DSP stack on top. Real Red cotton ribbon was wrapped around this section and tied in a bow across the join, and a few green stems punched from the bird punch tucked in around the bow before adhering the bird on top, along with a trio of tiny pearls: the bird is from the 'Choose Happiness' stamp set and is stamped in Real Red on naturals Ivory and fussy cut. Lastly, the sentiment was stamped in Real Red onto Naturals Ivory and punched out with the Decorative Label punch, and adhered using dimensionals.
This sentiment is from the set 'Christmas Messages', which is one of the sets that is available on the Autumn/Winter carryover list until August 27th. Full details of all items on the carryover list can be found in the box on the right-hand side of my blog page and they can be purchased either by clicking directly on the links in the product table below or by clicking the 'shop online' icon that will take you directly to my online store, or of course you can email me or give me a call if you prefer and I can take your order over the phone.
That's me done for today; back tomorrow with a new set of Wednesday Weekly Deals and my Design Team card for this week's Colour Me...! challenge. until then, happy stampin'!
Stampin' Up! Supplies Used:
by Joanne James18. August 2014 20:49Well, it's Monday and the start of a new week! I managed to survive the shoe shop outing yesterday (took 3 hours and 20 minutes just in the shoe shop!!) On the bright side, new school shoes and trainers, times two, and football boots, have been purchased - yay! This afternoon's 3D Home Décor class was a lot of fun - got to catch up with a couple of ladies I haven't seen in a while, so that was an added bonus. I'm later than I would have liked posting today's card: I used the sketch from Freshly Made Sketches last week although am too late to link up. I am however linking today's card up with Less is More where the challenge this week is to include an animal on your card. When I saw this I knew immediately which one I was going to feature - I've been itching to get out my new Smoky Slate Blendabilities and colour the cute koala bear on the Kind Koala stamp since they arrived - so here is my card:
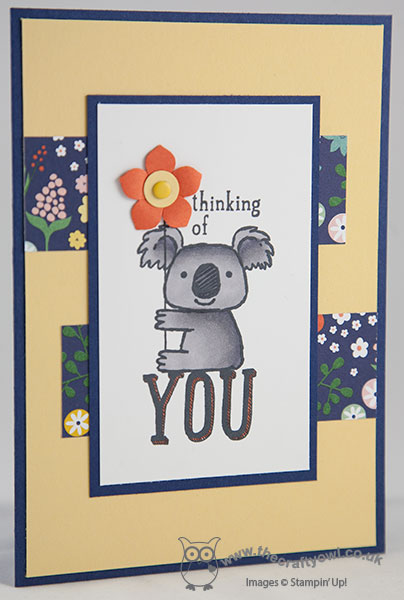
I used a Night of Navy card base with a So Saffron mat and a couple of offset strips of Flowerpot DSP, followed by the stamp (minus the stamped flowerhead) on a piece of Whisper White cardstock that I matted on Night of Navy. This little koala is so cute and I love the grey Blendies! Instead of stamping the flower, I replaced it with one punched from the Petite Petals punch, with a tiny circle and candy dot centre in colours that co-ordinate with the one of the flowers on the DSP. I also shaded the lettering on 'You' with my Tangerine Tango marker pen.
I really love this card - I think I will send it to my Aussie friend who is moving back to Australia to live once she's arrived to let her know I'm still thinking of her.
That's me done for today; back tomorrow with another project, so until then, happy stampin'!
Stampin' Up! Supplies Used:
by Joanne James16. August 2014 21:54I've spent a pleasant afternoon today with the ladies at my local hair and beauty salon celebrating their 3rd anniversary since opening (Pamper Me Hair & Beauty in Northampton - if you're local look them up, they're a lovely bunch). So another quick share today - I'm linking up with The Card Concept where the theme is to make a wedding card:
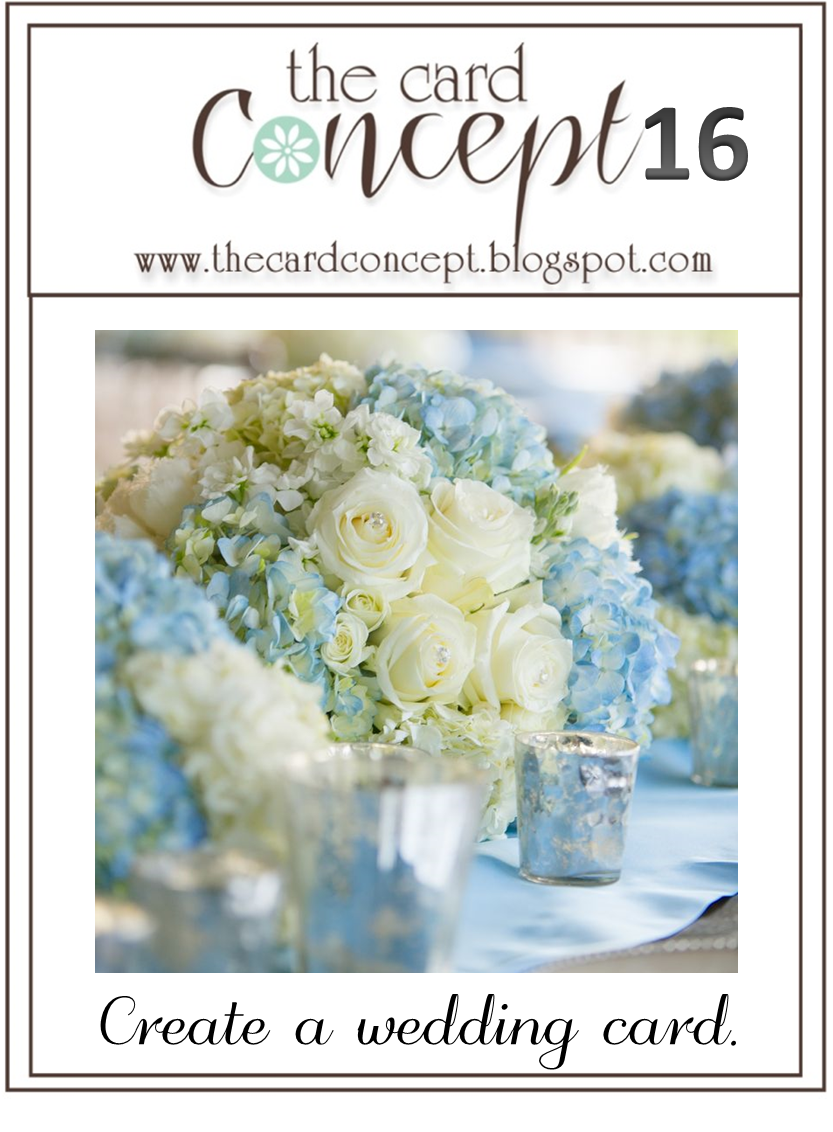
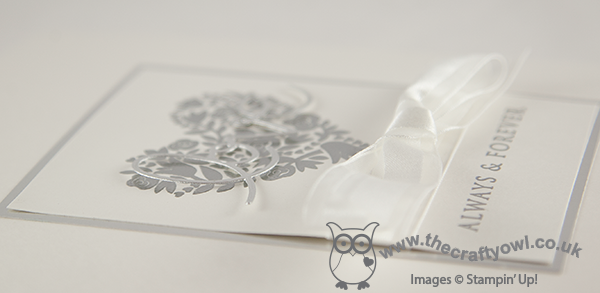
As much as I loved the photo inspiration for this challenge, I wanted to use Shimmery White and silver for my card - I had a clear idea in mind of what I wanted to create. Here's my card:
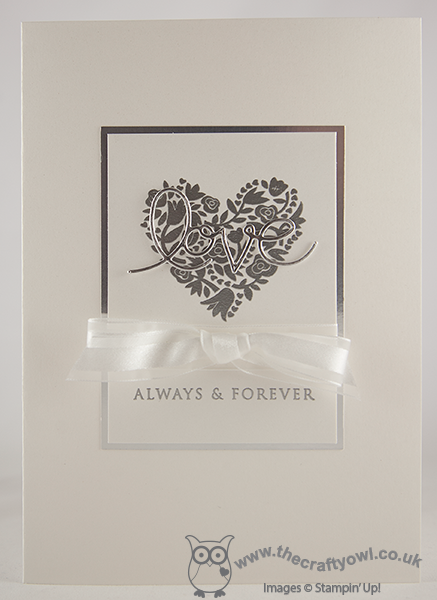
This card uses some of my favourite 'vintage' stamps and tools of all time - Expressions Thinlits and that beautiful Flowerfull Heart stamp. The card is still my usual clean and layered style, but I do think the silver elements and the bow give a real 'classy and elegant' feel. This is one of those cards that looks so much better in real life - so very opulent, even with a relatively simple design.
That's all from me today - back tomorrow with my Design Team post this week for The Paper Players - and it's a fun one!
Until then, happy stampin'!
Stampin' Up! Supplies Used:
by Joanne James15. August 2014 21:00No blog post yesterday as I took the James juniors to the zoo for the day and had a team get-together in the evening and didn't manage to squeeze one in! We had a great day at the zoo and managed to dodge the worst of the rain showers, so all good. Today I'm sharing a quick shaker card designed by Monica Gale that we made at our last quarterly team training day:
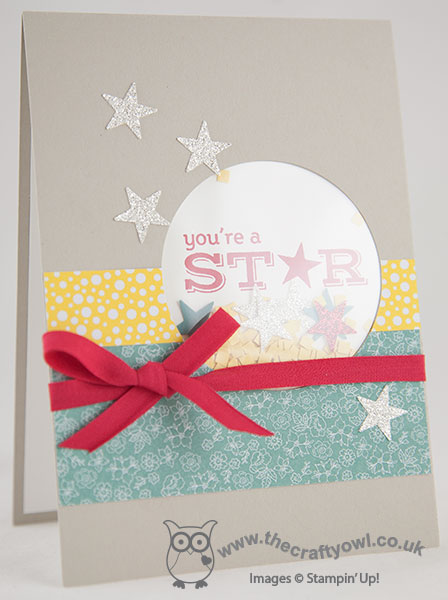
Not the best of photos I'm afraid as I struggled to beat the refection and glare on the window sheet, but hopefully good enough to get the idea. Shaker cards are all the rage at the moment and whilst you can build a window with depth for a card with real 'shake-ability (I'm sure it's a word!), you can also get the effect simply and easily by creating a pocket behind a punched opening and adding just a few elements - I added some glitter stars and square confetti created with my fringe scissors. The front of the card is simply decorated with a few strips of All Abloom DSP, some stars punched from the new Dazzling Diamonds Glimmer paper and a tied bow made with 1/4" Real Red cotton ribbon.
Short and sweet today! Back tomorrow with another project. until then, happy stampin'!
Stampin' Up Supplies Used:
97147742-8c49-4452-a304-7de7cc3e4ecb|0|.0|96d5b379-7e1d-4dac-a6ba-1e50db561b04
Tags: All Abloom, Pictogram Punches, Fringe Scissors, Itty Bitty Accents Punch Pack, Shop online, Shaker cards, Stampin' Up, Stampin' Up Card, Stampin' Up Card ideas, Stampin' Up Supplies, circle punch
Cards | Stamping
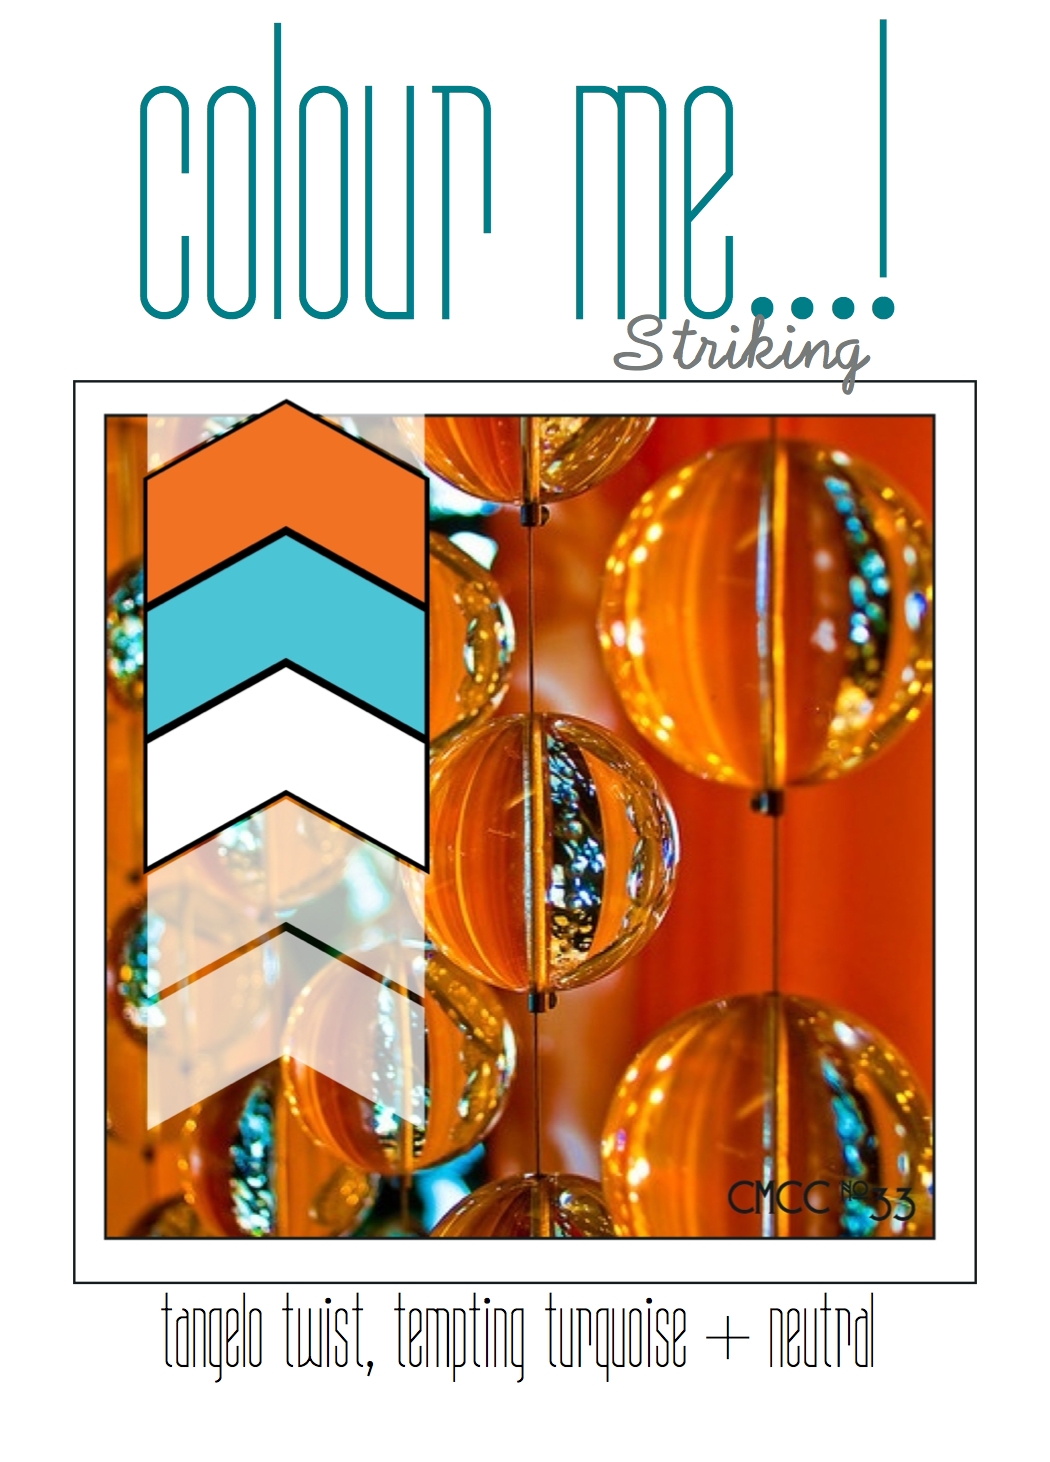
by Joanne James13. August 2014 10:00Time for this week's challenge over at Colour Me...! where we have this striking colour palette to work with this week:
After much thought, I decided that a fun card was the order of the day so I got to work creating another card with a custom sentiment using my Alphabet rotary stamp - such a useful stamp. Here's the outside of my card:
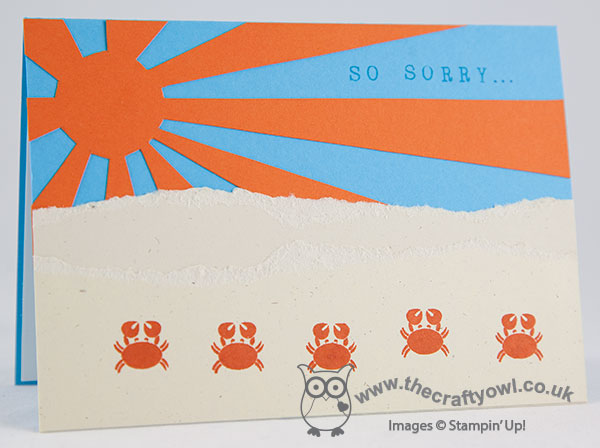
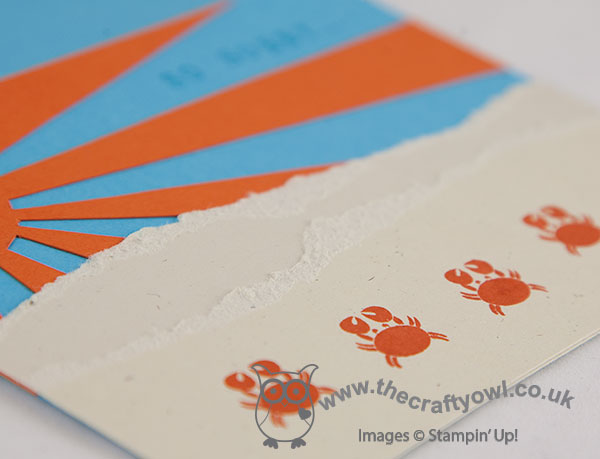
I used Tempting Turquoise for my base, then cut a Tangelo Twist starburst sun and adhered this to my base. I tore a couple of strips of naturals Ivory cardstock to look like sand, then randomly stamped a row of crabs across the front in Tangelo Twist ink and added the first party of my sentiment to the sky, stamped in Tempting Turquoise. The remainder of the sentiment continues on the inside of the card:
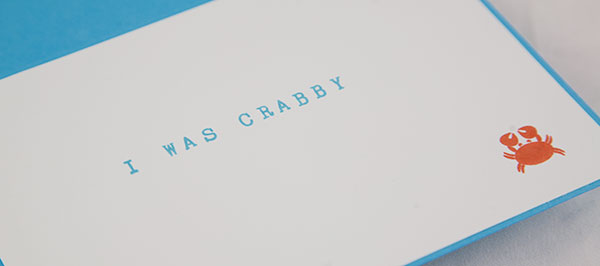
Fun, eh?! Let's face it - we all have times when we're grumpy and maybe others are on the receiving end of our less than happy demeanour - this would be the perfect fun apology! The Alphabet Rotary stamp is so useful for this kind of thing - you can create custom sentiments in a snap (pardon the pun!)
I hope you like today's card; why not visit the other Colour Me...! designers and check out their takes on this week's colour combination:
Back tomorrow with another project; until then, happy stampin'!
Stampin' Up! Supplies Used:
by Joanne James12. August 2014 08:00Today I'm sharing a card that I made for this week's challenge over at Less is More that is full of sneak peeks from the new seasonal Autumn-Winter catalogue that is launching at the end of the month. This week it's a one layer challenge with the focus on foliage; the minute I saw the theme, I knew exactly what I wanted to create. Here is my card:
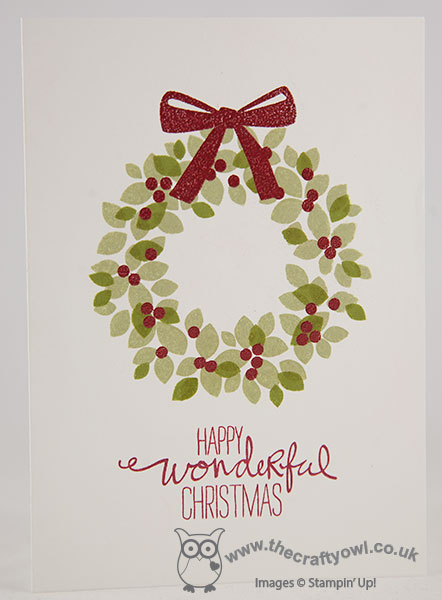
I have used the new Wondrous Wreath set for my card today. This set comprises layered elements to create a beautiful Christmas wreath and also comes with a set of co-ordinating framelits, that make light work or cutting out. It's a photopolymer set too, which makes for incredibly easy alignment of the images - no stamp-a-ma-jig required! For today's card though I used the stamps alone - they are also great for a one layer card. I stamped the base wreath in Pear Pizzazz, then stamped the second section in Old Olive. I then stamped the berries and bow in Versamark and heat embossed with Cherry Cobbler embossing powder to leave a lovely sheen. Lastly, I added the sentiment from the same set in Cherry Cobbler ink.
The seasonal catalogue is choc-full of amazing products, but I think this may turn out to be my favourite of the Christmas sets due to its sheer versatility. If you like the look of this set, you only have another 16 days to wait until the new catalogue launches.
Following yesterday's fun day of Lego building, a trip to the cinema and birthday cake, today I'm partying of a different kind - I'm demonstrating at a Stampin' Up! party this afternoon. Wish me luck! Back tomorrow with this week's Design Team card for the Colour Me...! card challenge. until then, happy stampin'!
Stampin' Up! Supplies Used:
*Wonderous Wreath - available 28th August