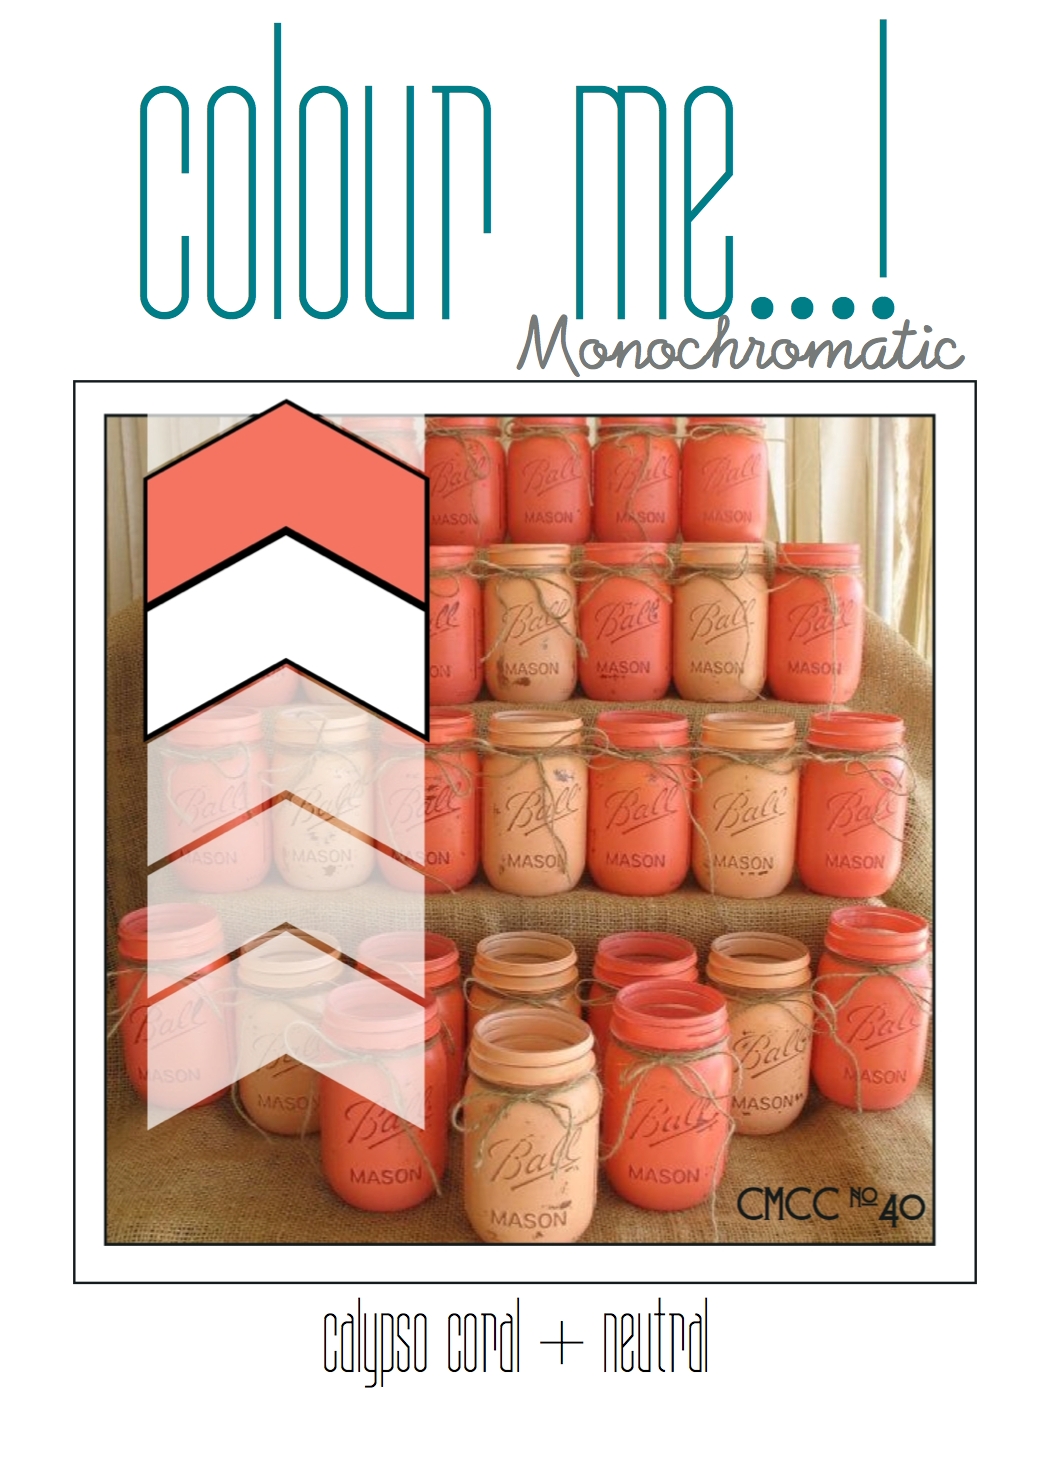
by Joanne James1. October 2014 09:00It's Wednesday and time for another challenge over at Colour Me...! where this week we have a monochromatic colour scheme for you:
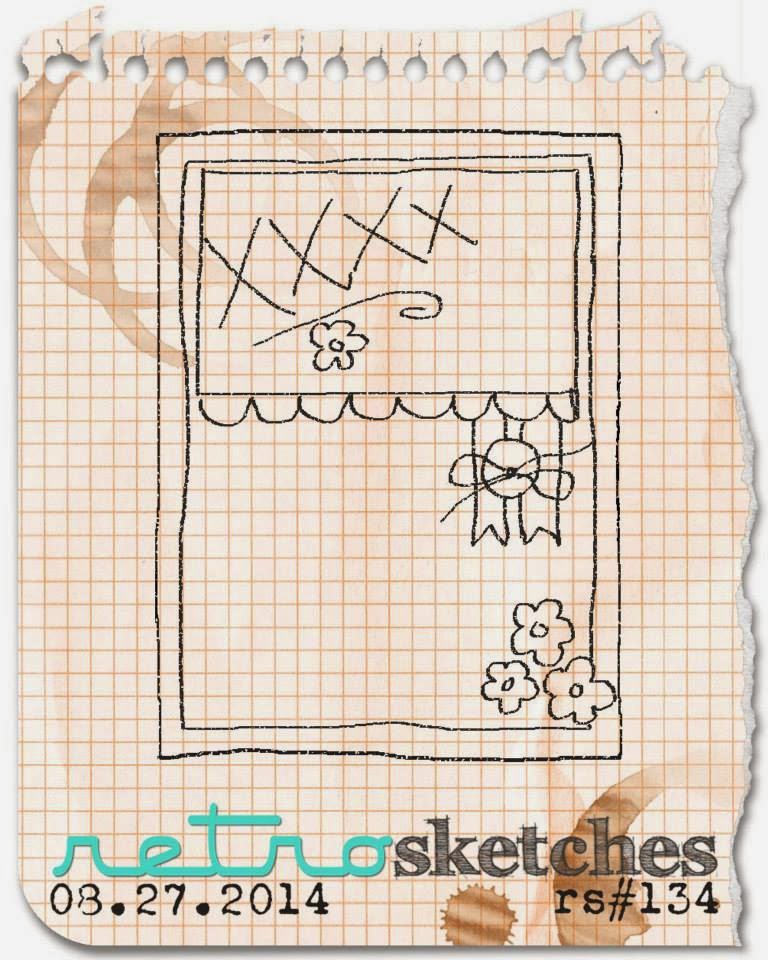
I also used this week's sketch over at Retrosketches for my layout. Now I have to confess, Calypso Coral is a colour I don't use often (I don't know why) but this is particularly unfortunate, given that the last time I ordered a pack I ordered two by mistake and now I have Calypso Coral cardstock coming out of my ears! So today's challenge was the perfect excuse to make a dent in the pile. After much deliberation, this is what I came up with:
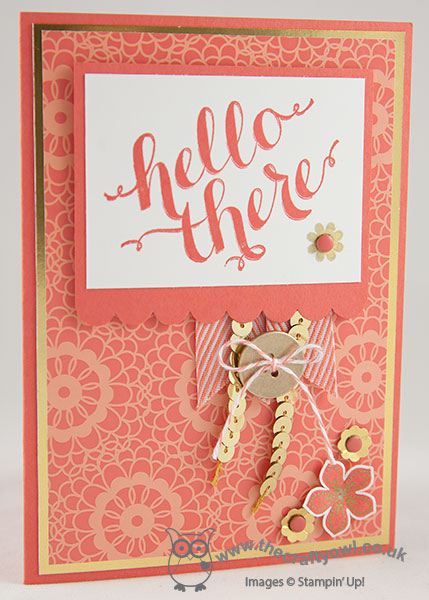
I used a piece of the Gold Soiree Speciality DSP as the main feature of my card. This paper has a very luxurious feel and definitely needed to be used where it could be seen! I matted this on a piece of gold foil and a Calypso Coral base. For my sentiment, I stamped 'Hello There' from the hostess stamp set of the same name in Calypso Coral on Whisper White, along with a flower from the same set stamped in Gold Encore ink finished with a candy dot and matted this onto a piece of Calypso Coral edged with the scallop edge punch.
I added a couple of flags of Calypso Coral chevron ribbon and some strings of gold sequins and a gold button threaded with baker's twine as per the sketch and finished the corner with three flowers: two in gold foil punched with the retired flower Itty Bitty Punch and one stamped in Coral on Whisper White where I added detail with my gold pen and this was punched with the Petite Petals punch.
That's my Colour Me...! card for this week - why not visit the other Colour Me...! designers and check out their takes on this week's colour combination:
We look forward to seeing your monochromatic creations.
I have a busy and exciting day planned today which I will tell you all about in due course. I'll be back later with the details of this week's Wednesday weekly deals and news of a great sign up offer and some great discounted offers to help you celebrate World Card Making Day on the 6th October.
Back tomorrow with another project; until then, happy stampin'!
Stampin' Up! Supplies Used:
by Joanne James29. September 2014 08:00Happy Monday everyone! Today I'm sharing another autumn-inspired card using this week's sketch over at Pals Paper Arts and this week's colours at Colour Q as my inspiration:
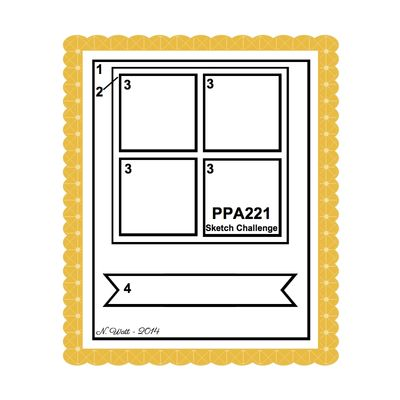
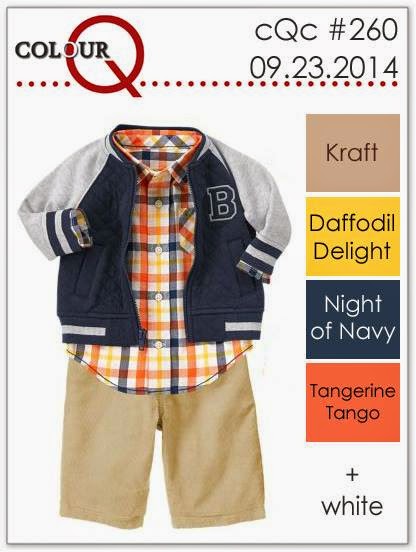
I love this colour palette and resisted the urge to recreate that check shirt, which is adorable! Instead I decided to use my Fall Fest framelits to recereate the layout of the sketch and make a bright Autumnal card - here it is:
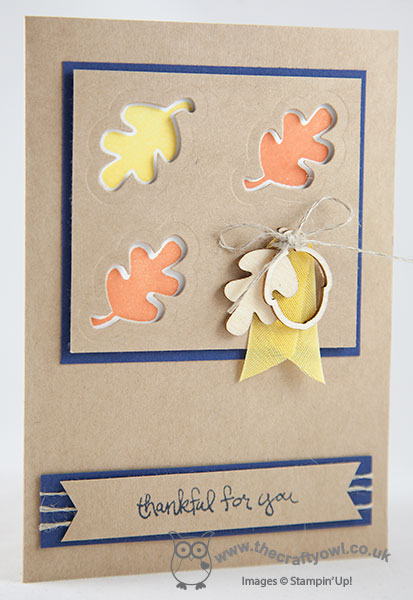
I used Kraft cardstock for the body of my card, which has a lovely texture and thickness to it. I matted a square panel of Night of Navy onto the base, then stamped some leaves in orange and yellow onto Whisper White cardstock and overlaid this with another piece of kraft attached with dimensionals with the same leaf shapes cut out so that you can see the stamped leaves beneath. The leaves are edged in white, which just helps add to their definition. In space of the fourth square, I didn't cut out - instead I tied an acorn and leaf wooden embellishment together with a piece of Daffodil Delight seam binding ribbon and some linen thread and attached them to my card. A little bulky for mailing, but a nice statement for a hand delivered card.
I added the sentiment to a banner on the bottom, using another of the stamps from the Good Greetings set (available as a hostess exclusive until the end of October) and mounted this on a piece of Night of navy wrapped with linen thread.
That's all for today; I have a Christmas card class to look forward to later using Festival of Trees, which should be fun! Back tomorrow with another project; until then, happy stampin'!
Stampin' Up! Supplies Used:
0a3ab614-cd07-42ea-a212-96cd52c4fc44|1|3.0|96d5b379-7e1d-4dac-a6ba-1e50db561b04
Tags: Fall, Fun Fall Framelits, Fall Fest, Autumn, Autumn Wooden Elements, Good Greetings, Shop online, Stampin' Up, Stampin' Up Card, Stampin' Up Card ideas, Stampin' Up Supplies
Cards | Stamping
by Joanne James28. September 2014 07:00It's Sunday which means one thing - it's time for our weekly challenge over at The Paper Players! This week Sandy has a great sketch for us:
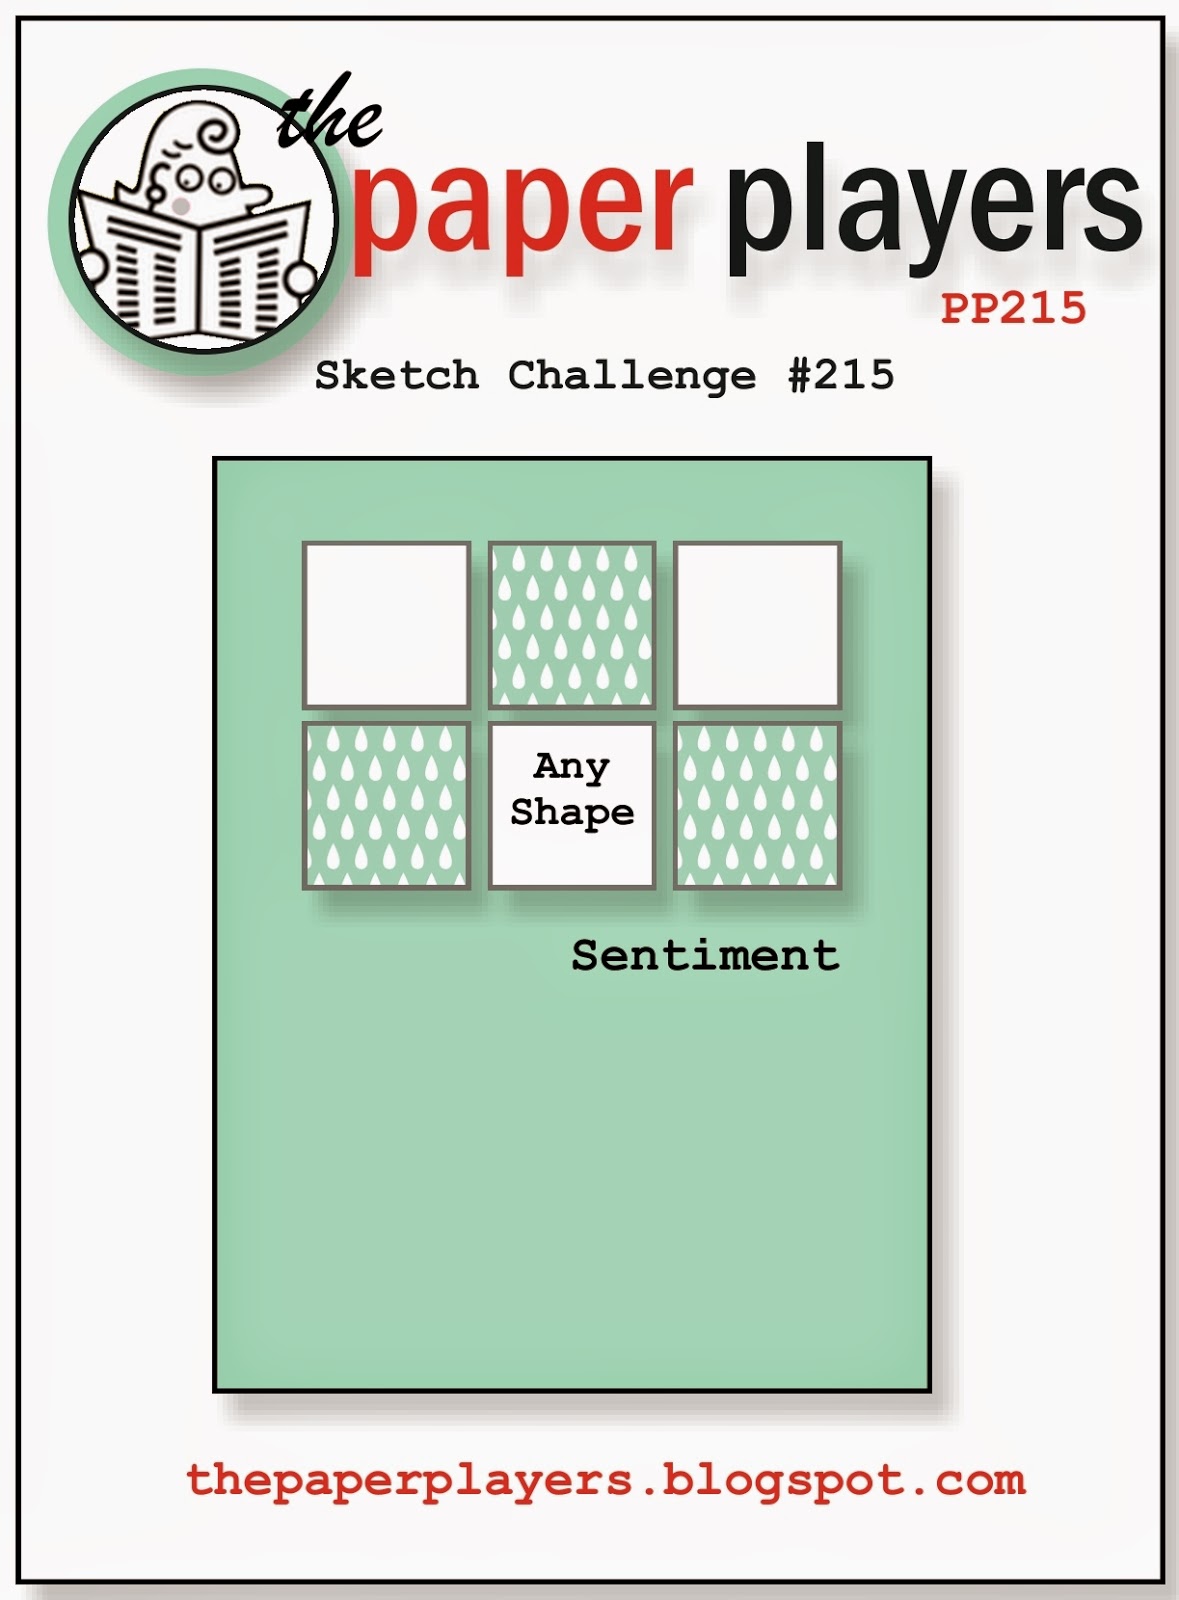
Sketches are my absolute favourite challenges - so many possibilities, and this sketch is no exception! So much so, I actually made two cards using this sketch already which I thought I would share with you today. If you've come from The Paper Players blog, this is the card that you will have seen there:
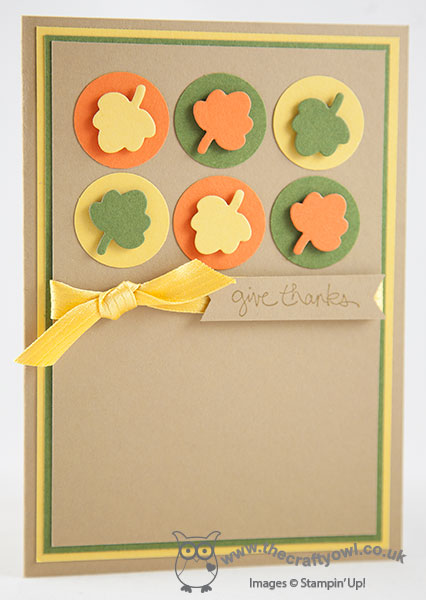
My first take on the sketch was this fall-inspired card, where I layered a combination of 1" punched circles and little leaves cut out using the Big Shot and the Fall Fest framelits, in Hello Honey, Mossy Meadow and Tangelo Twist on a base of Baked Brown Sugar, and finished with a simple knotted bow of Hello Honey satin ribbon and a sentiment from the 'Good Greetings' hostess set. I haven't used this colour combination before but thought it would make a nice fall colour scheme; I prefer these colours in cardstock rather than stamped on Whisper White, as I find the inks too intense somehow. I am linking this card up with the challenge over at SUO Challenges this week as they are looking for cards using autumnal colours, so this totally fits the bill.
I liked this sketch so much, I couldn't stop at one card though; the card below is the very first thing that came to me when I looked at the sketch and it was so simple I just had to make it and share it with you:
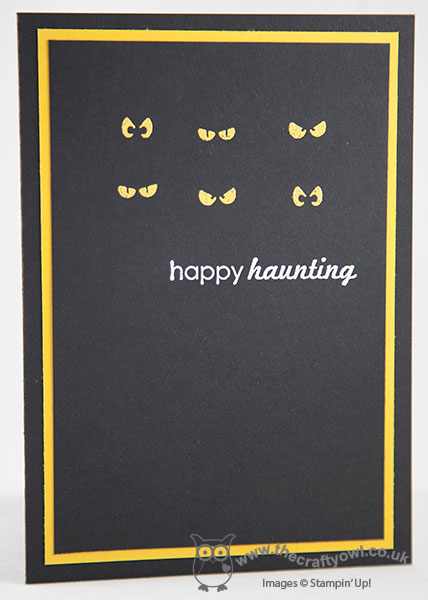
I stamped the 3 pairs of eyes from 'Freaky Friends' twice each in Versamark onto Basic Black cardstock and heat embossed in Crushed Curry, then did the same with the sentiment and heat embossed that in white. I then matted this panel onto a panel of Crushed Curry and a Basic Black card base. Simple, but so effective in real life - the eyes have a real shine as if they are looking out of the card at you!
I had to stop there for today, but I know I will use this sketch again - it is a keeper! Do pop by The Paper Players site and check out the blogs of the rest of the design team - there are some awesome cards this week, as always!
Right, we have a morning of sport in the James household today - Rebecca and I are going to explore a new hockey club and the boys are off to check out a rugby club, before reconvening for lunch and hopefully a restful afternoon.
Back tomorrow with another project; until then, happy stampin'!
Stampin' Up! Supplies Used:
904c5d09-e82d-4928-b779-6567e293d40c|0|.0|96d5b379-7e1d-4dac-a6ba-1e50db561b04
Tags: Big Shot, Fall, Fun Fall Framelits, Good Greetings, Freaky Friends, Ghoulish Greetings, Halloween, The Paper Players, Shop online, Stampin' Up, Stampin' Up Card, Stampin' Up Card ideas, Stampin' Up Supplies
Cards | Stamping
by Joanne James27. September 2014 21:27Hello lovely blog readers! I hope you're having a good weekend. I've spent my day preparing for my cardmaking class on Monday (more on that later in the week). I had a lovely day yesterday, the highlight of which was spending the morning at a fundraiser coffee morning held by my sister-in-law; wonderful cakes and tea in vintage china and a balloon release in memory of those we have known and loved who passed away as a result of cancer. We raised £323 in total which will go towards the charity MacMillan Cancer Support, to fund nurses to support those suffering this terrible disease, so a fantastic effort for a worthwhile cause.
Today I'm sharing my entry for this week's Merry Monday challenge, where Kathy is hosting a fun game of Christmas Bingo:
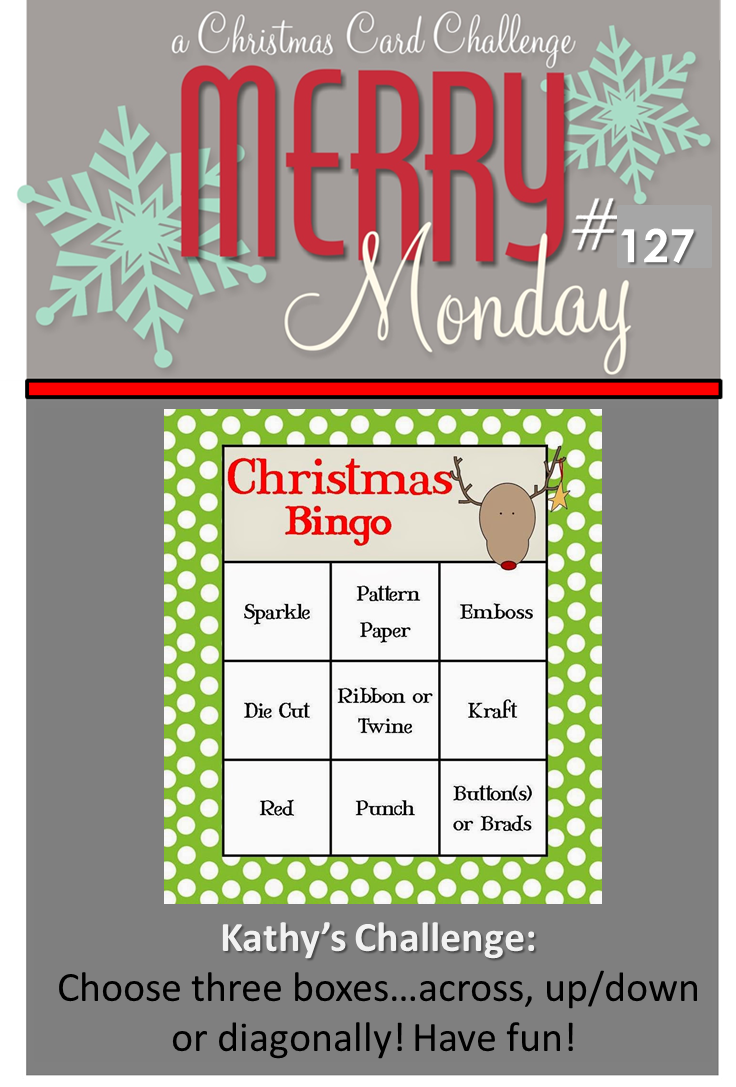
I decided to use the diagonal - red, ribbon or twine and emboss - for my card, which you can see below:
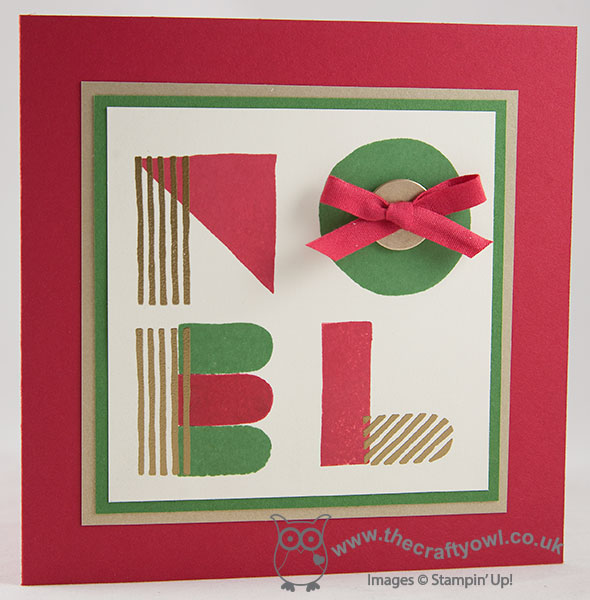
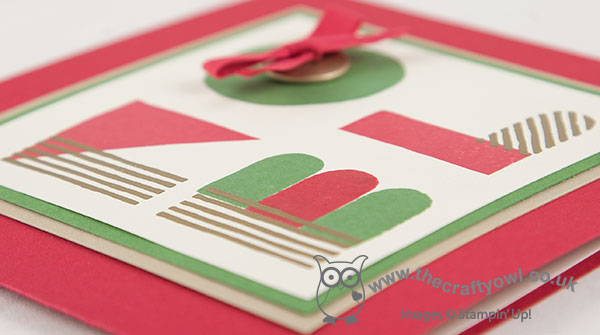
I decided to make a square card and wanted to try another sentiment-based card using the 'What's Your Type?' stamp set, this time using the word 'Noel' and more traditional Christmas colours of Real Red, Garden Green and gold. I stamped my sentiment onto Very Vanilla, with the lined elements of each letter stamped in Versamark and heat embossed in gold. I finished the 'O' with gold button threaded with Real Red 1/4" cotton ribbon and tied in a bow.
These cards are quite fun and not at all tricky when you get the hang of aligning the various stamps to make the letters. That's all from me today; back tomorrow with my Design Team card for The Paper Players - and a bonus card!
Until then, happy stampin'!
Stampin' Up! Supplies Used:
by Joanne James24. September 2014 10:00It's Wednesday and time for a new challenge over at the Colour Me...! Card Challenge. This week we have a playful colour palette for you to work with - I also chose to use this week's Retrosketches layout for my card:
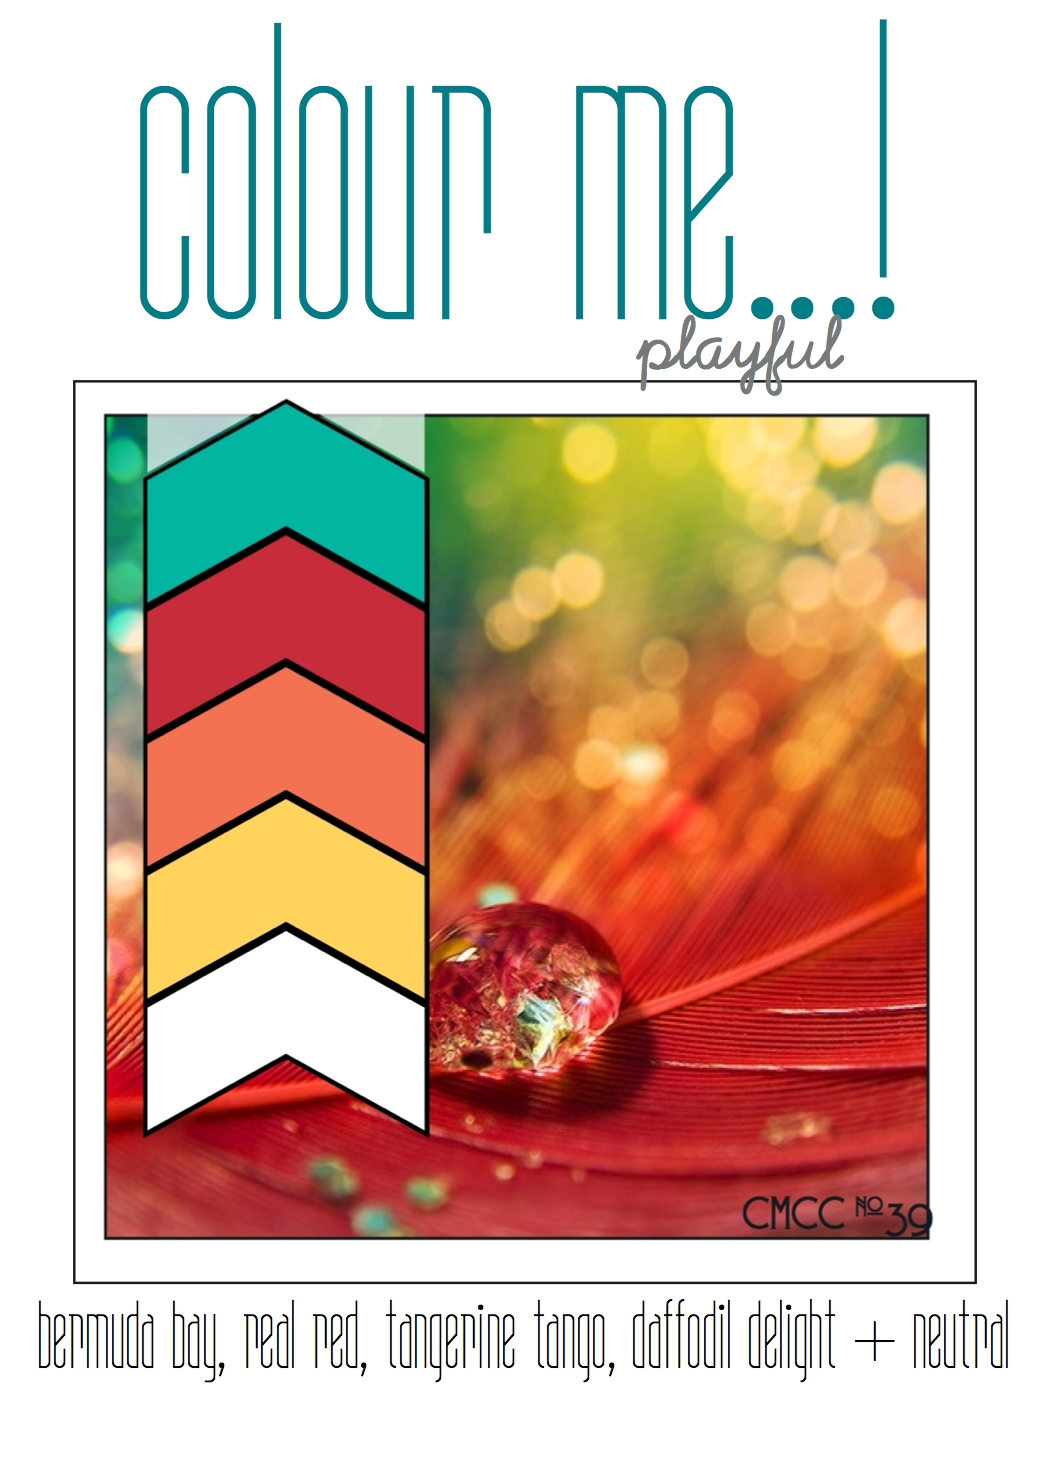
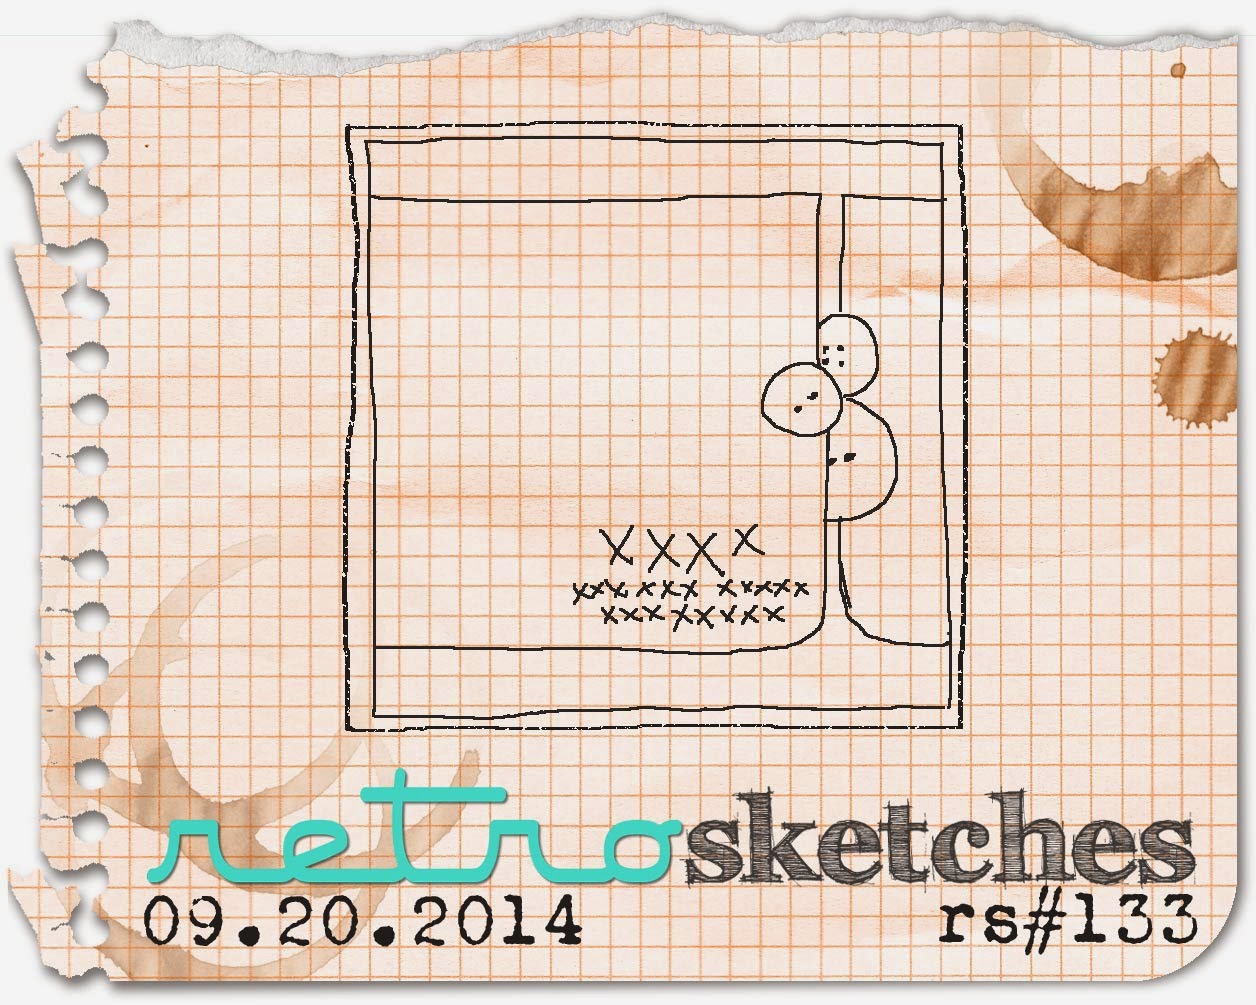
I love the bright colours of this week's colour palette, so decided to create a nice cheery card to really make the most of them - here's my card:
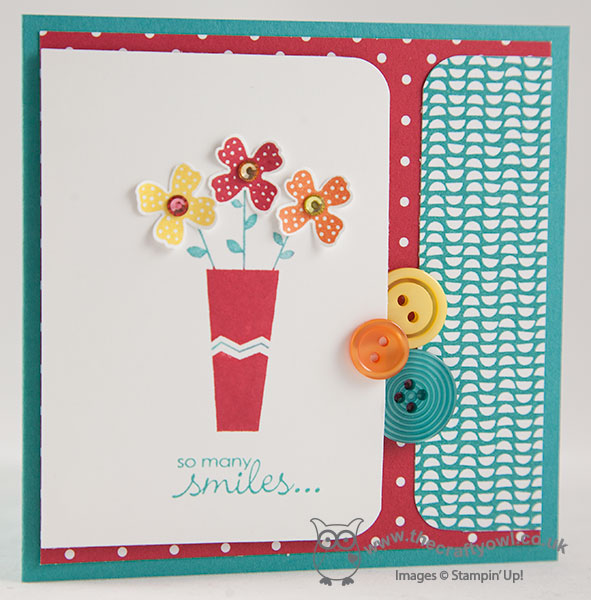
I used Bermuda Bay as the base colour for my card and decided to make a 4" square card for a change. I layered a sheet of Real Red polka dot paper from the Brights paper stack and a piece of Confetti Celebration DSP that features a fun Bermuda Bay design. I stamped the flower vase from Pictogram Punches, having inked it with my Stampin' Write markers to enable me to add the chevron detail on the vase and the flower stems in a different colour to the vase itself, then stamped and punched three flowers, finishing each with a rhinestone in the centre that had been coloured with my Blendabilities marker and adhered the flowers separately using glue dots. After stamping my sentiment from Petite Pairs, this left-handed section was adhered to the front of the card using dimensionals, to allow space for my selection of co-ordinating buttons to sit above and below it as per the sketch design.
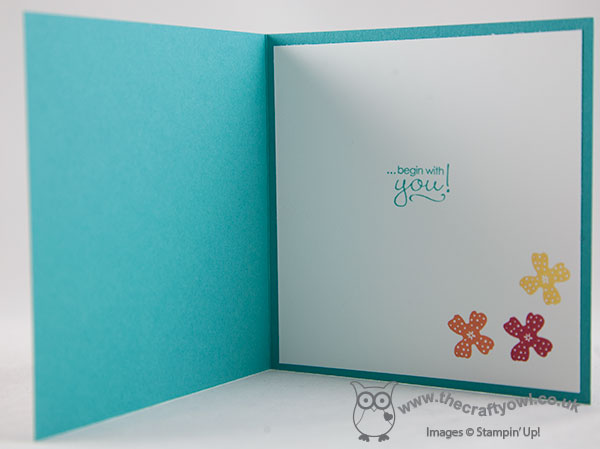
I even remembered to take a photo of the stamping on the inside of my card today:
That's my Colour Me...! card for this week - why not visit the other Colour Me...! designers and check out their takes on this week's colour combination:
We look forward to seeing your subtle creations. Right, i'm off to get some work done before this afternoon's hockey match (observer, not participant!)
Back tomorrow with another project; until then, happy stampin'!
Stampin' Up! Supplies Used:
2fdaabc9-aaf5-48d0-a644-494b14729943|0|.0|96d5b379-7e1d-4dac-a6ba-1e50db561b04
Tags: Shop online, Stampin' Up Card, Stampin' Up Card ideas, Stampin' Up Supplies, Stampin' Up, Pictogram Punches, Itty Bitty Accents Punch Pack, Confetti Celebration, Colour Me...!, Petite Pairs, Blendabilities
Cards | Stamping
by Joanne James24. September 2014 08:00It's Wednesday so that means a new collection of Wednesday Weekly Deals! This week's deals are included below - they will be available for one week only, before a new collection of deals is announced.
As always, if you want to take advantage of any of the deals on offer, you can support my business by placing your order online by clicking here or using the link to my store on the right hand side of my blog page where it says 'Shop Online' or with me in person. Don't forget to add the Hostess Code for September (you can find this under the 'Shop Online' section on the right).
Here's a summary of this week's one-week only Wednesday deals - click on each item to go to the online store to purchase:
This week's offers are a feast for framelit-lovers and paper piercers everywhere, with three popular framelit sets (the Window Frames collection is incredibly useful and versatile and the On Film Framelits are great for scrapbookers and Project-Life lovers!) and a host of paper piercing templates - piercing is a great way to add a little something extra to your cards and is so easy to do.
Back with today's creative post later, but until then, happy shopping!
by Joanne James23. September 2014 13:30Hello everyone! Today I'm sharing my card for this week's challenge over at The Paper Craft Crew, for which I also used the current colour palette over at The Card Concept:
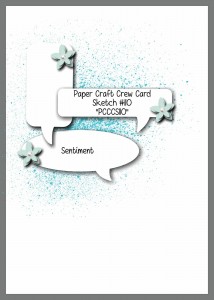
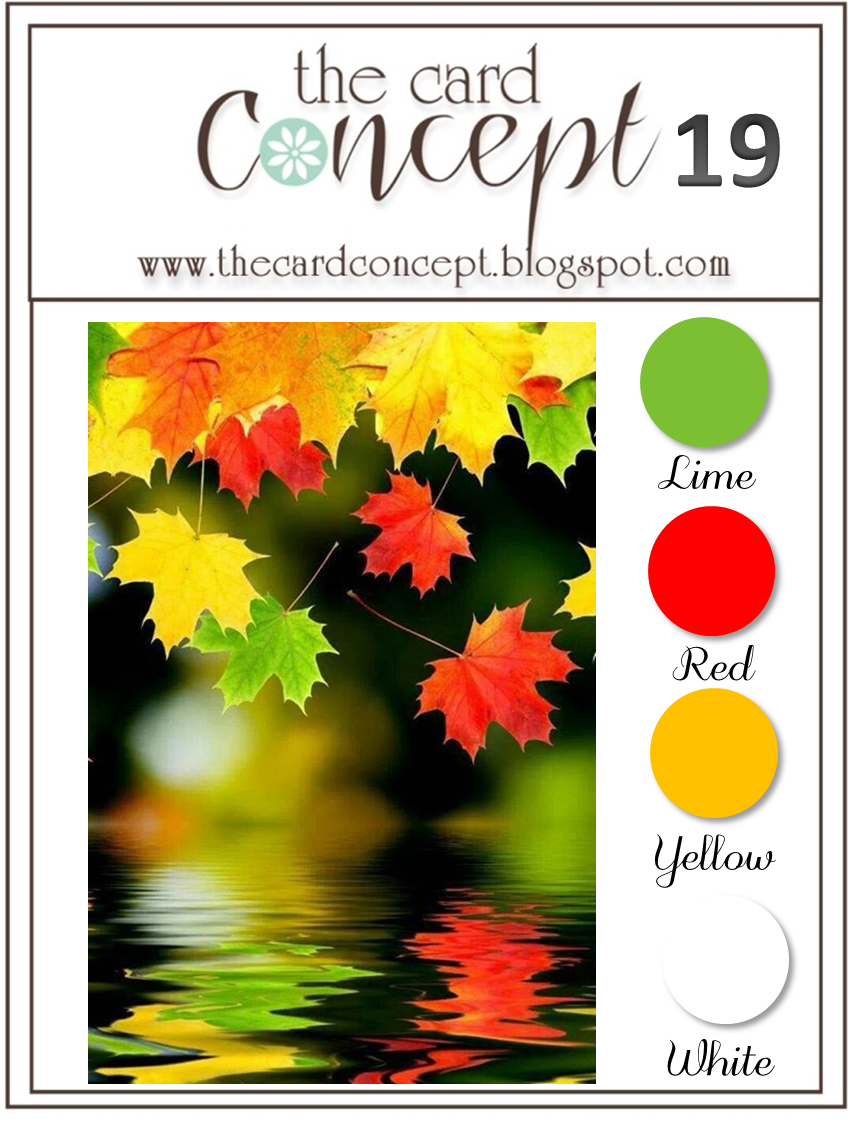
I thought the sketch layout with the word bubbles and the leafy inspiration photo would combine to create the perfect opportunity to showcase the sentiments in the 'Gratitude For Days' stamp set - a rather unsung hero from the current seasonal catalogue I think, but a set that I have used lots and lots. Here is my card:
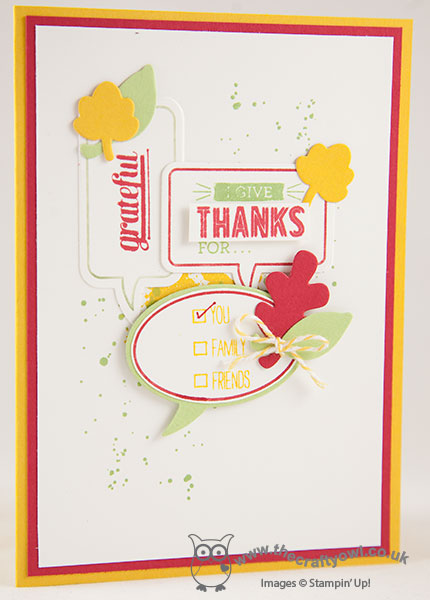
I used a combination of Real Red, Crushed Curry and Wild Wasabi for my card and inked the outlines of the Just Sayin' stamped word bubbles using my markers then stamped the insides with various 'gratitude' stamps in contrasting colours. I used some little leaves cut with my Fall Fest framelits as the embellishment for the word bubbles, and gradually layered them over a Gorgeous Grunge background to achieve my finished design. I think this still qualifies as 'clean and layered' as far as The Card Concept is concerned (if you've ever wondered about the definitions of the various cardmaking styles, you should check out their site - it gives some great guidelines), maybe bordering on 'freestyle collage', although probably not random enough to truly be a collage!
Hope you like my card; I'll pop back later with another quick make today for this week's challenge over at Create With Connie and Mary, so stay posted. until then, happy stampin'!
Stampin' Up! Supplies Used:
1e9c525a-9bc1-419e-9fbd-a468668813b6|0|.0|96d5b379-7e1d-4dac-a6ba-1e50db561b04
Tags: Thankyou cards, Just Sayin', Word Bubbles Framelits, Gratitude For Days, Fall, Fun Fall Framelits, Gorgeous Grunge, Big Shot, Stampin' Up, Stampin' Up Card, Stampin' Up Card ideas, Stampin' Up Supplies, Shop online
Cards | Stamping
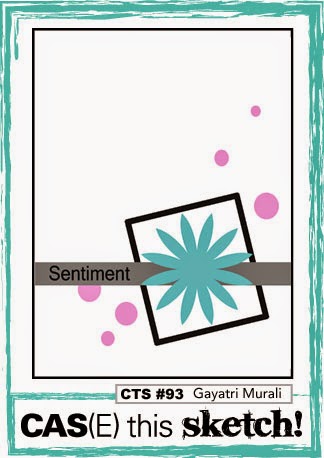
by Joanne James22. September 2014 07:30Happy Monday everyone! I enjoyed a restful Sunday yesterday and can honestly say I feel like I am starting the week on the front foot again for the first time in a few weeks! Today I'm sharing a cute clean and simple Halloween card that I made with this week's colours over at Colour Q and the sketch at CAS(E) this Sketch:
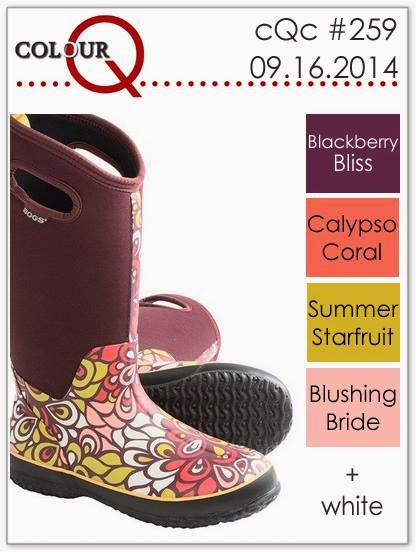
Despite the adorable wellie boots in the inspiration picture, when I saw this week's Colour Q colours I couldn't help but wonder if I could make them work for a Halloween card. This is what I came up with:
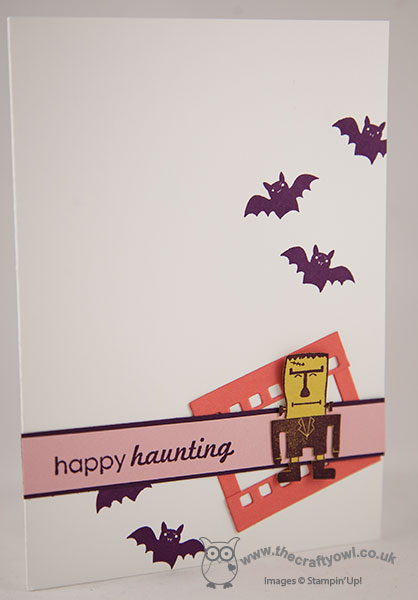
I stamped the Frankenstein stamp from 'Freaky Friends' in Blackberry Bliss onto some retired Summer Starfruit cardstock and fussy cut him out. I used a piece of film strip made using Calypso Coral cardstock and the On Film framelit, modified to make it smaller and placed the film strip behind my layered sentiment banner and then my figure on top. Lastly, I finished with some Blackberry Bliss bats to add to the Halloween theme.
I hope you like today's clean and simple Halloween card. I'm off to move mountains (of the craft and ironing pile variety!) Back tomorrow with another project; until then, happy stampin'!
Stampin' Up! Supplies Used:
by Joanne James21. September 2014 07:00It's Sunday so I'm here with my card for this week's challenge over at The Paper Players, where Jaydee has the following clean and simple challenge for us:
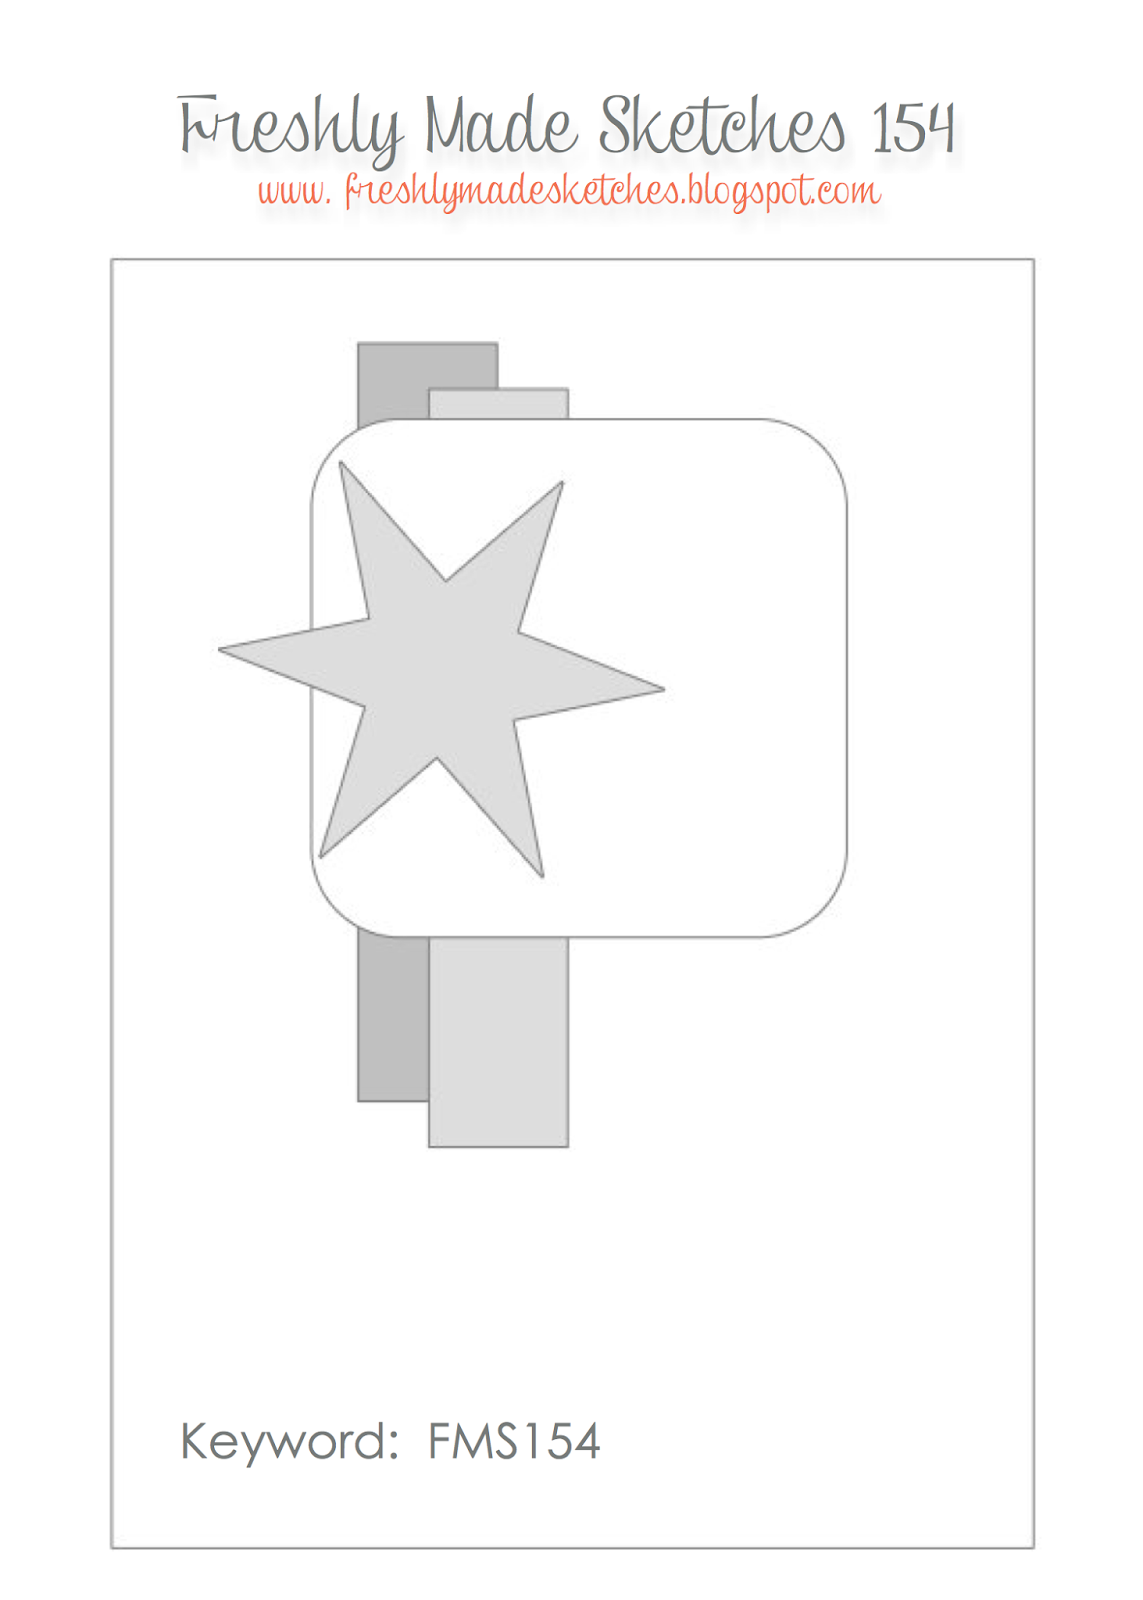
I also used the above sketch from Freshly Made Sketches again for my card this week and this week's card is a lot more 'clean' than last weeks - here is my card:
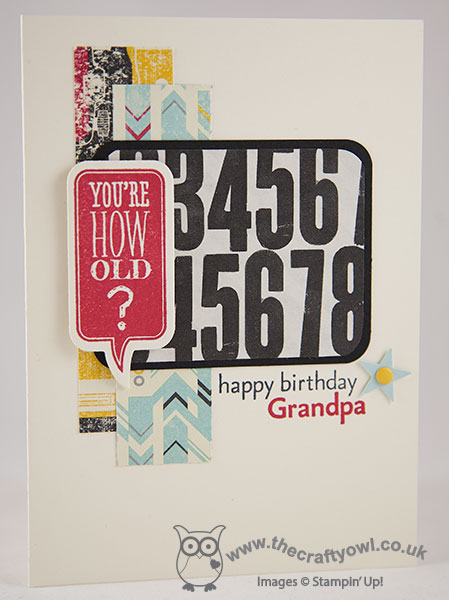
My card is really simple, with a piece of the numbered Typeset paper mounted on Basic Black as the central panel of my card, with a couple of strips of Flashback DSP behind to add some colour and the focal point word bubble 'You're How Old?' stamped in Real Red. I finished my card with the sentiment 'happy birthday Grandpa' (stamped with my vintage 'For My Family' stamp set - a keeper!) and a punched star.
Yesterday was my Dad's 70th birthday and I made this card for him from the children - they think 70 is positively ancient, so the word bubble was entirely appropriate! - however it occurred to me as I typed up my post that not only could you change out the sentiment to just say 'happy birthday' or include the role of any family member (dad, brother, uncle, etc.) this might also work as a fun tongue-in-cheek card with the sentiment as is. So beware any male that feels he's 'over the hill', because one of these cards could be heading your way Grandpa!
Do check out the other design team cards this week; as always, there is some great inspiration and I look forward to seeing your challenge entries in the gallery. Right, I'm off to prepare for Sunday lunch and hopefully enjoy a restful family day before the onset of a new week. Enjoy your weekends everyone!
Back tomorrow with another project; until then, happy stampin'!
Stampin' Up! Supplies Used:
3c67216b-06d0-4efb-9a73-71b4b3181f08|0|.0|96d5b379-7e1d-4dac-a6ba-1e50db561b04
Tags: Just Sayin', First Edition, Flashback, For My Family, Itty Bitty Accents Punch Pack, Candy Dots, corner punch, Shop online, Stampin' Up, Stampin' Up Card, Stampin' Up Card ideas, Stampin' Up Supplies, Typeset, Word Bubbles Framelits
Cards | Stamping
by Joanne James20. September 2014 21:51Here at last with today's post! A busy day today - homework, grocery shopping, we had friends round to make cake pops this afternoon (always fun!) and then a swimming gala this evening - so finally I'm sitting down for long enough to share today's card with you! Today's card is for this week's Merry Monday Christmas Challenge, where the theme from Karren this week is to let your sentiment take centre stage:
I was tempted to go with a few obvious choices for my card using some of the fabulous new sentiments in the current seasonal catalogue, but decided to take the opportunity to try something different that I've had in mind for a while. I made a sentiment all of my very own - take a look:
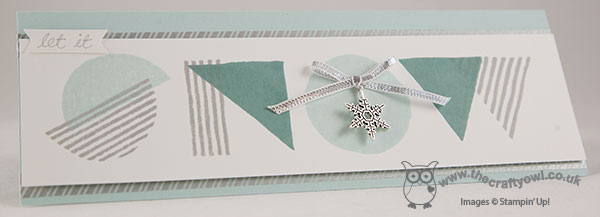
I decided to make a long, thin card and used the 'What's Your Type?' stamp set to stamp the word 'snow' using the various patterns and shapes in the set. I love this unusual graphic style type and it is great for making the sentiment the feature of your card. I stamped the various letters in a combination of Smoky Slate, Soft Sky and Lost Lagoon and finished the 'O' with one of the new snowflake embellishments and some silver ribbon. I mounted this section with dimensionals on a base of Soft Sky with a couple of strips of silver washi tape running along it. To complete my sentiment, I used my Smoky Slate Stampin' Write Marker to write 'let it' in my own handwriting on a little handcut banner and adhered to the top of the sentiment panel. A rather modern take on 'let it snow', granted, but I think it works and it's very different.
That's all from me; back tomorrow with this week's Design Team card for The Paper Players. Until then, happy stampin'!
Stampin' Up! Supplies Used: