by Joanne James26. May 2015 19:19I've had a lovely day today; I spent the morning doing housework followed by a pleasant afternoon at the park enjoying the sunshine and catching up with friends. Following dinner I got the the bottom of the ironing basket so much has been accomplished! Added to which, today is another two-card day, this time both using the sketch over at As You See It this week:
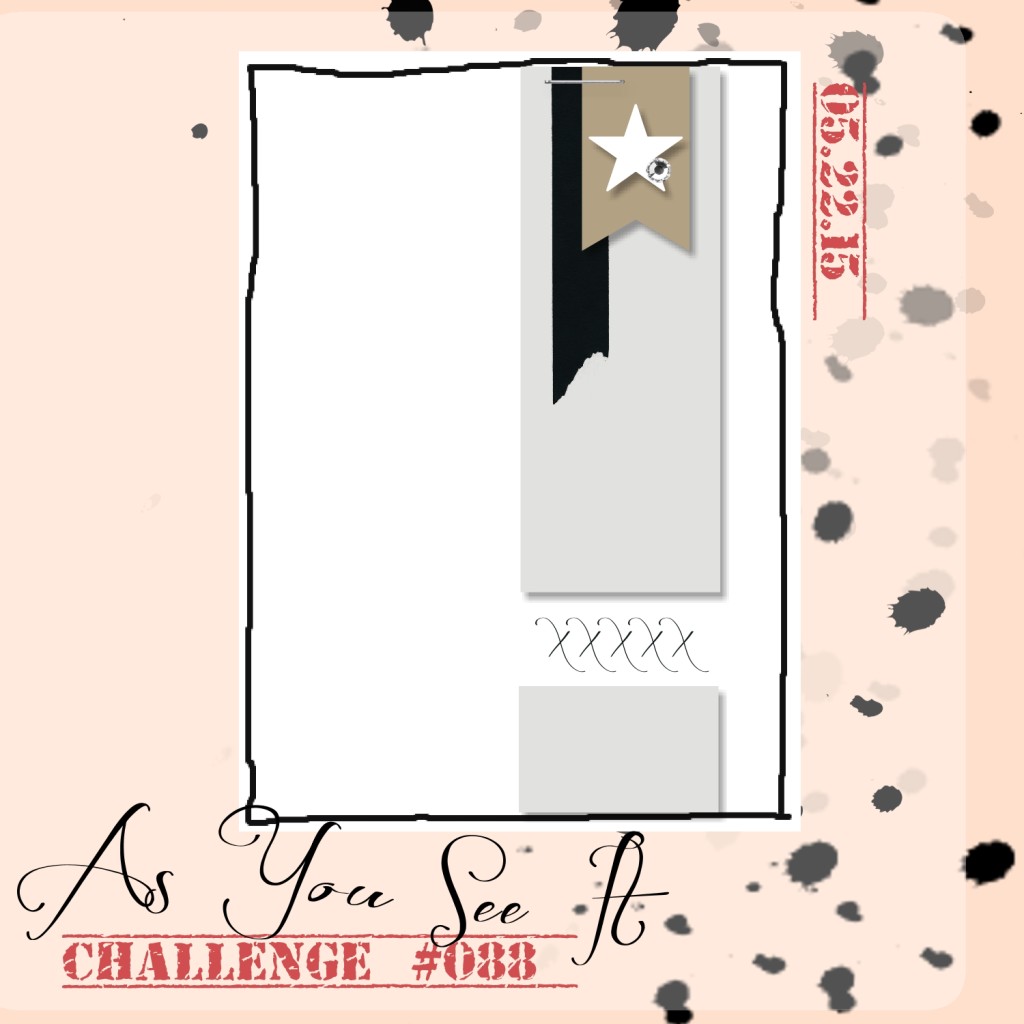
I'm also linking up again with the lovely Di over at Pixie's Snippets Playground as both of today's cards were made using offcuts lying around from other projects - always nice to use these up rather than store them for the sake of it! I thought this layout would work really well with some snippets of 'Stacked With Love' DSP and my Pictogram Punches stamp set and quickly set to work and came up with this:
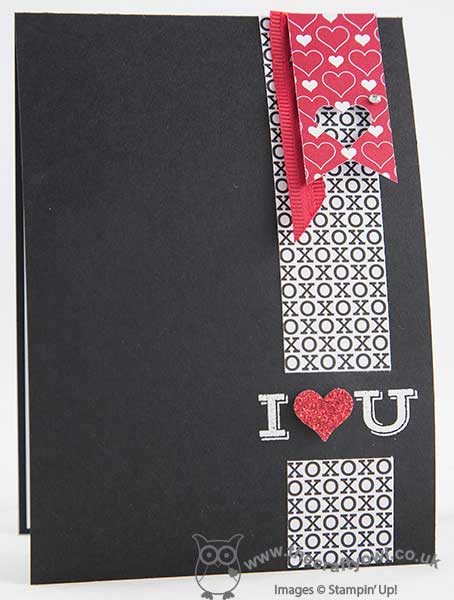
I used a base of Basic Black and added my 'xoxo' DSP in a split vertical strip, then stamped the sentiment in White Kraft ink and heat embossed it in white, adding a little red glimmer paper heart popped up on a dimensional over the stamped one. A further snippet of DSP with a heart punched out and an offcut of red ribbon finished my card. This would make a nice CAS anniversary card for your nearest and dearest or a great Valentine's card - my I am getting organised early for 2016!
Having made this card in next to no time, I then decided to see if I could use the same layout with the other sentiment stamp in this set and create a congratulations card - here is my 'take two':
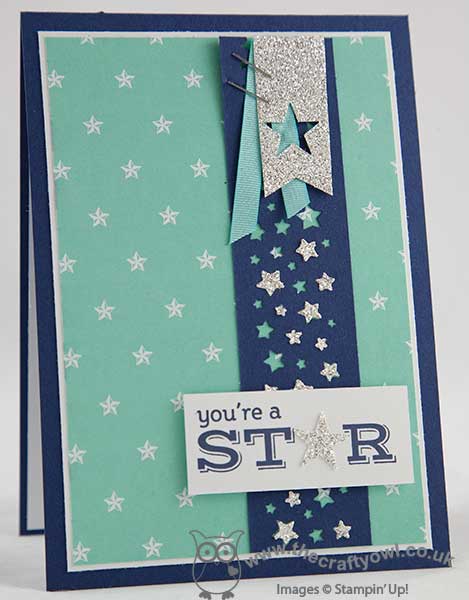
A little more layering here and a greater expanse of DSP this time; I used a base of Night of Navy and a mat of Whisper White, then a piece of Maritime DSP with a star pattern. This time I used a piece of Night of Navy punched with the Confetti Stars Border Punch for my vertical strip, infilled randomly with some silver glimmer stars punched from a piece of silver glimmer paper. I stamped my sentiment in night of Navy on Whisper White and popped the whole thing up on dimensionals above the vertical strip, adding a larger silver glimmer star in place of the stamped one. A snippet of left over SAB Coastal Cabana ribbon and a flag of silver glimmer paper stapled to the top complete this card.
Having made both cards, I think my favourite is the second one; I just love the colour combo and the combination of stars which is so perfect to congratulate someone on a job well done. Which one do you prefer? I'd love you to leave me a comment below and let me know which one gets your vote!
Back tomorrow with another project; until then, happy stampin'!
Stampin' Up! Supplies Used (Card 1):
Stampin' Up! Supplies Used (Card 2):
by Joanne James2. January 2015 21:03I've had a fun day today, amongst other things transforming my kitchen table into a table tennis court and hosting a craft party for an enthusiastic group of ten year olds this afternoon. But enough about my day; I managed to make a quick card yesterday for the current challenge over at CAS(E) This Sketch:
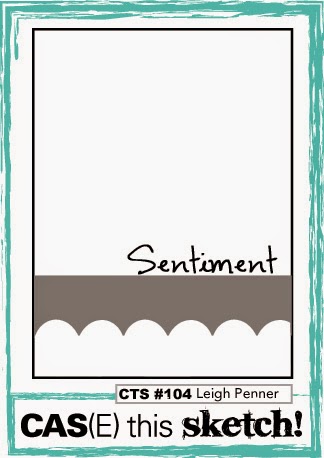
This is such a simple sketch layout with so many possibilities and it was perfect for a simple 'I love you' card featuring one of the stamps from Pictogram Punches:

I used a Whisper White card base and created my bottom panel from a piece of Real Red cardstock edged with the Hearts border punch and overlaid this with a piece of Crisp Cantaloupe cardstock that I first dry embossed with the new Happy Heart Textured Impressions Embossing Folder, coming shortly in a few days time with the new Spring-Summer catalogue (I fussy cut the edge following the line of the hearts). I stamped my sentiment in Crisp Cantaloupe above the layered section, then using Real Red ink I overlaid a new 'love' stamp onto the heart - this stamp is from an exclusive Sale-A-Bration set called 'You Brighten My Day', available free with every order of £45 or more between January 6th - March 31st. It fits perfectly and makes the heart 'pop' a little. To finish, I added a thick baker's twine bow.
I hope you like today's card. Back tomorrow with another project; until then, happy stampin'!
Stampin' Up! Supplies Used:
* Happy Heart TIEF and You Brighten My Day Stamp set available 6th January.
18b57a8e-e63a-47f3-80e1-5630d5796311|0|.0|96d5b379-7e1d-4dac-a6ba-1e50db561b04
Tags: Big Shot, Happy Heart TIEF, Anniversary, Hearts Border Punch, Pictogram Punches, Shop online, Stampin' Up, Stampin' Up Card, Stampin' Up Card ideas, Stampin' Up Supplies, You Brighten My Day, Sale-A-Bration 2015
Cards | Sale-a-bration | Stamping
by Joanne James24. September 2014 10:00It's Wednesday and time for a new challenge over at the Colour Me...! Card Challenge. This week we have a playful colour palette for you to work with - I also chose to use this week's Retrosketches layout for my card:
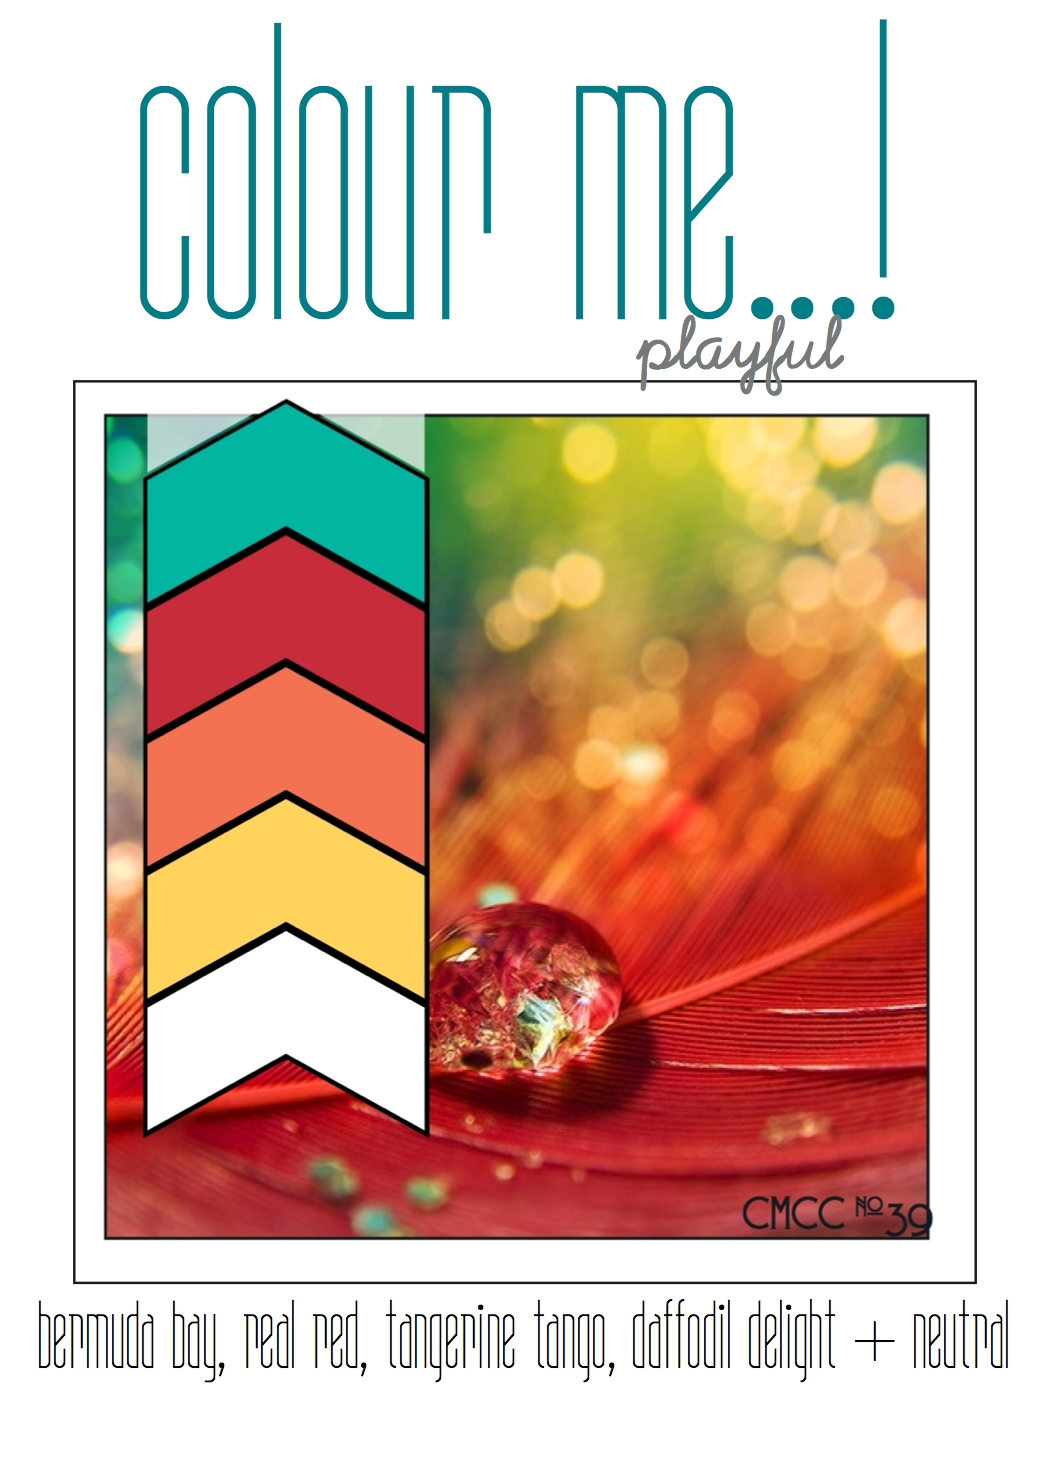
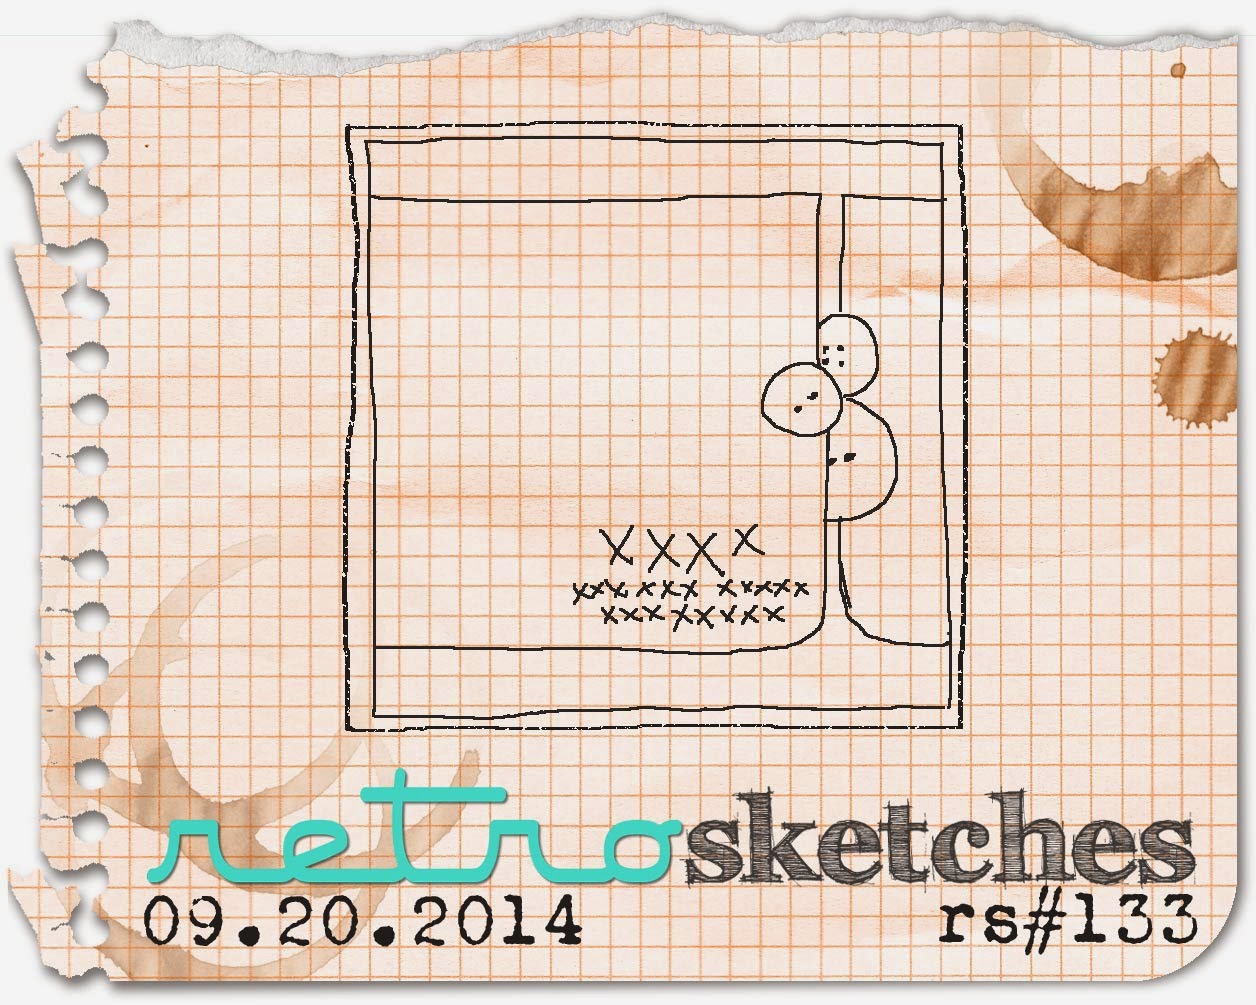
I love the bright colours of this week's colour palette, so decided to create a nice cheery card to really make the most of them - here's my card:
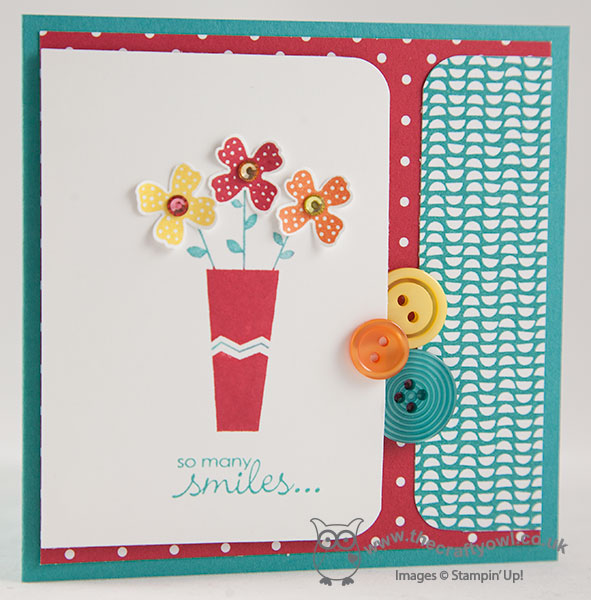
I used Bermuda Bay as the base colour for my card and decided to make a 4" square card for a change. I layered a sheet of Real Red polka dot paper from the Brights paper stack and a piece of Confetti Celebration DSP that features a fun Bermuda Bay design. I stamped the flower vase from Pictogram Punches, having inked it with my Stampin' Write markers to enable me to add the chevron detail on the vase and the flower stems in a different colour to the vase itself, then stamped and punched three flowers, finishing each with a rhinestone in the centre that had been coloured with my Blendabilities marker and adhered the flowers separately using glue dots. After stamping my sentiment from Petite Pairs, this left-handed section was adhered to the front of the card using dimensionals, to allow space for my selection of co-ordinating buttons to sit above and below it as per the sketch design.
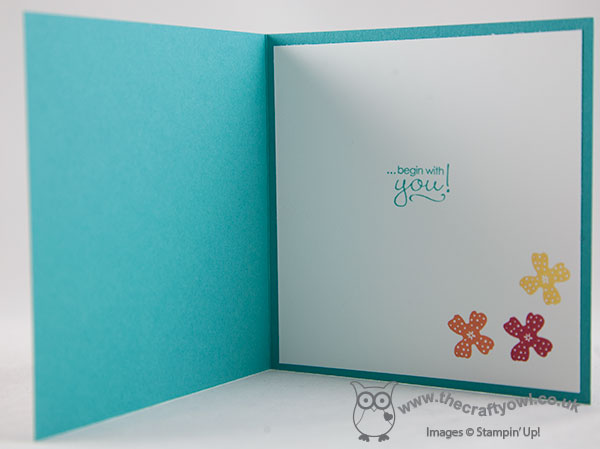
I even remembered to take a photo of the stamping on the inside of my card today:
That's my Colour Me...! card for this week - why not visit the other Colour Me...! designers and check out their takes on this week's colour combination:
We look forward to seeing your subtle creations. Right, i'm off to get some work done before this afternoon's hockey match (observer, not participant!)
Back tomorrow with another project; until then, happy stampin'!
Stampin' Up! Supplies Used:
2fdaabc9-aaf5-48d0-a644-494b14729943|0|.0|96d5b379-7e1d-4dac-a6ba-1e50db561b04
Tags: Shop online, Stampin' Up Card, Stampin' Up Card ideas, Stampin' Up Supplies, Stampin' Up, Pictogram Punches, Itty Bitty Accents Punch Pack, Confetti Celebration, Colour Me...!, Petite Pairs, Blendabilities
Cards | Stamping
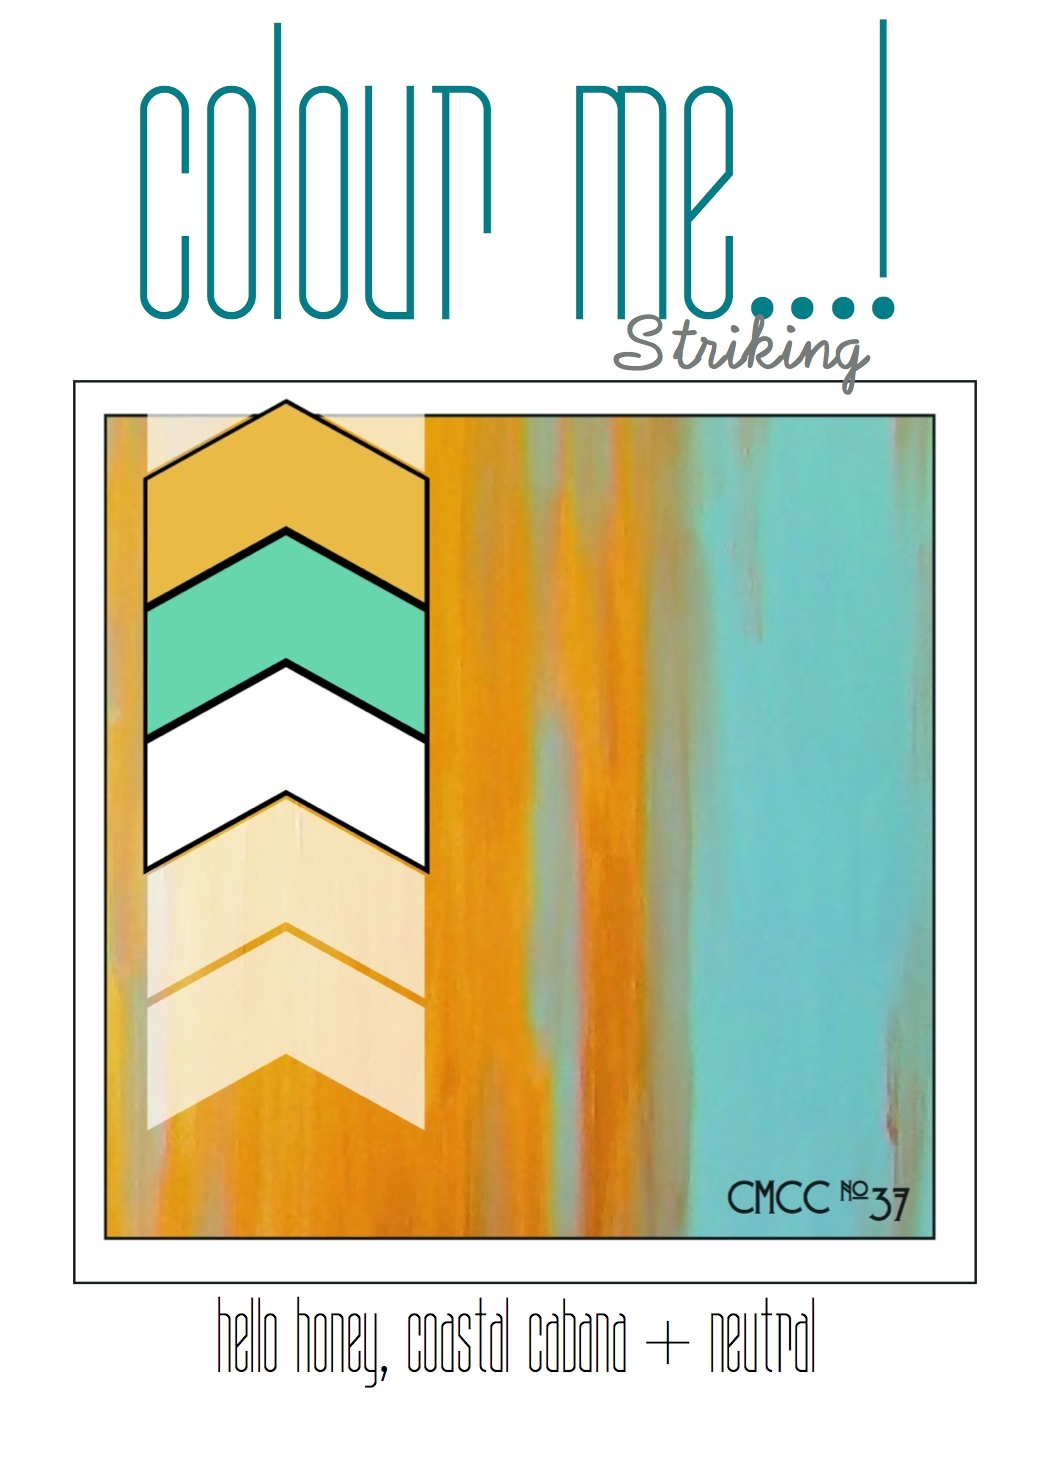
by Joanne James10. September 2014 10:02Here is today's card for this week's challenge over at Colour Me...! where we have a striking colour palette to work with:
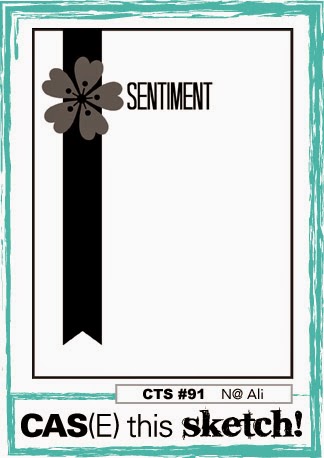
I used this week's layout at CAS(E) This Sketch again for today's card, although interpreted it quite differently to the card I made using this sketch earlier in the week (you can see that card here). I played about with this week's colours for a bit before deciding on the final version of my card - I had lots more layers and DSP galore, but eventually decided that a less fussy layout was in order. Here is my card:
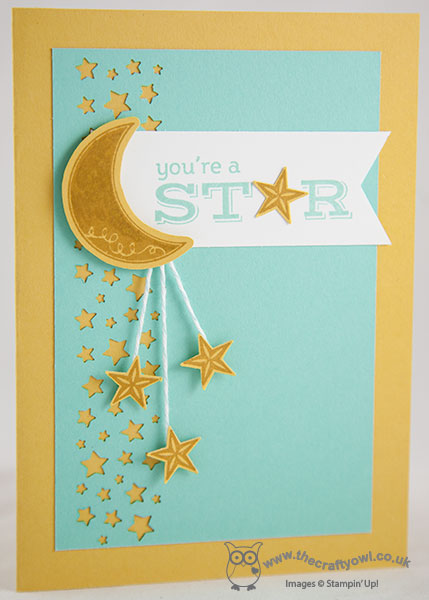
I used Hello Honey for my card base, and matted a piece of Coastal Cabana that I had first punched along the edge with the Confetti Star punch. I can't stop using this punch, the floor of my office is littered with tiny punched stars! I stamped the greeting from Pictogram Punches in Coastal Cabana ink onto a banner of Whisper White and flagged the end with my hexagon punch - so useful for perfectly even banner ends! I then stamped the moon and three stars in Hello Honey onto Hello Honey cardstock and fussy cut the moon and punched out the stars with the co-ordinating punch - easy peasy! I attached the falling stars to the moon using some vintage Pool Party baker's twine (a bit of a cheat, but it added a little more colour than Whisper White twine and against the Coastal Cabana it looks the same colour!) You could achieve the same look by using one of the Coastal Cabana Blendabilities markers to colour some white baker's twine. I attached the shapes to my card using dimensionals for lift, then stamped and punched another yellow star and attached it to the sentiment to tie this in to the rest of my card.
This card is heading for a member of my team who recently achieved a promotion - a fun congratulations card! Why not visit the other Colour Me...! designers and check out their takes on this week's colour combination:
We look forward to seeing your striking creations.
Back tomorrow with another project; until then, happy stampin'!
Stampin' Up! Supplies Used:
by Joanne James15. August 2014 21:00No blog post yesterday as I took the James juniors to the zoo for the day and had a team get-together in the evening and didn't manage to squeeze one in! We had a great day at the zoo and managed to dodge the worst of the rain showers, so all good. Today I'm sharing a quick shaker card designed by Monica Gale that we made at our last quarterly team training day:
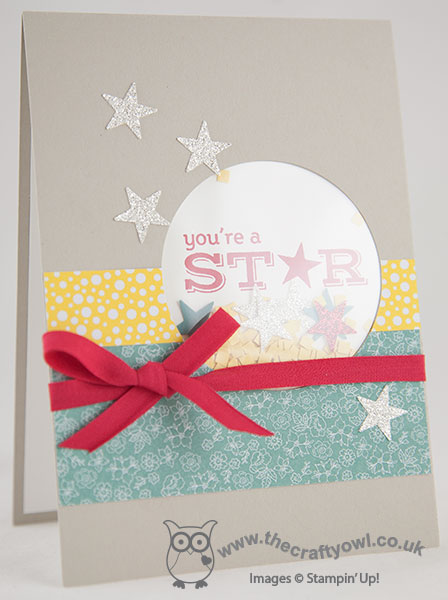
Not the best of photos I'm afraid as I struggled to beat the refection and glare on the window sheet, but hopefully good enough to get the idea. Shaker cards are all the rage at the moment and whilst you can build a window with depth for a card with real 'shake-ability (I'm sure it's a word!), you can also get the effect simply and easily by creating a pocket behind a punched opening and adding just a few elements - I added some glitter stars and square confetti created with my fringe scissors. The front of the card is simply decorated with a few strips of All Abloom DSP, some stars punched from the new Dazzling Diamonds Glimmer paper and a tied bow made with 1/4" Real Red cotton ribbon.
Short and sweet today! Back tomorrow with another project. until then, happy stampin'!
Stampin' Up Supplies Used:
97147742-8c49-4452-a304-7de7cc3e4ecb|0|.0|96d5b379-7e1d-4dac-a6ba-1e50db561b04
Tags: All Abloom, Pictogram Punches, Fringe Scissors, Itty Bitty Accents Punch Pack, Shop online, Shaker cards, Stampin' Up, Stampin' Up Card, Stampin' Up Card ideas, Stampin' Up Supplies, circle punch
Cards | Stamping