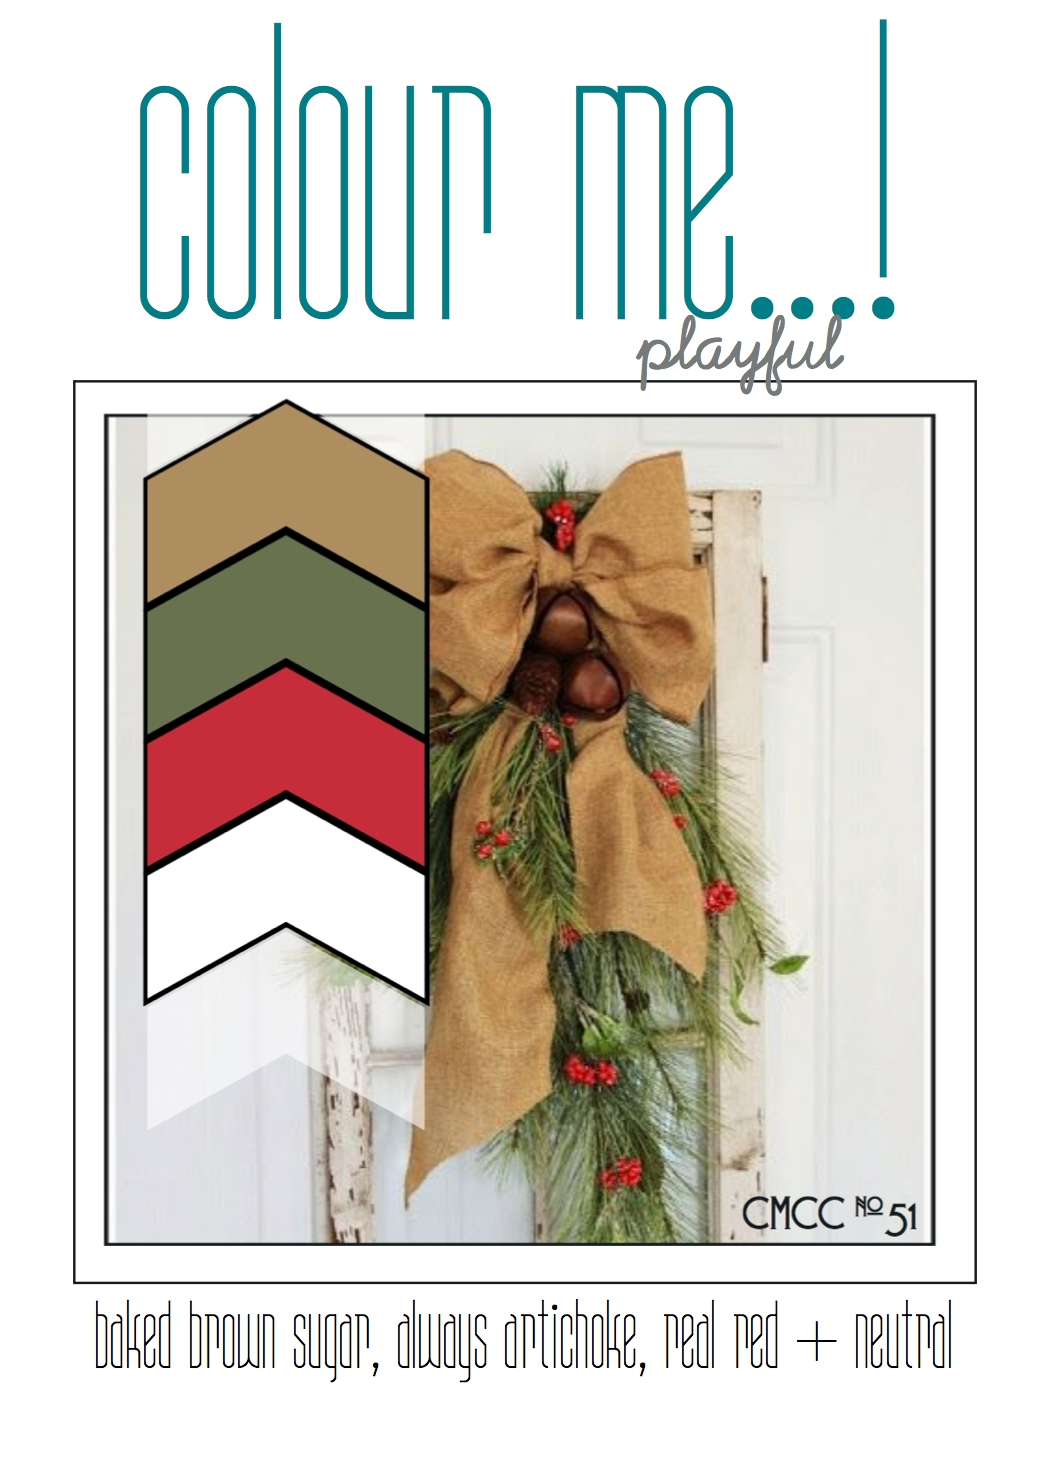
by Joanne James17. December 2014 09:30It's Wednesday and time for my last challenge as a designer over at Colour Me...! It has been a great 6 months working with these lovely ladies and the various colour palettes week on week and I would like to say a big 'thank you' to Tara and Hayley for the opportunity and to my fellow designers, Claire Broadwater, Julia Altermann and Sherrie Mannion and the various monthly guest designers for their collective inspiration. So we are ending the year with a playful colour palette with a distinctive festive feel:
I used this week's sketch over at Mojo Monday as the inspiration for the layout of my card and decided to stick with the festive feel of our inspiration photo to make another Christmas card:
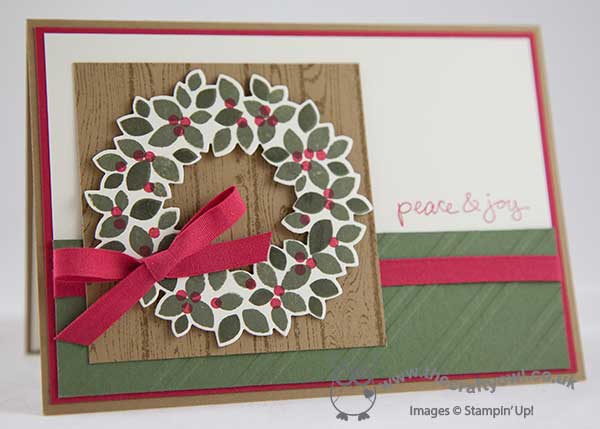
I used Baked Brown Sugar for my base with a mat of Real Red, then a split panel of Very Vanilla and Always Artichoke, the bottom layer of which I embossed with the Stylish Stripes TIEF. I stamped my Good Greetings sentiment onto the vanilla layer in red (this set is now available on the Year End Closeouts Clearance Rack if you want to pick up a bargain!). I stamped a piece of Baked Brown Sugar with the Hardwood stamp to create the background for my wreath, then stamped my wreath in Always Artichoke with red berries and cut it out with my wreath framelits and popped it up on a couple of dimensionals. To finish, I added a ribbon and bow in Real Red Cotton Ribbon.
Feel free to leave a comment on today's card, before hopping over to check out the amazing cards by the rest of the Colour Me...! team:
We look forward to seeing your playful creations - what does this palette inspire you to create?
Back tomorrow with another project; until then, happy stampin'!
Stampin' Up! Supplies Used:
8b2fffcb-a48f-4827-972a-8c4d72487220|0|.0|96d5b379-7e1d-4dac-a6ba-1e50db561b04
Tags: Christmas, Good Greetings, Wonderful Wreath Framelits, Wondrous Wreath, Shop online, Stampin' Up, Stampin' Up Card, Stampin' Up Card ideas, Stampin' Up Supplies, Clearance Rack, Colour Me...!, Hardwood
Cards | Stamping
by Joanne James10. December 2014 10:00It's Wednesday and this week's challenge over at Colour Me...! is one of my favourites - we have a beautiful striking colour combination for you to work with:
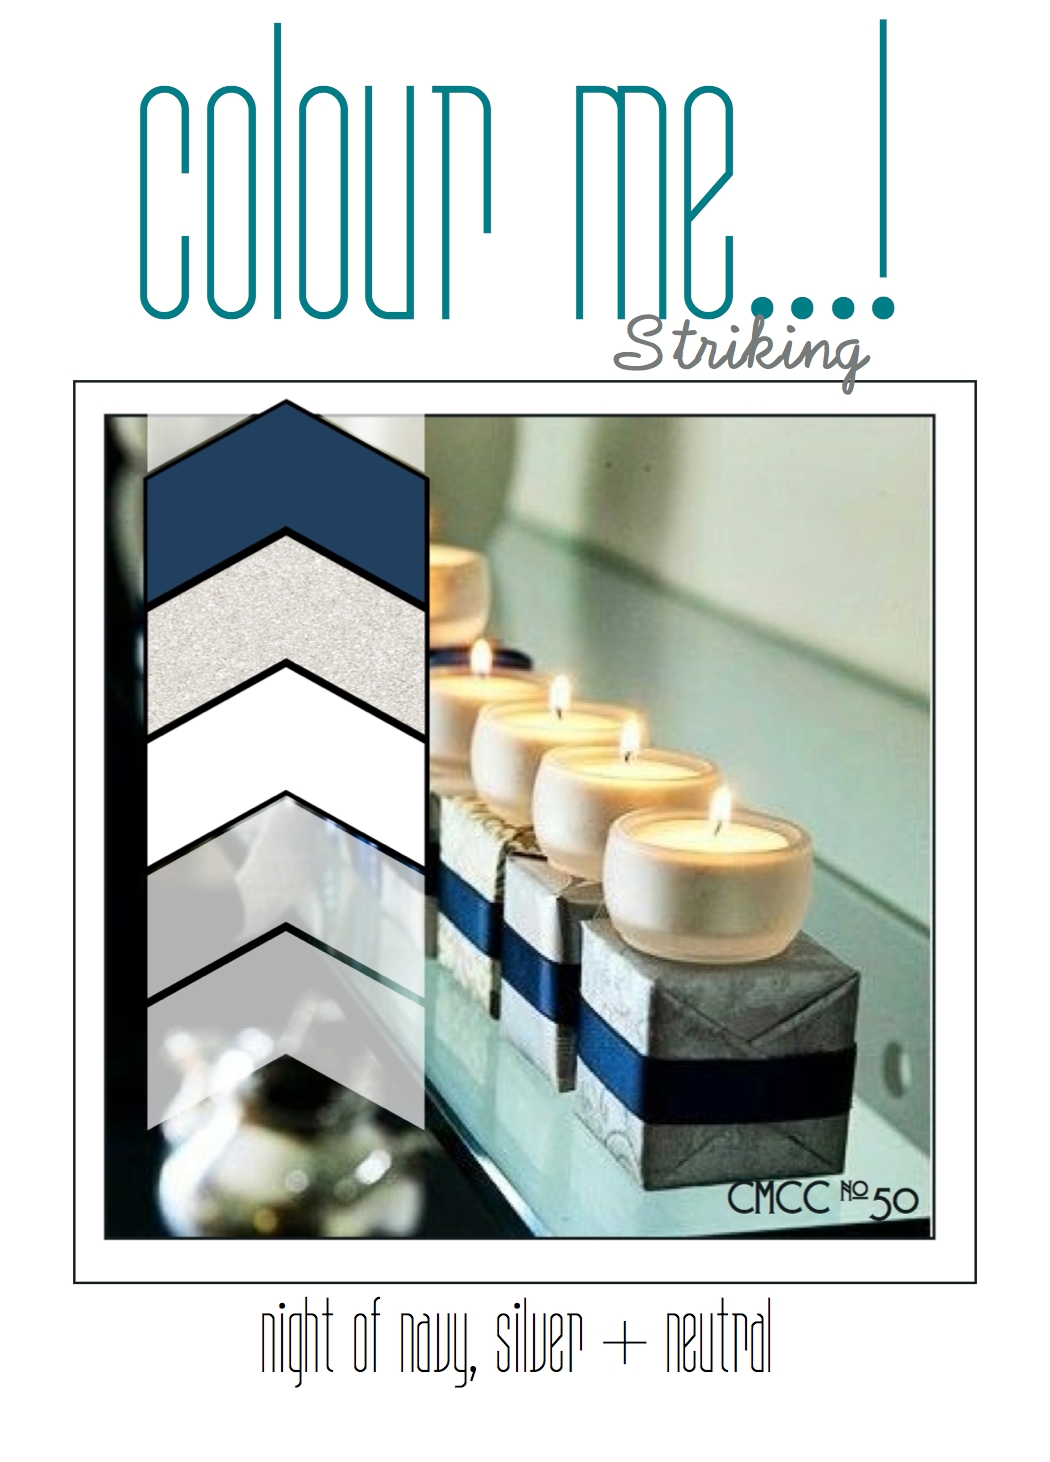
Night of Navy and Silver - such a great pairing for Christmas cards. I immediately knew what I wanted to create with this week's colour combination - a star shaker card. Here it is:
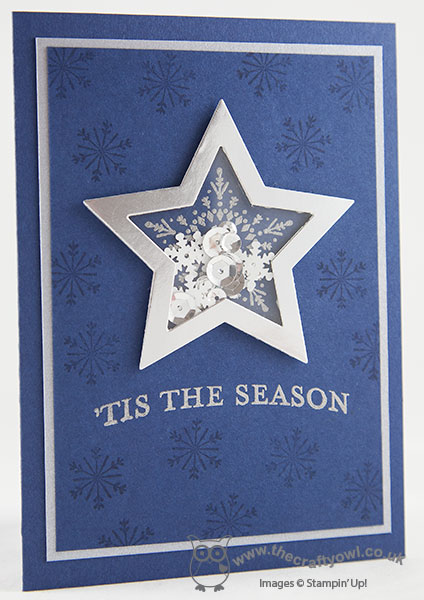
When I uploaded my Design Team card this week, I can see I wasn't the only one who thought stars were a good idea - you know what they say about great minds thinking alike though, right? I created a layered panel of Night of Navy and Brushed Silver on a Night of Navy base, then stamped the large snowflake and sentiment in Versamark and heat embossed in silver. I then stamped the small snowflake all over the front of my card in Versamark to give a subtle background pattern. Lastly, I created a star shaker frame using silver foil, a piece of window sheet and some dimensionals and after placing a mixture of Frosted Sequins in the centre, attached my frame to the background.
I love shaker cards and really don't make them often enough; after all, they are such fun. Feel free to leave a comment on today's card, before hopping over to check out the amazing cards by the rest of the Colour Me...! team:
We look forward to seeing your striking creations - what does this palette inspire you to create?
Back tomorrow with another project; until then, happy stampin'!
Stampin' Up! Supplies Used:
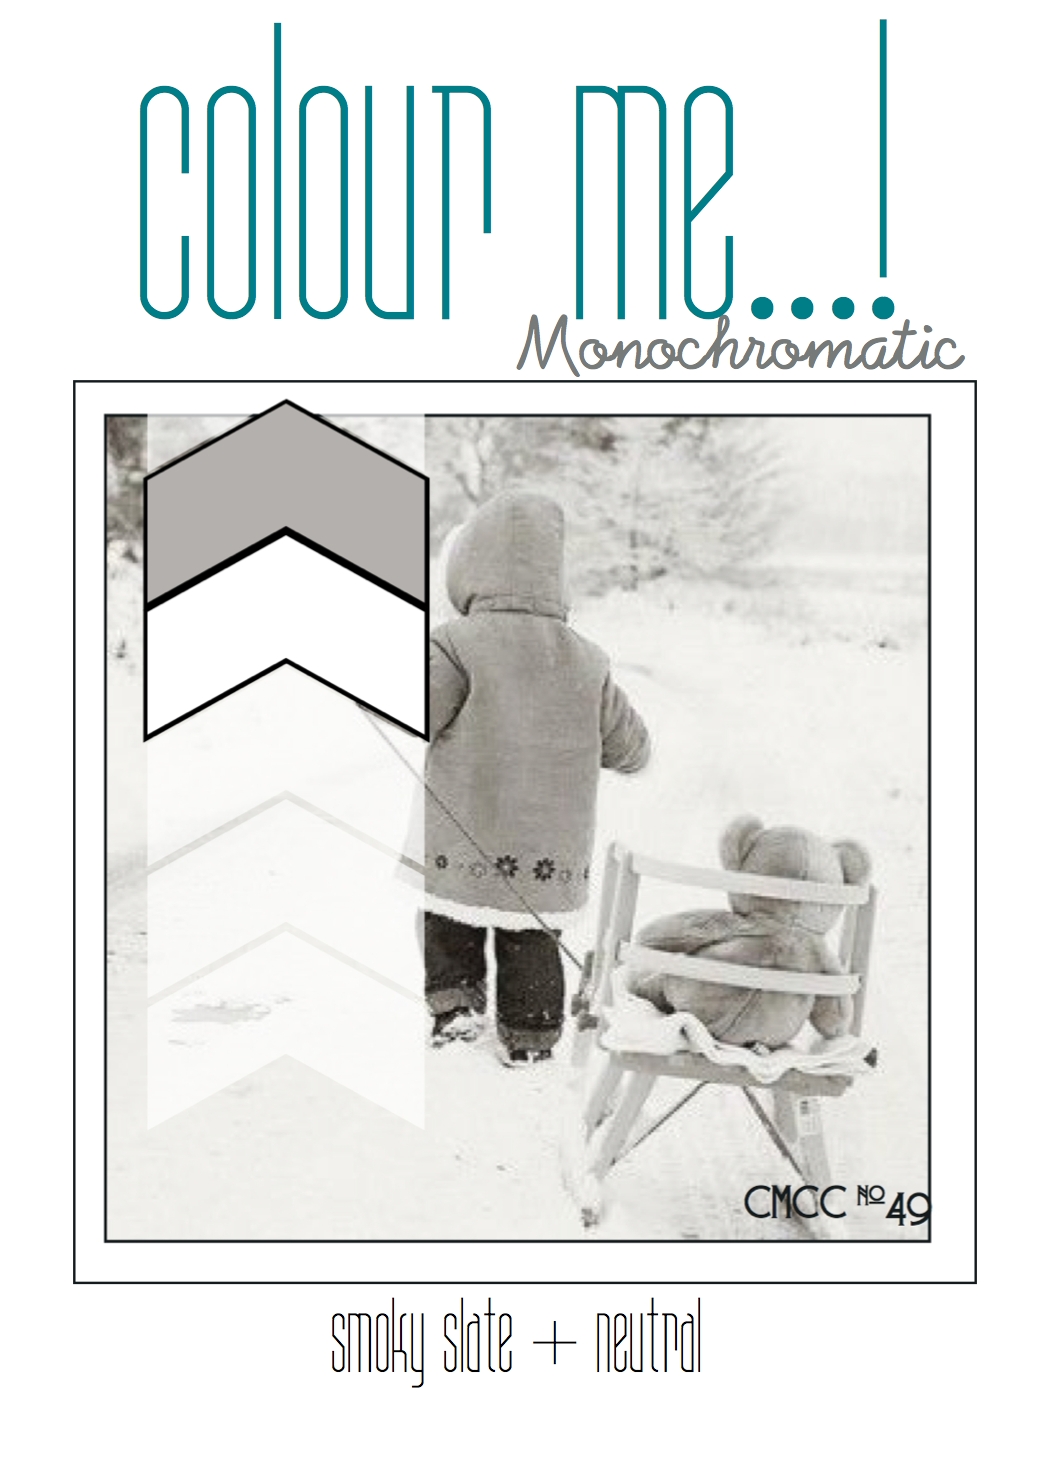
by Joanne James3. December 2014 10:00Today's second creative post is for this week's Colour Me...! card challenge where we are working with a monochromatic colour scheme of Smoky Slate:
I love this week's inspiration photo - so cute! I went with a Christmas card today, although not a snowflake or sleigh in sight:
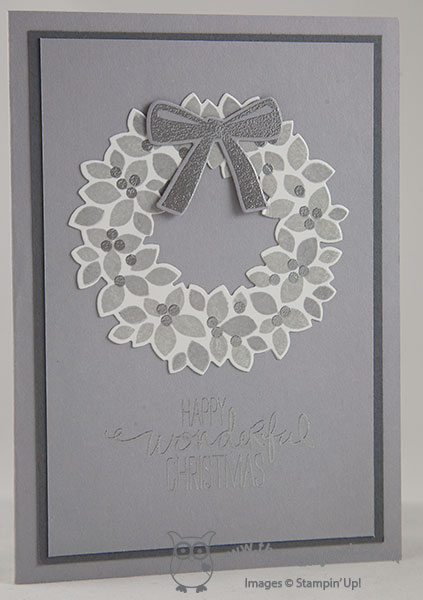
Today's card proved difficult to photograph, but I can attest that the silver embossed berries, bow and sentiment add a lovely touch of sparkle to this monochromatic card.
Feel free to leave a comment on today's card, before hopping over to check out the amazing cards by the rest of the Colour Me...! team:
And our talented guest designer for December
I have another card tomorrow using this colour scheme too, so pop back and take a look! We look forward to seeing your monochromatic creations - what does this palette inspire you to create?
Back tomorrow with another project; until then, happy stampin'!
Stampin' Up! Supplies Used:
af763dc7-57e6-4734-a6e8-1847c41ce796|0|.0|96d5b379-7e1d-4dac-a6ba-1e50db561b04
Tags: Big Shot, Embossing, Magnetic Platform, Shop online, Stampin' Up Supplies, Stampin' Up Card ideas, Stampin' Up Card, Stampin' Up, Colour Me...!, Wondrous Wreath, Wonderful Wreath Framelits
Cards | Stamping
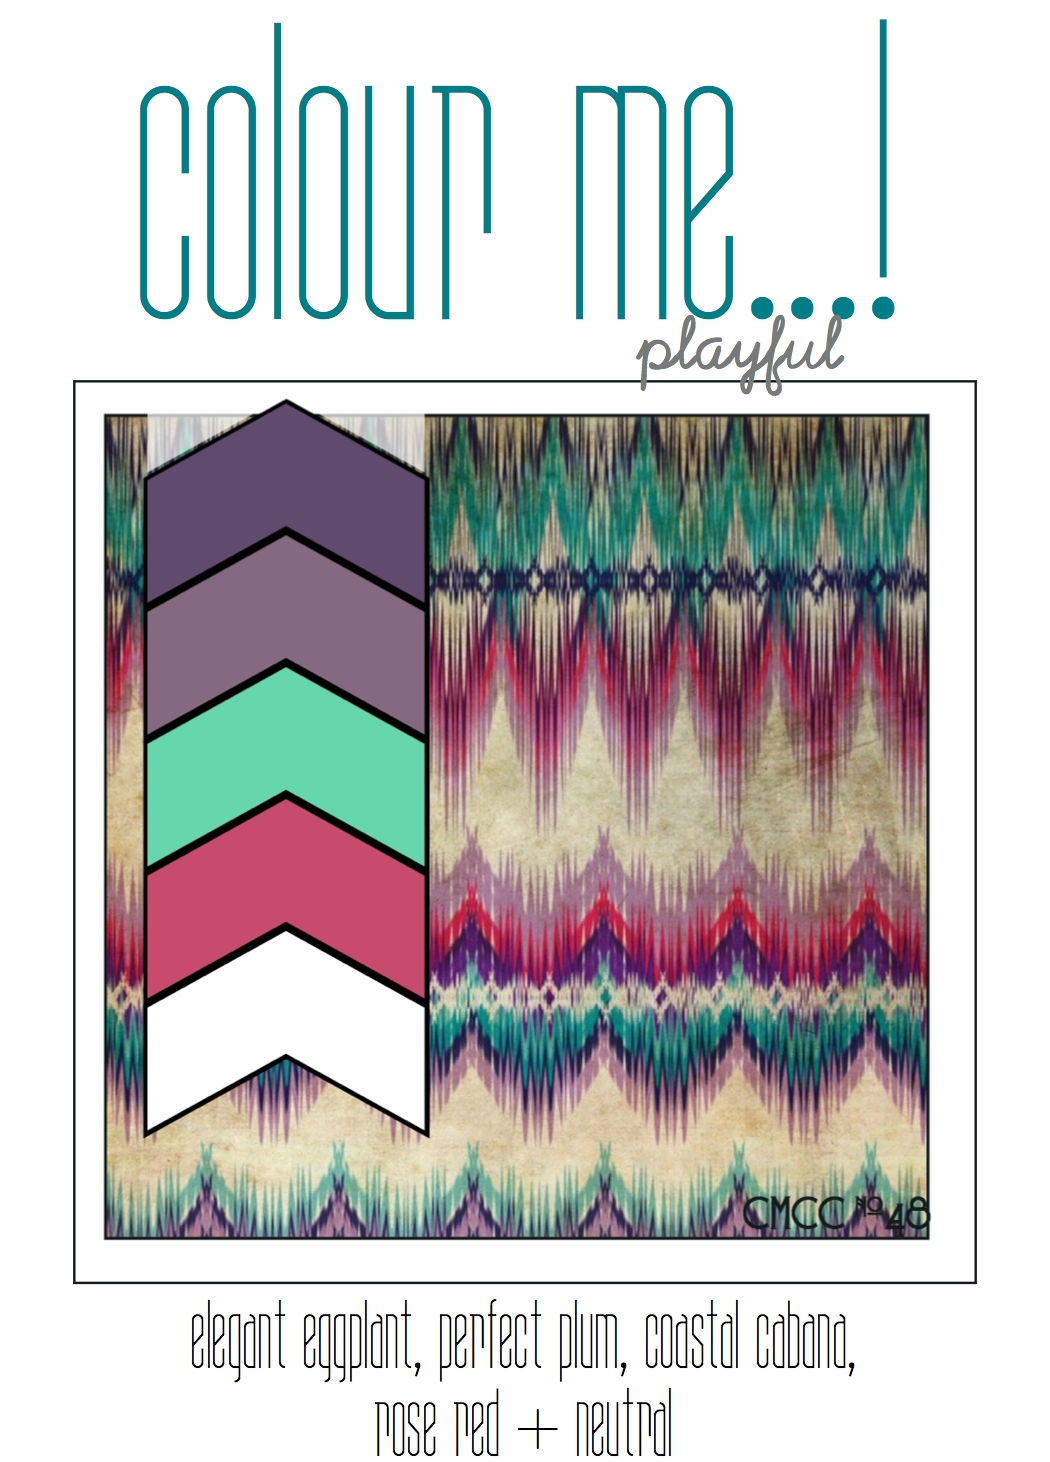
by Joanne James26. November 2014 10:00Today's card is for this week's Colour Me...! card challenge where we have are working with a playful palette of pinks and purples with a spot of Coastal Cabana:
I took the opportunity to ink up my Amazing Birthday stamp set for the first time. This was one of the sets I received free at Stampin' Up! Convention in Brussels this year and it was really tough not to buy it before I went, as I think it's a really versatile stamp that will get lots of use. Here's today's card:
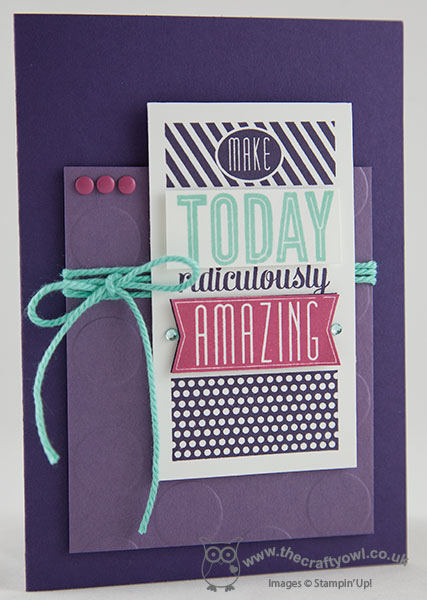
I used Elegant Eggplant for my card base, then mounted a panel of Perfect Plum that I had dry embossed with the large polka dot embossing folder. I tied some thick Coastal Cabana baker's twine around the embossed panel before adhering to my card base. I stamped the main image in Elegant Eggplant on Whisper White, but also stamped it separately in Rose Red and Costal Cabana and fussy cut a couple of panels and overlaid them onto my main panel to add a pop of colour. To finish, I added a couple of rhinestones to my main panel which I first coloured wit my Coastal Cabana Blendabilities and a trio of Rose Red candy dots to the embossed panel.
This card could be made in lots of different colourways and would make a great 'storecupboard standby' that works for both male and female. As someone who is a big fan of purple though, this colour combination really works for me. I might have to go and make a few more!
Feel free to leave a comment on today's card, before hopping over to check out the amazing cards by the rest of the Colour Me...! team:
We look forward to seeing your playful creations - what do these colours inspire you to create?
Back tomorrow with another project; until then, happy stampin'!
Stampin' Up! Supplies Used:
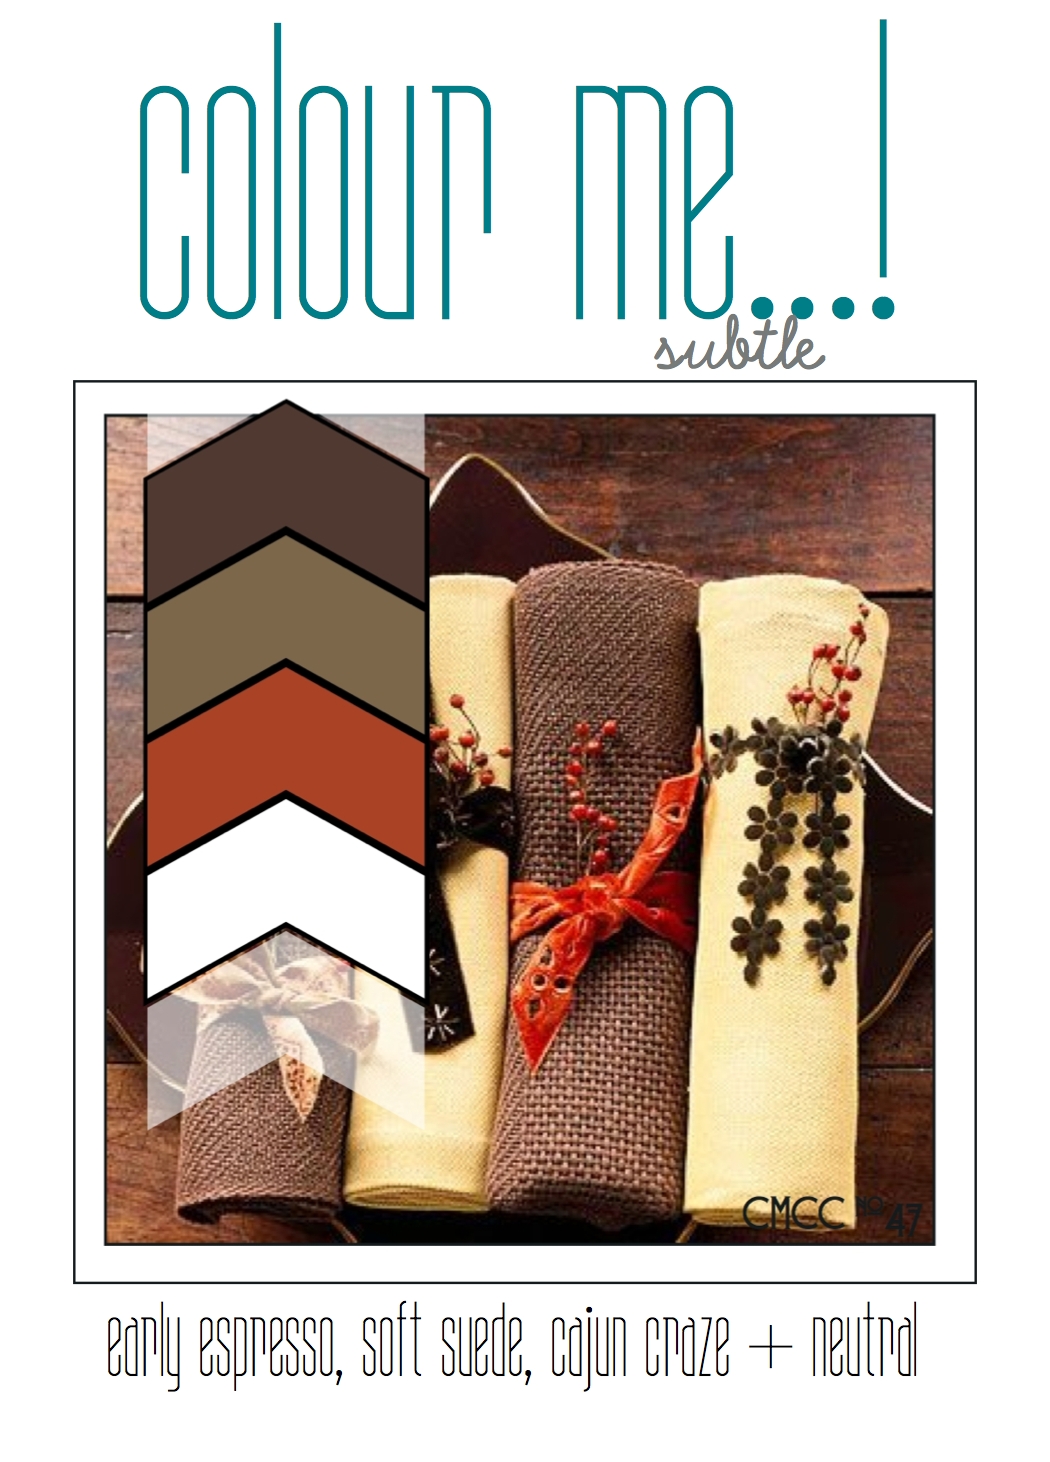
by Joanne James19. November 2014 08:57Today's card is for this week's Colour Me...! card challenge where we have are working with a subtle palette of autumnal browns:
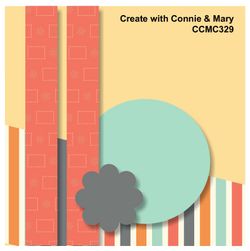
I also decided to use the rather unusual sketch layout over at Create With Connie and Mary for my card this week. Here is my card:
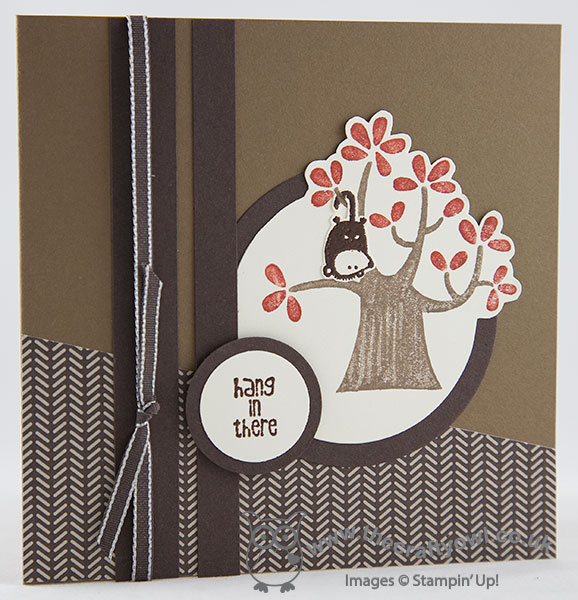
I used Soft Suede as my card base and layered a piece of paper from the Trim The Tree DSP stack at an angle across the bottom of the card. For the main image, I used the tree from the Nuts About You hostess set and having inked it up with my Soft Suede and Cajun Craze Stampin' Up! markers, stamped in out onto very Vanilla cardstock and partially cut out using my circle framelits, fussy cutting the leaves so that they would overhang the edge of the circle. I deliberately created a streaky finish on the tree truck to make it look a little bit like tree bark. I stamped both the sentiment and little creature (is it a possum? I'm really not sure what he's supposed to be, but he's cute all the same!) in Versamark and heat embossed them with Early Espresso embossing powder. I fussy cut the animal and adhered him over the tree so that he looked like he was 'hanging in there'. I finished with some strips of Early Espresso and a piece of retired Early Espresso taffeta ribbon to complete my card.
I made this card for a female friend who is having a tough time of it recently and I wanted to send her a little something to brighten her day and just let her know I was thinking of her. I really liked the finished card, then I read on a blog somewhere this week that it was the author's view that a thinking of you/get well card should always be in brighter colours to lift the recipients mood. As someone who was entirely happy with her card until I read this, and who also loves bright colours, I'm now having second thoughts - maybe I should remake it with something less subtle; what do you think? Either way, I still love today's card!
Feel free to leave a comment on today's card, before hopping over to check out the amazing cards by the rest of the Colour Me...! team:
We look forward to seeing your striking creations - what do these colours inspire you to create?
Back tomorrow with another project; until then, happy stampin'!
Stampin' Up! Supplies Used:
2b88f6d9-3d40-41ef-9196-a5f5a9f0f3cc|0|.0|96d5b379-7e1d-4dac-a6ba-1e50db561b04
Tags: Circles Framelits, Big Shot, Nuts About You, Host a Party, Trim The Tree, Stampin' Up Supplies, Stampin' Up Card ideas, Stampin' Up Card, Stampin' Up, Stampers 6 Club, Shop online, Colour Me...!
Cards | Stamping
by Joanne James12. November 2014 09:07It's Wednesday and time for this week's challenge over at Colour Me...! where we have a striking palette for you to work with this week:
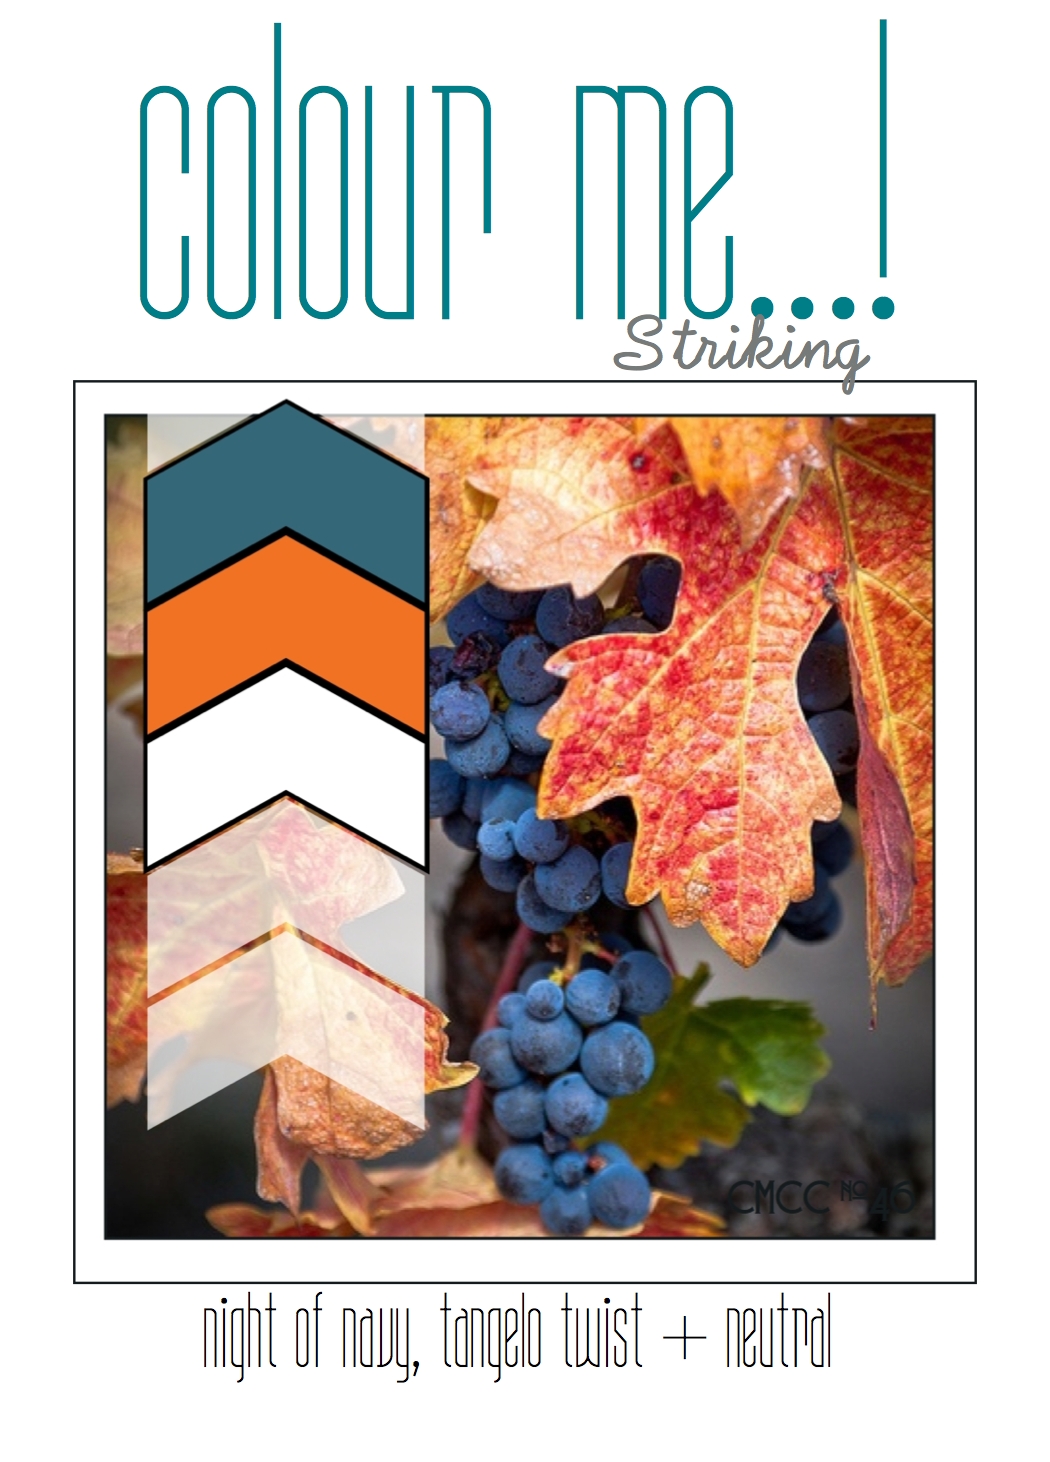
This week's colours put me in something of a quandry: I am completely into Christmas makes at the moment, but these colours really weren't shouting Christmas at me, not even in an unconventional sense! I also considered a fall/autumn themed card, but in the end decided to make a card to add to my 'ready to go'stash that could be used for a number of different purposes. So here's today's card:
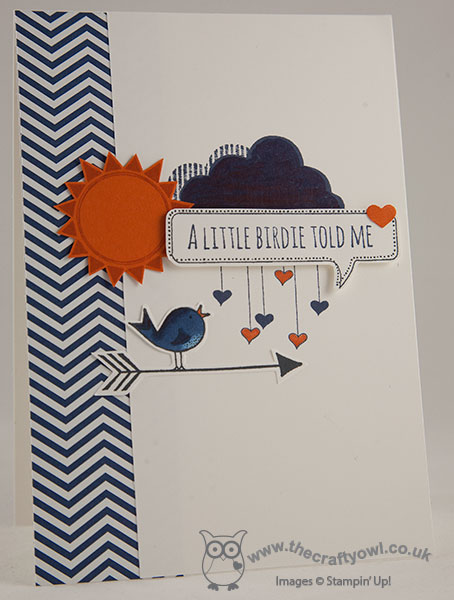
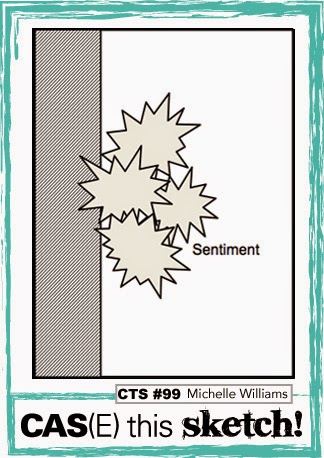
I used this week's sketch over at CAS(E) This Sketch for my layout and the hostess set 'Hello Love' which has the cute little birds in it and decided to make a clean 'collage style' card using the various images in the set and creating some subtle layering of the various elements. I used my Night of Navy Stampin' Up! Blendabilities pens to colour in the bird and also to colour in the words 'hello love' which would otherwise be on the cloud, as I wanted my sentiment to be contained within the word bubble. This is such a fun set as it comes with a number of possible second sentiments, so that you could make the card into a number of different types of congratulations card. I haven't actually stamped the inside, although I think I might add the birthday sentiment as this card would make a fun card for my nephew's birthday next week (according to my daughter!)
So what do you think? Feel free to leave a comment on today's card, before hopping over to check out the amazing cards by the rest of the Colour Me...! team:
We look forward to seeing your striking creations - what do these colours inspire you to create?
I have another busy day today, with my monthly Project Life class this afternoon, a team meeting this evening and a wreath class tomorrow (I'll be sharing some of these outputs later this week!) Back tomorrow with my card for this week's one layer challenge over at Less Is More; until then, happy stampin'!
Stampin' Up! Supplies Used:
732cbc24-2c1b-4ee0-933c-dc9996257752|0|.0|96d5b379-7e1d-4dac-a6ba-1e50db561b04
Tags: Hello Love, Host a Party, Colour Me...!, Design Team Member, Blendabilities, Hearts Border Punch, Stampin' Up, Stampin' Up Card, Stampin' Up Card ideas, Stampin' Up Supplies, Shop online
Cards | Stamping
by Joanne James22. October 2014 09:00DON'T FORGET: 2 DAYS LEFT UNTIL THE FREE PACK OF PAPER FOR 6 MONTHS SIGN UP DEAL ENDS - CLICK HERE TO FIND OUT MORE AND JOIN MY STAMPIN' UP! TEAM TODAY!

It's Wednesday and time for this week's challenge over at Colour Me...! where we have a playful colour palette for you to work with this week:
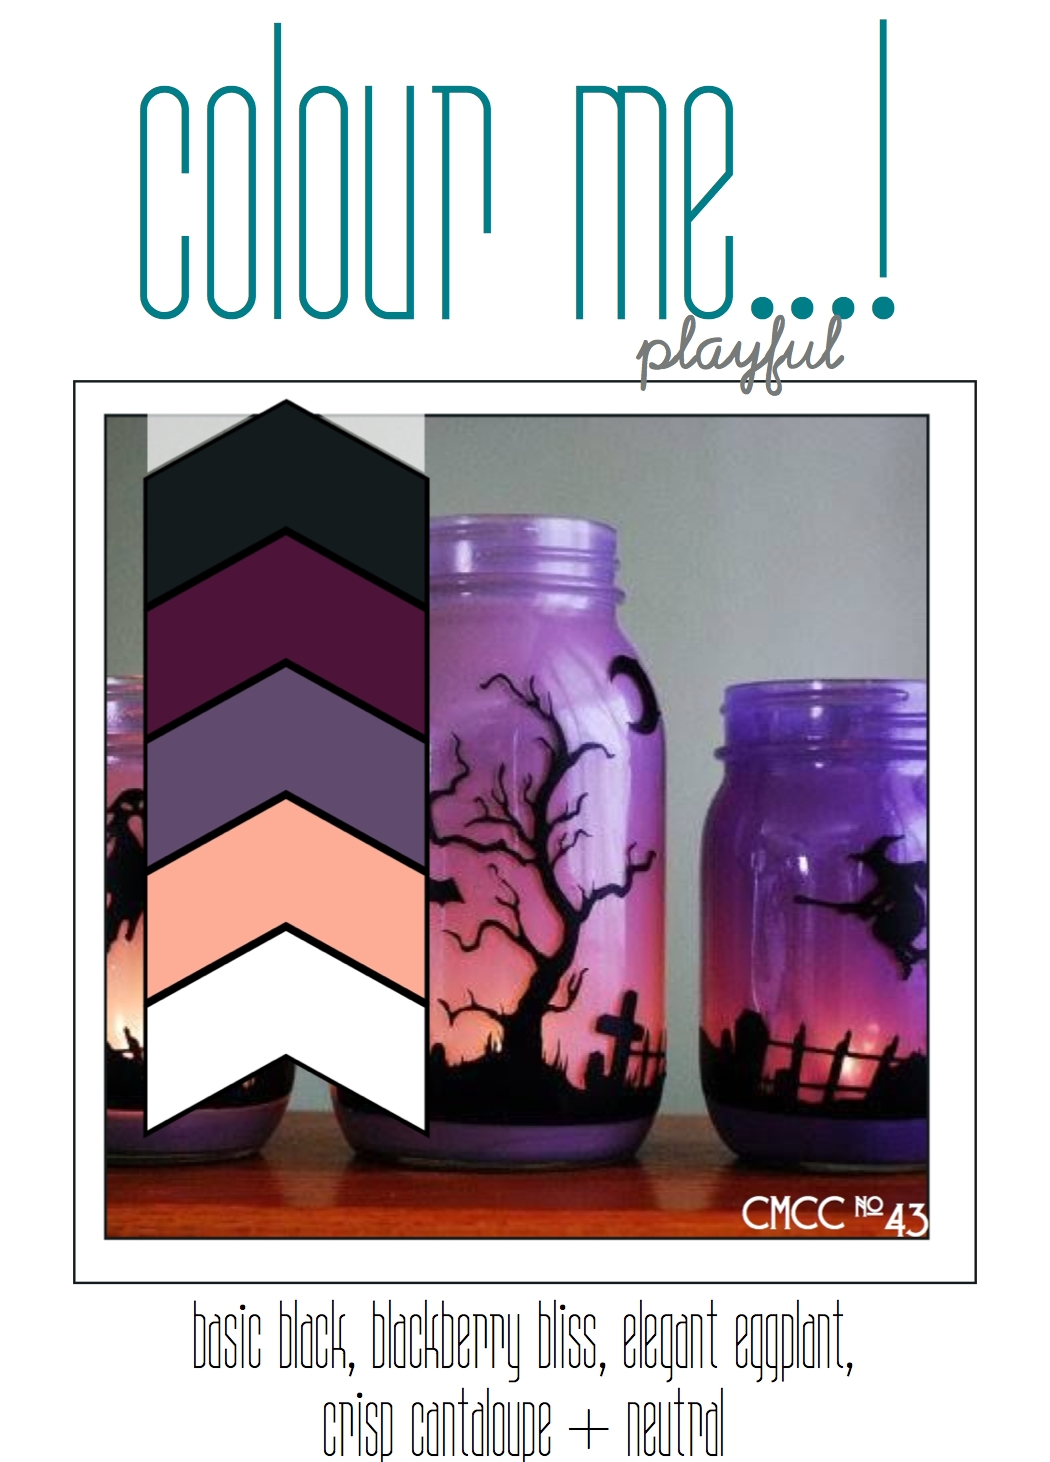
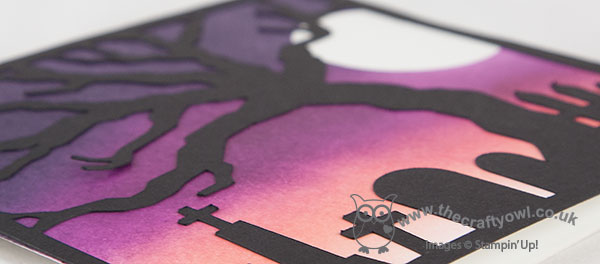
For my card, I took my inspiration straight from this week's challenge badge and those lovely spooky mason jars and decided to create a similar effect with the aid of my Silhouette Cameo - take a look:
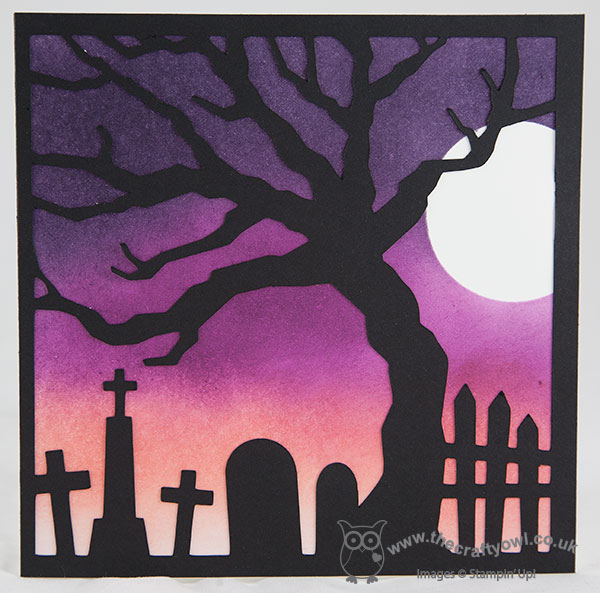
I couldn't find a suitable file in My Digital Studio to work with, so I downloaded this Halloween Graveyard scene from the Silhouette store and cut it out of Basic Black. For the background, I sponged a panel of Whisper White using each of the challenge colours, having first masked off a circle with a post-it note punched with a 1 3/4" circle punch for my moon. I'm surprised at just how well these three colours blend together to create the spooky scene - it's really quite atmospheric. I left the front of my card sentiment-free and added one to the inside, as I didn't want to interrupt my picture.
So what do you think? This card was surprisingly easy to create with my e-cutter. Feel free to leave a comment on today's card, before hopping over to check out the amazing cards by the rest of the Colour Me...! team:
We look forward to seeing your subtle creations.
Back tomorrow with another project; until then, happy stampin'!
Stampin' Up! Supplies Used:
by Joanne James15. October 2014 09:00DON'T FORGET: 9 DAYS LEFT UNTIL THE FREE PACK OF PAPER FOR 6 MONTHS SIGN UP DEAL ENDS - CLICK HERE TO FIND OUT MORE AND JOIN MY STAMPIN' UP! TEAM TODAY!

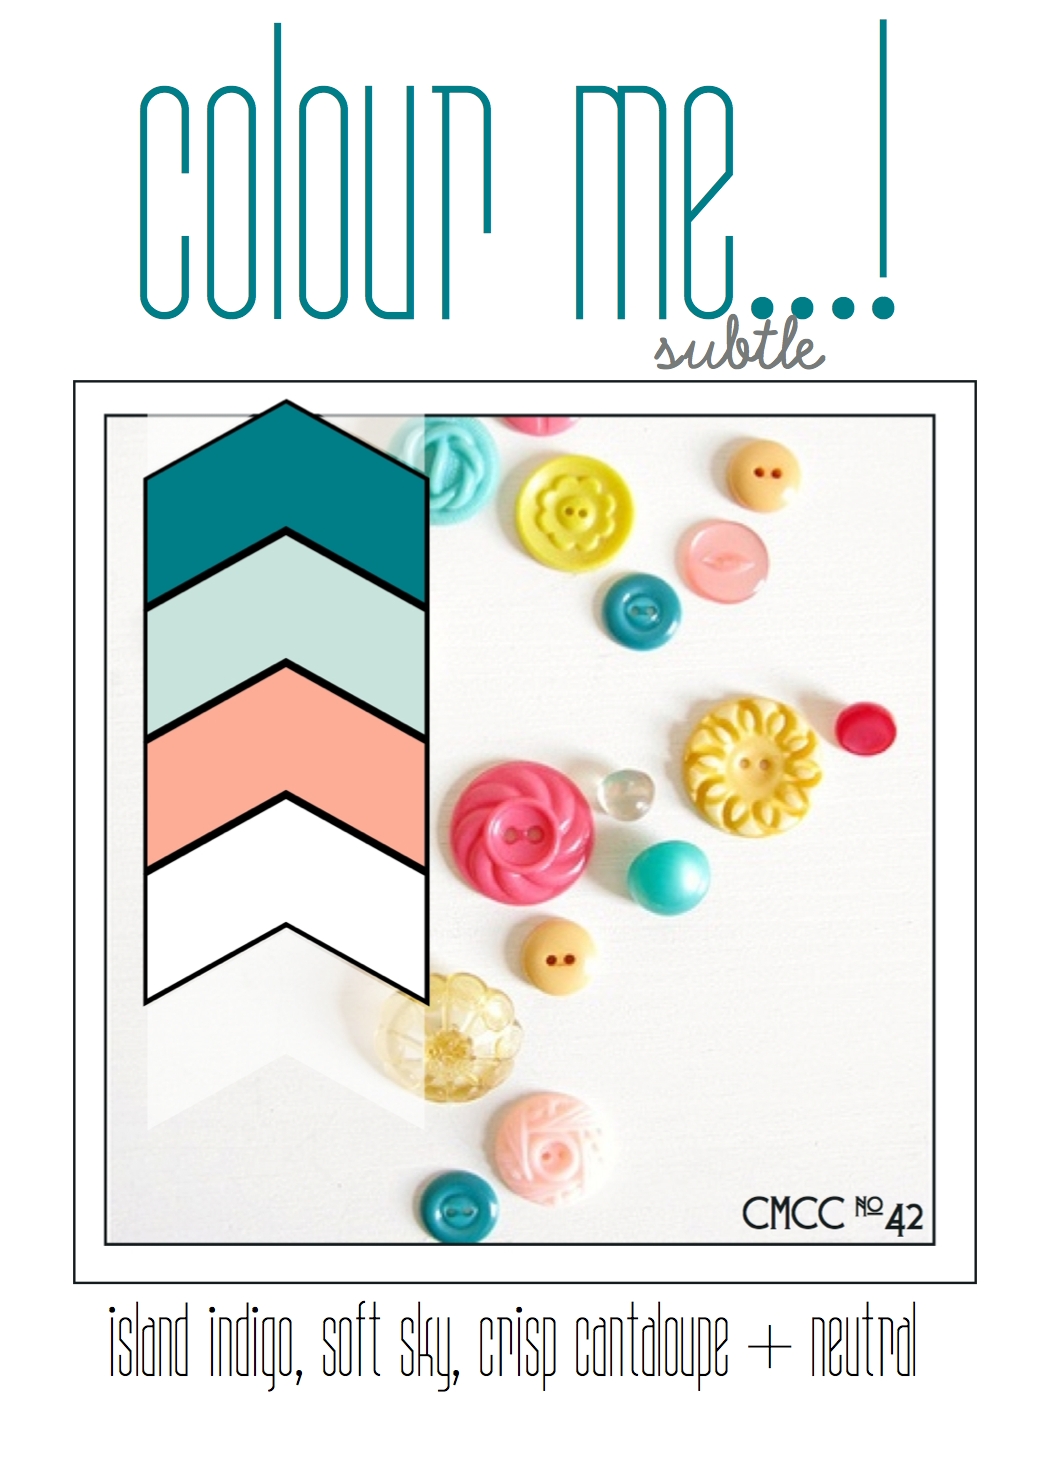
It's Wednesday and time for this week's challenge over at Colour Me...! where we have a subtle colour palette for you to work with this week:
This colour palette presented me with the perfect opportunity for a card using the 'colour blocking' technique that I've had in my head for a while. Take a look at my card and then I'll explain:
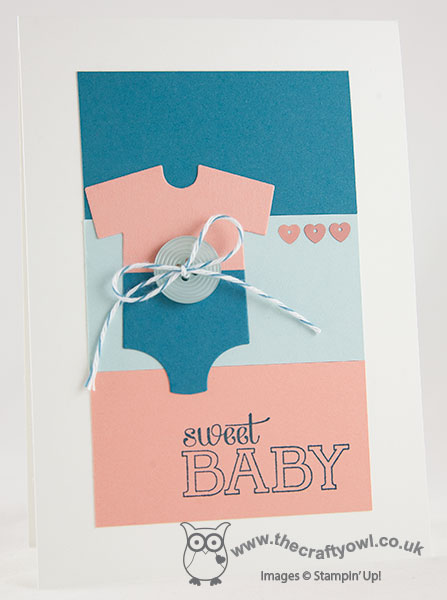
Colour blocking is the technique of using large blocks of colour to create a solid background and works really well as a background for silhouette shapes in black or white or where you have one large image that you can reverse-block on top, as I've done here with the babygro onesie. I created my colour block background out of three equal pieces of cardstock in the challenge colours running horizontally across my card. I stamped my sentiment in the darkest colour, Island Indigo, onto the lightest one, Crisp Cantaloupe, and then picked out each of the colours in the embellishments: a Soft Sky button, some Island indigo baker's twine and a trio of Crisp Cantaloupe hearts.
Deceptively easy but rather effective I think and a technique that could work with lots of different colour combinations. So what do you think? Feel free to leave a comment on today's card, before hopping over to check out the amazing cards by the rest of the Colour Me...! team:
We look forward to seeing your subtle creations.
Back tomorrow with another project; until then, happy stampin'!
Stampin' Up! Supplies Used:
by Joanne James8. October 2014 09:00Here's today's creative post - my Design Team card for this week's challenge over at Colour Me...! where we have the striking colour combination of Cherry Cobbler and Hello Honey to work with this week:
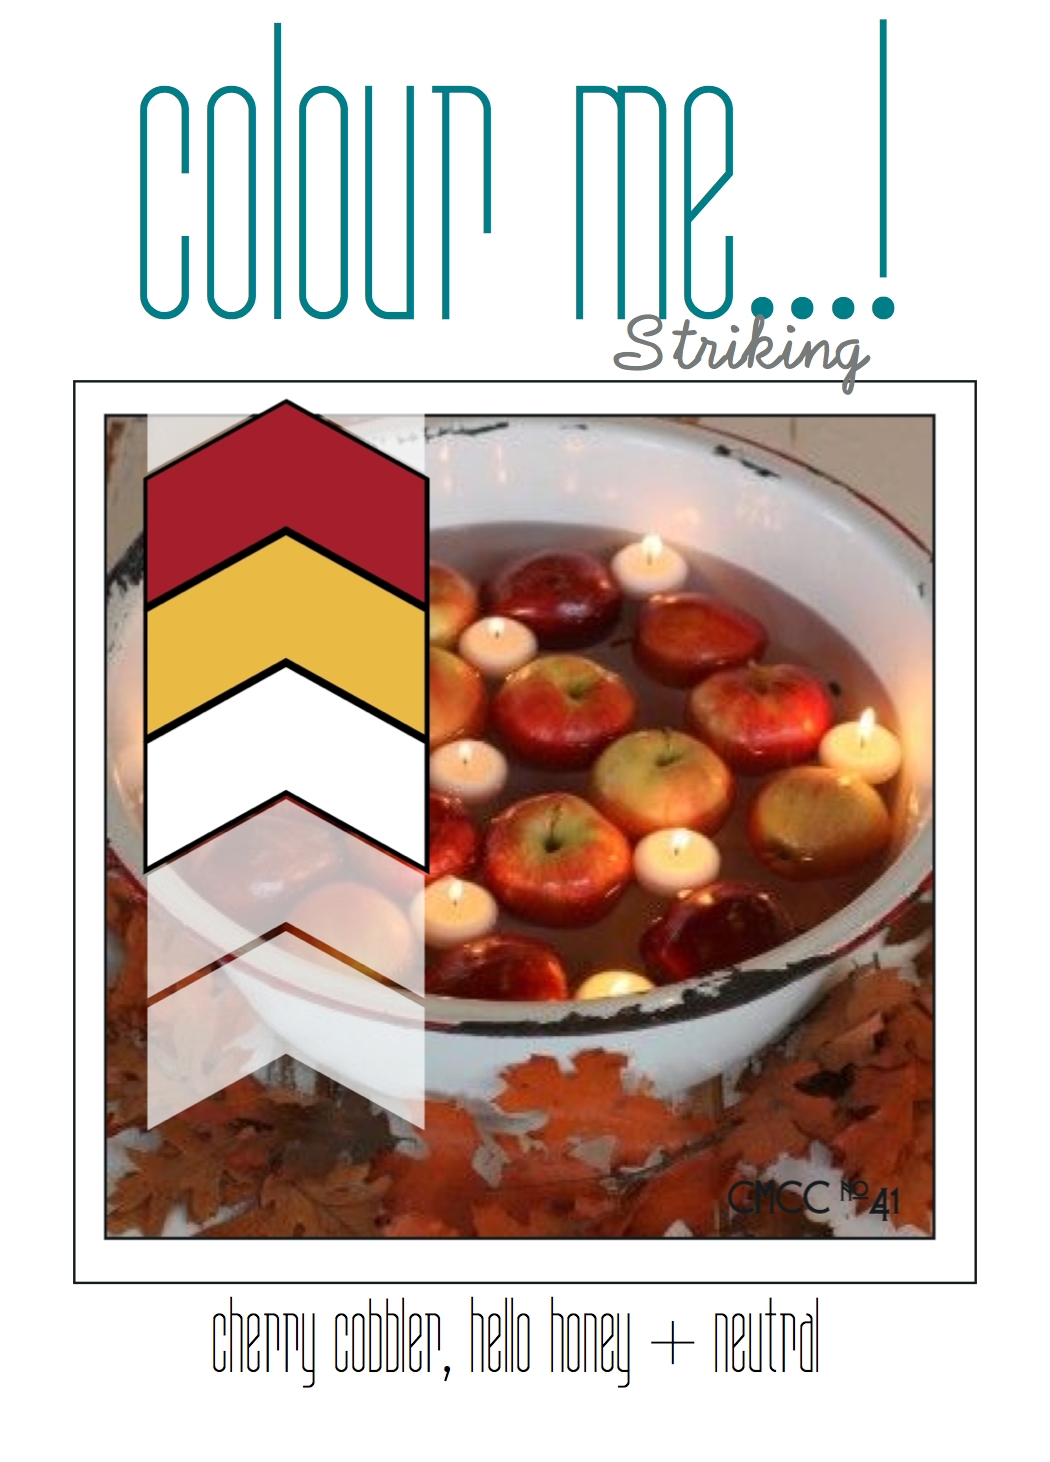

These are great autumnal colours and I like Claire was inspired by this week's photo and those lovely leaves surrounding the bowl. I also used this week's Deconstructed Sketch layout as the basis for my design. So you want to see my card? Here it is:
Another 6" square card - my second this week - and lots of layers, so pay attention!
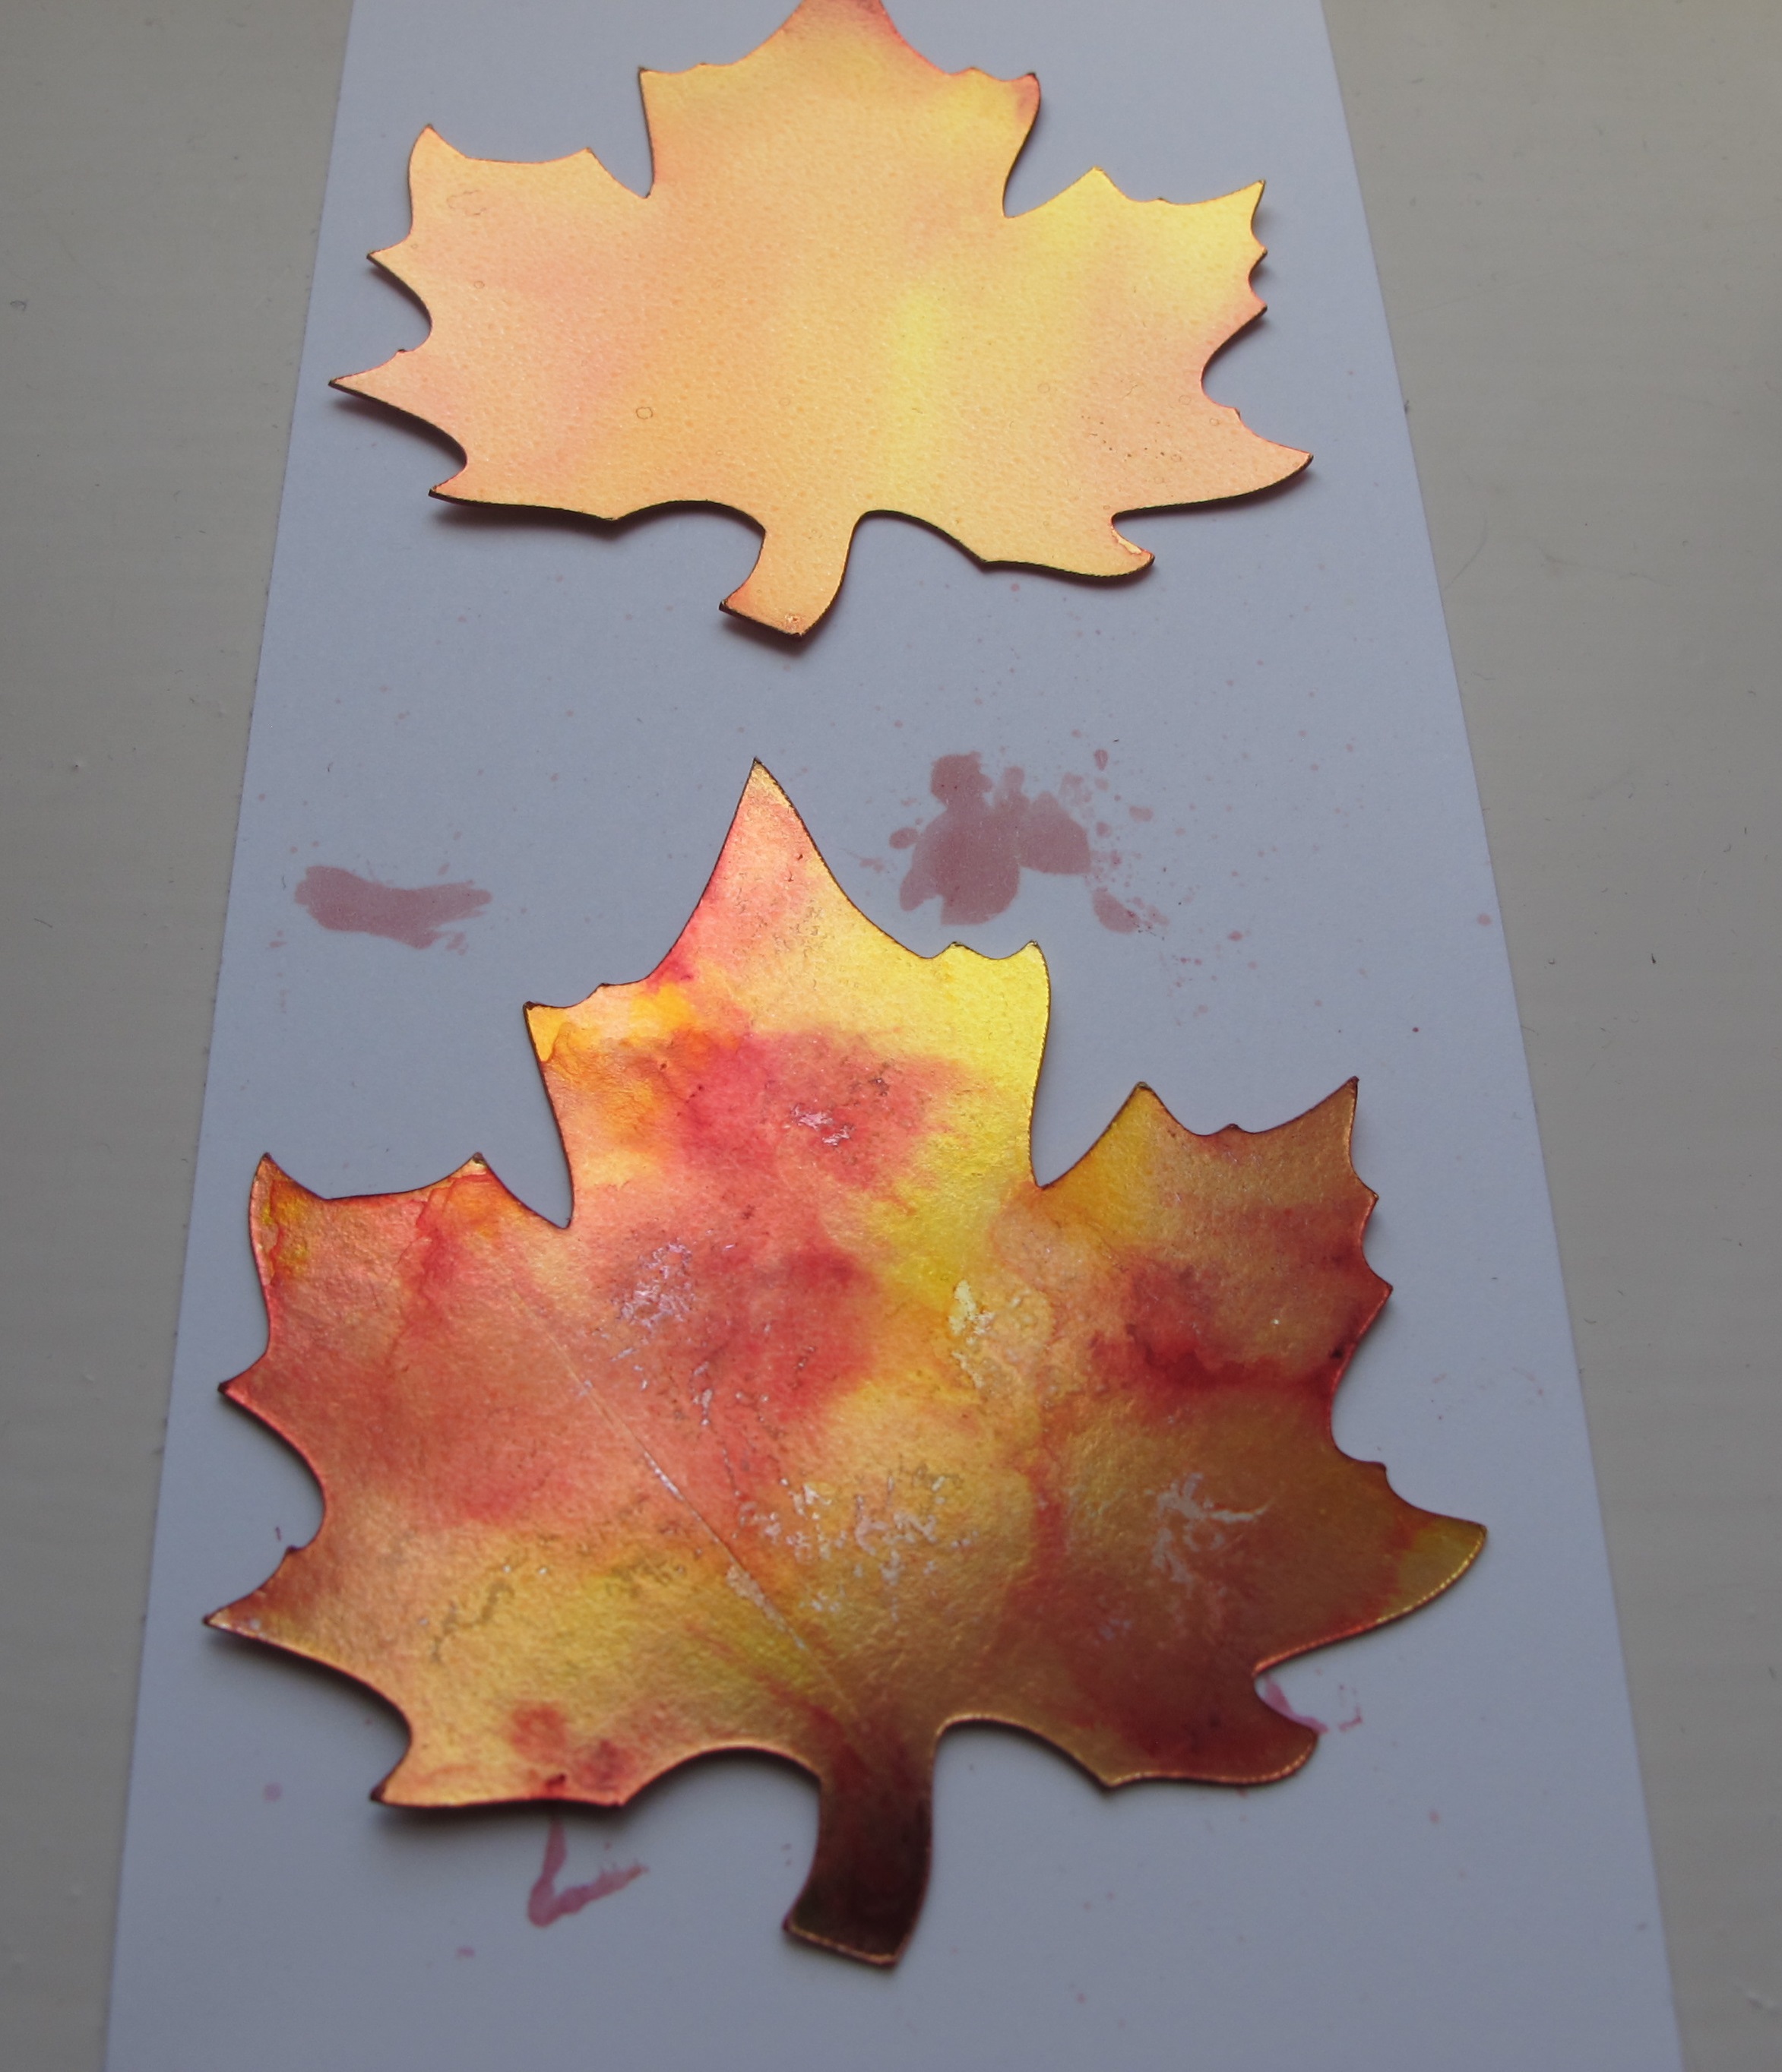
I decided today's card would be a perfect opportunity to try out a technique that I've seen a lot in blogland recently - the alcohol marker marbling technique, where you colour a piece of plastic with your Stampin' Up! Blendabilities, spritz with alcohol and then lay your glossy cardstock on top. I watched this tutorial on Splitcoast Stampers to get an idea of how to get the effect, although I decided to use gold foil in place of glossy white cardstock as I wanted to really emphasise the richness of the autumnal colours. I cut out my leaf using my Silhouette Cameo, but you could use the Autumn Accents Bigz Die if you have it. In keeping with the challenge, I used the darkest of the Cherry Cobbler Blendabilities and the darkest of my Daffodil Delight Blendabilities (much more like Hello Honey) to create my marbled leaf. Depending on how much alcohol you add, depends on the effect you achieve. I used very little for the leaf that I used on my card as I wanted to colours to remain quite vibrant, but I also made some that were much more subtle. When you are using this technique on gold foil cardstock, you need to be careful that you don't rub the card too much or otherwise some silver from the layer beneath will show through. You can see this in places on my leaf, but I like it that way - I think it just adds more to the finish of the leaf. Here's a 'work in progress' picture that shows the difference in the subtle effect you can achieve:
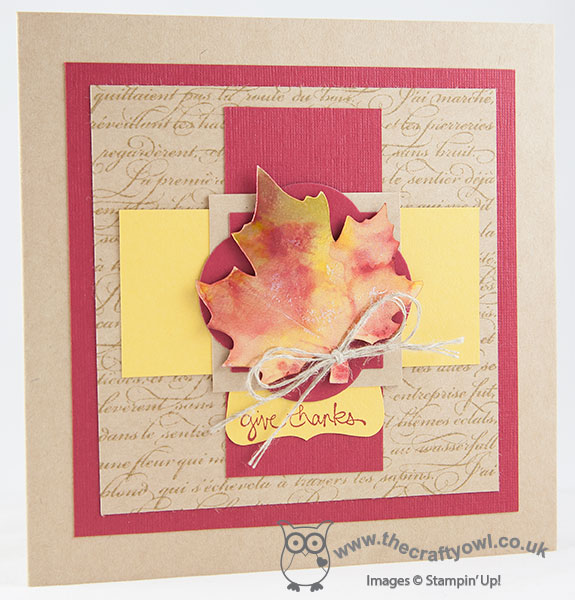
I tied my leaf with some linen thread then mounted it on a piece of Cherry Cobbler cut out with a Window Frame framelit, and backed this with a square of kraft cardstock. I crossed some Hello Honey cardstock and some textured Cherry Cobbler cardsock (retired) beneath this, along with a little label of Hello Honey that is stamped with my 'give thanks' sentiment in Cherry Cobbler, on top of a mat of kraft cardstock, stamped with the En Francais (retired) background stamp in Baked Brown Sugar ink. Another mat of textured Cherry Cobbler cardstock to finish before the kraft cardstock base.
So what do you think? Feel free to leave a comment on today's card, before hopping over to check out the amazing cards by the rest of the Colour Me...! team:
We look forward to seeing your striking creations.
Back tomorrow with another project that actually uses the negative space from the leaf I cut out today - pop back if you'd like to see what I did with it! Until then, happy stampin'!
Stampin' Up! Supplies Used:
by Joanne James1. October 2014 09:00It's Wednesday and time for another challenge over at Colour Me...! where this week we have a monochromatic colour scheme for you:
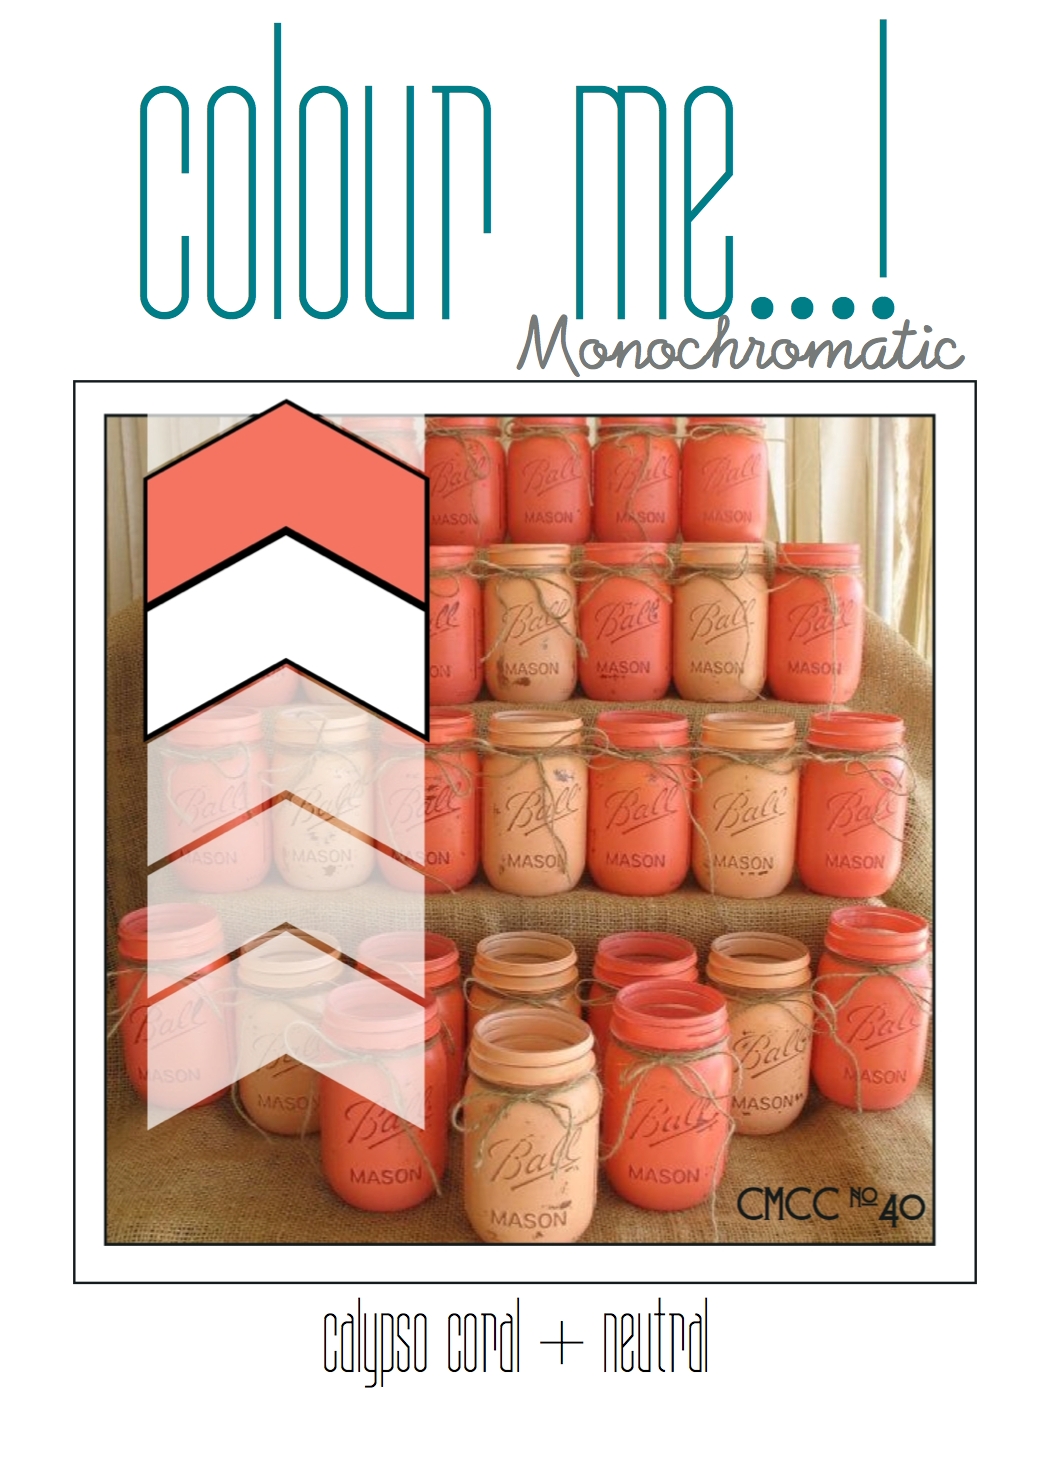
I also used this week's sketch over at Retrosketches for my layout. Now I have to confess, Calypso Coral is a colour I don't use often (I don't know why) but this is particularly unfortunate, given that the last time I ordered a pack I ordered two by mistake and now I have Calypso Coral cardstock coming out of my ears! So today's challenge was the perfect excuse to make a dent in the pile. After much deliberation, this is what I came up with:
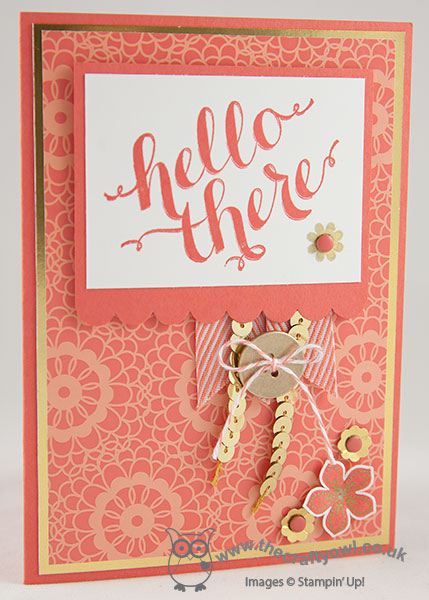
I used a piece of the Gold Soiree Speciality DSP as the main feature of my card. This paper has a very luxurious feel and definitely needed to be used where it could be seen! I matted this on a piece of gold foil and a Calypso Coral base. For my sentiment, I stamped 'Hello There' from the hostess stamp set of the same name in Calypso Coral on Whisper White, along with a flower from the same set stamped in Gold Encore ink finished with a candy dot and matted this onto a piece of Calypso Coral edged with the scallop edge punch.
I added a couple of flags of Calypso Coral chevron ribbon and some strings of gold sequins and a gold button threaded with baker's twine as per the sketch and finished the corner with three flowers: two in gold foil punched with the retired flower Itty Bitty Punch and one stamped in Coral on Whisper White where I added detail with my gold pen and this was punched with the Petite Petals punch.
That's my Colour Me...! card for this week - why not visit the other Colour Me...! designers and check out their takes on this week's colour combination:
We look forward to seeing your monochromatic creations.
I have a busy and exciting day planned today which I will tell you all about in due course. I'll be back later with the details of this week's Wednesday weekly deals and news of a great sign up offer and some great discounted offers to help you celebrate World Card Making Day on the 6th October.
Back tomorrow with another project; until then, happy stampin'!
Stampin' Up! Supplies Used: