
Firstly an apology if you are here to see the masculine birthday card I promised - I mixed up my days, that one is coming tomorrow! Today I'm sharing a Christmas card for the current challenges over at As You See It and Just Add Ink:


That AYSI recipe took me a little while to work through but I got there in the end and since the JAI girls are looking for seasonal cards of any kind, it works for them too. I pulled out one of my favourite festive items in the annual catalogue that I think is rather overlooked to make today's card - the seasonal wreath embossing folder. Here's my finished card:

Here's the low-down on today's card:
A Seasonal Wreath - This Seasonal Wreath embossing folder really is in my opinion one of the unsung heroes of the Stampin' Up! catalogue; in one run through the Big Shot, you have the basis for a card. I must confess that I have only ever used it on a Christmas card, although the seasonal challenge over at Just Add Ink did get me thinking I should create another three so that I have a wreath for all seasons - so watch this space! I think the detail of the texture is difficult to capture in a photo, but in real life it's beautiful.
A New Merry Christmas - I've used this wreath before with the Merry Christmas dies from last year's seasonal catalogue (and still available in the current annual) but thought I would use the Merry Christmas words from the new Word Wishes die set, which are smaller in size and sit rather neatly across the middle of the wreath. I heat embossed the lower part of the diecuts with silver embossing powder for a little added interest and to tie in with my decoration, but you could just as easily leave it plain - you can't go wrong with red and green for a perfectly festive colour combo.
Stars and Stripes - I decided to decorate my wreath with some silver retired metallic stars that I found in my box (I have almost run out and wish I had stockpiled a few more of these!), along with some red berries (I punched out the eye on the Elephant Builder Punch) and added a piece of (also retired) Poppy Parade mini striped ribbon tied with some silver metallic thread to finish. There was very little stamping on this card - only the inserts with one of my favourite stamps for inside a Christmas card from Merry Christmas To All:

I went with a square design because I had a 12" x 12" pack of Garden Green and Poppy Parade cardstock left over from the last seasonal catalogue and liked this card so much I decided to cut up the whole pack and mass-produce an entire set of these to make a real dent in my Christmas stash! My husband did think I'd lost to plot when he saw me cutting and embossing not one but more than 20 Christmas cards whilst watching the Wimbledon tennis finals on Sunday, but actually this was a super-easy card to make en-mass from a pack of 12" x 12" (if you would like the measurements, the card base is 6" x 6", the red matt measures 4 1/4" x 4 1/4" (the offcuts were used for the word dies) and the central green square is 4" x 4"), especially as the only stamping was on the inside. I will need to get creative with my stars for the remaining cards - I will probably punch some out of silver glimmer paper, but I am thoroughly chuffed with my efforts!
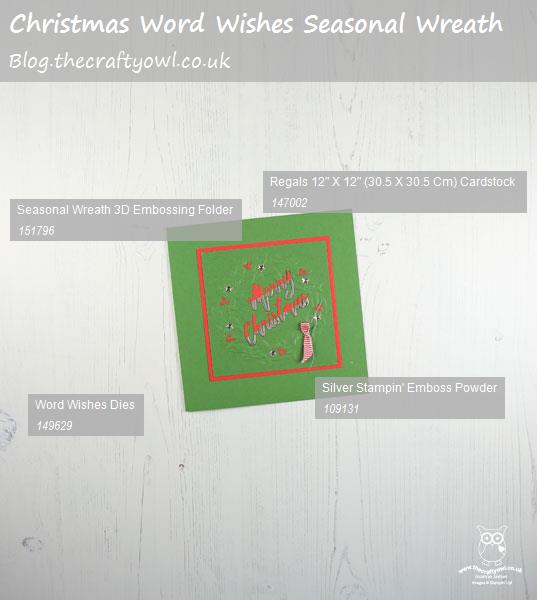
Here is the visual summary of the key products used on today's project for you to pin for easy reference:
You can see all of my 'How To' summaries on my 'How To - Tips and Techniques' Pinterest board in case you've missed any.
Enjoy your day and I'll be back tomorrow with another project. Until then, happy stampin'!
Stampin' Up! Supplies Used: