by Joanne James24. June 2014 13:00This week the peeps over at CAS(E) This Sketch and Fusion have joined forces on their challenge blogs with a great sketch and inspiration photo:
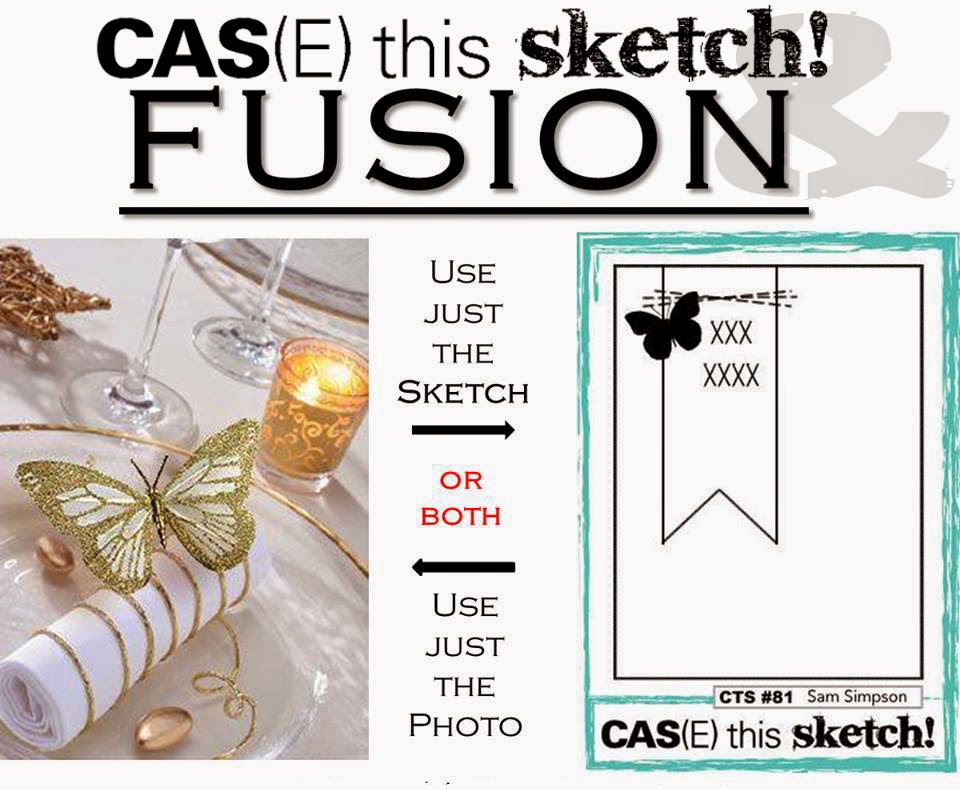
I took the inspiration for my card from both the photo and the sketch and came up with the following card:

For a largely white card, there's a lot going on here; all-white cards are also incredibly difficult to photograph well, so I hope you can see some of the more subtle elements of design. Firstly, I used a Whisper White card base and ran this through my Big Shot with the Wildflower Meadow Textured Impressions Embossing Folder to give a nice relief pattern that I thought worked well with the butterfly. I created a layered banner using my Banner Framelits, cutting one in Whisper White and another slightly longer one in gold foil to extend beyond the length of it. On the uppermost white banner, I stamped my sentiment in Versamark and heat embossed it with gold embossing powder - this sentiment is a 'sneak peek' from a new set called 'Something to Say', out next week (not long now!).
I then did something I've never done before: I glittered a butterfly! Now whilst my 9 year old daughter loves anything with glitter, I'm generally not a fan of the stuff. I love Stampin' Up!'s glimmer paper as this is a great no-shed alternative, and I've had 2 pots of glitter sitting in my drawer since before Christmas and until now unopened for fear of the ensuing mess that would be created! As my card came together, I knew that glitter was going to be the only way to go to get the look I was after and create the contrast in texture of all the gold elements. So, I was brave - out came the heat and stick powder and gold glitter, and this sparkly vellum butterfly is the result. And I love it - even though I think I will be brushing gold glitter out of my butterfly punch for some time to come. Lastly, I substituted the stitching in the sketch layout for two rows of sequins to add one last gold element to my card.
I made this card with my Mother-In-Law in mind; she is always there to help me out of a fix and last week was no exception: Rebecca came home from school the week before last with instruction to make a weasel costume for the forthcoming production of 'Wind In the Willows' - to be held this week! Not only did she need a weasel costume, this weasel required a brightly coloured waistcoat and cravat to look the part. Fortunately for me MIL came to the rescue and a few days later had managed to tailor the most amazing waistcoat and cravat I've ever seen just from bits and bobs in her sewing box. Rebecca is destined to be the best dressed weasel around at her production on Thursday (I'll post a picture of her in costume later in the week!); as for me - my Mother-In-Law's goodness does indeed make me very grateful, so Kathy this one is for you!
Back tomorrow with another project and this week's Wednesday Deals; until then, happy stampin'!
Stampin' Up! Supplies Used:
* Something To Say Stamp Set - available 1st July
by Joanne James22. June 2014 16:31Happy Monday everyone - that sure did come around again quickly! I am now officially counting down - 9 days until the launch of the new 2014-15 Stampin' Up! Annual Catalogue and more importantly 8 days until my official launch party!! You can read all about it here and I hope to see as many of you there as possible. Meanwhile, lots of jobs to do this week, the first of which is to share today's card.
I used this week's sketch layout over at Pals Paper Arts today along with the colour palette over at Create with Connie and Mary:
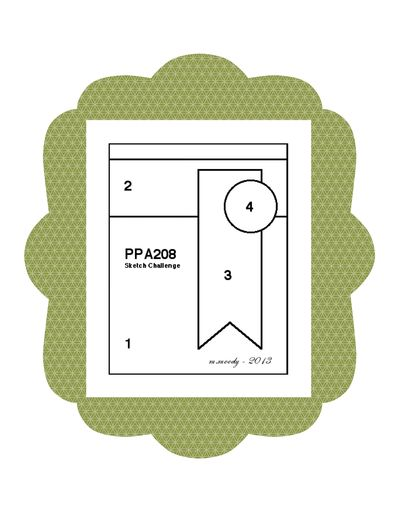
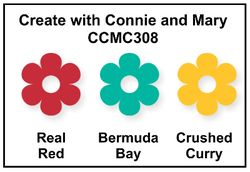
I've had the idea for today's card in my head for a while and the combination of the sketch and colour scheme were perfect for my card - take a look:
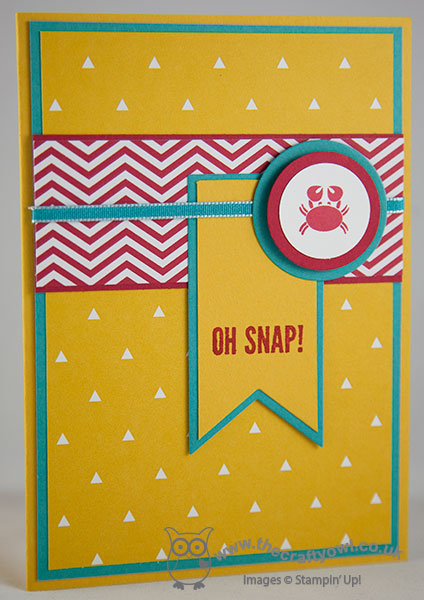
Having bought the Hip Notes stamp set because I thought it would come in useful with my Project Life memory keeping, I have also found a few other uses for it: the 'oh snap!' stamp seemed to tie in perfectly with the little crab from the Sea Street set to make a belated birthday card. I love these bright colours and decided to let the graphic red and yellow designer papers feature here with the Bermuda Bay as the supporting accent colour. My Banner Framelits made light work of the pennants and the same for the circles around the crab motif, which were made from a variety of framelits and punches. The card is quite simple with a very clean and layered look and I expanded on the sentiment inside the card:
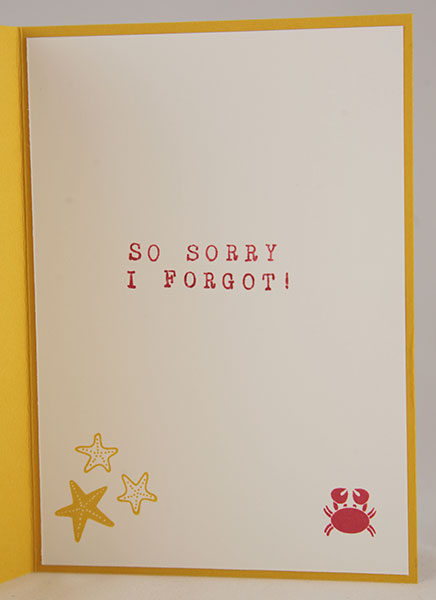
I stamped this sentiment with the new Alphabet Rotary Stamp that will debut in the forthcoming annual catalogue; I love how you can use it to make quick bespoke sentiments like this to add to a card. I'd like to say as a card maker that I never forget people's birthdays, but as a number of my closest friends will attest, that is sadly not the case! Maybe I should make a few of these cards to have on standby ready for the next time I have a moment of forgetfulness!
Back tomorrow with another project; until then, happy stampin'!
Stampin' Up! Supplies Used:
* Sea Street - available 1st July
* Alphabet Rotary Stamp - available 1st July
da9c126c-71f8-4115-a58d-81201bb75f49|0|.0|96d5b379-7e1d-4dac-a6ba-1e50db561b04
Tags: Sea Street, Kaleidoscope, Big Shot, Circles Framelits, circle punch, Banners Framelits, Belated Birthday, Shop online, Stampin' Up, Stampin' Up Card, Stampin' Up Card ideas, Stampin' Up Supplies
Cards | Stamping
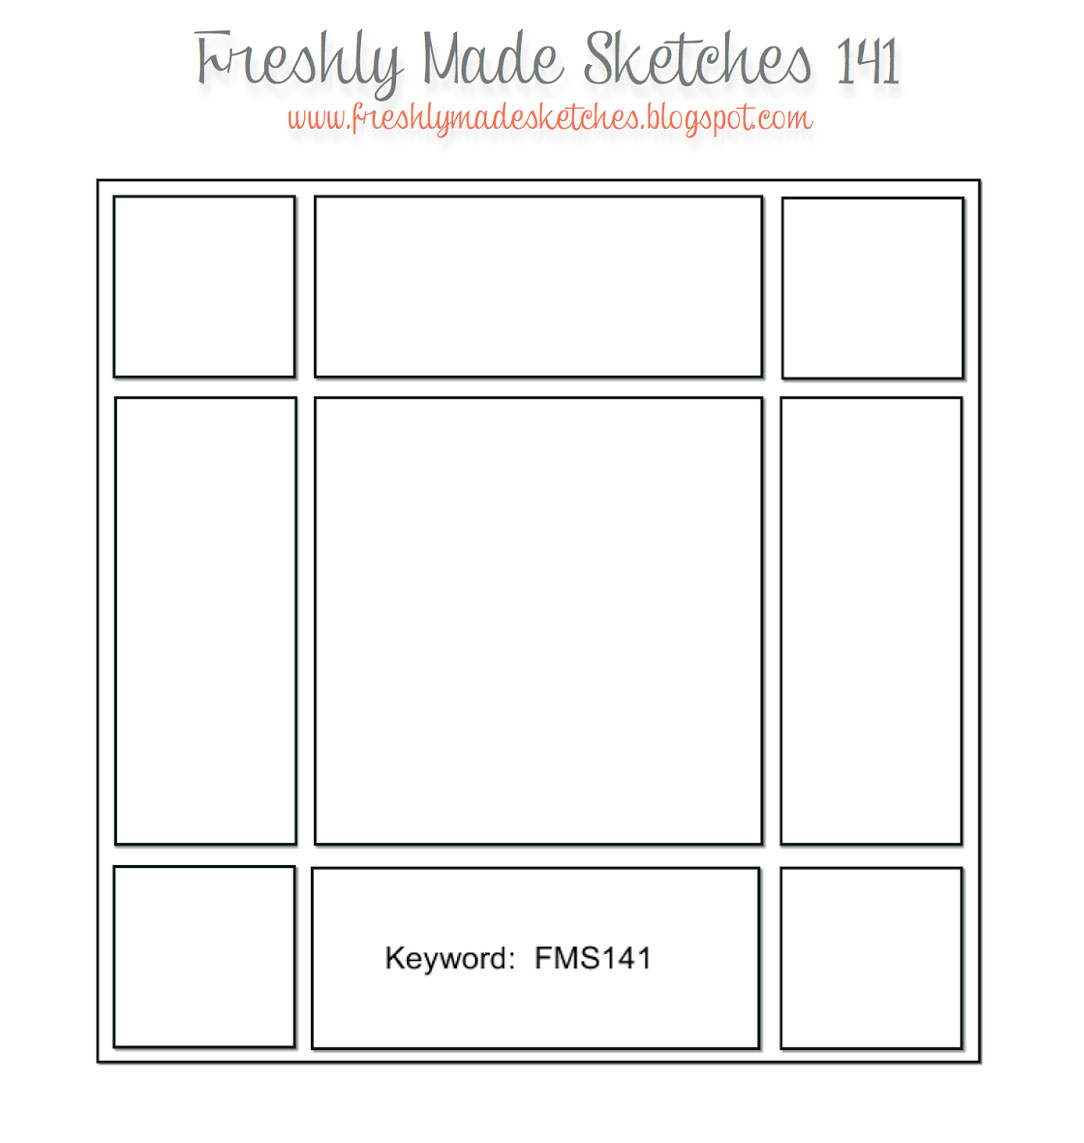
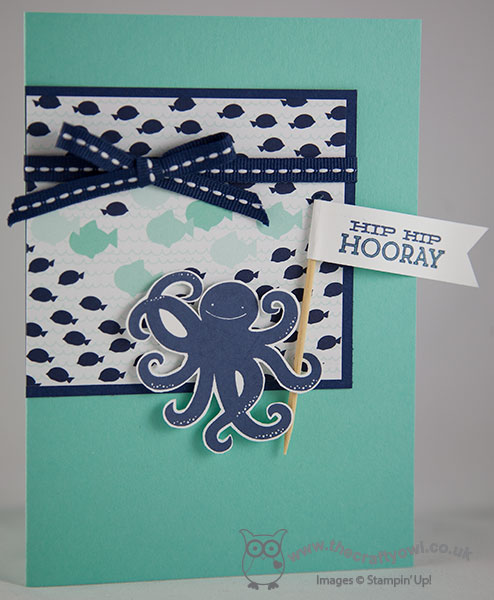
by Joanne James22. June 2014 15:23Hello everyone! I can't quite believe it's Sunday already - the weekends truly go too fast these days! I've already been on a long bike ride this morning and following a BBQ lunch am actually typing today's post while sat in the garden enjoying the warm weather - bliss! Today I have another card featuring the octopus from the Sea Street stamp set, this time using this week's sketch over at Freshly Made Sketches:
There is a sheet of DSP in the new Maritime set that has a really busy pattern that can be difficult to incorporate into a project but when I saw this sketch, I thought it would provide the perfect opportunity to use it. Here is my card:
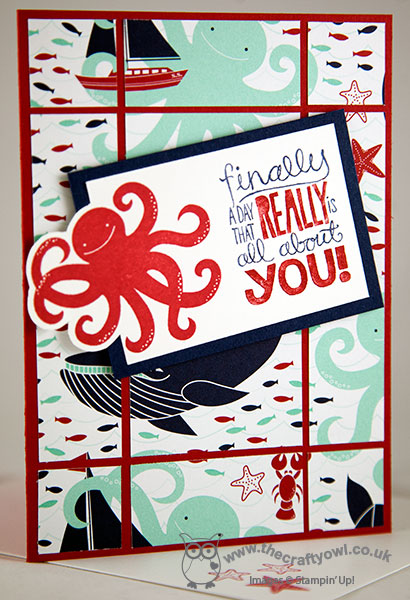
I cut a piece of DSP that showed a selection of the graphics and then sectioned it as per the sketch. I wanted to create a focal sentiment but figured it needed to be big and bold in order to stand out against the background, but at the same time not overwhelm it. I decided on a fun sentiment from the 'Really Good Greetings' stamp set which I inked up with my Stampin' Write markers alongside an off-the-edge octopus in Real Red. I matted this panel onto Night of Navy and popped up on Stampin' Dimensionals to make it stand out. I love the fun print of this DSP and am really pleased that I managed to incorporate it into today's card - these are the sheets that I normally end up keeping to admire, rather than use!
I'm also going to link this card up over at SUO Challenges where the theme is summer time - this card has a definite beach feel to me!
Back tomorrow with another project; until then, happy stampin'!
Stampin' Up! Supplies Used:
* Sea Street - Available 1st July
* Maritime DSP - Available 1st July
by Joanne James21. June 2014 21:07I've had a great day today and spent most of it in my craft room making samples for my forthcoming Stampin' Up! New Catalogue Launch Party (you can find full details here). You will be seeing lots of 'sneak peek' cards this week ready to whet your appetite for what's coming in the new catalogue. Today I'm sharing a card I made using this week's sketch layout over at Seize the Sketch and one of my favourite new stamp sets, Sea Street. Here is the sketch layout:
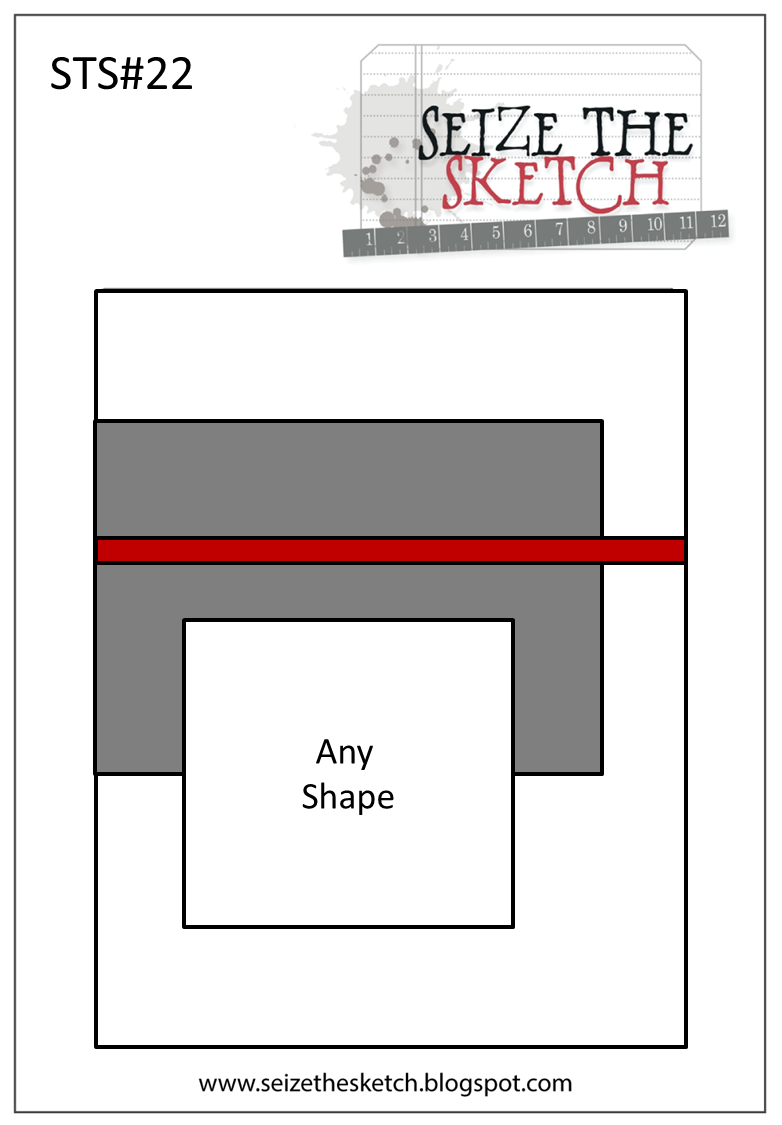
And here's my fun take on the sketch:
I used a piece of Coastal Cabana for my base, then mounted a piece of Maritime Designer Series Paper onto a Night of Navy mat and aligned this with the edge of my card. I then stamped the octopus from the Sea Street stamp set in Night of Navy on Whisper White and fussy cut it out and adhered it to my card using Stampin' Dimensionals. I then created a little flag using one of the stamps from the Hip Notes stamp set using some Whisper White and a cocktail stick, colouring the word 'hooray' with my Coastal Cabana marker. I finished with a Night of Navy stitched grosgrain ribbon bow across the DSP section.
This stamp set is a great set for fun birthday cards and lots more besides - check back to see what else I'll be making with it this week.
That's all from me today; back tomorrow with another card. Until then, happy stampin'!
Stampin' Up! Supplies Used:
* Sea Street - available 1st July
* Maritime DSP - available 1st July
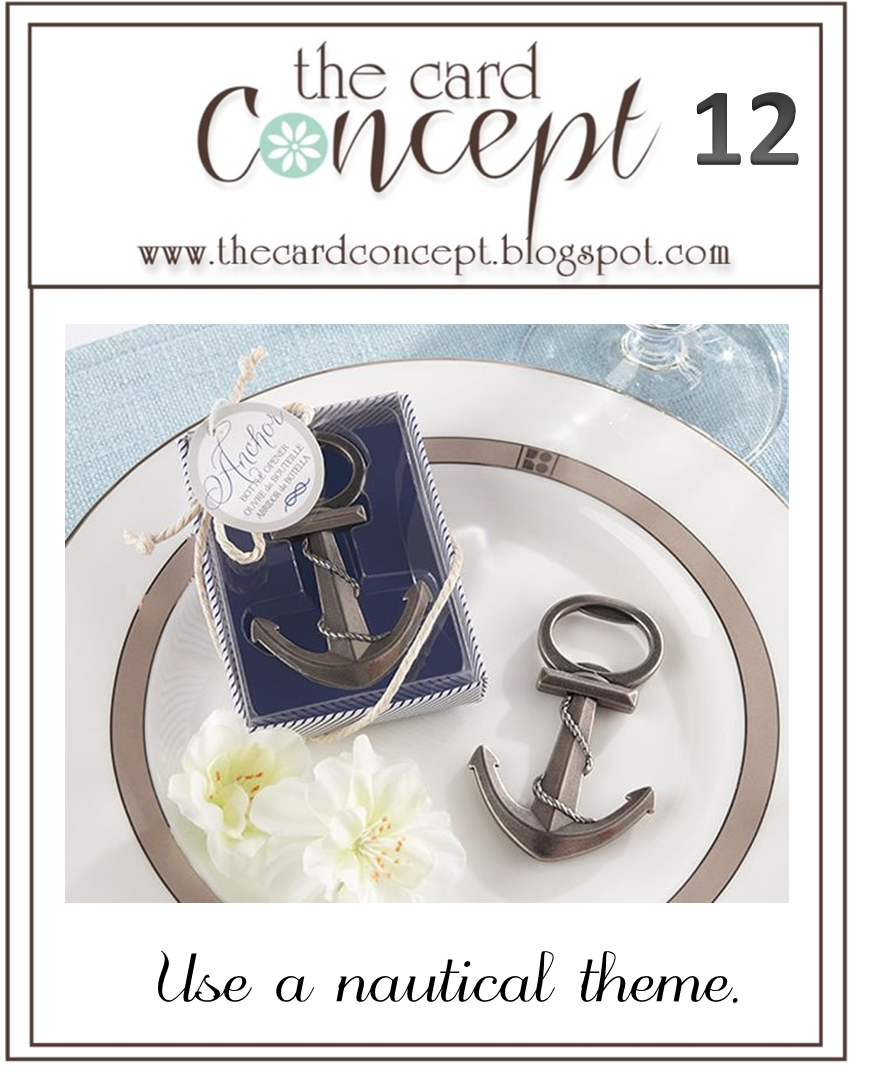
by Joanne James20. June 2014 09:30Yay - it's Friday! I'm not sure if I should be as happy about this as I naturally feel as I have a ton of work to do this weekend, but hey - I will at least get a cup of tea in bed to start my day as a weekend treat, so that will set me up for the day! I have a busy day today too: we cycled to school this morning, but now I have a spot of housework to do and then hairdressers, more leaflet deliveries for my new catalogue launch party, lunch, afternoon rounders game (Rebecca, not me!) then cycling home and if I'm lucky a spot of crafting before dinner - my UPS man is due today, so all being well I should have more new goodies to play with too! So it's time to show you my card: today I'm sharing another of the samples I made with the Traveler stamp set to take with me to Telford for the Stampin' Up! UK Regional Training Day that I presented at last month. This one features the ocean liner, so is perfect for linking up with the challenge over at The Card Concept, where the theme this week is all things nautical:
I'm also linking up with the team over at SUO Challenges, where their theme is Summer Time - anything from beaches, to ocean to patriotism - so I think my card will fit the bill. This stamp is my favourite in the set; here's just one of the cards that I've made with it:
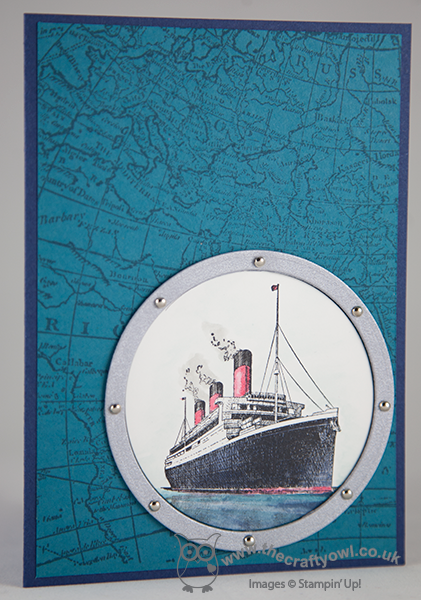
For this card I've used a base of Night of Navy and stamped the World Atlas stamp in Island Indigo on a panel of the same colour. I stamped the liner in Black Stazon on a piece of Whisper White with my Circle Framelits and coloured with my aquapainter, then inset this circle behind a circle aperture in the Island Indigo layer. To finish, I cut a circle outline using two nested framelits from brushed silver cardstock, then added some mini silver brads to give the appearance of a porthole framing the liner image. A nice clean and layered card.
The front is sentiment-free as I didn't want to detract from my focal image; this also means I can stamp a sentiment on the inside of the card to suit when I'm ready to send it. This set is great for masculine cards - keep checking back as I've lots more to show you where this came from.
Right, I'm off to start ticking off the jobs - back tomorrow with another project; until then, happy stampin'!
Stampin' Up Supplies Used:
*Traveler stamp set - available 1st July 2014
by Joanne James19. June 2014 11:00Today I'm having another of those 'something old, something new' days, which is quite fitting given that my card is being entered for this week's challenge over at The Paper Players where they are celebrating their 200th challenge. I really enjoy participating in this challenge and try to make a card for it each week. I didn't manage it last week (life and birthdays got in the way!) but a quick thank you to Nance for the pick the week before for my Golden Anniversary wedding card (you can see it here if you missed it). This week, each of the designers has chosen a favourite previous challenge and designed a new card around it. I was tempted to go with LeAnne's sketch as I've loved all of the cards she has made with this layout but eventually I decided to use an existing stamp, the large Swallowtail butterfly, (although it's new to me) and combine it with the new in-colours and using Ann's challenge create a one layer card.
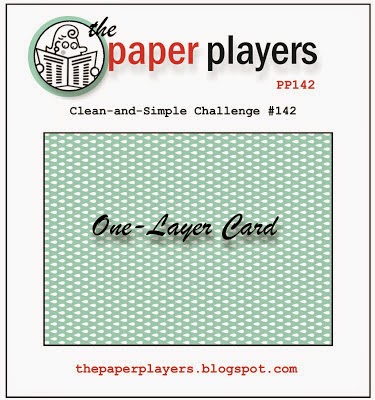
So without further ado, here is my card:
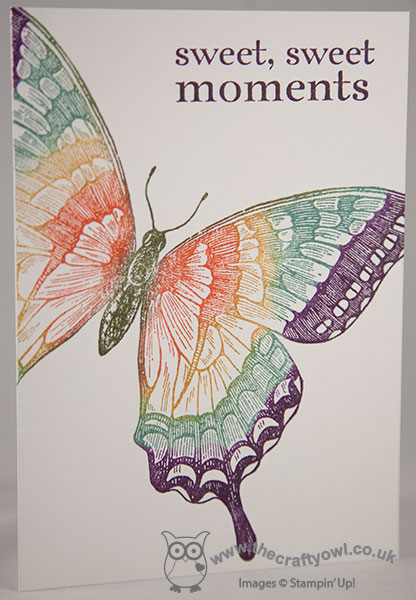
There isn't much you can do with this stamp that hasn't been done before, but I've seen so many lovely cards made with it I still wanted to add it to my collection. I used Shimmery White cardstock as my base layer for my card - it's thicker than Whisper White and whilst I didn't manage to get a photograph that captures the effect, it has a lovely subtle shimmer in real life that adds to the finished look. I inked my Swallowtail using the new 2014-15 in-colours, using sponge daubers to apply the ink to the stamp and working from the centre outwards. I started off with Mossy Meadow for the body and antenna, then in turn Tangelo Twist, Hello Honey, Lost Lagoon and lastly Blackberry Bliss. I stamped the butterfly off the page and finished with a simple sentiment from the 'Happy Day' set. Here's a close up of the detail of the stamp:
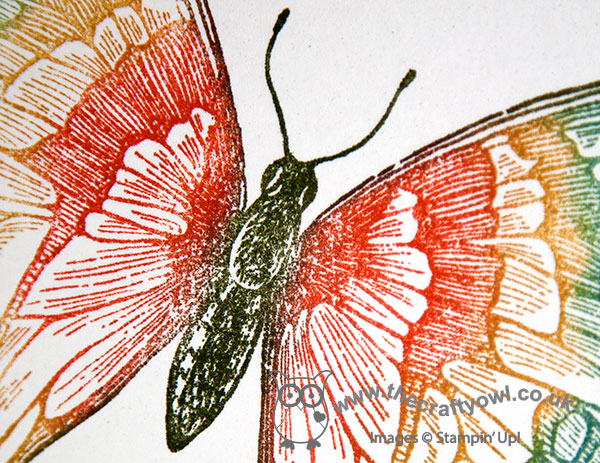
For a single stamp it has some great detail. There was a time I would have run a mile at a one layer card, but I've overcome my fear now and sometimes it's quite nice to have the challenge of making your stamps work hard for you, which I think they have to when you only have one layer to work with. For my European readers, who are eagerly awaiting the launch of the new catalogue on 1st July and have yet to get their hands on the new colours, what do you think - do you have a favourite yet? I think mine is going to be Blackberry Bliss - I love this deep, rich purple. Don't worry if you haven't made your mind up - you'll be seeing lots more of them in coming weeks I assure you! I'm also linking today's card up with the challenge over at Less is More where they are looking for 'off the edge one layer cards'. Congratulations to everyone over at the Paper Players this week; I haven't been around to participate in even close to all 200 challenges, but I'm looking forward to participating in the next 200!
Back tomorrow with another project; until then, happy stampin'!
Stampin' Up! Supplies Used:
*2014-16 In Colours available 1st July 2014
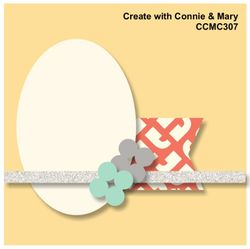
by Joanne James18. June 2014 08:45Back so soon, I know - here is today's creative post! I'm sharing a card I made using the sketch over at Create with Connie and Mary this week:
I decided to use some of my retiring stamps and papers for my card and started out making a birthday card because the cake reminded me of Rebecca's birthday cake at the weekend, but by the time I had everything laid out on my desk I decided that the card would make a nicer wedding card. Here's my finished card:
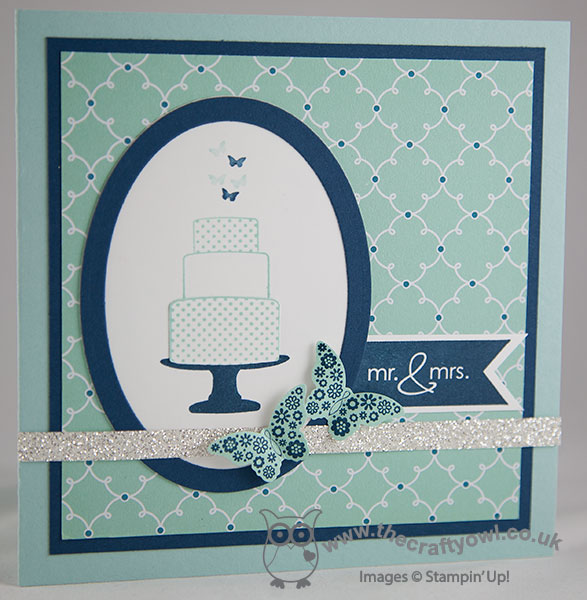
I made a 5" square card and matted a piece of Quatrefancy paper onto Midnight Muse and a Pool Party base (I know technically the dots on the paper are Island Indigo, but since the dots are so small the whole thing still works, even though I've not followed the colours exactly for the rest of the card - what a rule-breaker am I??!) I then stamped a three tier cake with butterfly decoration from the 'Make a Cake' stamp set, stamping the base section twice, once in Midnight Muse for the stand and then again in Pool Party. I fussy cut the Pool Party cake out and used it to create the base layer for my cake. I used my oval framelits to cut out my framed oval and finished with a Mr & Mrs banner flag from the 'Banner Greetings' stamp set, a couple of double-stamped and punched butterflies to echo those on top of the cake and a strip of silver glimmer paper for just the right amount of sparkle.
I really like this finished card but despite where my mind started out it looks absolutely nothing like Rebecca's kitkat cake that I made for her birthday this past weekend:

If that's not death by chocolate, then I don't know what is - it did taste delicious though!
Back tomorrow with another project; until then, happy stampin'!
Stampin' Up! Supplies Used:
93bcec03-573d-4108-ae97-7a7a62591318|0|.0|96d5b379-7e1d-4dac-a6ba-1e50db561b04
Tags: Banner Greetings, Big Shot, Ovals Framelits, Make a Cake, Papillon Potpourri, Shop online, Stampin' Up, Stamp-a-ma-jig, Stampin' Up Card, Stampin' Up Card ideas, Stampin' Up Supplies, Weddings
Cards | Stamping | Weddings
by Joanne James18. June 2014 08:30It's Wednesday and here are this week's Wednesday Weekly Deals! This week's deals are included below - they will be available for one week only, before a new collection of deals is announced.
As always, if you want to take advantage of any of the deals on offer, you can support my business by placing your order online by clicking here or using the link to my store on the right hand side of my blog page where it says 'Shop Online' or with me in person. Don't forget to add the Hostess Code for June (you can find this under the 'Shop Online' section on the right).
PLEASE NOTE: There have been some instability issues with the online store for some customers over the last few days - some customers are able to process their orders normally, whilst others are not. This was brought to my attention by one of my online customers yesterday; Stampin' Up! are aware of the problem and are working to resolve it. Meanwhile, if you are having difficulty placing an online order at any time, please give me a call on 07773 421446 and I will take your order over the telephone; the problems that are being experienced are not affecting the demonstrator ordering system so I can still place your order and arrange for it to be delivered to you as normal.
Here's a summary of this week's one-week only Wednesday deals - click on each item to go to the online store to purchase:
Back shortly with today's creative post; meanwhile, race you to the online store!
by Joanne James17. June 2014 10:25Today's card is for this week's Pals Paper Arts challenge, where Team 2 have chosen a rather patriotic colour palette this week, with one last opportunity to use Midnight Muse before it retires at the end of the month:
I decided these colours would make a perfect masculine card and so have another sneak peek using the Traveler stamp set, coming in the new 2014 annual catalogue. Here is my card:
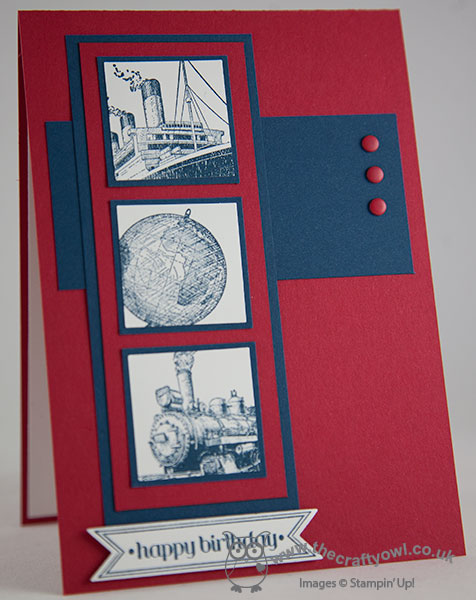
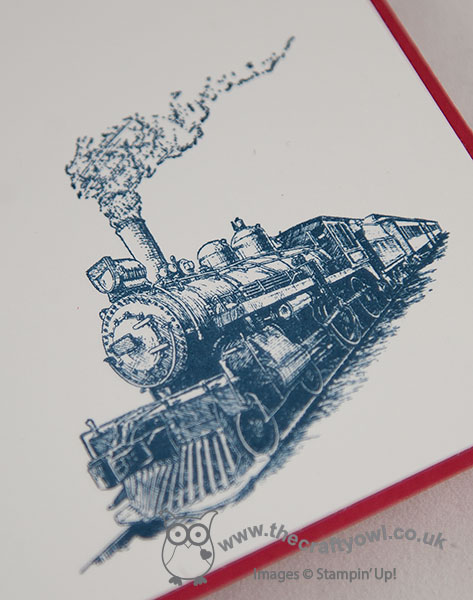
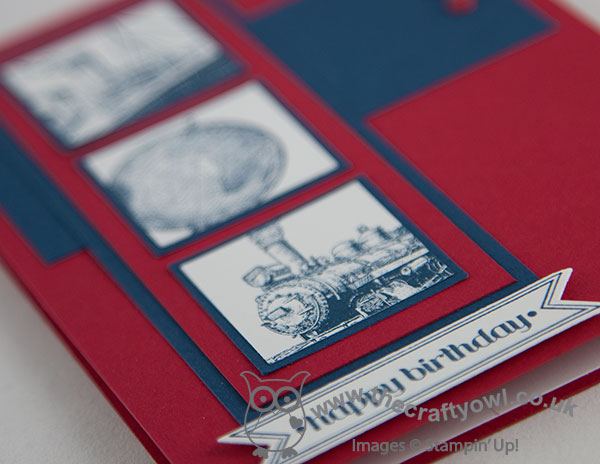
I stamped three of the stamps in the set - the ocean liner, the globe and the steam train - in Midnight Muse, then cropped these images and mounted them on individual mats in the same colour, followed by a larger Real Red and Midnight Muse panel. This is then overlaid on a crossways panel finished with some Real Red candy dots and lastly a sentiment stamped in Midnight Muse with one of the Itty Bitty Banners stamps and cut out with the co-ordinating framelit. I even gave the inside some star treatment with a steam train - I don't do this often enough, and even when I do I often forget to share with you:
I really like this set, having used it so much already. Despite its 'vintage' look, it lends itself to a more modern finish too. I'm also linking my card up to Addicted to CAS where the theme this week is 'transport'. Back tomorrow with the Wednesday Deals and another card. Until then, I'm off to prepare for a private class tomorrow, get on with some admin and then hopefully squeeze in a make or two as well - happy stampin'!
Stampin' Up! Supplies Used:
*Traveler Stamp Set - available 1st July 2014.
d8ba92c0-6291-4c28-ba0d-374ad3dc57d8|0|.0|96d5b379-7e1d-4dac-a6ba-1e50db561b04
Tags: Bitty Banners, Bitty Banners Framelits, Big Shot, Square Punches, Traveler, Candy Dots, Shop online, Stampin' Up, Stampin' Up Card, Stampin' Up Card ideas, Stampin' Up Supplies, 2014 Annual Catalogue
Cards | Stamping
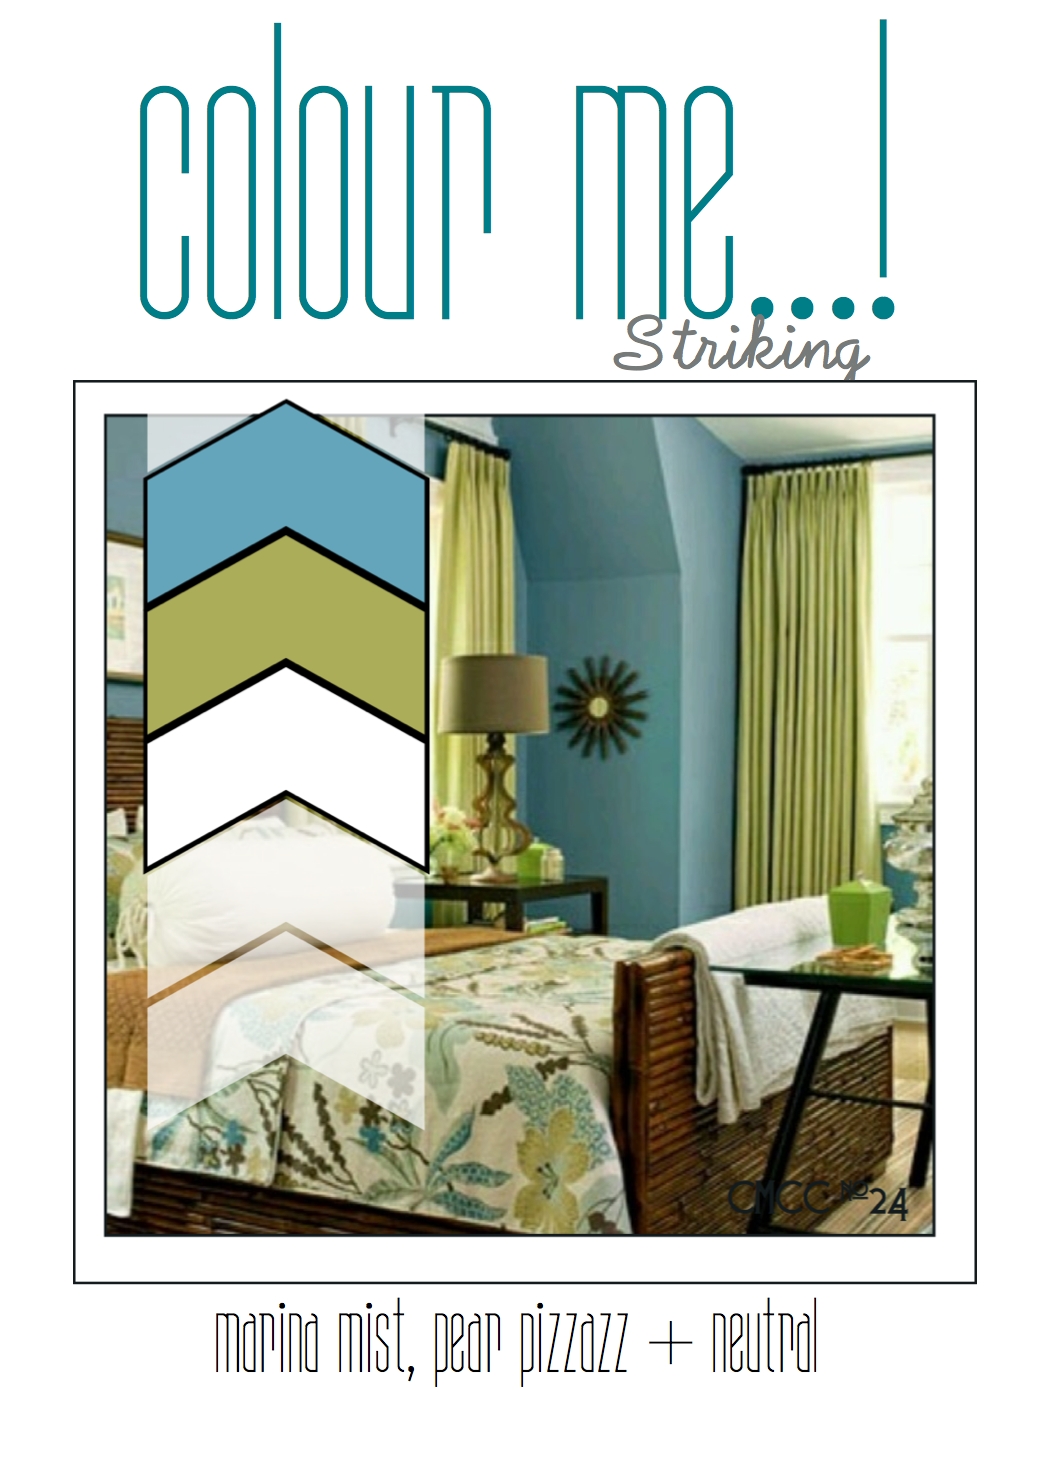
by Joanne James16. June 2014 20:56Today's creative post uses the colours for this week's Colour Me...! Challenge (although I am not linking up this week as the challenge has already closed) and I've used this week's sketch over at CAS Colours & Sketches for my layout:
I decided to get out my 'So Very Grateful' stamp set for this card - I can't quite believe this set will be leaving us at the end of the month, I love it and don't feel I've used it anywhere near enough. This is a good time to point out that whilst there's always lots of focus on those items in the main catalogue that are retiring, we sometimes forget about the lovely stamps that are in the Spring-Summer seasonal catalogue that will also no longer be available after 30th June. If you still have items on your wishlist, you've only got a couple of weeks to find out whether they are being carried over into the new annual catalogue or whether they will be gone for good. So, here is my card:
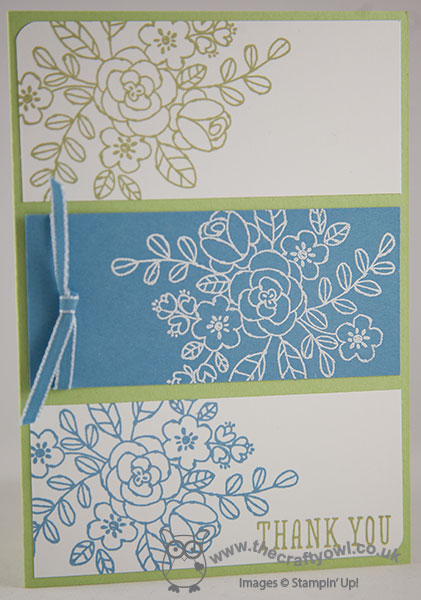
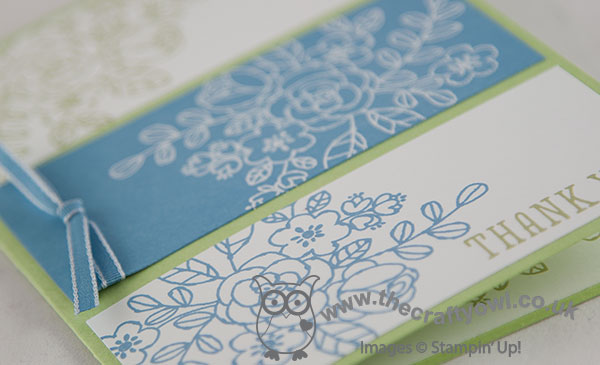
I used a base of Pear Pizzazz then decided to create three clear panels for my card and stamped the main flower image from the set in the challenge colours on white for the outer pieces, then stamped the same image in Versamark on the central panel of Marina Mist and heat embossed in white. I finished the central panel with a piece of 'vintage' Marina Mist taffeta ribbon and lastly added my sentiment to the bottom panel.
This card makes me think of the old saying 'blue and green should never be seen, unless there's a colour in between' - I have to say, I think this card looks really fresh and old saying or not, I'd have to disagree!
Back tomorrow with a sneak peek; until then, happy stampin'!
Stampin' Up! Supplies Used: