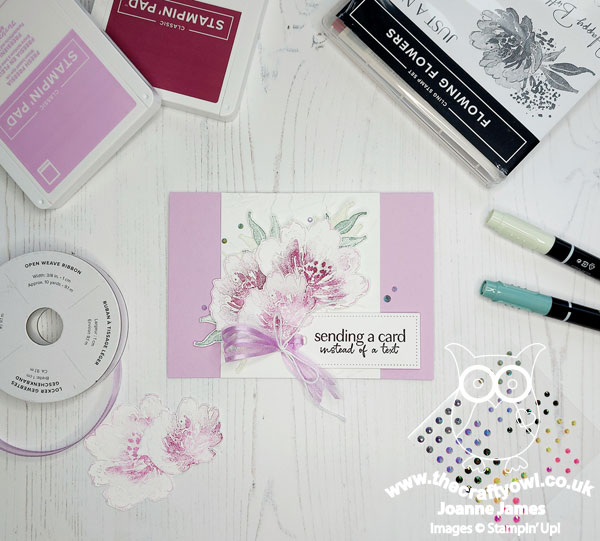
Today I'm sharing my design team card for our new challenge over at As you See It where it's time for a recipe challenge:


We have a great recipe for you this week and I can't wait to see what you cook up with it! I paired my ingredients with this week's colour palette over at Color Throwdown (gorgeous!) and the fabulous sketch over at Hand Stamped Sentiments (and thank you to these ladies for choosing my camper van card as one of their Artist's Picks for their last challenge; if you missed it you can see that card here). I decided to go with pretty florals and break open a set I've not had a chance to use yet - take a look:
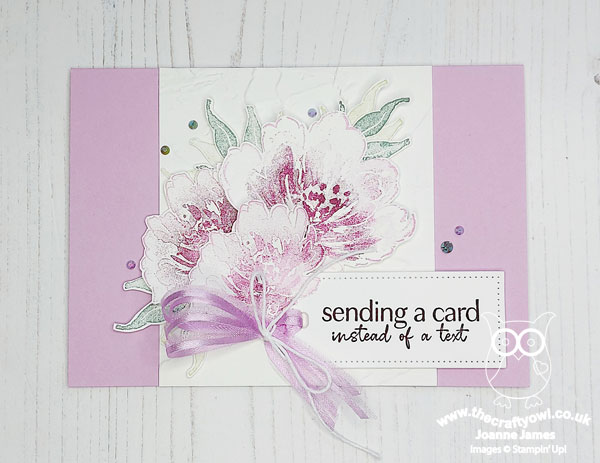
Here's the low-down on today's card:
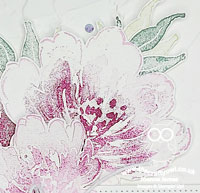
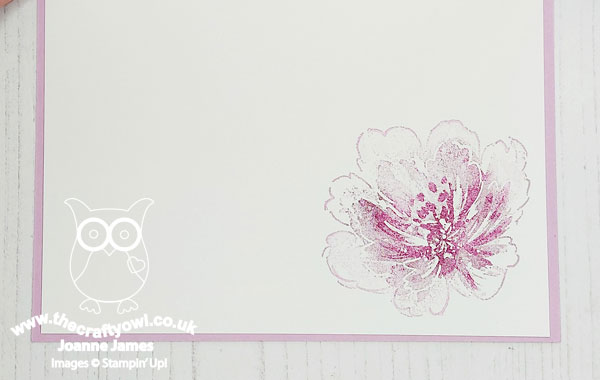
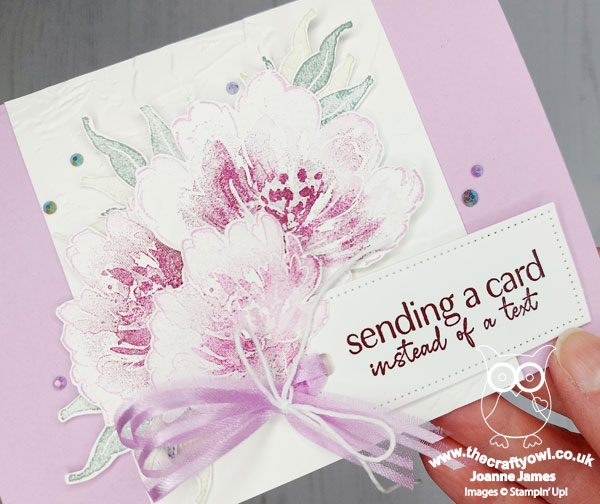
Flowing Flowers - I decided to create some two-tone flowers using ink and sponge daubers to decorate my card. The 'Flowing Flowers' stamp set is perfect for stamping straight onto a card base, but I decided to stamp a few flowers and leaves and fussy cut them as I wanted to create a cluster that would accent my sentiment tag. I also curved them a little with my bone folder for added dimension. I also added an extra flower to pretty up the inside of my card:
I used a panel embossed with the painted texture embossing folder on the front of my card; I really like the look behind those blousy flowers:
Pastels - check. Embossing - check.
A Tailor Made Tag - The Tailor Made Tags Dies are great as gift tags; the smaller sizes made really neat sentiment tags on cards too and that's how I used mine today. And it enabled me to tick off another two recipe items: dies - check. Ribbon/twine - check (both!).
And A Modern Day Sentiment - My tag also features the final item of this week's recipe - my sentiment. Whilst it doesn't overtly say 'thinking of you', I just love this sentiment from the 'Flowing Flowers' stamp set and is perfect to let someone know you are thinking of them in the old fashioned way, with something more meaningful than a text. I mean 'snail mail' is still a thing, right?! Thinking of you - check. Recipe complete!
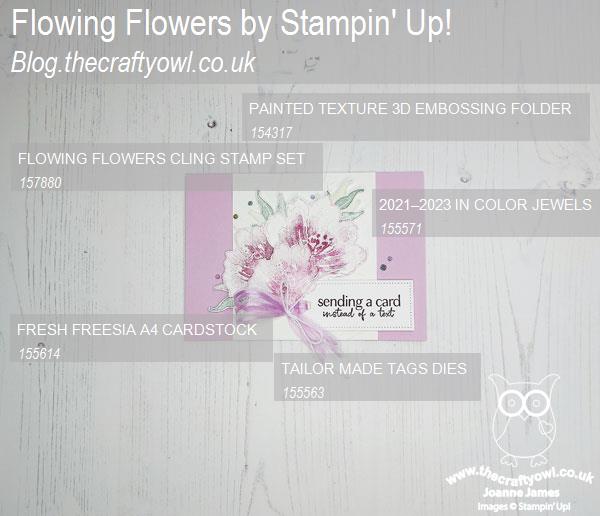
Here is the visual summary of the key products used on today's project for you to pin for easy reference:
You can see all of my 'How To' summaries on my 'How To - Tips and Techniques' Pinterest board in case you've missed any.
Here's a summary of our challenge rules:
- Create any card, scrapbooking page, 3D project or packaging project that fits the challenge.
- Please include the challenge graphic and link back to the challenge in your blog post. Turn off word verification so we can leave you lots of lovely comments. Make sure you link the post not the whole blog to the Linky. Use #AYSIXXX when uploading to a public gallery.
- If you’re unsure about ‘the rules’, check the details under the Challenge Guidelines tab on the As You See It Challenge homepage.
We look forward to seeing your creations in the AYSI gallery.
I love that one of my customers who I see fairly regularly still send me cards and such like in the post. I sometimes share them in my Facebook Group but she is not a Facebook user so doesn't get to see the lovely comments that get left. Here's a picture of one that I received this week, using the Floral Squares Dies that we both love:
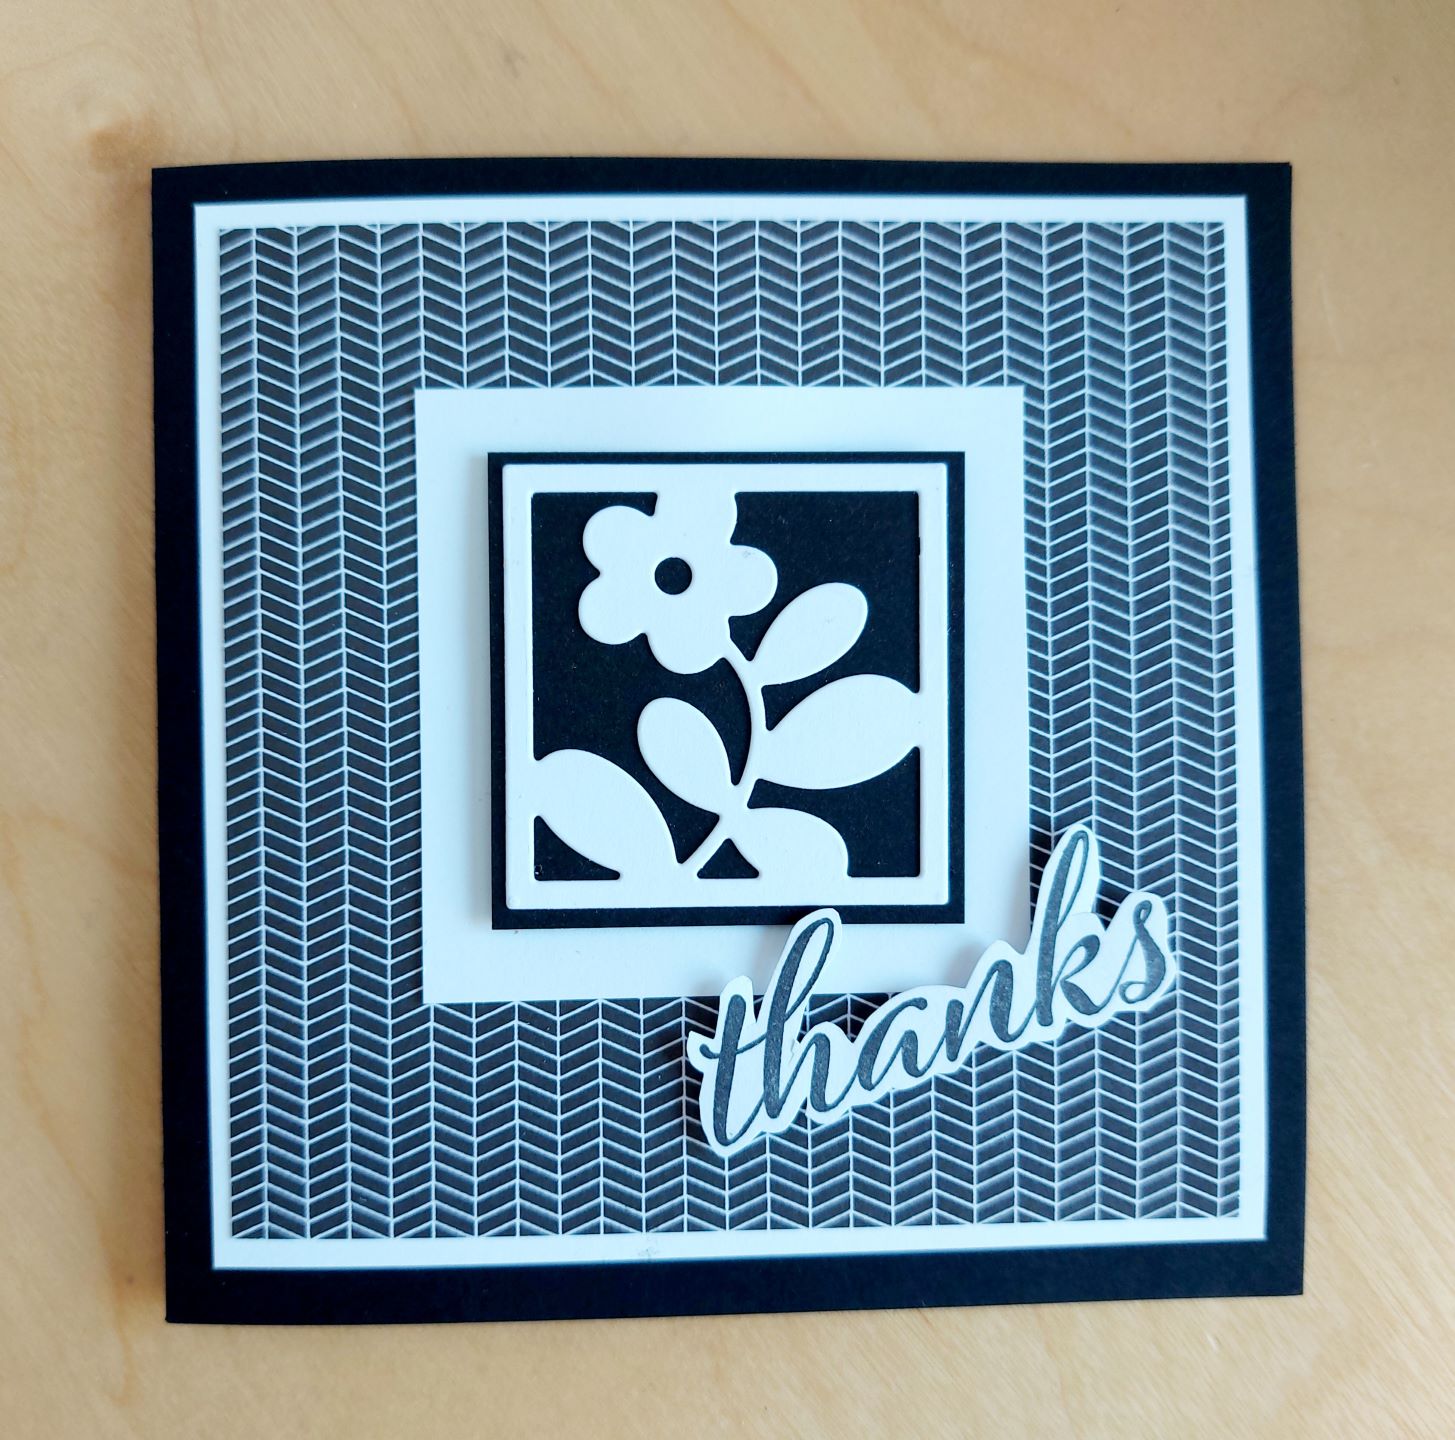
Isn't that wonderful? It is always nice to receive something in the post; thank you Gill for this lovely card and to everyone else - if you're reading this and wondering when was the last time you sent a card instead of a text, make that your challenge the next time you pick up your phone. Any excuse for more crafting has to be good!
Enjoy your day and I'll be back tomorrow with another project. Until then, happy stampin'!
Stampin' Up! Supplies Used: