Flowing Flowers Note Of Thanks PP593

by Joanne James29. May 2022 08:00

Today it's Sunday and time for this week's new challenge over at The Paper Players! It's the turn of the fabulous Ann to host this week and since it's the fifth Sunday of the month we have a tic tac toe challenge for you to work with:


I went down the centre of the grid with embossing, floral and rhinestones and decided to take the opportunity to take part in this week's CASE The Designer challenge over at Global Design Project #GDP344 - take a look:


Here's the low-down on today's card:

Copy And Selectively Edit - At GDP they are asking us to CASE one of Charlet Mallet's cards (you can see it on the badge below). I used the same die for my panel, the largest one on the Scalloped Contours die pack, but I switched out my florals for the Flowing Flowers stamp set and whilst I still using purple and green, I went with a more pastel colour palette, and also incorporated some Pool Party blue in the inked splatters and in my cardbase (reflecting the colours of the current Color Dare challenge). I used a heat-embossed white-on-black sentiment from the 'Sending Smiles' stamp set, using one featuring three pieces rather than a repeating word. I finished my cardfront with a sprinkling of iridescent sparkling rhinestones:

Finishing Touches - I carried the stamping through to both the inside of my card and the envelope for a pretty, co-ordinated look: 

This floral image is so easy to stamp and can be easily inked up in different colours using sponge daubers. I spent a lot of time thinking about my card and choosing which elements to incorporate, but it's actually really easy to execute. The design would also work well in a wide range of alternative colour schemes too.

Here is the visual summary of the key products used on today's project for you to pin for easy reference:


You can see all of my Product and 'How To' summaries on my 'How To - Tips and Techniques' Pinterest board in case you've missed any. 

Before you reach for your ink and papers, check out what our amazing team has created to inspire you this week:

Here's a quick recap of our challenge rules:
 
1.  Create a new paper project
2.  Upload your creation to your blog with a link back to us and provide a direct link to the post featuring your challenge submission.
3.  Please link your card to no more than four challenges, TOTAL.
4.  Have FUN!

Enjoy your day; exams are over and the James Juniors are on half-term next week, so we will be spending ours relaxing and doing not very much! I'll be back tomorrow with another project. Until then, happy stampin'!


Stampin' Up! Supplies Used: 

Table built using Product Table Builder by The Crafty Owl - Independent Stampin' Up! Demonstrator.


Embossed Dandelions Notecard

by Joanne James11. April 2022 11:15

Today I'm sharing a card I made at the weekend that uses Jen M's great layout over at Freshly Made Sketches this week and also uses the current Color Hues combination of pink and green:


Jen's sketch has a lovely open panel that can be used in so many different ways. I decided it would be a great place to have one last hurrah with my Dandelions 3D embossing folder - take a look:


Here's the low-down on today's card:

I simply embossed my dandelions on a panel of white cardstock and added Polished Pink to the seed heads and Pear Pizazz to the stems lightly with a blender brush for just a hint of colour to the raised elements. I added them to a base covered with a piece of Polished Pink In-Colour designer paper and added a simple heat embossed sentiment from 'Flowing Flowers' and a trio of iridescent rhinestones for some subtle sparkle:


I think this embossing folder is so pretty and a great way to make texture a feature on an otherwise clean and layered card. 

Here is the visual summary of the key products used on today's project for you to pin for easy reference:


You can see all of my 'How To' summaries on my 'How To - Tips and Techniques' Pinterest board in case you've missed any. 

Just a quick post from me today - I have a long 'to do' list that I'm trying to rattle through and a new annual catalogue pre-order that has just arrived that I want to get the opportunity to play with!

Enjoy your day and I'll be back tomorrow with another project. Until then, happy stampin'!


Stampin' Up! Supplies Used:

Table built using Product Table Builder by The Crafty Owl - Independent Stampin' Up! Demonstrator.

Pastel Stencilled Flowers Thank You Card TTT152

by Joanne James10. March 2022 18:00

It's Thursday and time for a new challenge over at TicTacToe! It's the turn of Team X to host this week and the lovely Betty is our featured designer this week. This is the fun board that we are playing along with: 


I went both across the bottom row Diecut/Spring Colours/Floral and down the middle column with Butterfly/CAS/Spring Colours this week, also using the beautiful trio of pastels over at Hand Stamped Sentiments and the layout (but not the colours - I may have another go with some blues next week!) over at Fusion for my fresh thank you card - take a look:


Here's the low-down on today's card:

Flowers Layering Masks - As I said in my earlier post today, I think I am really enjoying experimenting with stencils, and this particular flower stencil in the Butterflies and Flowers Layering Decorative Masks is definitely one of my favourites! Today I incorporated two different coloured flowers, using the same colour to build up the layers on each, before adding leaves. I also added a touch of stencilling to the inside corner of my card:


Pretty Pastels - This is such a pretty spring colour combination that the HSS team chose this week. It just so happens to be the same colour combination I used for my daffodils and tulips Paper Players card earlier in the week too; you can see that card here if you missed it. I used Fresh Freesia for my card base and added a panel of in-color designer paper for a subtle tone-on-tone layer of pattern detail.

Brass Butterflies - To finish my card I added a couple of in-colour gems to my purple flowers and a couple of brass butterflies for a fun extra detail - you can just see the shine as they catch the light on the one on the upper left portion of the photo below:

A simple stamped sentiment from 'Flowing Flowers' in Basic Grey completes today's card.

Here is the visual summary of the key products used on today's project for you to pin for easy reference:


You can see all of my Product and 'How To' summaries on my 'How To - Tips and Techniques' Pinterest board in case you've missed any. 

A tictactoe board offers so many creative possibilities - how does this week's board inspire you? Why not have a go? We would love to see you in the gallery and who knows - you might be selected for Designer's Choice and be eligible to be a guest designer on a future challenge. 

Enjoy your day; I'll be back tomorrow with another project for our new challenge over at As You See It. Until then, happy stampin'!


Stampin' Up! Supplies Used: 

Table built using Product Table Builder by The Crafty Owl - Independent Stampin' Up! Demonstrator.

Sending A Card Instead Of A Text With Flowing Flowers AYSI269

by Joanne James25. February 2022 10:53

Today I'm sharing my design team card for our new challenge over at As you See It where it's time for a recipe challenge:
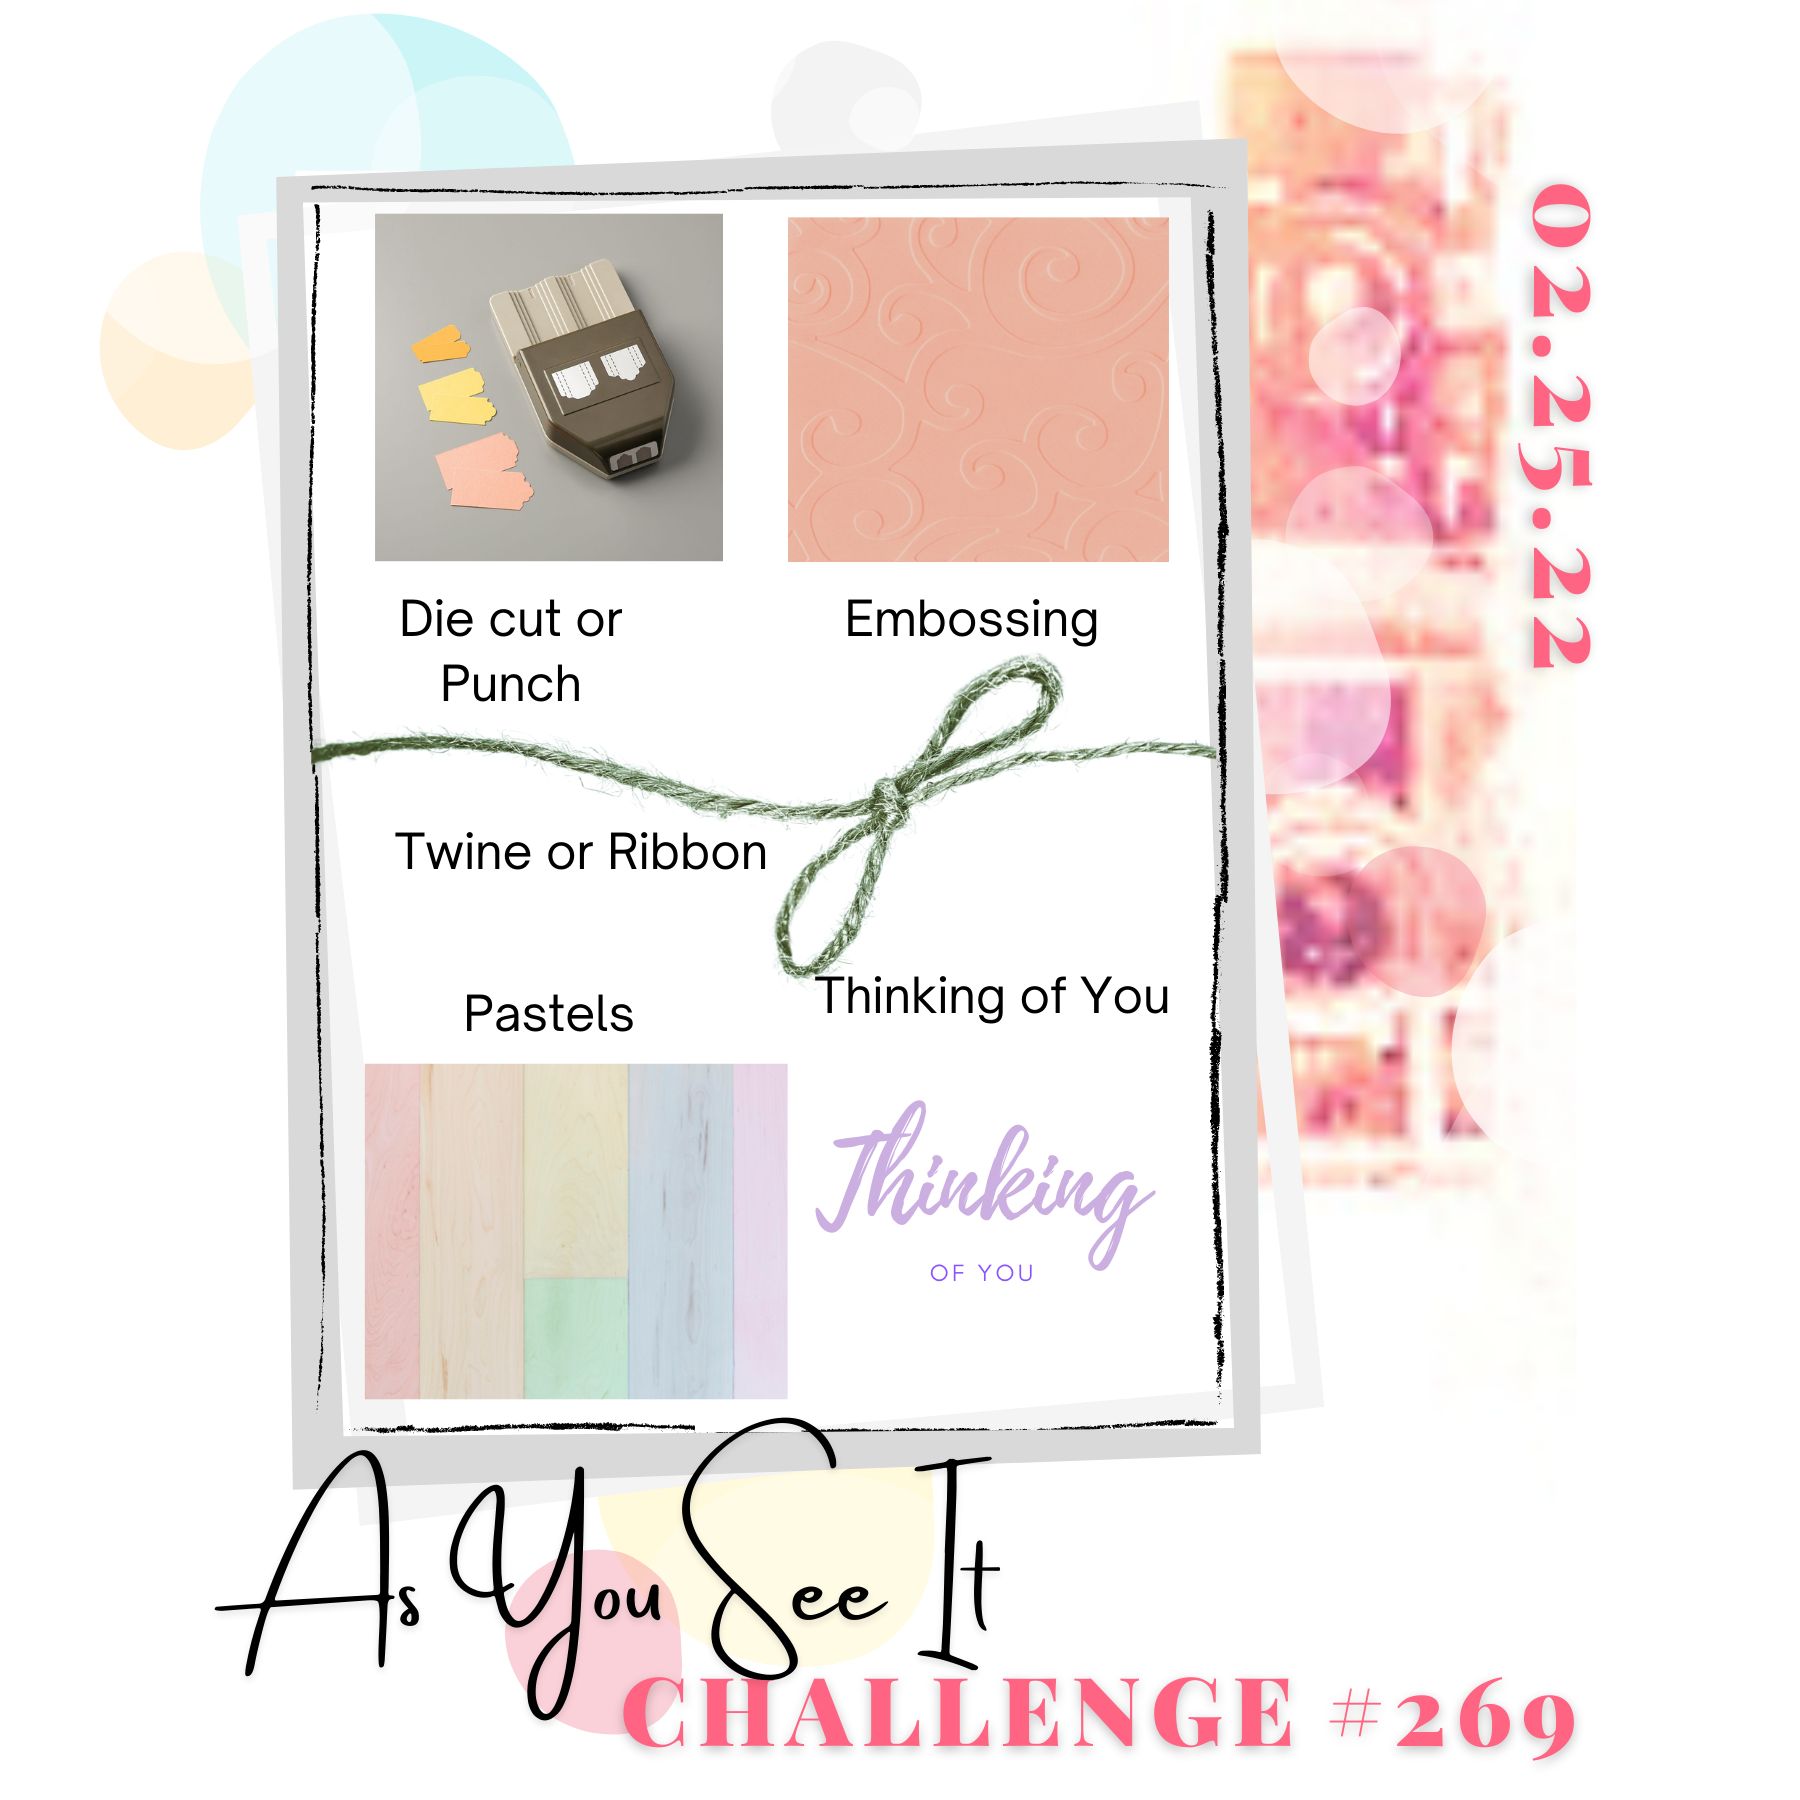
        

We have a great recipe for you this week and I can't wait to see what you cook up with it! I paired my ingredients with this week's colour palette over at Color Throwdown (gorgeous!) and the fabulous sketch over at Hand Stamped Sentiments (and thank you to these ladies for choosing my camper van card as one of their Artist's Picks for their last challenge; if you missed it you can see that card here). I decided to go with pretty florals and break open a set I've not had a chance to use yet - take a look:
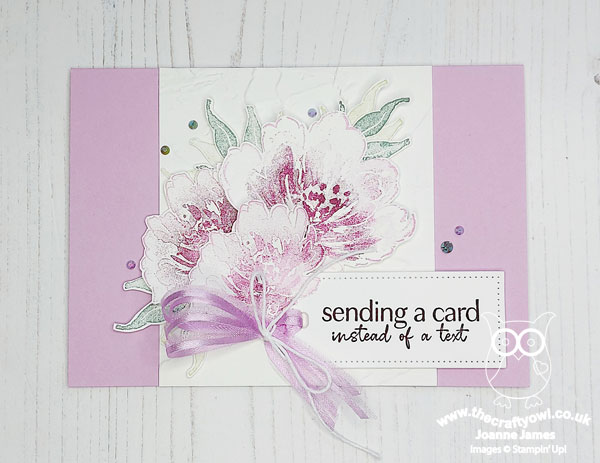
 

Here's the low-down on today's card:

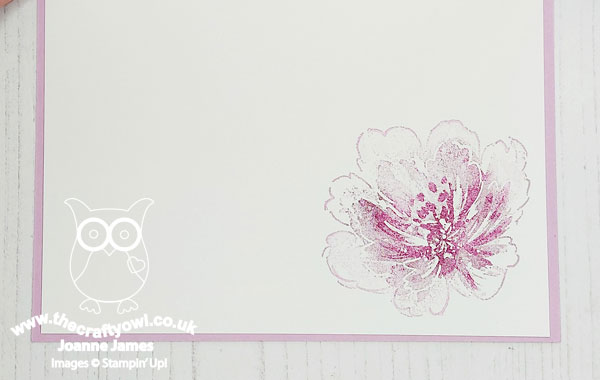
Flowing Flowers - I decided to create some two-tone flowers using ink and sponge daubers to decorate my card. The 'Flowing Flowers' stamp set is perfect for stamping straight onto a card base, but I decided to stamp a few flowers and leaves and fussy cut them as I wanted to create a cluster that would accent my sentiment tag. I also curved them a little with my bone folder for added dimension. I also added an extra flower to pretty up the inside of my card:
 

I used a panel embossed with the painted texture embossing folder on the front of my card; I really like the look behind those blousy flowers:
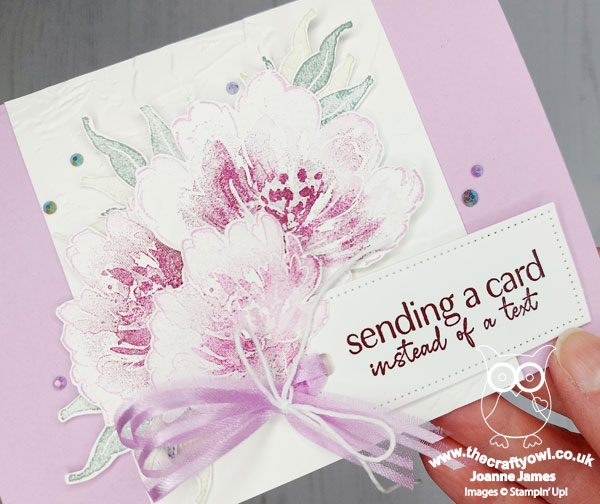
 

Pastels - check. Embossing - check.

A Tailor Made Tag - The Tailor Made Tags Dies are great as gift tags; the smaller sizes made really neat sentiment tags on cards too and that's how I used mine today. And it enabled me to tick off another two recipe items: dies - check. Ribbon/twine - check (both!). 

And A Modern Day Sentiment - My tag also features the final item of this week's recipe - my sentiment. Whilst it doesn't overtly say 'thinking of you', I just love this sentiment from the 'Flowing Flowers' stamp set and is perfect to let someone know you are thinking of them in the old fashioned way, with something more meaningful than a text. I mean 'snail mail' is still a thing, right?! Thinking of you - check. Recipe complete! 

Here is the visual summary of the key products used on today's project for you to pin for easy reference:
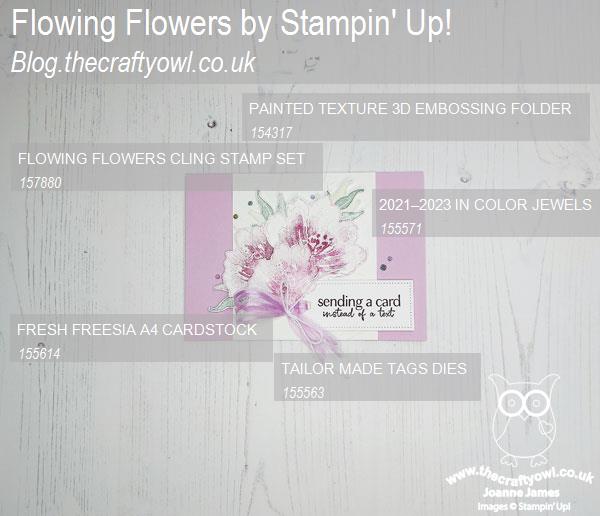
 

You can see all of my 'How To' summaries on my 'How To - Tips and Techniques' Pinterest board in case you've missed any. 

Here's a summary of our challenge rules:

  • Create any card, scrapbooking page, 3D project or packaging project that fits the challenge.
  • Please include the challenge graphic and link back to the challenge in your blog post. Turn off word verification so we can leave you lots of lovely comments. Make sure you link the post not the whole blog to the Linky. Use #AYSIXXX when uploading to a public gallery.
  • If you’re unsure about ‘the rules’, check the details under the Challenge Guidelines tab on the As You See It Challenge homepage.
We look forward to seeing your creations in the AYSI gallery.

I love that one of my customers who I see fairly regularly still send me cards and such like in the post. I sometimes share them in my Facebook Group but she is not a Facebook user so doesn't get to see the lovely comments that get left. Here's a picture of one that I received this week, using the Floral Squares Dies that we both love:
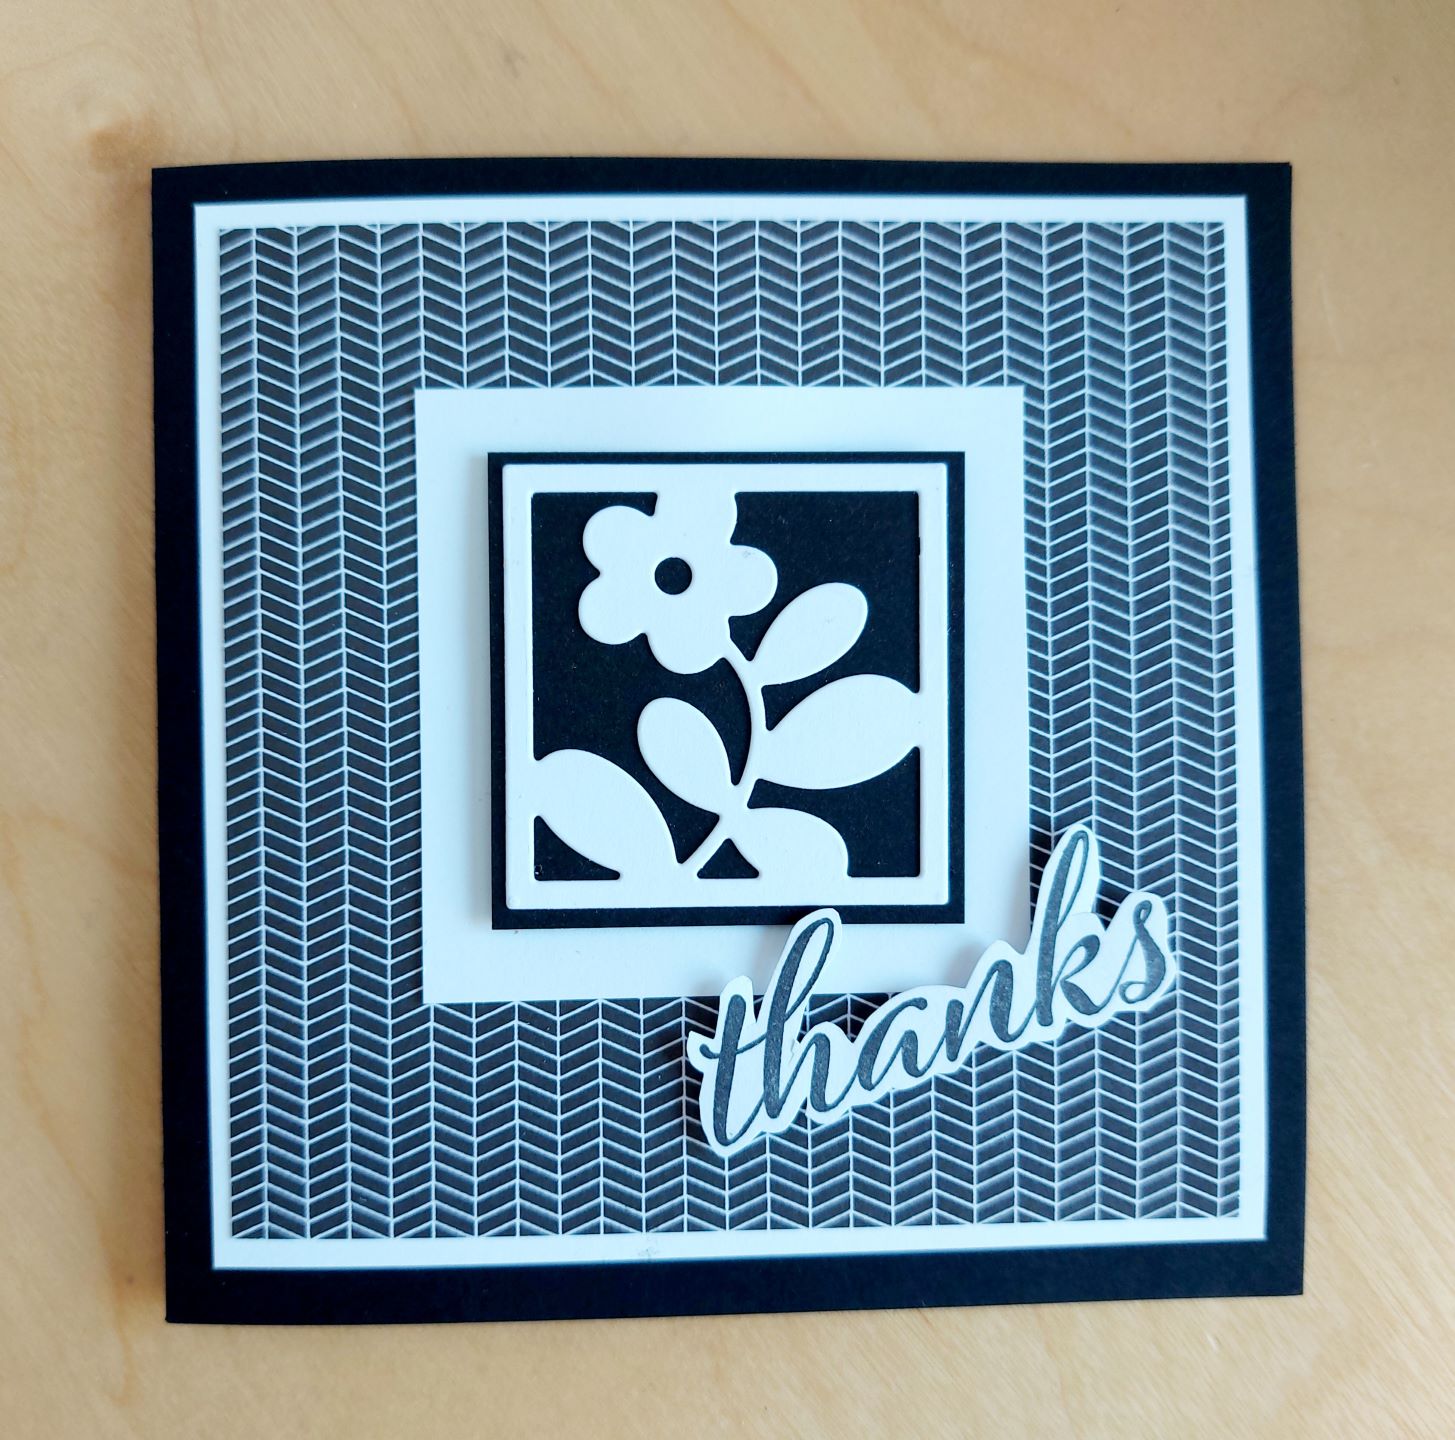
 

Isn't that wonderful? It is always nice to receive something in the post; thank you Gill for this lovely card and to everyone else - if you're reading this and wondering when was the last time you sent a card instead of a text, make that your challenge the next time you pick up your phone. Any excuse for more crafting has to be good!

Enjoy your day and I'll be back tomorrow with another project. Until then, happy stampin'!


Stampin' Up! Supplies Used:
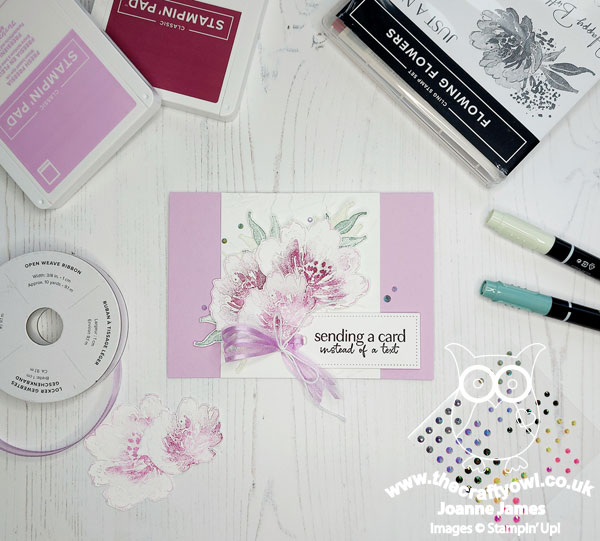
Table built using Product Table Builder by The Crafty Owl - Independent Stampin' Up! Demonstrator.


Scrapbooking

Stampin' Up! has introduced a new range of 12x12" scrapbooking product and kit - the full range is now available to purchase online. To download a copy of the new digital Scrapbooking Catalogue click here.

Mini Catalogue

BROWSE THE CATALOGUE

'Tis The Season - the new Stampin' Up! Mini Catalogue is here! For more details and to download your copy click here

Shop Online

Access my online shop 24 x 7, 365 days of the year:

Current September hostess code:

JQEHTZGK

Shop Online

2024-25 Annual Catalogue

BROWSE THE CATALOGUE

Click on the image to download your copy of the 2024-25 annual catalogue. For a full list of current SU! supplies, go to my online store. If you would like any help or advice, please drop me a line at joanne@thecraftyowl.co.uk or give me a call on 07773 421446 - I'd be happy to help.

Join My Team

It's always a great time to join Stampin’ Up! New team members can get £130 worth of products for only £99 + free business supplies + free shipping + all the fun being a part of Stampin’ Up! Stampin' Up! has something for everyone: join my growing team and benefit from my support to enjoy Stampin' Up! however you choose.

If you're interested, call me for a chat to understand how I can help you realise your goals. Alternatively, if you have already decided to sign up and you just can't wait, please click here for the link to the online form where you can sign up and order your starter kit right away! 

Latest Kits!

Stampin Cut and Emboss

The Christmas Ornaments Kit and Card Keeper Kit are the latest kits that will be arriving in the online store later this month - get yours here!

New Online Exclusives

There are new products available exclusively in the online store from 3 July - check them out here.

About Me

Hi I'm Joanne and live in Northampton and when I'm not looking after my husband and two beautiful children, am an avid crafter with a passion for all things Stampin' Up!

I must confess that I have never been a big rubber stamper - until I discovered Stampin' Up! that is. I love the fact that I can get such great results with co-ordinating stamps, inks, papers and punches - the possibilities are endless! Join me on my stamping journey as I share the things I love and be inspired to create amazing things yourself!

Follow Me

Monthly Newsletter

Box Builder

Click the button above to use Box Buster to create your custom box design using the Envelope Punch Board!

Kits Collection Now Available!

Stampin Cut and Emboss

The new Kits Collection from Stampin' Up! is now available!

Click here to see the current kits available and order yours online today.

I Design For


Stampin' Up Stuff

This is my personal blog and is not endorsed by Stampin’ Up! I hope you find it a plentiful source of ideas and personal inspiration but please don't copy my designs for contest submission or use for classes, publication or sale without express permission.