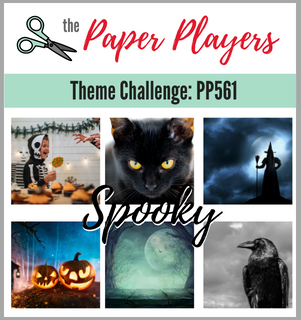
Today it's Sunday and time for this week's new challenge over at The Paper Players! It's the turn of the fabulous Laurie to host this week and she has a fun and seasonal theme challenge for you to work with:


I was initially a little concerned that I would struggle this week; I don't make many Halloween cards as I rarely send them as it isn't a big thing here in the UK and I don't really buy many Halloween sets as a result. I didn't even have any current Halloween paper! What to do?! I decided to take stock of all current sets and pull out anything that had something Halloween-related in it, whilst also taking inspiration from a few other challenges too, and ended up making a card really easily. Take a look at what I came up with:
Here's the low-down on today's card:
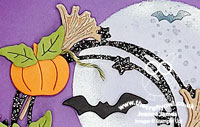
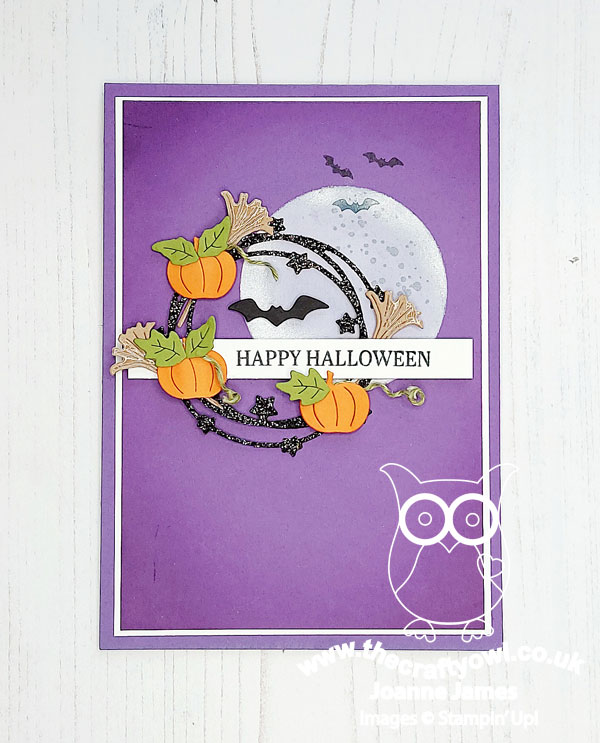
Halloween Seasonal Swirls - The star of today's card is most definitely the Seasonal Swirls Dies. They have this fun star wreath (which along with my bat silhouettes fulfilled my 'Just Choose 2' for Just Add Ink this week) which I cut out of sparkly black glitter paper, then embellished with a trio of pumpkins and witches' brooms cut from some retired textured kraft paper I had, which along with my purple background uses this week's Color Throwdown colours which are perfect for Halloween.
Sparkle of The Season and A Wish For Everything - Alongside my diecut wreath, there isn't much stamping on my card: the sentiment on the front comes from the 'Sparkle of the Season' stamp set that is bundles with the dies; I also found this fun Halloween sentiment in the 'A Wish For Everything' stamp set that I used on the inside of my card:
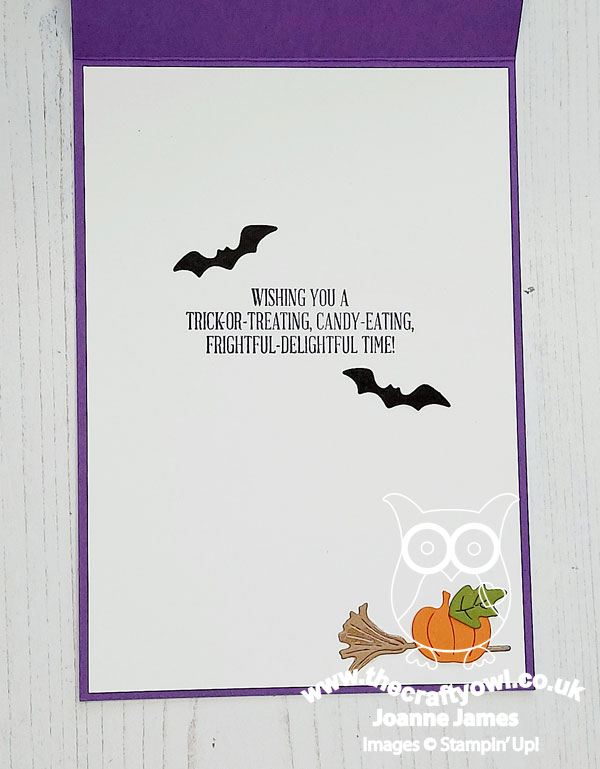
Perfect for the inside of my card!
Spooky? - I wasn't sure that my sparkly wreath alone could truly be considered 'spooky', but luckily Narelle's layout over at Freshly Made Sketches this week came to my rescue on that front: I took that second circle shape behind, masked off and sponged in a moon with white craft and a little silver metallic ink for shading, along with the splatter stamp in the 'Quiet Meadow' stamp set for crate-like detail and a trio of black bats from 'Sparkle of The Season' for added spooky:
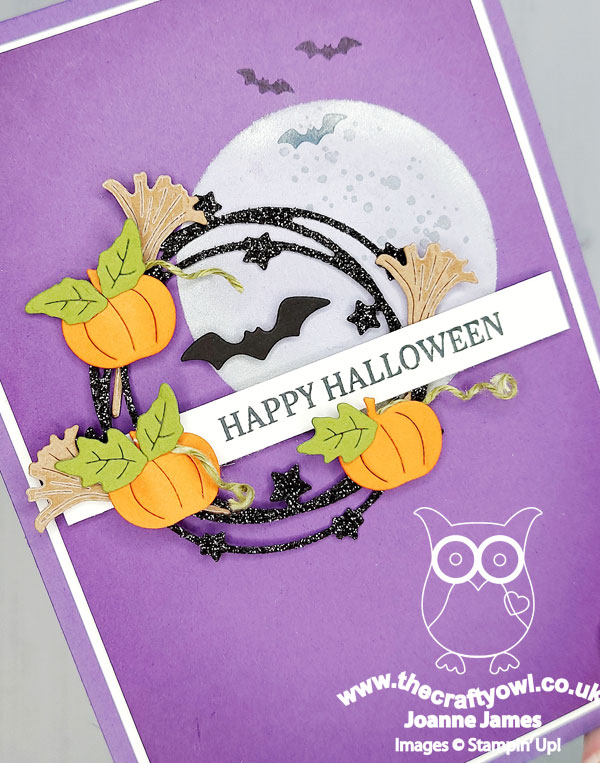
A final diecut bat, along with some blended tone-on-tone colour around the edge of my purple layer, complete my suitably spooky card.
I felt like I needed a lot of help to get me going with my card this week, but I'm really pleased with how it turned out. Even more impressive is that it didn't include a single Halloween-specific stamp set! So if you are looking at this week's theme and thinking you don't 'do Halloween', check out the stamp sets on your shelf or get creative with some punch art - like me, you might be surprised at what you'll find!
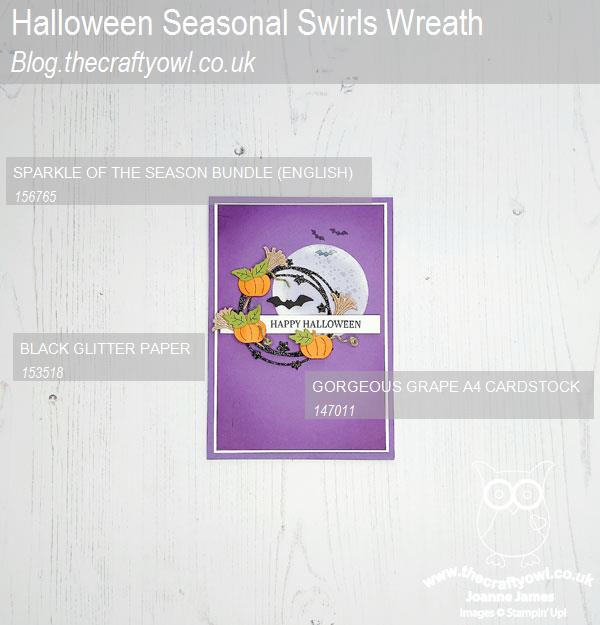
Here is the visual summary of the key products used on today's project for you to pin for easy reference:
You can see all of my Product and 'How To' summaries on my 'How To - Tips and Techniques' Pinterest board in case you've missed any.
Before you reach for your ink and papers, check out what our amazing team has created to inspire you this week:
The Paper Players Design Team
Here's a quick recap of our challenge rules:
1. Create a new paper project
2. Upload your creation to your blog with a link back to us and provide a direct link to the post featuring your challenge submission.
3. Please link your card to no more than four challenges, TOTAL.
4. Have FUN!
You can see all of my 'How To' summaries on my 'How To - Tips and Techniques' Pinterest board in case you've missed any.
Enjoy your day; today is a very special day in the James household! Tomorrow is a milestone birthday for my 'significant other' ( also known as the first Mr James! - if you missed his card, I already shared that here); since his birthday falls on a day that is filled with work, school and sport for pretty much everyone in the James household, we are celebrating today. We have cake, balloons, fizz, presents and more so whilst he is not one to make a fuss, the children and I are ready to celebrate his half-century in style! I'll be back tomorrow with another project. Until then, happy stampin'!
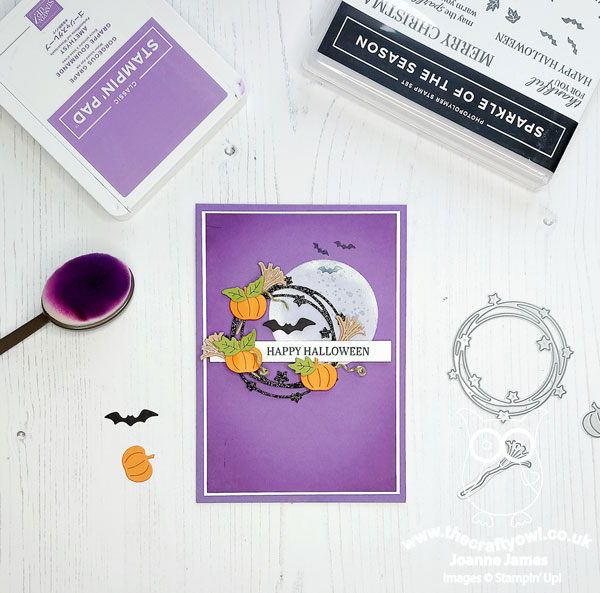
Stampin' Up! Supplies Used: