Today I'm sharing my design team card for our new challenge over at As you See It where it's time for a fun 'fill in the blank' challenge:

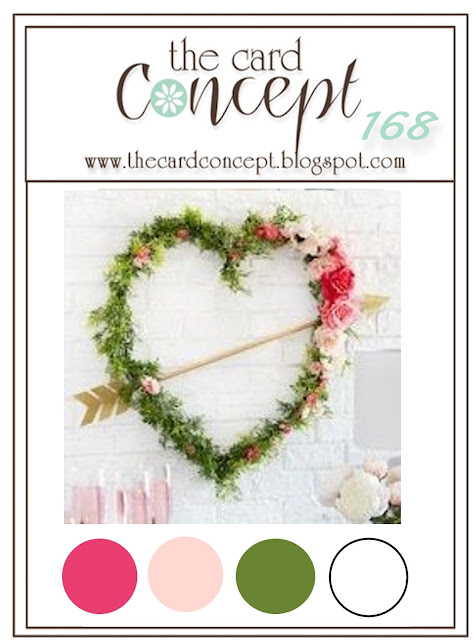
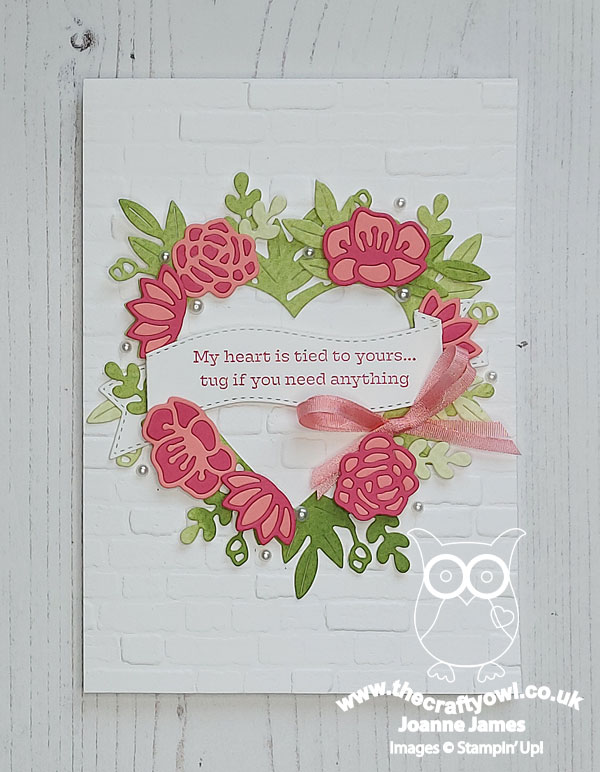
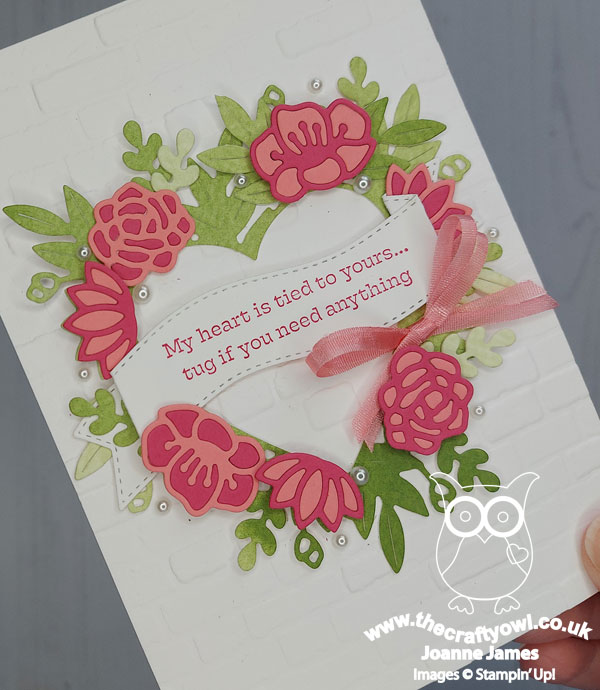
A favourite technique - how fun! I decided to choose inlaid diecut technique as one of my favourite techniques to share with you today and decided to have another crack at the inspiration photo over at The Card Concept, this time with a clean and layered card (you can see my earlier clean and simple entry here in case you missed it). I was totally inspired by the greenery and pink flowers of that beautiful heart and the texture of the white brick wall behind and where better to turn to demonstrate the inlaid diecut technique than my trusty Floral Heart Dies - take a look:
Here's the low-down on today's card:
Floral Hearts Dies and Inlaid Diecuts - I cut out the main heart from a piece of green ink-washed watercolour paper and added some additional pieces of foliage as the basis for my heart wreath, then used the separate flower dies to cut out the flowers in both Melon Mambo and Flirty Flamingo. Before brushing out the pieces from the petals of the flower outlines, I carefully used some Press 'n' Seal to lift the pieces out in the same position. I then adhered the outline pieces to some scrap cardstock, and carefully inlaid the alternative colourway into the outline pieces. This gives a selection of two-tone flowers with all pieces intact. I love to use just the outlines of these flowers, but think they look really pretty with their infills too. This technique is quite fiddly with small pieces, however is really easy when larger diecuts are involved, such as the new Tropical Layers Dies, for example.
Textured Brick - I used the Bricks and Mortar 3D embossing folder to add texture to the base of my card; this is a great way to add detail and interest to plain white cardbase.
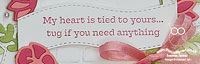
My Heart Is Tied To Yours - Finally, in addition to some pearls and a simple double bow, I added a banner with my favourite sentiment from the 'Eden's Garden' stamp set:
Is that not just the nicest greeting someone can see when they open a card? I think so. My card is already in the mail to someone who has been having a tough time lately and I'm hoping when she reads this it will truly warm her heart and let her know I'm thinking of her.
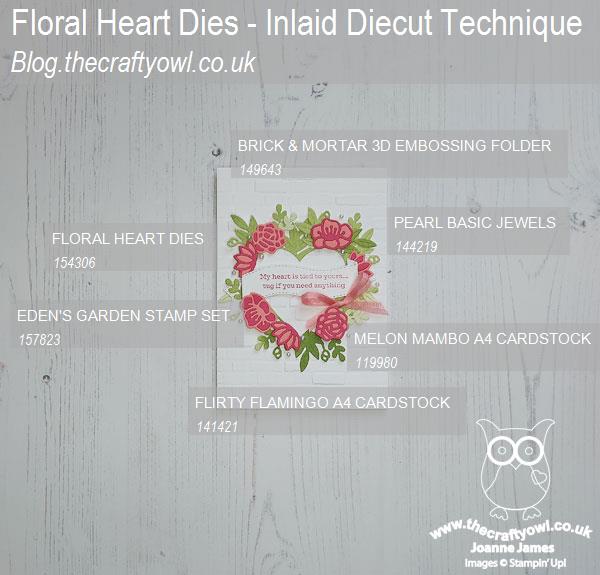
Here is the visual summary of the key products used on today's project for you to pin for easy reference:
You can see all of my 'How To' summaries on my 'How To - Tips and Techniques' Pinterest board in case you've missed any.
Here's a summary of our challenge rules:
- Create any card, scrapbooking page, 3D project or packaging project that fits the challenge.
- Please include the challenge graphic and link back to the challenge in your blog post. Turn off word verification so we can leave you lots of lovely comments. Make sure you link the post not the whole blog to the Linky. Use #AYSIXXX when uploading to a public gallery.
- If you’re unsure about ‘the rules’, check the details under the Challenge Guidelines tab on the As You See It Challenge homepage.
- In a Fill in the Blank challenge, complete the sentence in the Challenge Banner with the phrase that is true for you and create your project using the words you used. Tell us what you said in your blog or on your site.
We look forward to seeing your creations in the AYSI gallery.
Enjoy your day and I'll be back tomorrow with another project. Until then, happy stampin'!
Stampin' Up! Supplies Used:
