Today it's Sunday and time for this week's new challenge over at The Paper Players! It's the turn of the fabulous Claire to host this week and she has a gorgeous colour challenge for us to work with:
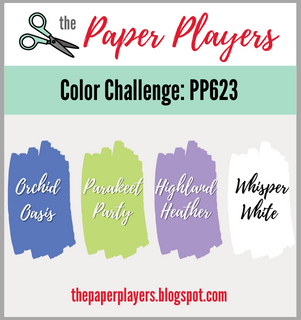
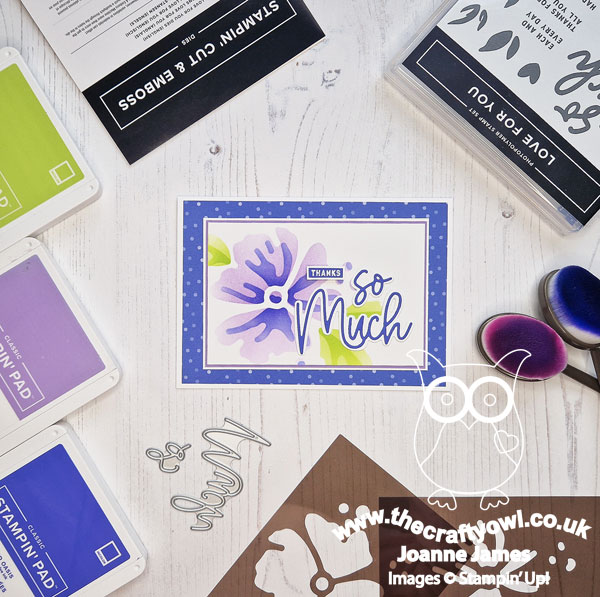
Isn't that such a great palette of colours?! They are right in my wheelhouse and I couldn't wait to get to started. I knew exactly what I wanted to do with these colours - take a look:
Here's the low-down on today's card:
Loveliest Layers - The highlight of today's card is the flower that is stencilled onto the central panel of my card. I used the Loveliest Layers Decorative Masks that you can find on page 62 of the mini catalogue. They contain a background stencil and this layered flower and I think with so many great new stamps, dies and papers, these masks are easily overlooked, yet they are so easy to use and make great designs. Using my blending brushes, I first inked the base flower in Highland Heather, then added the definition in Orchid Oasis. For the leaves I used Parakeet Party for both layers, inking the second one more heavily to give the contrast.
Love For You - I decided to add a thank you sentiment comprising a tiny heat-embossed stamped 'thanks' with a die cut 'so much' courtesy of the 'Love For You' bundle. I only used two of the three layers of the dies, and adhered them flat to my panel whilst adding my stamped element with dimensionals to help it standout:
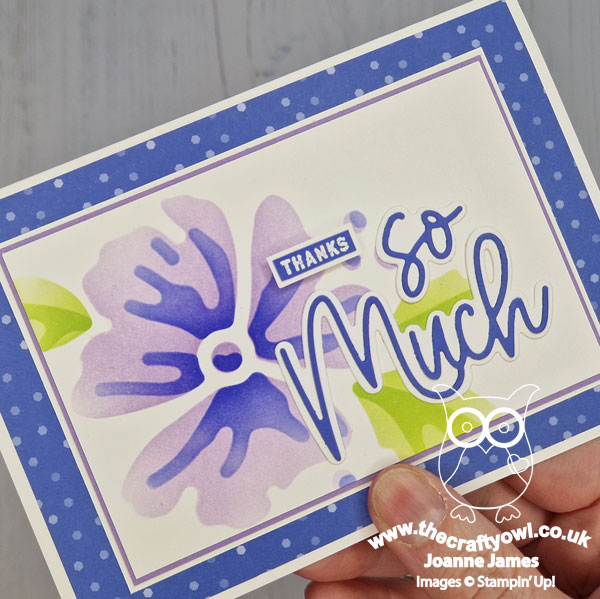
I am a big fan of the 'Love For You' bundle and the versatility it offers in terms of how to layer the dies and the way various elements combine to create a wide variety of sentiments.
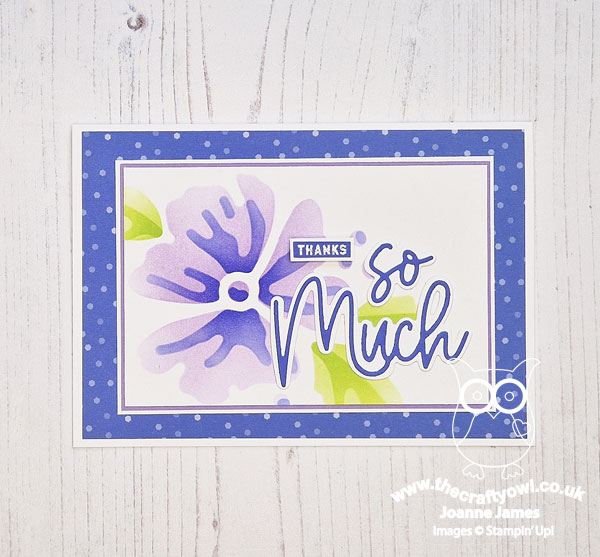
Even More Layers - Whilst my card layout is quite simple, it does contain lots of layers - 7 in fact. Each of them serves a purpose though, from the in-color DSP that frames my central focal point, to the thin borders to highlight the central panel and the double-layering of the sentiment and the use of white is also key here to give definition to the overall design.
So what do you think of today's card? I love it and can't wait to create more with these stencils.
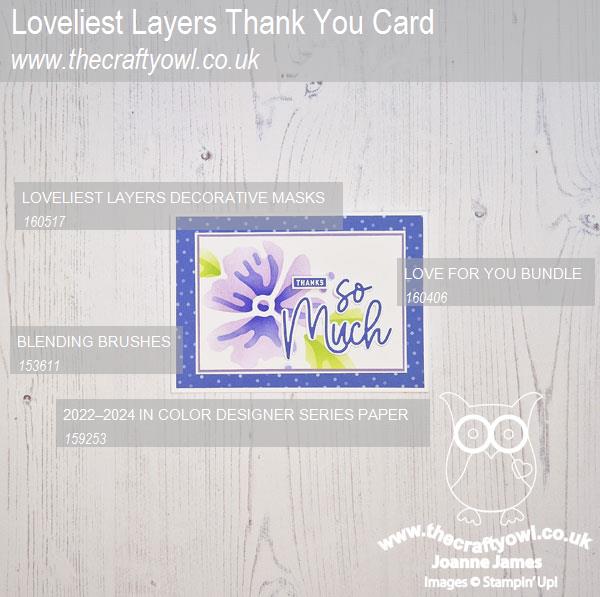
Here is the visual summary of the key products used on today's project for you to pin for easy reference:
You can see all of my Product and 'How To' summaries on my 'How To - Tips and Techniques' Pinterest board in case you've missed any.
Before you reach for your ink and papers, check out what our amazing team has created to inspire you this week:
The Paper Players Design Team
Here's a quick recap of our challenge rules:
1. Create a new paper project
2. Upload your creation to your blog with a link back to us and provide a direct link to the post featuring your challenge submission.
3. Please link your card to no more than four challenges, TOTAL.
4. Have FUN!
Enjoy your day; we are having a quiet one as we are part way through GCSE mock examinations for the youngest of the James Juniors, so revision reigns! I'll be back tomorrow with another project. Until then, happy stampin'!
Stampin' Up! Supplies Used: