It's Sunday and time for a new challenge over at The Paper Players! It's the super-talented Sandy's turn to host this week and she has a fun theme for you to work with:

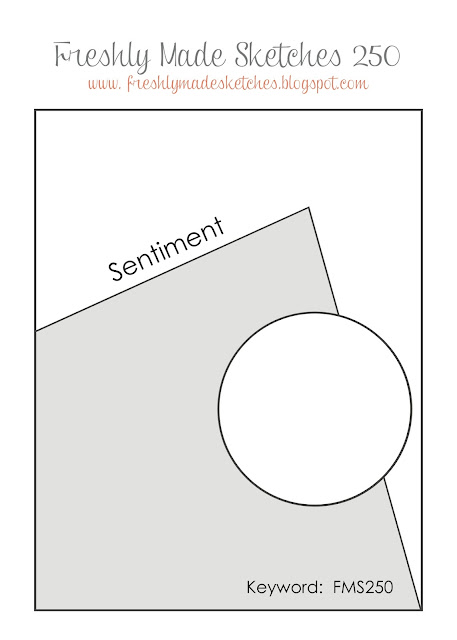
I also used this week's sketch over at Freshly Made Sketches for my layout. Ok, so first up - a confession! I was so excited to have some child-free craft time to make my card earlier this week, that I did go a little crazy with my layering and so my card is not maybe as CAS as it should be. That said, I love it too much not to share :-) So - here's my card:
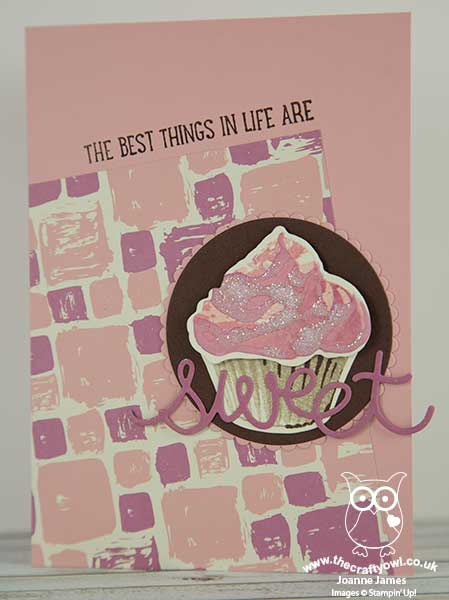
Here's the low-down on today's card:
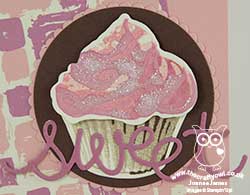
A Sweet Cupcake - What's sweeter than a cupcake? This delicious triple-time stamped number is so easy to create with the Sweet Cupcake stamp set. The photopolymer stamps make lining up the images a piece of cake (yes, pun intended!) and having mounted my card on a couple of layered circles I used the 'sweet' from the co-ordinating Cupcake Cutouts Framelits to finish my sentiment, which I brushed with clear Wink of Stella for a little shimmer.
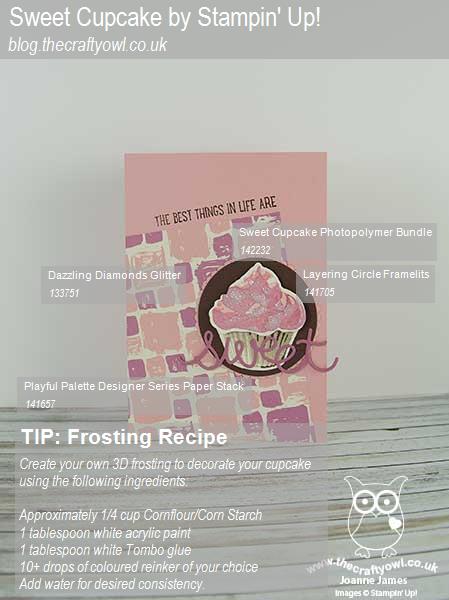
Sugar Frosting - Those of you who attended Onstage in April or follow the Facebook page of the Stampin' Up! CEO, Sara Douglas, will have seen her demonstrate this set and finish with some textured frosting. I decided to get creative with my cupcake and give it a go! It was really easy to make - I've included the recipe on my 'How To - Tips and Techniques' image below - an adds an interesting texture and dimension to the third layer of frosting. I went one step further and whilst wet sprinkled my frosting with Dazzling Diamonds to create a really sparkling sugary finish - yum! The photo below shows the dimension of the frosting in more detail:
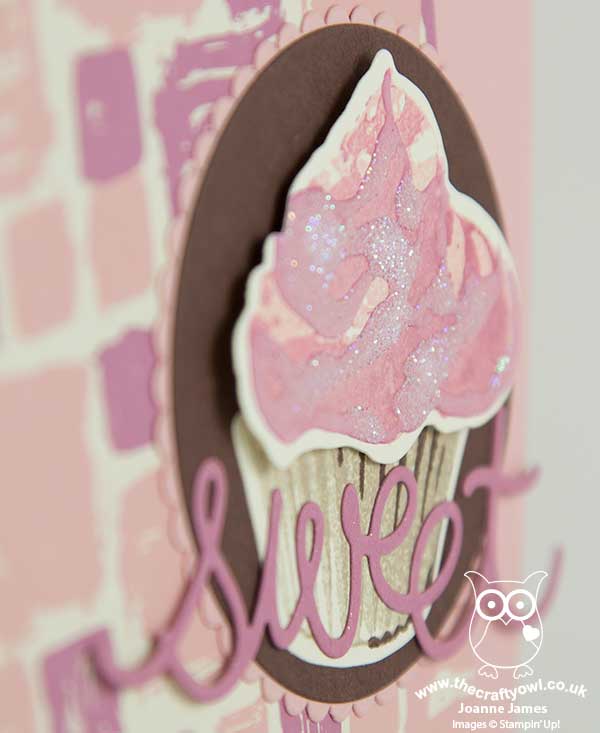
Almost good enough to eat! Thank you Sara for this fun suggestion to step up our cupcake creations!
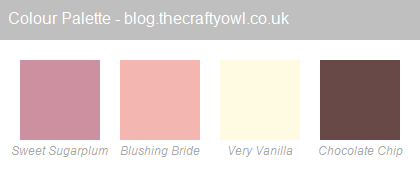
Playful Palette-inspired Colour Combo - I used one of the patterns in the Playful Palette designer series paper stack as the starting point for my card today and paired my Sweet Sugarplum, Blushing Bride, Very Vanilla combo with Chocolate Chip - feel free to save this colour combination if it's one that appeals to you:
Here is the visual summary of the key products used on today's project - including the recipe to create your own frosting - for you to pin for easy reference:
You can see all of my 'How To' summaries on my 'How To - Tips and Techniques' Pinterest board in case you've missed any.
Before you reach for your ink and papers, check out what our amazing team has created to inspire you this week:
The Paper Players Design Team
Here's a quick recap of our challenge rules:
1. Create a new paper project
2. Upload your creation to your blog with a link back to us and provide a direct link to the post featuring your challenge submission.
3. Please link your card to no more than four challenges, TOTAL.
4. Have FUN!
I look forward to seeing what you create with this week's theme.
Back tomorrow with another project; until then, happy stampin'!
Stampin' Up! Supplies Used: