
Today it's Sunday and time for this week's new challenge over at The Paper Players! It's the turn of the fabulous Claire to host this week and she has a timely theme challenge for you to work with:
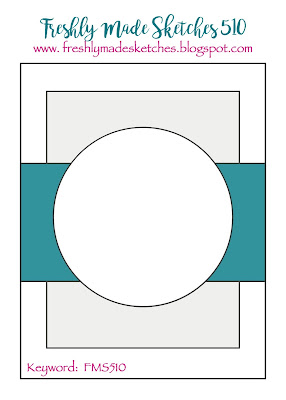

With Thanksgiving just around the corner, Claire's theme is a timely one although it's fair to say that there is plenty to be thankful for all year round so a card that gives thanks is always a useful one to have on hand. I couldn't resist another card with Jen M's layout over at Freshly Made Sketches this week (this layout is definitely a 'go to' for me!). No wreath this time though, instead totally inspired by the current challenge photo over at The Card Concept - take a look:
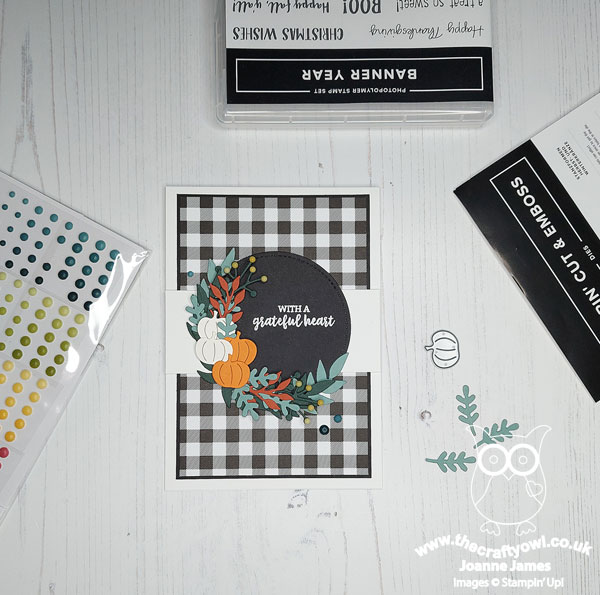
Here's the low-down on today's card:
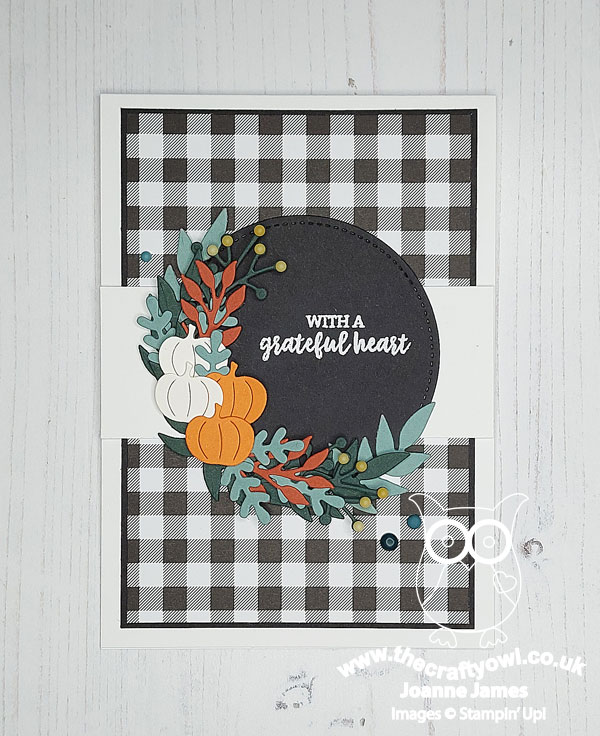
I loved the colours and foliage and pumpkin elements in the Card Concept photo, along with the striking black and white tablescape, complete with gingham napkins and I incorporated all of these elements into my clean and layered card. I used black and white mats, layers and some gingham paper from the Pattern Paper hostess DSP pack, and layered a variety of foliage around one edge of a (retired) stitched circle onto which I heat-embossed my sentiment from the stamp set 'Banner Year'. I added some of the yellow decorative matt dots to my berry sprigs for a little extra dimension and detail which I really love:
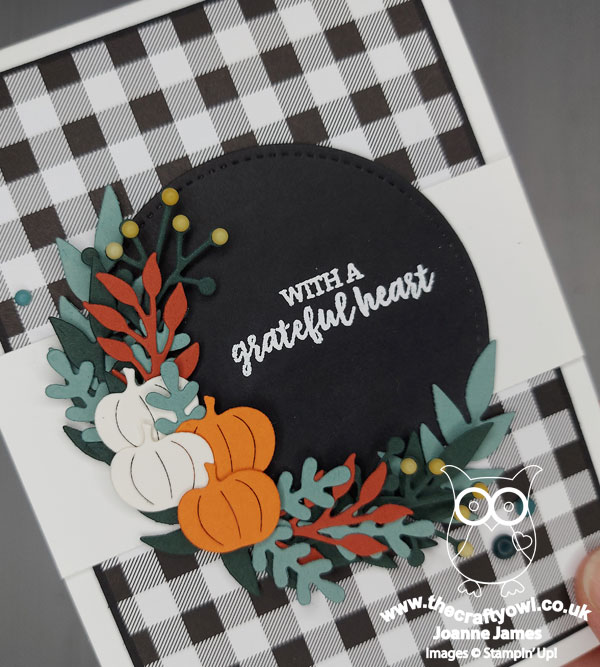
Another trio of Evening Evergreen decorative matt dots onto my base complete my card. My foliage elements were taken from various die sets - all listed in the supplies list below. This is one of those cards that turned out exactly as I intended, first time - and I love it! I often spend ages procrastinating whilst card making, so it feels like a bonus when ideas translate exactly how you envisaged, don't you think?
Here is the visual summary of the key products used on today's project for you to pin for easy reference:
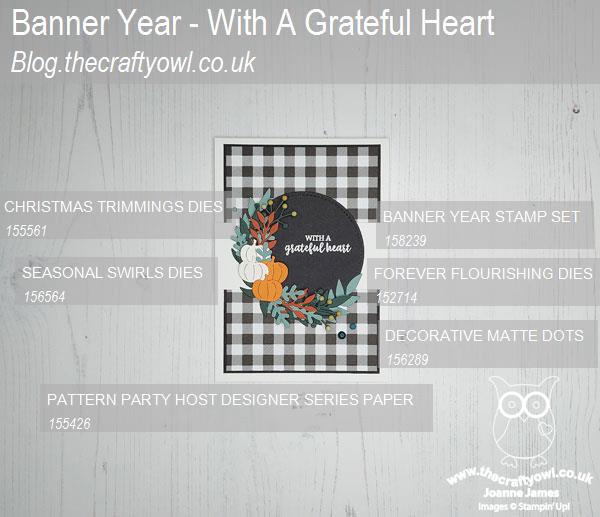
You can see all of my Product and 'How To' summaries on my 'How To - Tips and Techniques' Pinterest board in case you've missed any.
Before you reach for your ink and papers, check out what our amazing team has created to inspire you this week:
The Paper Players Design Team
Here's a quick recap of our challenge rules:
1. Create a new paper project
2. Upload your creation to your blog with a link back to us and provide a direct link to the post featuring your challenge submission.
3. Please link your card to no more than four challenges, TOTAL.
4. Have FUN!
You can see all of my 'How To' summaries on my 'How To - Tips and Techniques' Pinterest board in case you've missed any.
Enjoy your day; we had a busy day of sport yesterday so nothing special happening here today, but I'm not complaining. The next few weekends are super busy, so I'll take the calm before the storm! I'll be back tomorrow with another project. Until then, happy stampin'!
Stampin' Up! Supplies Used:
Edit: This card was Jen T's choice for Princess of Clean for FMS510 - yay!