Happy Easter Sunday wishes everyone! It's time for this week's new challenge over at The Paper Players! It's the turn of the amazingly talented Laurie to host this week and she has a fun theme challenge for you to work with:
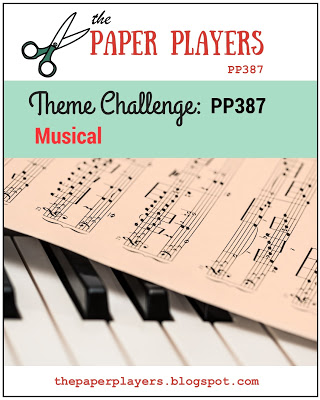
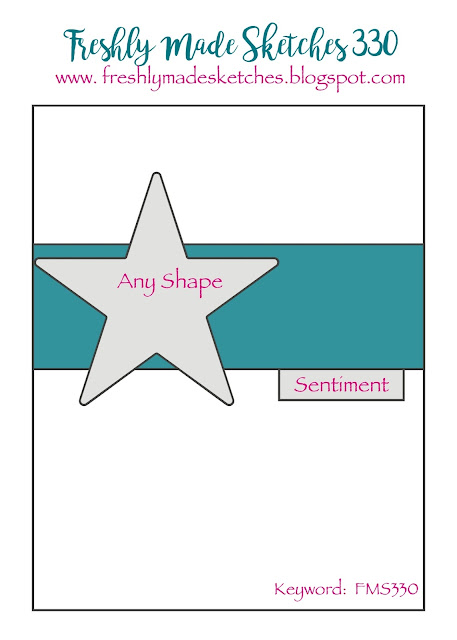
I don't have much in the way of music-themed supplies in my collection and usually end up resorting to my e-cutter to create music-themed cards and gifts (you can see some of my previous examples here and here), so I was thrilled to see the Epic Celebrations set in this year's Sale-A-Bration promotion. As the wife of a guitarist and the other mother of two almost-teens, one of whom is in a band and both of whom are into either listening to or playing music in a big way, this set was a must-have for me. So whilst Sale-A-Bration has now ended, this set is a keeper and I just had to use it on today's card. I also used this week's sketch at Freshly Made Sketches for my layout - take a look:
Here's the low-down on today's card:
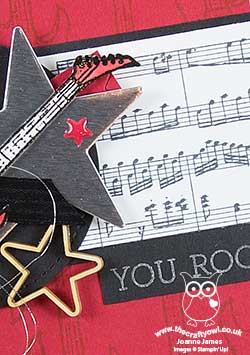
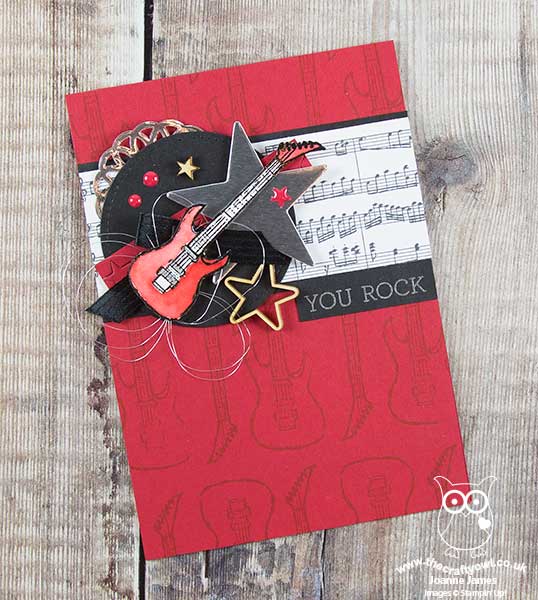
Epic Tone on Tone - I decided to use a simple tone-on-tone stamped background in Real Red using the guitar stamp to create some detail and to highlight my main focal image, which I stamped and heat embossed in black on watercolour paper, then coloured with my aqua painter. I added this to a collection of stars and bits and pieces to add a touch of 'glam rock' to my card.
A LittleSheet Music - The border panel is a section of the background stamp 'Sheet Music', which I simply stamped onto Whisper White and cut out a section for added interest in keeping with the theme.
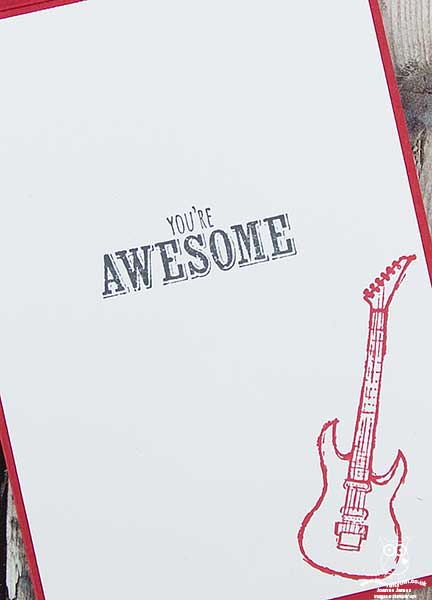
A Punny Sentiment - My punny sentiment is courtesy of the now-retired 'Crazy About You' set, which was perfect for this card. I also used the 'You're Awesome' sentiment from the Epic Celebrations set on the inside of my card:
Here is the visual summary of the key products used on today's project for you to pin for easy reference:
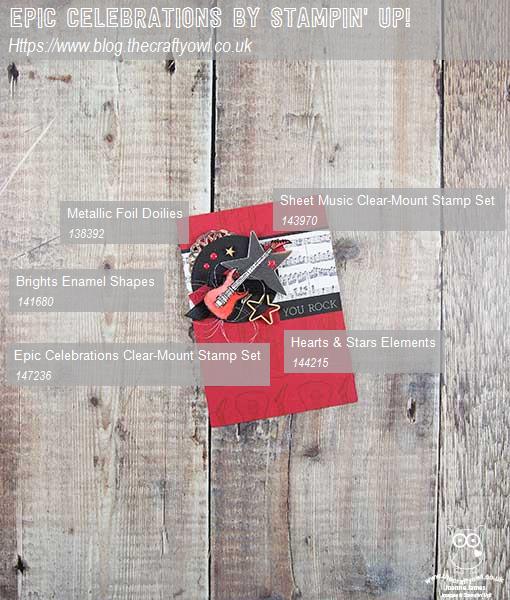
You can see all of my Product and 'How To' summaries on my 'How To - Tips and Techniques' Pinterest board in case you've missed any.
This card is headed to my pile as a thank you for one of Rebecca's teachers; she will be performing the role of Brigitte in her whole school production of Rogers & Hammerstein's 'The Sound of Music' next term and there are an army of staff involved in making this happen, including her Maths teacher, who also plays electric guitar. The girls at school think he is super cool, so this card will be perfect for him!
Before you reach for your ink and papers, check out what our amazing team has created to inspire you this week:
The Paper Players Design Team
Here's a quick recap of our challenge rules:
1. Create a new paper project
2. Upload your creation to your blog with a link back to us and provide a direct link to the post featuring your challenge submission.
3. Please link your card to no more than four challenges, TOTAL.
4. Have FUN!
I can't wait to see how you interpret this week's theme and look forward to visiting your blogs this week! Enjoy the rest of your weekend - enjoy your Easter egg hunts and eat as much chocolate as you can safely consume! I'll be back tomorrow with another project; until then, happy stampin'!
Stampin' Up! Supplies Used: