by Joanne James27. April 2015 10:33Good morning everyone! It's Monday and I'm here bright and early with not one, but two cards for you today! The first is a chalkboard card using this week's colours over at The Color Throwdown:
I couldn't resist some bright yellow on a Monday morning, so decided to dig out my 'Feel Goods' stamp set and pair it with the sun in the 'So You' stamp set to create the following card:
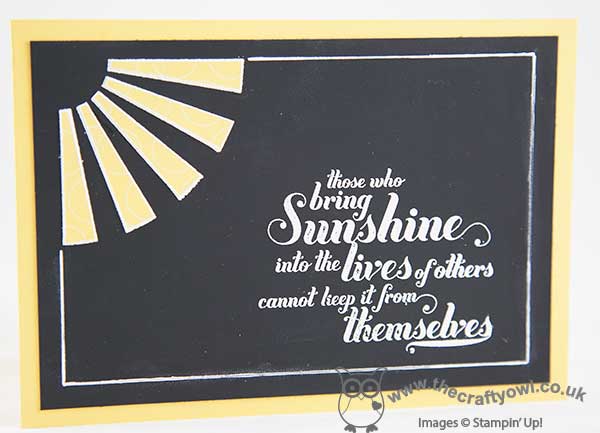
I used a base of Daffodil Delight and a piece of chalkboard paper, then stamped both the sun outline and the sentiment and heat embossed them in white. I found a small piece of retired yellow polka dot paper in my scrap box and stamped the sun again onto it and cut out the pieces and paper-pieced them onto my card. I would say you could substitute with something out of the current Brights Paper Stack, but since this is on the retiring list and already sold out, you will all need to raid your current supplies for this one! To finish, I added a gel pen line around the edge of my chalkboard and just wiped over the card lightly with some Whisper White craft ink. It adds a cool chalkboard effect in real like, although the photo does just look a little 'untidy' I think! I'm also linking this card up with Diane at Pixie's Snippets Playground since I was good and actually used up some of my scrap box snippets on this card - that so hardly ever happens!
My second card is using the colours over at Colour Q and this week's Cas(E) This Sketch:
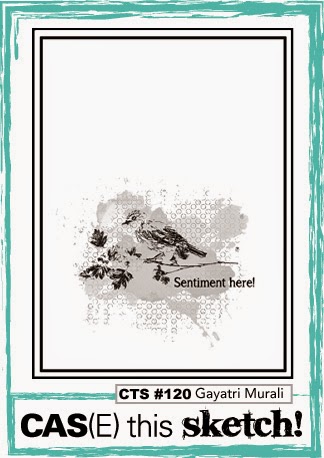
I'm still enjoying my re-acquaintance with my aqua painter as a means of watercolouring and when I saw this week's CAS(E) This Sketch I knew it would offer me the opportunity for a little watercolouring behind this sweet bird couple silhouette from the 'World of Dreams' stamp set:
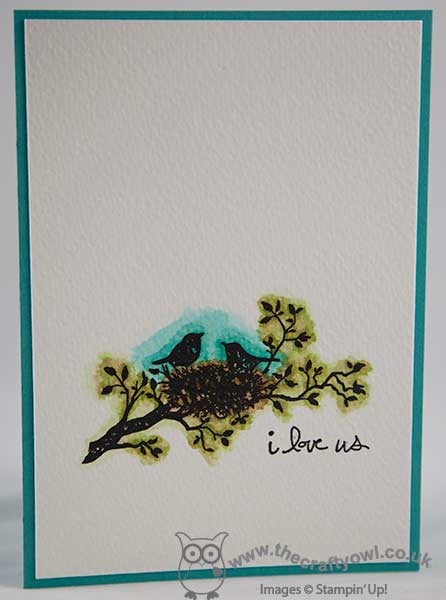
I stamped both the bird image and the sentiment (from the retired 'Good Greetings' stamp set) in versamark and heat embossed in black - this has a lovely sheen in real life - onto watercolour paper and then using my aquapainter, I picked up the inks in the challenge colours (I substituted Pear Pizzazz for Kiwi Kiss as I don't have this retired colour) and simply coloured in a 'halo' effect behind the silhouette image. I then adhered my finished piece to a base of Bermuda Bay cardstock. I think this will make a lovely anniversary card for my box - my own wedding anniversary doesn't come round again until next February; now that's what I call organised!
Right, that's me done for today - I have some admin to crack on with, dinner to prepare and a large basket of ironing to do - well, at least the sun is shining! Back tomorrow with another project; until then, happy stampin'!
Stampin' Up! Supplies Used:
Feel Goods Card:
World Of Dreams I Love Us card:
f3038991-b9b1-41ed-8325-b1c3ab29bd9e|0|.0|96d5b379-7e1d-4dac-a6ba-1e50db561b04
Tags: Feel Goods, So You, Single Stamps, Shop online, Stampin' Up, Stampin' Up Card, Stampin' Up Card ideas, Stampin' Up Supplies, Chalkboard, World Of Dreams, Watercolouring, Good Greetings
Cards | Stamping
by Joanne James30. December 2014 21:15I've had a great work day today and managed to fit in some quality crafting time, so amongst other things I have a Happy new Year card to share with you today that was inspired by this week's sketch over at The Paper Craft Crew:
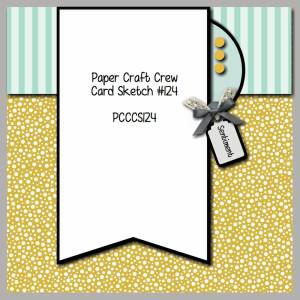
Here is the card I created:
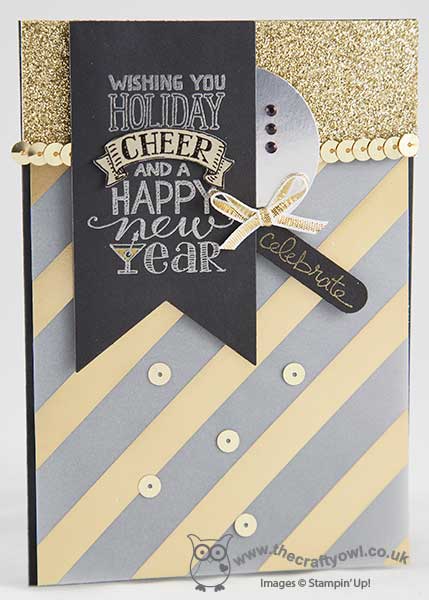
For a new year celebratory card some glitz and glamour were definitely the order of the day, so I layered a number of gold and sliver elements - glimmer paper, silver foil, sequins and gold vellum and topped with a silver embossed black pennant cut with my Banner framelits. The stamp I used is from the versatile 'Mingle All The Way' set from the Autumn-Winter Seasonal Catalogue; this set along with many others, is only available until January 5th when the catalogue ends, so if it's still on your wish list then don't leave it to late to order. I created a popped-up banner for the word 'cheers' having heat embossed this section in black on brushed gold cardstock, then cut it out and adhered with dimensionals. Some gold ribbon, a trio of rhinestones coloured with a black permanent marker and done!
We are having our traditional James family day on New Year's Day so I will be taking this card along with me for my mother-in-law; I'm hoping it will go some way to make up for the lack of Christmas card!
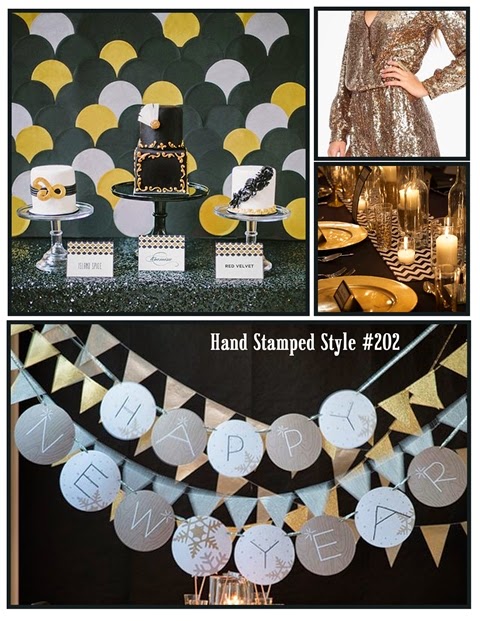
I'm also linking up to the new year challenge over at Hand Stamped Sentiments where this is the challenge inspiration photo:
Back tomorrow with a special 'extra' post for the lovely ladies over at Colour Me...! and a new set of weekly deals. Until then, happy stampin'!
Stampin' Up! Supplies Used:
d600dfff-3a81-4820-8707-902d51f6c8dd|0|.0|96d5b379-7e1d-4dac-a6ba-1e50db561b04
Tags: Banners Framelits, Big Shot, Mingle All The Way, New Year, Good Greetings, Shop online, Stampin' Up, Stampin' Up Card, Stampin' Up Card ideas, Stampin' Up Supplies, circle punch
Cards | Stamping
by Joanne James17. December 2014 09:30It's Wednesday and time for my last challenge as a designer over at Colour Me...! It has been a great 6 months working with these lovely ladies and the various colour palettes week on week and I would like to say a big 'thank you' to Tara and Hayley for the opportunity and to my fellow designers, Claire Broadwater, Julia Altermann and Sherrie Mannion and the various monthly guest designers for their collective inspiration. So we are ending the year with a playful colour palette with a distinctive festive feel:
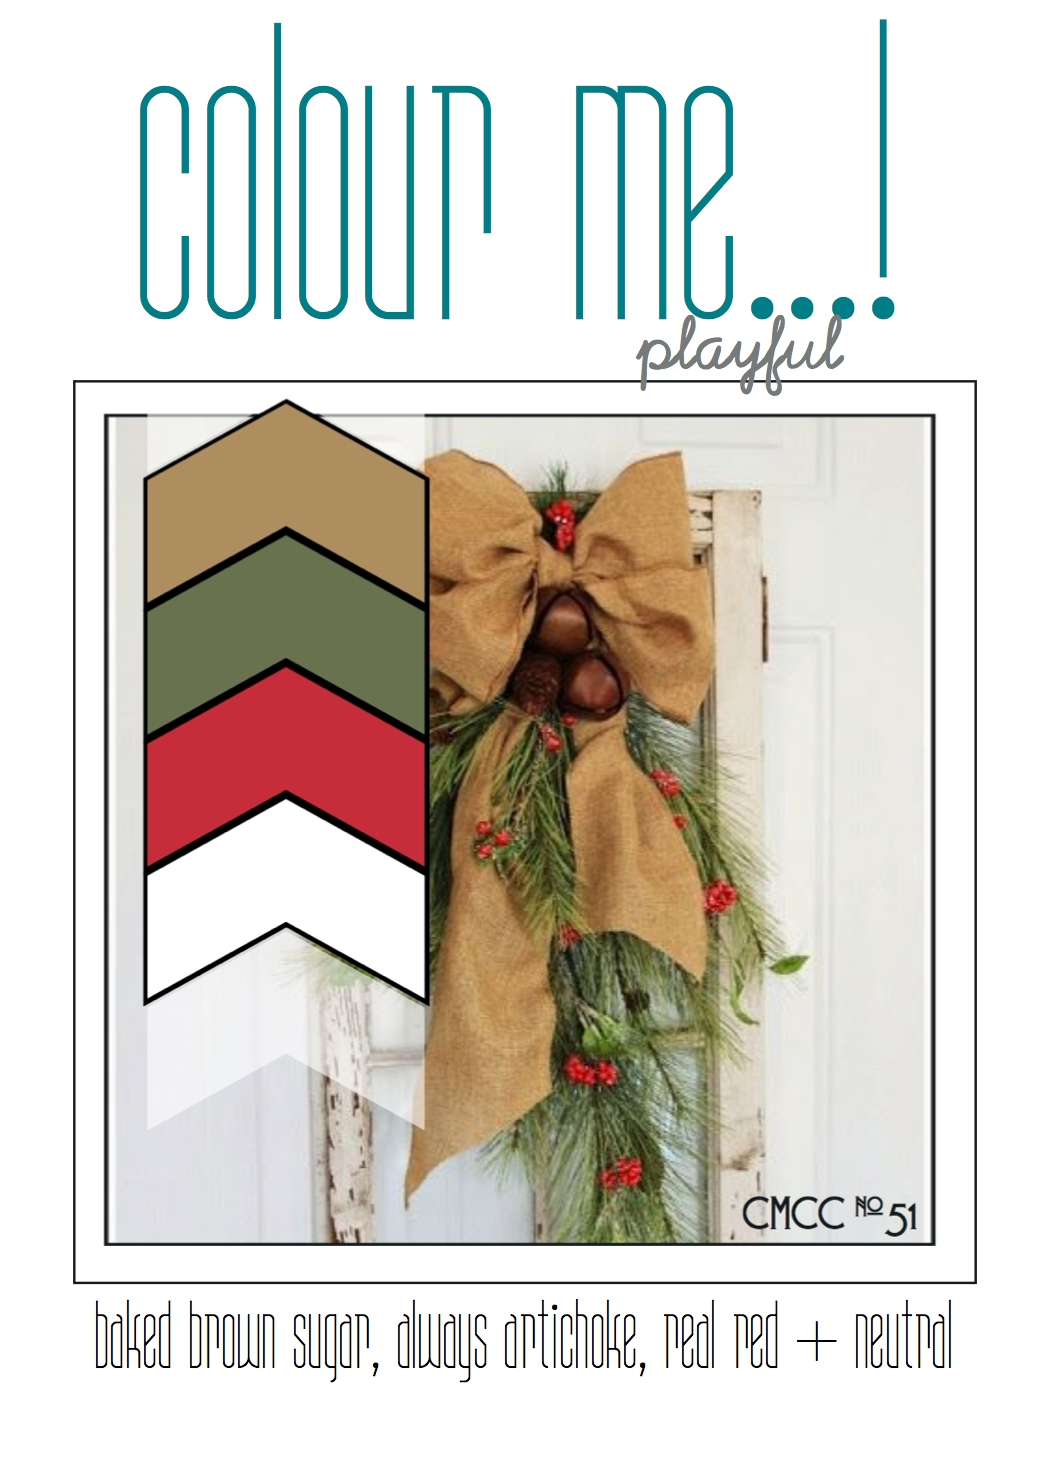
I used this week's sketch over at Mojo Monday as the inspiration for the layout of my card and decided to stick with the festive feel of our inspiration photo to make another Christmas card:
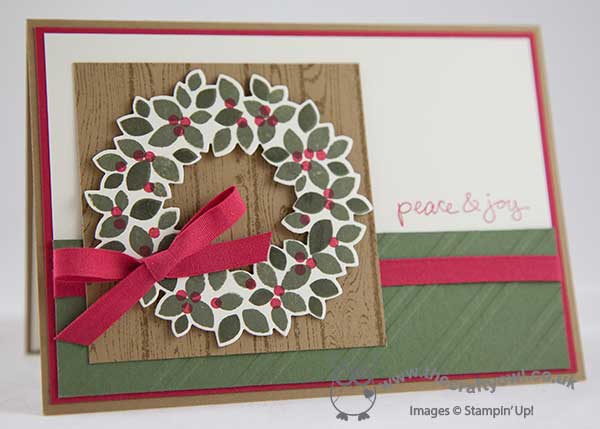
I used Baked Brown Sugar for my base with a mat of Real Red, then a split panel of Very Vanilla and Always Artichoke, the bottom layer of which I embossed with the Stylish Stripes TIEF. I stamped my Good Greetings sentiment onto the vanilla layer in red (this set is now available on the Year End Closeouts Clearance Rack if you want to pick up a bargain!). I stamped a piece of Baked Brown Sugar with the Hardwood stamp to create the background for my wreath, then stamped my wreath in Always Artichoke with red berries and cut it out with my wreath framelits and popped it up on a couple of dimensionals. To finish, I added a ribbon and bow in Real Red Cotton Ribbon.
Feel free to leave a comment on today's card, before hopping over to check out the amazing cards by the rest of the Colour Me...! team:
We look forward to seeing your playful creations - what does this palette inspire you to create?
Back tomorrow with another project; until then, happy stampin'!
Stampin' Up! Supplies Used:
8b2fffcb-a48f-4827-972a-8c4d72487220|0|.0|96d5b379-7e1d-4dac-a6ba-1e50db561b04
Tags: Christmas, Good Greetings, Wonderful Wreath Framelits, Wondrous Wreath, Shop online, Stampin' Up, Stampin' Up Card, Stampin' Up Card ideas, Stampin' Up Supplies, Clearance Rack, Colour Me...!, Hardwood
Cards | Stamping
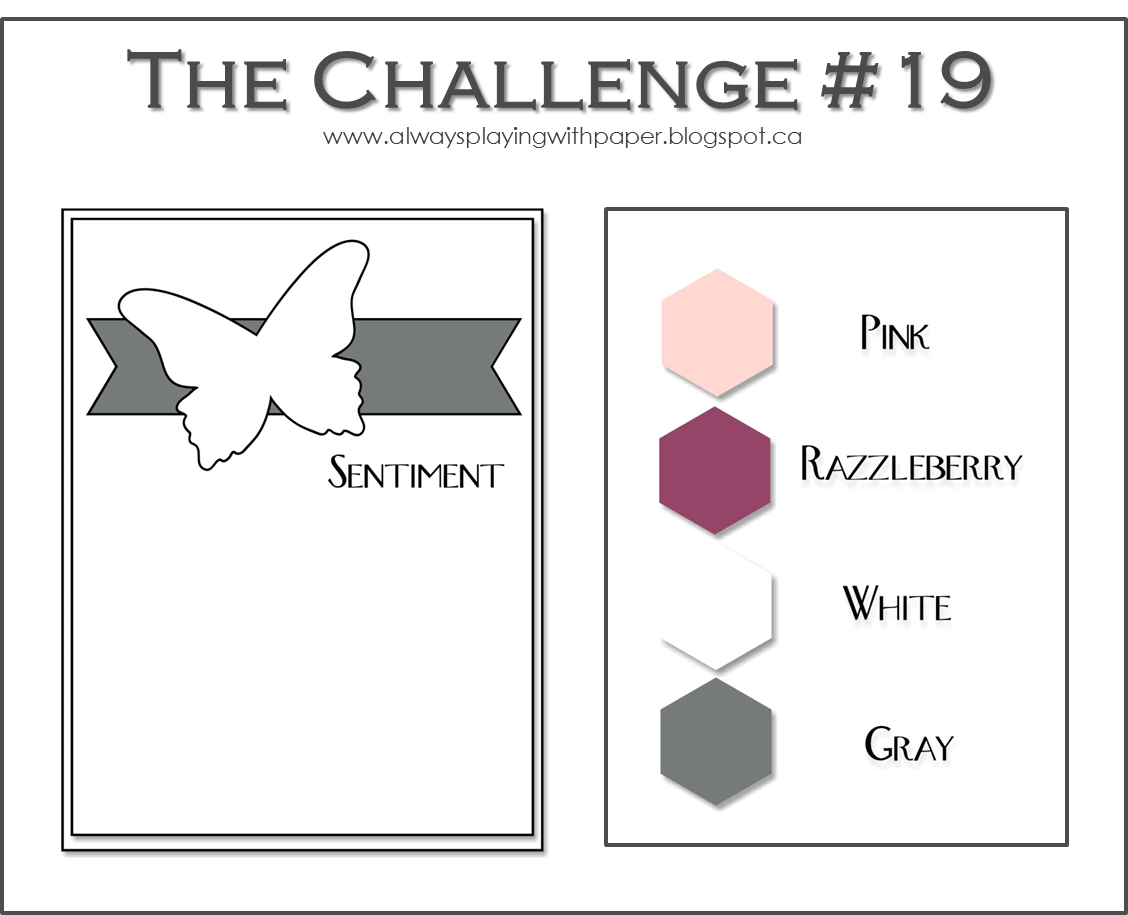
by Joanne James25. November 2014 09:36Today's card is for another couple of challenges: I'm having a second entry over at The Challenge, this time using the sketch, and also this week's colour challenge over at Create With Connie and Mary, where this palette of rich autumnal colours was just too good to pass up:
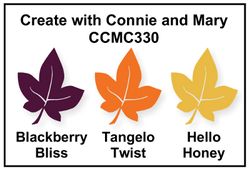
This weekend my American friends will be celebrating Thanksgiving; whilst it's not something we celebrate in the UK, we all have something to be thankful for and today's sketch and colours gave me the perfect opportunity to have a little go at something I've been wanting to do for a while and since I know I have lots of American and overseas blog readers, this one is for you! Here is today's card:
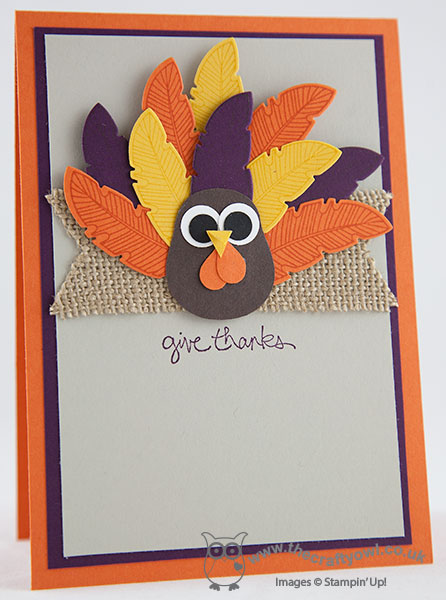
A punch art turkey - how cute is he?! I've seen lots of different punch art turkeys on Pinterest and wanted to have a go at creating one using the Four Feathers stamp set and co-ordinating framelits for the tail. The sketch layout is perfect for my card, as with such a detailed turkey there really isn't room for a lot else! I used Tangelo Twist for my card base with a mat of Blackberry Bliss, then followed this with a layer of Sahara Sand as my neutral, to really allow my turkey centre stage. I stamped a number of the small feathers in each of the challenge colours onto the same colour cardstock for a tone-on-tone look, and fanned them out in two layers for the turkey's tail. The turkey's body is the body of the owl punch, in Early Espresso with the ears and feet removed, and his jowls are a punched heart, cut in half and overlaid on top of each other. I placed a piece of burlap behind my turkey to add a little rustic texture then stamped my sentiment directly onto the card base. I'm hoping Lesley will forgive me the centralised sentiment; I spent so long fussing over my turkey, i didn't revisit the sketch before I stamped and centralised my sentiment rather than set it off to the side, as suggested. Note to self - make a final check before you stamp!
I hope you like today's card - please do visit both challenge sites for more design inspiration from some very talented designers.
Back tomorrow with a triple bill: two creative posts and a new set of Wednesday Weekly Deals!
Until then, happy stampin'!
Stampin' Up! Supplies Used:
6ac2bbea-df92-40d7-a009-aa26c2799b56|0|.0|96d5b379-7e1d-4dac-a6ba-1e50db561b04
Tags: Autumn, Fall, Four Feathers, Feathers Framelits, Owl Punch, Good Greetings, Punch Art, Thanksgiving, Shop online, Stampin' Up, Stampin' Up Card, Stampin' Up Card ideas, Stampin' Up Supplies
Cards | Punch Art | Stamping
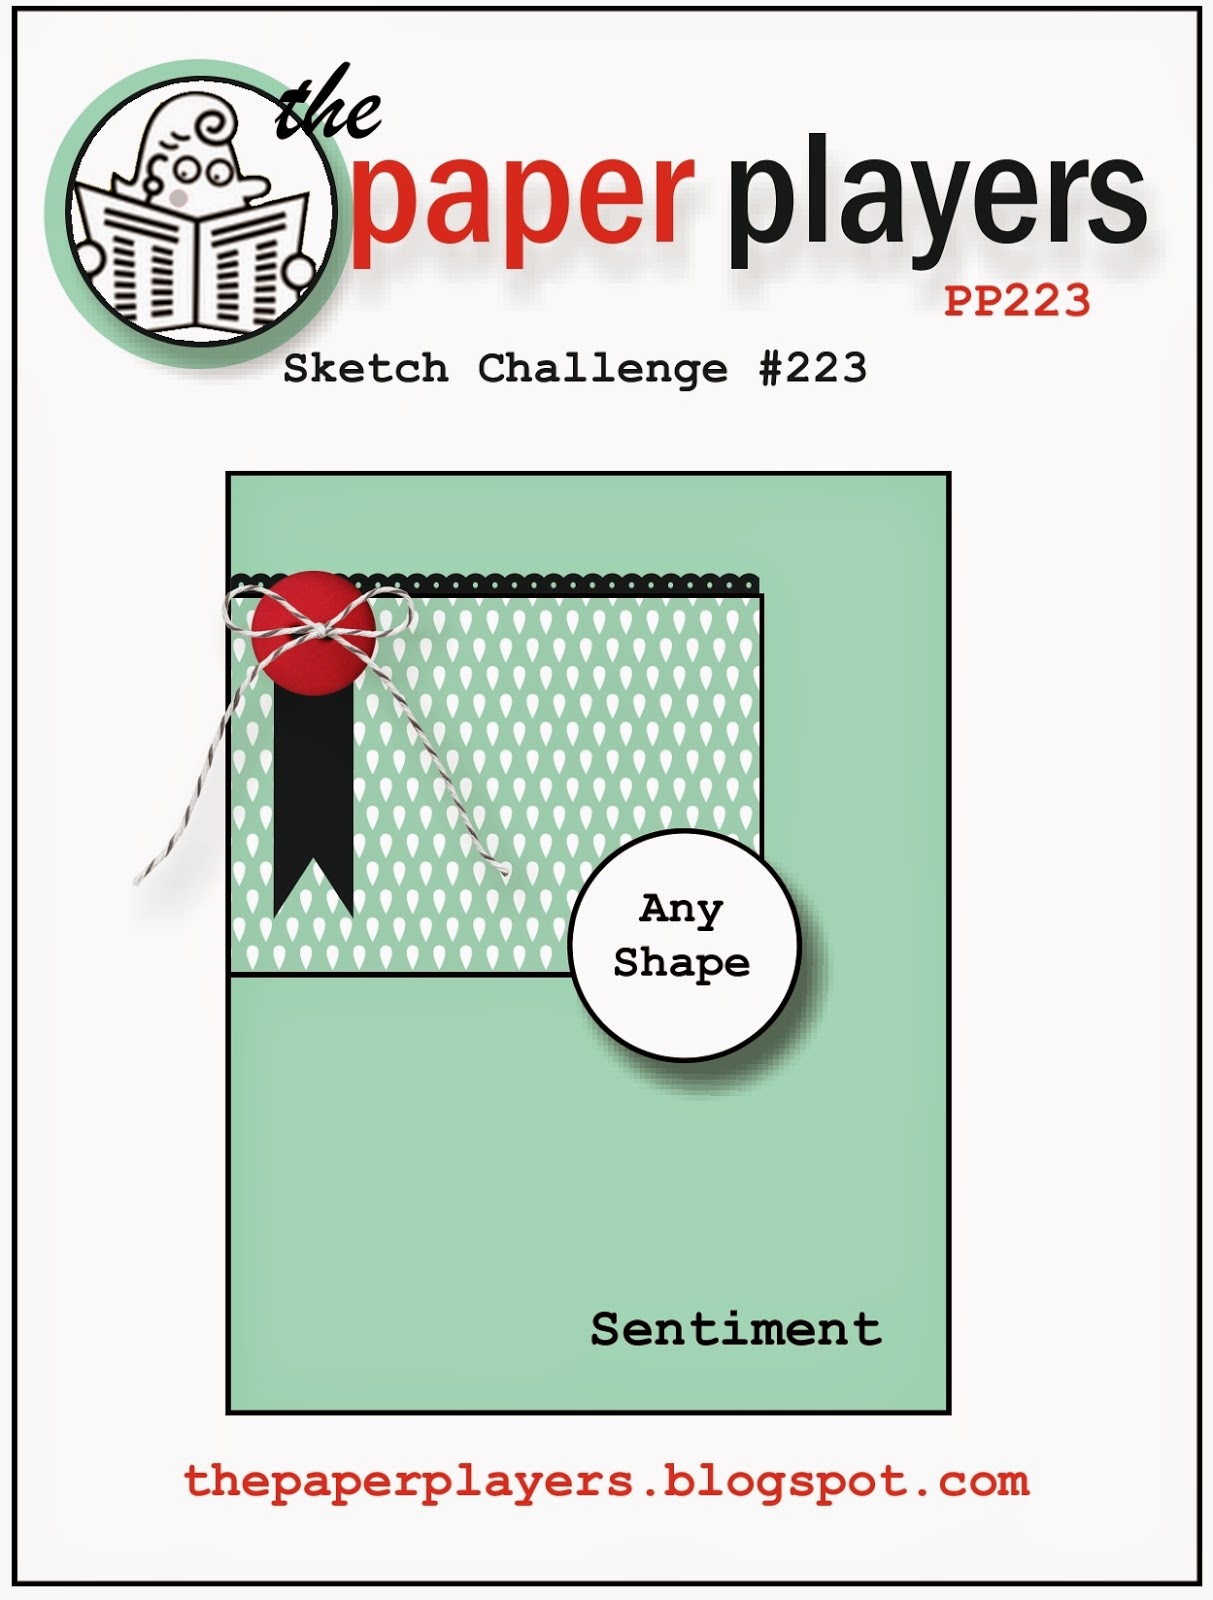
by Joanne James23. November 2014 07:00It's Sunday and time for another challenge over at The Paper Players where this week LeAnne has a great sketch for us:
Sketch challenges are my absolute favourite and I had tons of ideas for this one; you may see some of the others later this week, but for today I'm sharing this Christmas card featuring some of my favourite Nordic Noel designer series paper:
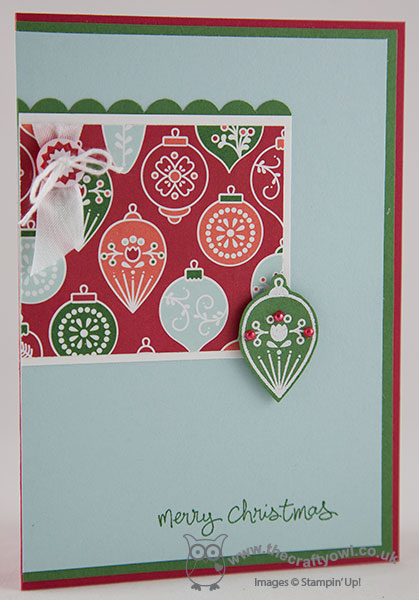
I kept my layout really simple as the paper is quite busy, but used lots of layers to incorprate the colours in the DSP. I added a piece of white seam binding ribbon tied with some baker's twine and a Nordic Noel button and to the bottom opposing corner a co-ordinating ornament in Garden Green that I stamped in Versamark and heat embossed in white, with a trio of pearls coloured with my Cherry Cobbler Blendabilities for effect. A sentiment from 'Good Greetings' finishes off my card.
I'm off to hockey and then have a date with an overflowing basket of ironing this afternoon. If you have something altogether more fun lined up and have time for a spot of crafting, then check out the cards by the other Paper Players designers this week for some great inspiration and then see what you can come up with? We would love to see you in the gallery this week.
Back tomorrow with another project; until then, happy stampin'!
Stampin' Up! Supplies Used:
c6bbecce-1fdc-4b57-8380-5796a73e64eb|0|.0|96d5b379-7e1d-4dac-a6ba-1e50db561b04
Tags: Scallop Trim Border Punch, Christmas, Nordic Noel, The Paper Players, Stampin' Up Supplies, Stampin' Up Card ideas, Stampin' Up Card, Stampin' Up, Shop online, Good Greetings, Good As Gold Card Kit
Cards | Stamping
by Joanne James15. November 2014 20:47Today I'm sharing my card for this week's Merry Monday Christmas Card Challenge, where this week the challenge is to create a Christmas card with ornaments that are sliver/grey and blue:
I went for a little 'something old, something new' for today's card: I had a piece of last year's Winter Frost DSP on my desk, so decided to combine it with a couple of ornaments from this year's Cheerful Christmas set for today's card:
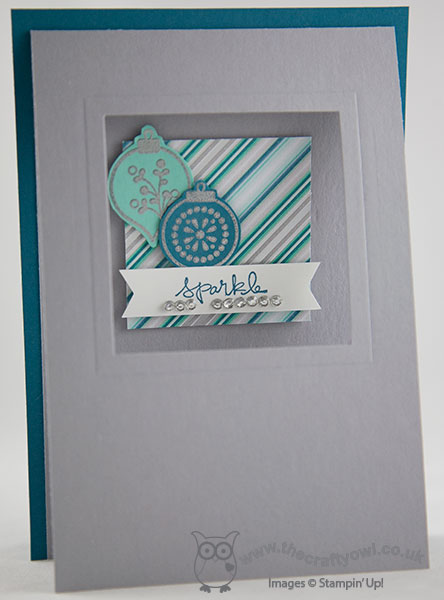
I used a single piece of Island Indigo to back my folded base of Smoky Slate and cut a square out of the front using my Big Shot and Square framelits, using the next size up to create an embossed frame. I used a square of Winter Frost DSP inside the framed area, and added a couple of baubles, one in Coastal Cabana and one in Island Indigo, both of which I stamped in Versamark and heat embossed in silver then fussy cut out with my paper snips. I popped one of on with a glue dot and the other with a dimensional and finished with my sentiment banner, which I finished with a row of tiny rhinestones for a little extra sparkle.
That's all from me for today; back tomorrow with my Design Team card for The Paper Players, where Ann has a new themed challenge for us. until then, happy stampin'!
Stampin' Up! Supplies Used:
81865de4-19fa-4615-bc4d-1a2c8ee31db5|0|.0|96d5b379-7e1d-4dac-a6ba-1e50db561b04
Tags: Big Shot, Cheerful Christmas, Christmas, Good Greetings, Winter Frost, Shop online, Stampin' Up, Stampin' Up Card, Stampin' Up Card ideas, Stampin' Up Supplies, Embossing
Cards | Stamping
by Joanne James13. November 2014 20:10Today I'm sharing my card for this week's challenge over at Less is More, where the focus for this week's one layer challenge is a 'starry, starry night'. I was aiming for an early LIM entry this week and this post was originally scheduled for Tuesday, but best laid plans and all that .... So two days later, here it is:
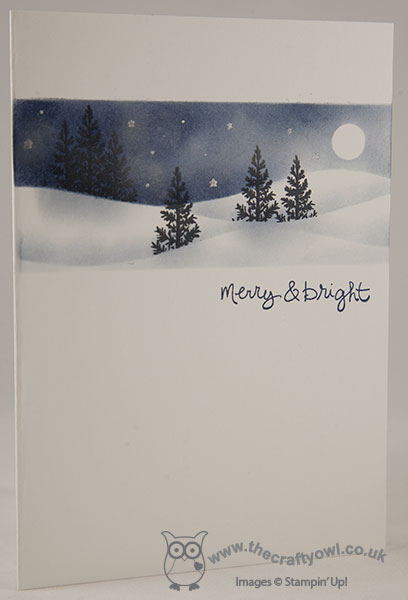
So how did I create today's card? Well, I've been wanting to create a sponged snowy scene for a while, so this card was the perfect opportunity. I masked off a horizontal panel, added a masked circle for my moon and then created a 'hill' mask to create my landscape itself. I sponged in my sky using Night of Navy ink and used the same colour to highlight the edges of the snow dunes and some subtle tree shadows (I did this bit after I stamped in the trees). Once I'd created my snowscape, I used the tip of the pine tree from the Festival of Tree stamp set to add in my trees. I stamped them in Memento Black ink, being careful to keep my mask in place each time so that the trees were behind the surface of the snow. To finish, I used some Encore silver ink to sponge in some tiny stars using a stencil I created with my Confetti Stars punch, along with a few dots added with my Silver marker. I also lightly sponged some Encore Silver onto some areas of the sky to add a subtle sheen. To finish, I stamped my sentiment from the 'Good Greetings' stamp set beneath my scene. Here's a closeup of the scene itself so that you can see it in more detail:
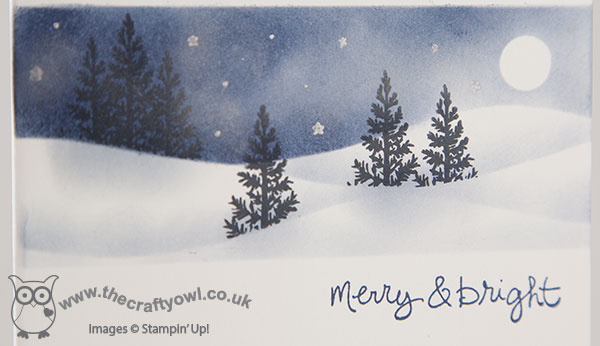
For such a 'blue' card, this really is very pretty and for a one layer card has so much going on. I think I might have to make a few more like this!
Back tomorrow with another card; until then, happy stampin'!
Stampin' Up! Supplies Used:
998fba23-8838-4f0a-a0f9-7baa554c0316|0|.0|96d5b379-7e1d-4dac-a6ba-1e50db561b04
Tags: Christmas, circle punch, Confetti Stars Punch, one layer cards, Festival of Trees, Good Greetings, Shop online, Sponging, Stampin' Up, Stampin' Up Card, Stampin' Up Card ideas, Stampin' Up Supplies
Cards | Stamping
by Joanne James5. November 2014 10:00It's Wednesday and time for this week's challenge over at Colour Me...! where we have a monochromatic palette for you to work with this week:
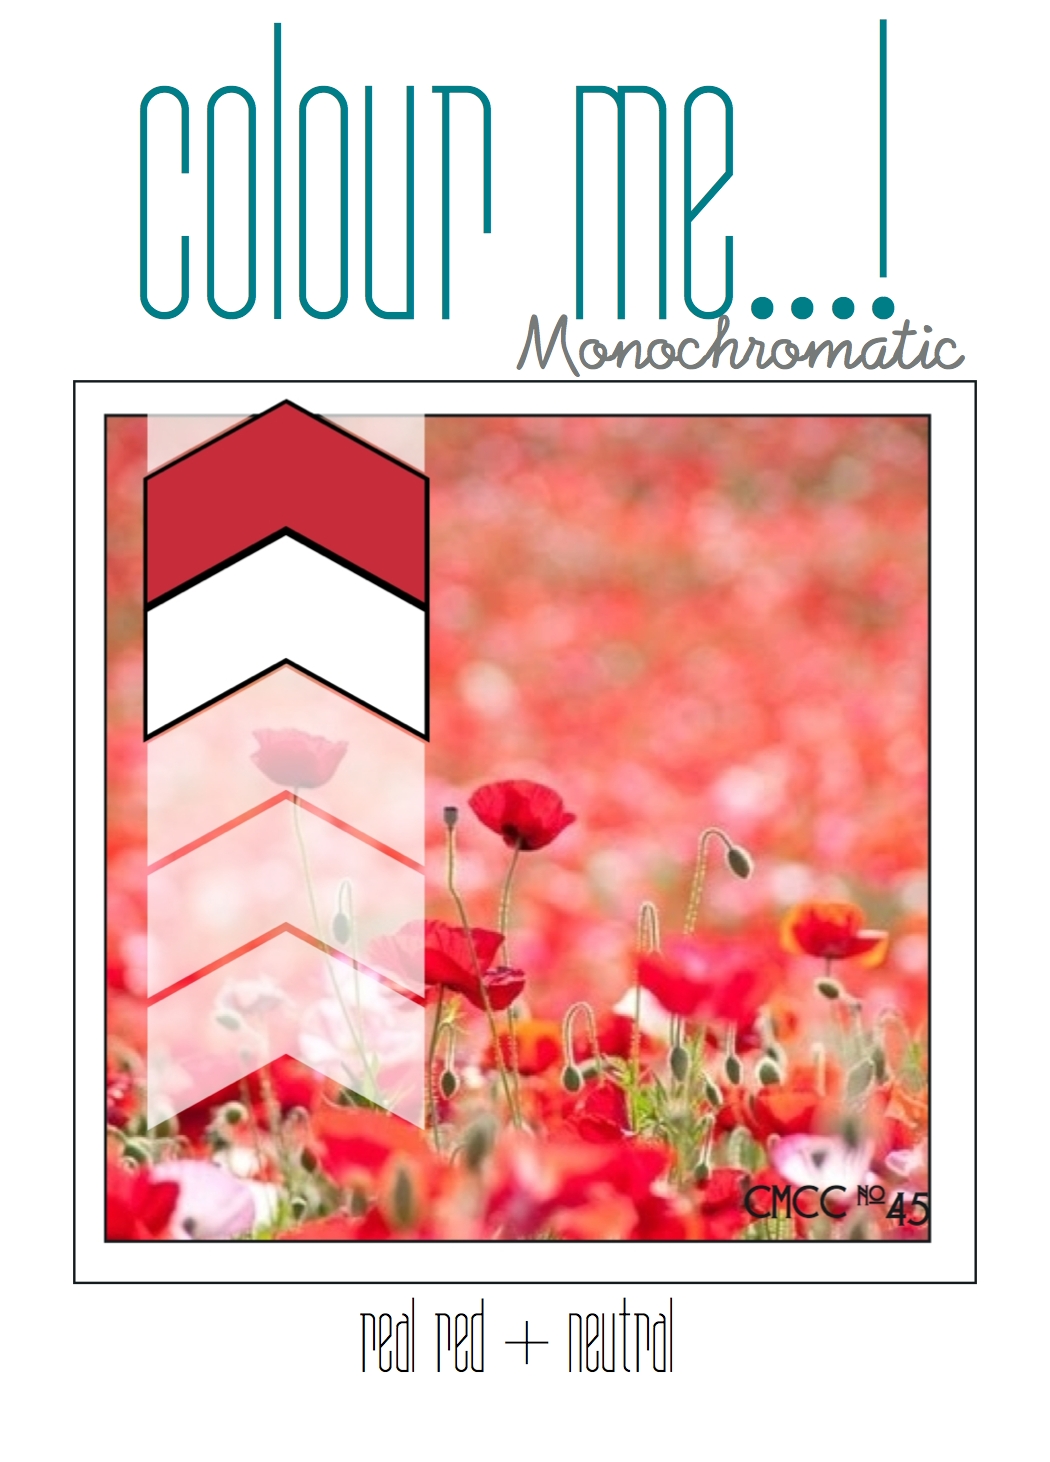
I decided to go with something CAS and festive with this week's feature colour of Real Red - here's my card:
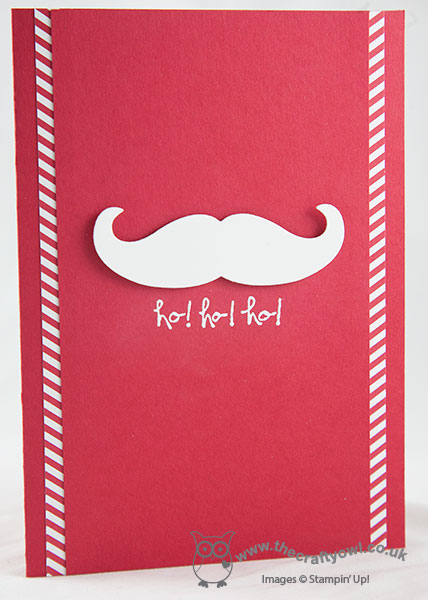
I used Real Read as my card base, then used some of the red chevron pattern paper from the Brights DSP stack down the centre of my card, which I then overlaid with another panel of Real Red, mounted on dimensionals. I cut a white Santa mustache using the Mustache Framelit and my Big Shot and adhered this using dimensionals and stamped my 'Ho, ho, ho!' sentiment from the 'Good Greetings' Stamp set in Versamark and heat embossed in White embossing powder to finish. Simple, yet effective, I think - I am surprised at just how much I love my Mustache framelit!
So what do you think? Feel free to leave a comment on today's card, before hopping over to check out the amazing cards by the rest of the Colour Me...! team:
We look forward to seeing your creative creations - will you go festive or choose something completely different?
I have another busy day today, with a trip to the hairdressers and Parent's Evening at school amongst other things. Back tomorrow with another project; until then, happy stampin'!
Stampin' Up! Supplies Used:
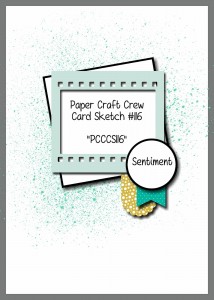
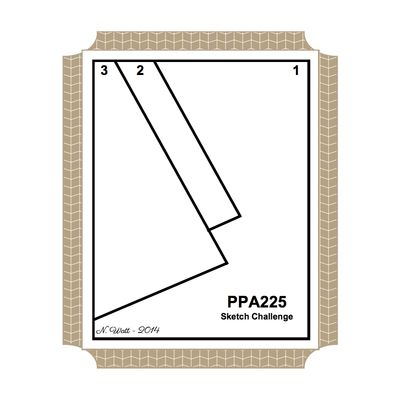
by Joanne James2. November 2014 07:00It's Sunday and time for a new challenge over at The Paper Players, where this week LeAnne has an interesting challenge for us:
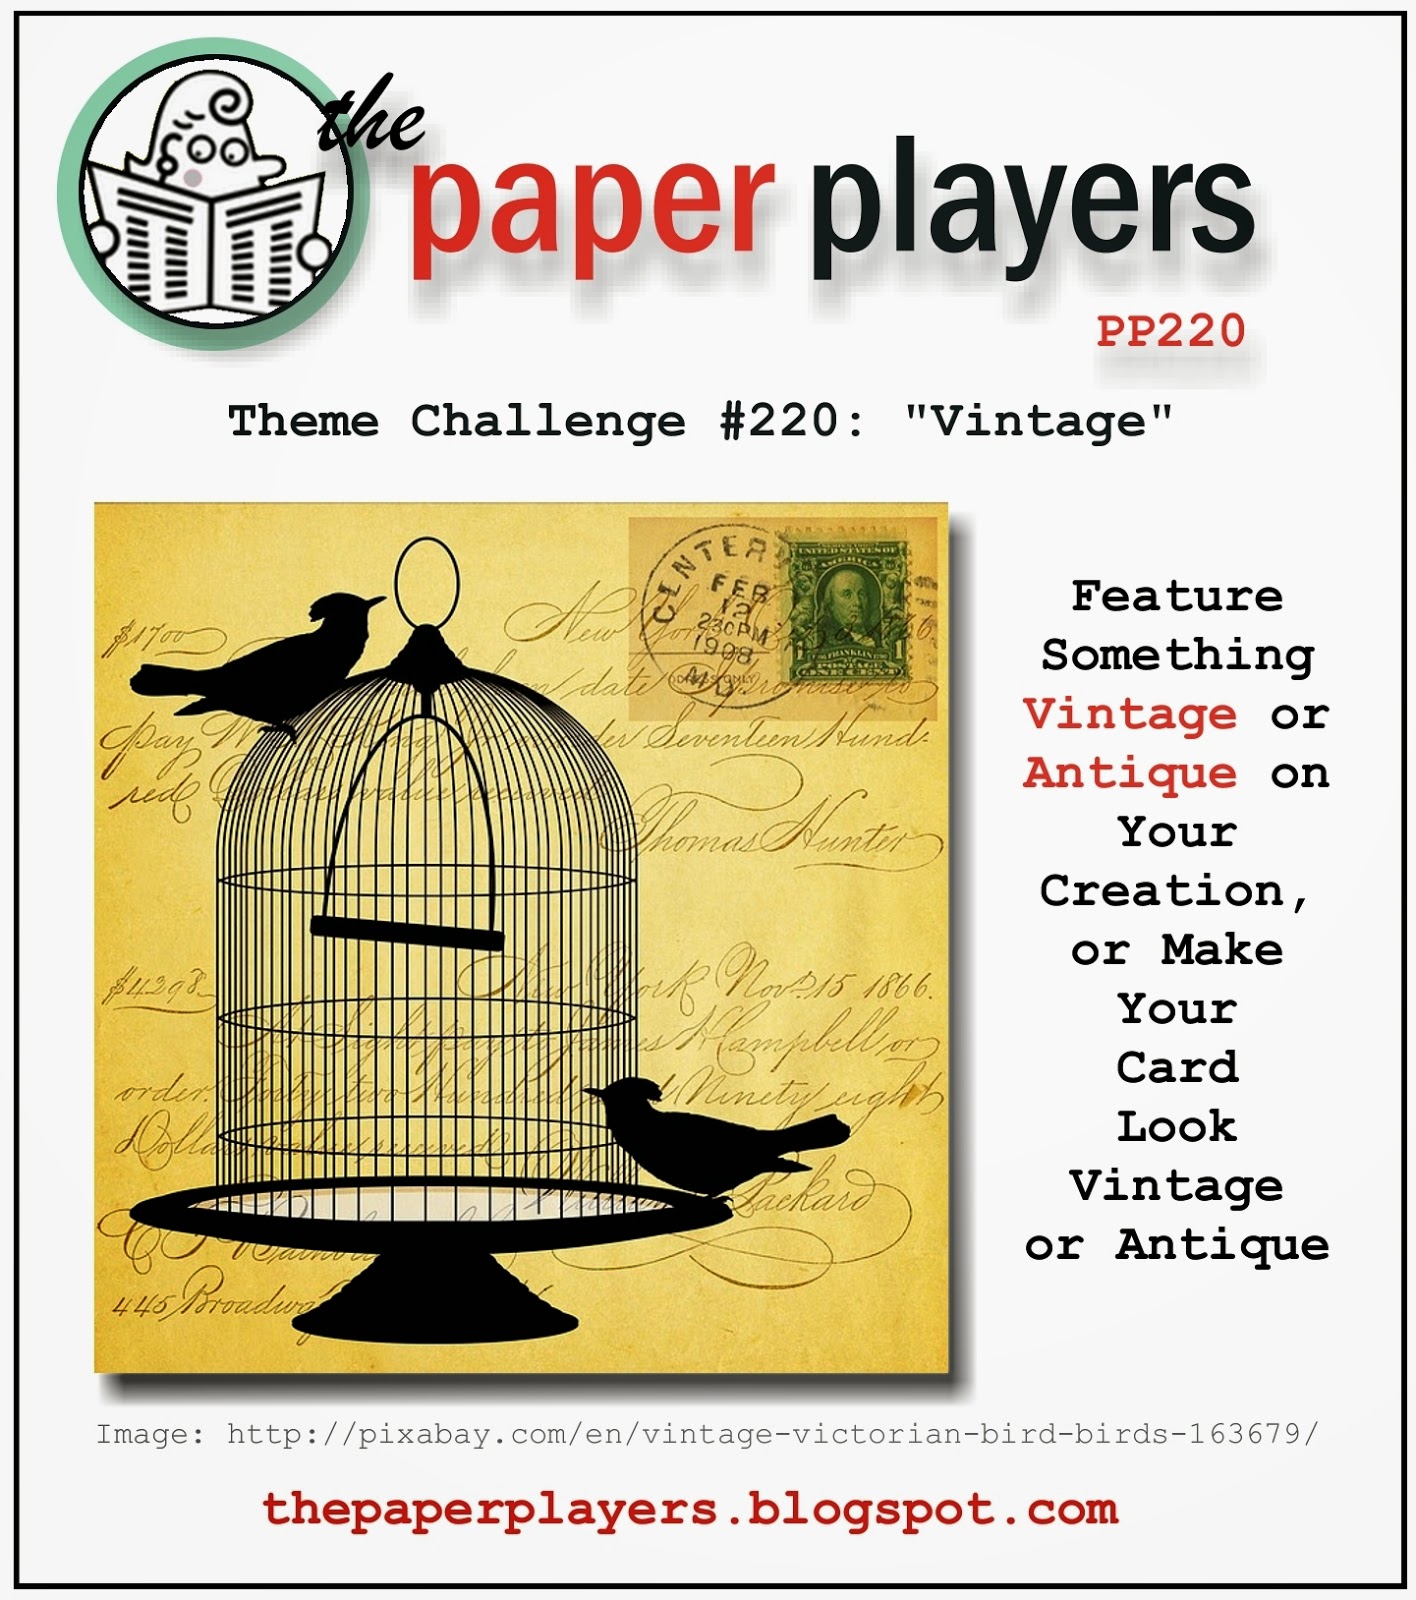
I had a minor panic when I saw this week's challenge, for two reasons: firstly, vintage as a style is not my forte, and secondly, when I looked through my (extensive!) stamp collection, it was obvious I didn't have much in the way of vintage stamps either!! In fact, I only have one set that looks even remotely 'vintage' and that's my Traveler set - at that moment though, I relaxed. I love this set and suddenly remembered an idea I'd had way back when it first came out in July. I wondered what the vintage steam train would look like converted into the Polar Express, the famous train in the Christmas movie starring Tom Hanks - well wonder no more, here's my card:
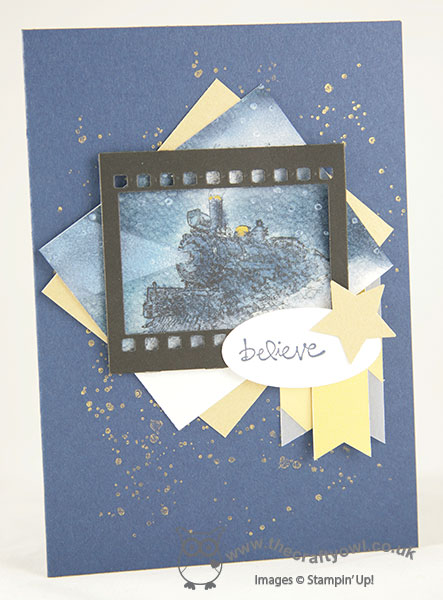
I used Night of Navy for my card base, stamped with some grunge spatters from Gorgeous Grunge in Gold Encore ink, and matted my focal image with an offset piece of Brushed Gold cardstock. I stamped my image in black Stazon on watercolour paper, then sponged in my sky using Night of Navy and a little Pacific Point. I added more colour to the train using my Aquapainter and a touch of gold, then I used Whisper White kraft ink for the snow on the ground, the smoke from the train's funnel and I masked off an area and sponged white for the beam of light coming from the front of the train. I also stamped some falling snow using the snow stamp in the 'White Christmas' set. I wanted to frame my image with the 'On Film' framelit as per the sketch from The Paper Craft Crew because I wanted the connection to the movie, but in truth it does crop the image a little small and you lose some of the detail. I will probably make another version of this without such a tight crop, but as I was racing towards my deadline I didn't have time to make another for today so had to go with this one. I do love the overall effect though. The flags are made from striped gold vellum and gold foil, and the sentiment from 'Good Greetings', in keeping with one of the famous straplines from the movie, 'The bell still rings for all who truly believe', which I punched out with a small oval punch and finished with a small brushed gold star.
I hope you like my vintage festive train today; do check out the other design team cards over at The Paper Players - there is, as always, some fantastic inspiration to be found there.
Back tomorrow with another project; until then, happy stampin'!
Stampin' Up! Supplies Used:
b76a2ac7-4489-4a34-a688-887463a380af|0|.0|96d5b379-7e1d-4dac-a6ba-1e50db561b04
Tags: Big Shot, Christmas, On Film Framelits, Good Greetings, Shop online, Stampin' Up Supplies, Stampin' Up Card ideas, Stampin' Up Card, Stampin' Up, Star Framelits, Watercolouring, Traveler, Gorgeous Grunge, The Paper Players
Cards | Stamping
by Joanne James27. October 2014 20:19Happy Monday everyone! I've had a fun day today: made today's blog card first thing, caught up with a friend who's been away for a while, then spent the afternoon with the lovely ladies that attend my monthly card class - there can't be a better way to start my week! I tell you, those ladies are an absolute hoot and there are some real artists amongst them for sure (yes Chris, the reindeer was inspired!!) Pictures to follow on my Facebook page!
We used the Endless Wishes stamp set in my class today, but today's blog card is back on the theme of Halloween - I need to get the use out of my Halloween sets before they get retired for another year! I took my inspiration from the photo over at Fusion, but didn't double up and use their sketch too (I might have another go at this later in the week) - instead I used the rather interesting layout over at Pals Paper Arts:

I knew I wanted to use orange with a touch of black and definitely needed to incorporate the pumpkin in the photo - this is what I came up with:
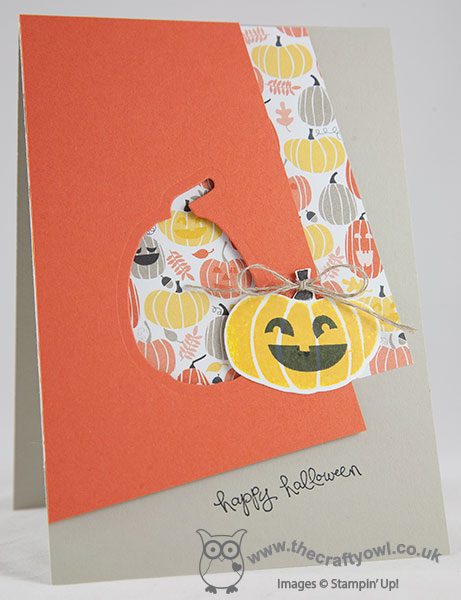
I used Sahara Sand for my card base, and used a piece of the Motely Monsters DSP that is covered with happy smiling pumpkins as my first angular layer. For my top piece, I used a piece of Tangerine Tango cardstock and cut out a pumpkin shape using my Fall Fest framelits, so that the DSP beneath would show through. I then stamped another smaller pumpkin is Crushed Curry onto Whisper White, stamped a face in Memento Black, cut this out with a framelit, tied it with a piece of linen thread and adhered to the edge of the open aperture. I popped this whole section onto dimensionals to give a little extra lift and depth. To finish, I stamped my sentiment from 'Good Greetings' in Memento Black onto the base of my card.
I hope you like today's card; back tomorrow with another project. Until then, happy stampin'!
Stampin' Up! Supplies Used:
c0351d83-e8e2-49f3-9dce-33cb991fade2|0|.0|96d5b379-7e1d-4dac-a6ba-1e50db561b04
Tags: Halloween, Fall Fest, Fun Fall Framelits, Magnetic Platform, Motley Monsters, Shop online, Stampin' Up, Stampin' Up Card, Stampin' Up Card ideas, Stampin' Up Supplies, Big Shot, Good Greetings
Cards | Stamping