Today I'm sharing a special baby card for a very special person! The wonderfully talented and amazing Lesley Croghan, designer and creator of many popular online papercraft challenges, and her husband Corey, are expecting their first child, a little girl. To this end the lovely Lori Turner of Caffeinated Creativity has organised a fabulous blog hop to celebrate the forthcoming new arrival into the Croghan family.

I have participated in many of Lesley's challenges, am a regular reader of her blog, Always Playing With Paper and I am privileged to be a designer with The Paper Players, a challenge that Lesley founded some years ago that is still going strong. I have a lot to thank her for and am thrilled to be participating in this hop to celebrate the arrival of Little Miss Croghan.
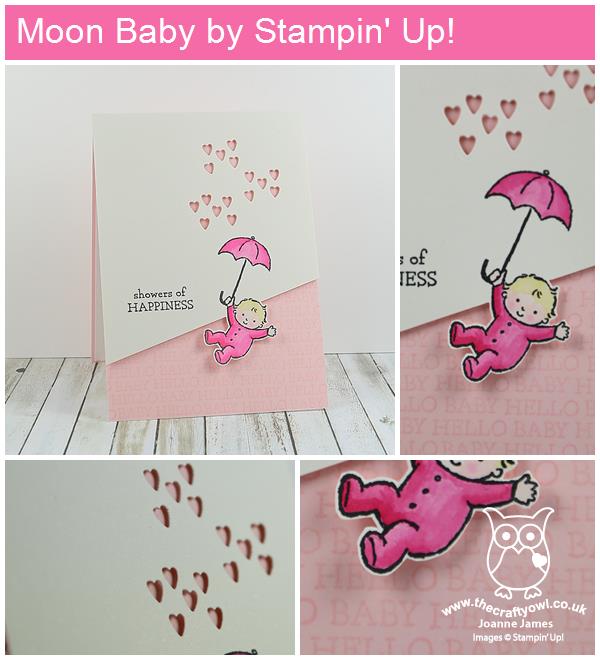
I knew immediately what kind of card I wanted to create - it had to feature one of the cuties from the Moon Baby stamp set:
As my card was going to have to travel from the UK to Canada to reach Lesley, I decided I was best to stick to my clean and simple style. Here's the low-down on today's card:
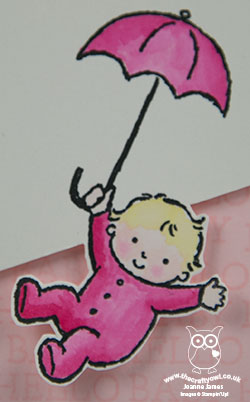
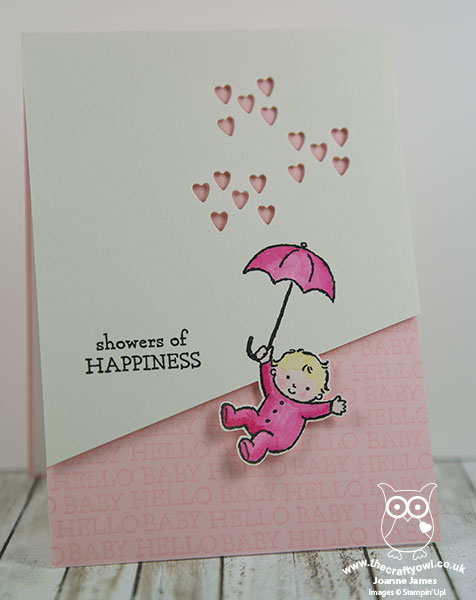
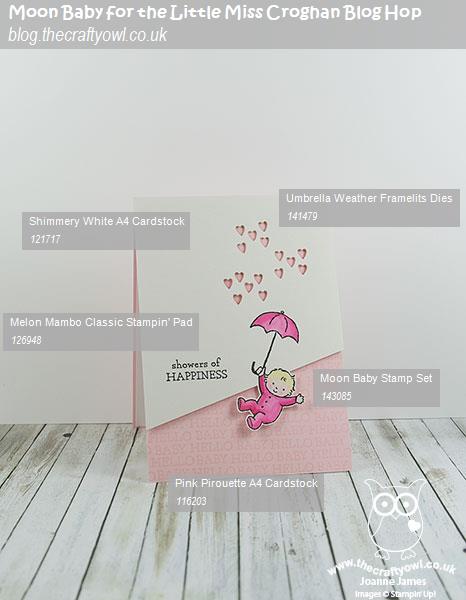
Sugar and Spice and All Things Nice - I just had to go with 'Moon Baby' for my baby card this week - this is such a perfect baby set! You know how I am a fan of partial die cutting and today decided to use my sweet umbrella baby to overhang the top layer of my card for added visual interest. I watercoloured my baby and umbrella in Melon Mambo using my aquapainter to add a pop of colour to my pale pink card.
Hello, Hello, Hello - I decided to use one of the sentiments in the 'Moon Baby' set to create a repeat 'Hello Baby' background panel - a great way to combine the sentiments in the set. I used my stamp-a-ma-jig to get everything nicely lined up and staggered the words on each row to create a uniform pattern.
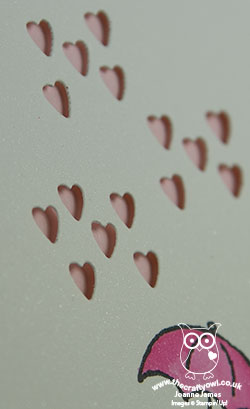
A Shower of Hearts - I felt like my baby needed a shower of something to warrant the umbrella, so decided to use the hearts framelit from the Umbrella Weather set to create my shower. With the pink layer beneath, the little hearts against the beautiful lustre of the Shimmery White top layer look so pretty:
Here is the visual summary of the key products used on today's project for you to pin for easy reference:
You can see all of my 'How To' summaries on my 'How To - Tips and Techniques' Pinterest board in case you've missed any.
There are a huge number of people participating in today's blog hop; you can see the full collection of cards on Lori's blog here and it would be great if you could visit as many of these as possible and leave the owners some love. We have also sent our cards to Lesley for her to open today en masse, so you will get a sense of the wonderful shower of love we sent to the Croghan family this morning!
Enjoy the rest of your day and I'll be back tomorrow with another project for this week's challenge over at The Paper Players. Until then, happy stampin'!
Stampin' Up! Supplies Used: