Today I have a couple of quick posts for you using stamps from the 'Driving By' stamp set, one of the products you can receive FREE with a £45 purchase during the current Sale-A-Bration promotion. For this first one, I made a trio of cards using Linda's sketch over at Freshly Made Sketches - here it is:

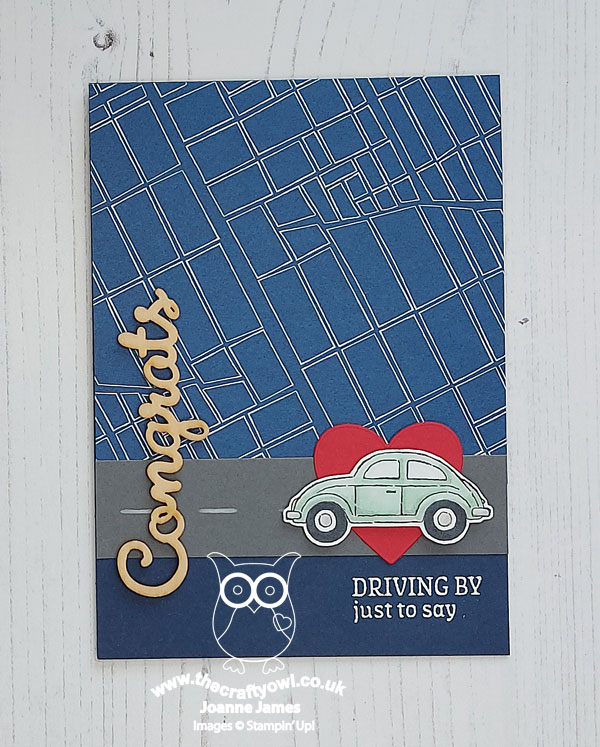
Having pondered those criss-crossed lines on Linda's sketch, I decided to use the horizontal one as a road and the vertical for part of my sentiment. Take a look at my first card and you'll see what I mean:
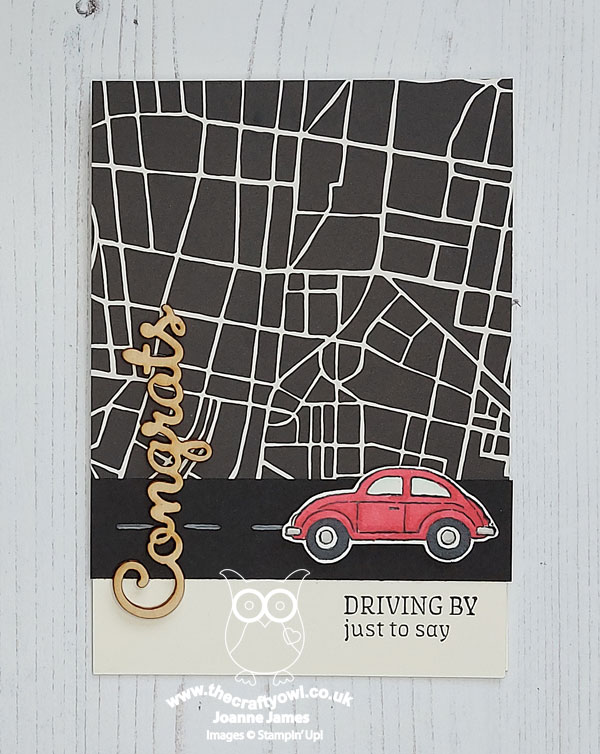
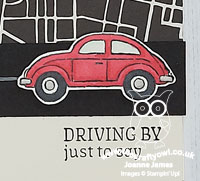
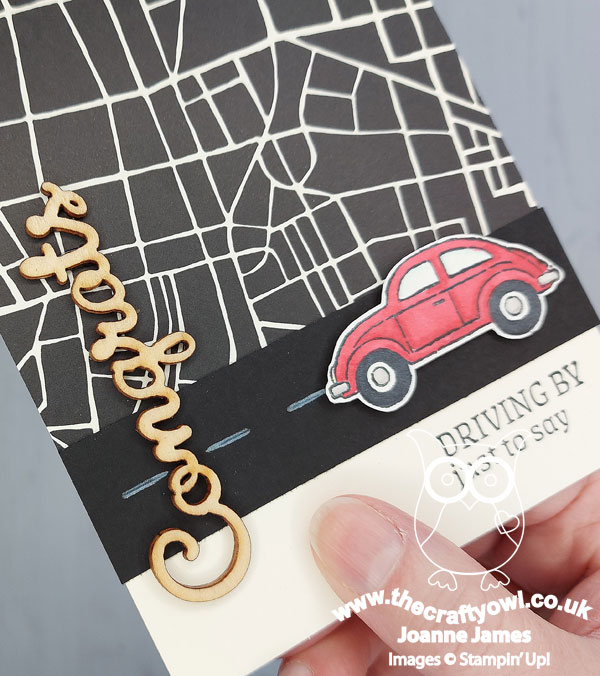
I used a chalk marker to add some white lines down the centre on my road, and stamped my VW Beetle onto either vanilla or white cardstock (this one is on vanilla) and fussy-cut the car, minus the presents that feature on the roof, and coloured it with my Stampin' Blends, before adding to my card with some dimensionals. I stamped the sentiment onto my vanilla cardbase, having masked out the word 'hi' as I wanted to finish my sentiment with my wooden 'Congrats' diecut, which I added last. Check out the dimension that this adds:
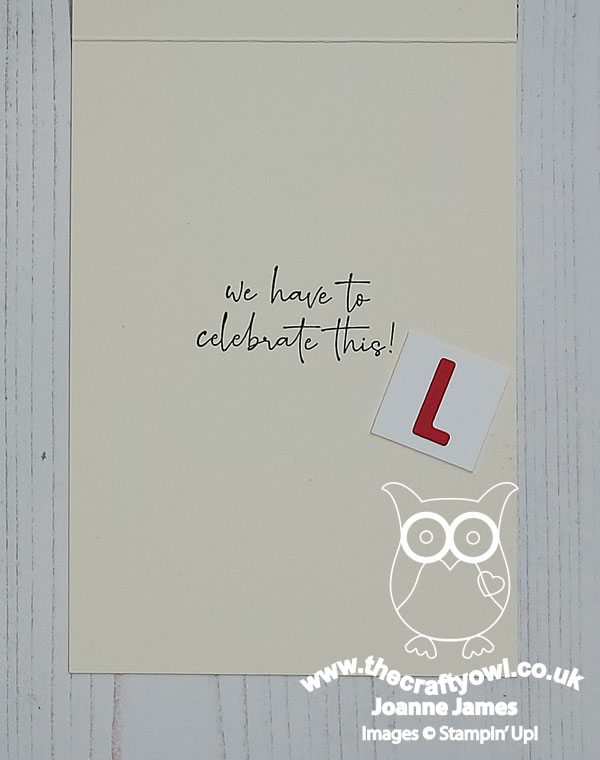
Finally, I added a sentiment from 'Happy & Heartfelt' and a learner (L) plate to the inside of my card to finish:
I liked this layout so much, I created a couple more cards, using different papers. On the one below, I backed my Mint-Macaron car with a red heart (this card will be for my daughter when she passes her driving test - one of her aims in 2022!):
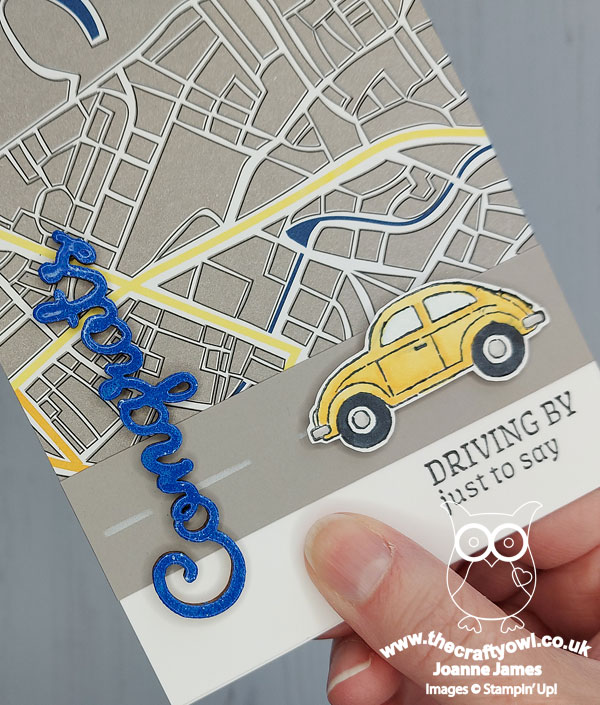
For my third card, I went with a multi-coloured map and a bright yellow car, and I heat-embossed my wooden sentiment with some retired Blueberry Bushel embossing powder for added shine:
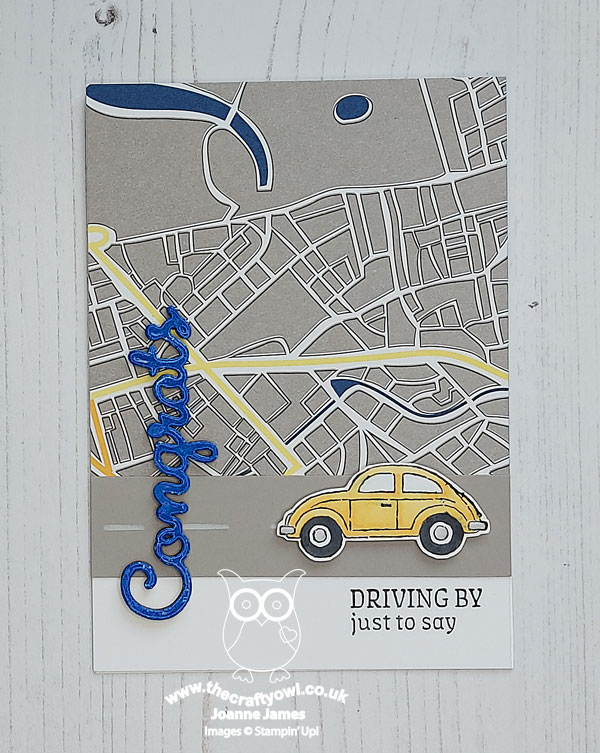
Check out that shine - I love it!
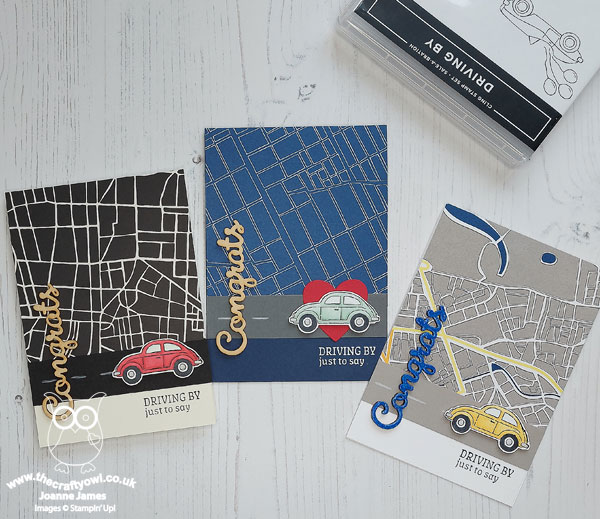
I used up a ton of retired product on these cards - all three of the map papers are from a variety of retired packs, as are the wooden 'congrats' sentiments, however you could substitute a stamped or diecut sentiment and even some of the current vellum layering designs (p.33, mini catalogue) in place of my paper choices. Rebecca will be 17 later this year (where did that time go?!) and suddenly all of her friends have either started learning to drive or will be within the next few months, so I am expecting to need lots of 'Congratulations on passing your driving test' cards and this set is going to get a good workout!
Finally, here's one last picture of all three cards together:
I'm also linking today's cards up over at the Alphabet Challenge blog where they are currently on 'V for Vehicle' - how appropriate!
If you like these cars, check out my next post where I have another card with a totally different theme, using another car from the 'Driving By' Sale-A-Bration stamp set. Until then, happy stampin'!
Stampin' Up! Supplies Used: