Today it's Sunday and time for this week's first challenge of the new year over at The Paper Players! We have three fabulous new guest designers Suzy, Fran and Tara, and this week it's the turn of the fabulous Ann to host and she has a fun theme challenge for us to work with:
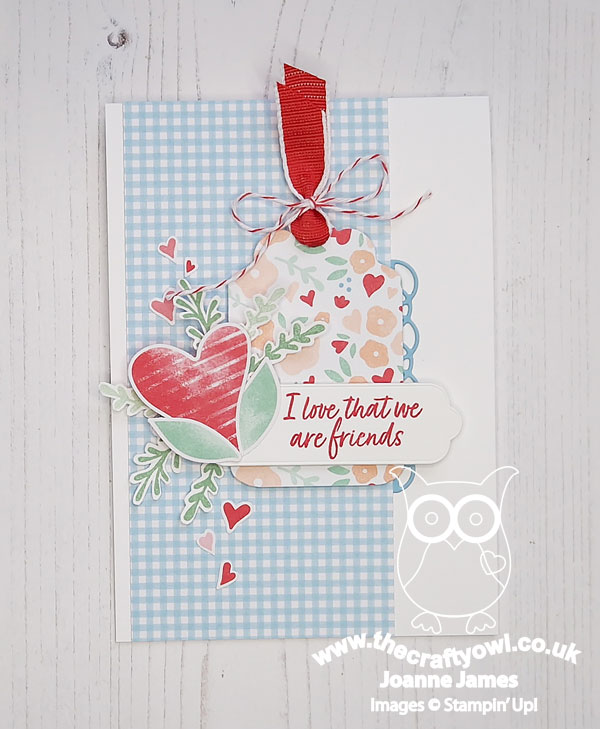
Use a tag on your project! I decided to go all-out with the Country Floral Lane Suite for today's card and use lots of different elements to create a pretty card for a friend - take a look:
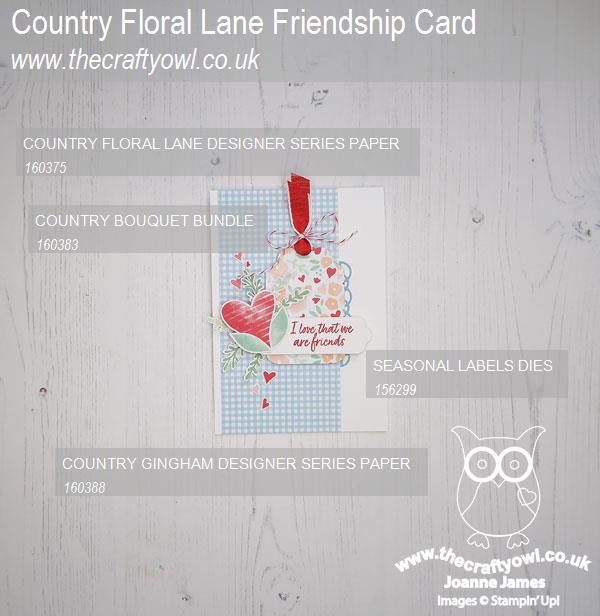
Here's the low-down on today's card:
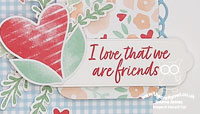
Country Floral Lane - Today's card features both the Country Gingham and Country Floral Lane DSPs, both of which feature in this suite. Hearts, flowers and gingham in co-ordinating colours of Balmy Blue, Sweet Sorbet, Mint Macaron and Petal Pink - what's not to love?!
Seasonal Labels - I made a bespoke tag for my project, using the Seasonal Labels Dies and cutting a straight age across the bottom so that it made a tag as opposed to a label shape. I cut my tag from one of the floral patterns and used it as the base element for the focal point of my card, using an additional (shortened) label from the same set to add my sentiment.
Finishing Touches - I decorated my tag with another heart-shaped flower (you will be seeing a lot of these in coming weeks!), this time punched directly from the Country Floral Lane designer paper and added some foliage from the Country Bouquet set that I stamped and fussy cut, along with a scattering of a few tiny hearts fussy cut from the Country Floral Lane paper:
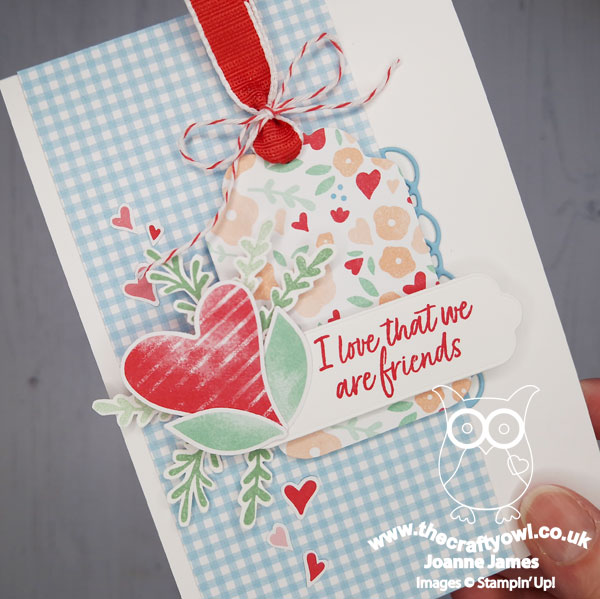
A little (retired) ribbon tied with some in-colour baker's twine complete my tag and card. I love that this set can be used in so many ways and embraces 'love' in the broadest sense. I'm linking today's card up over at SUO Challenges where the theme is Designer's Choice - this is definitely mine!
Here is the visual summary of the key products used on today's project for you to pin for easy reference:
You can see all of my Product and 'How To' summaries on my 'How To - Tips and Techniques' Pinterest board in case you've missed any.
Before you reach for your ink and papers, check out what our amazing team has created to inspire you this week:
The Paper Players Design Team
Here's a quick recap of our challenge rules:
1. Create a new paper project
2. Upload your creation to your blog with a link back to us and provide a direct link to the post featuring your challenge submission.
3. Please link your card to no more than four challenges, TOTAL.
4. Have FUN!
Enjoy your day; nothing special happening here today; it is officially the last day of the school holidays so with the return of the James Juniors to school this week I should see something of a return to a normal schedule. I'll be back tomorrow with another project. Until then, happy stampin'!
Stampin' Up! Supplies Used:
