Happy Saturday everyone - hurrah for the weekend! Today I'm sharing a card that uses the current sketch layout over at Try Stamping on Tuesday that was inspired by the fabulous photo over at The Card Concept:


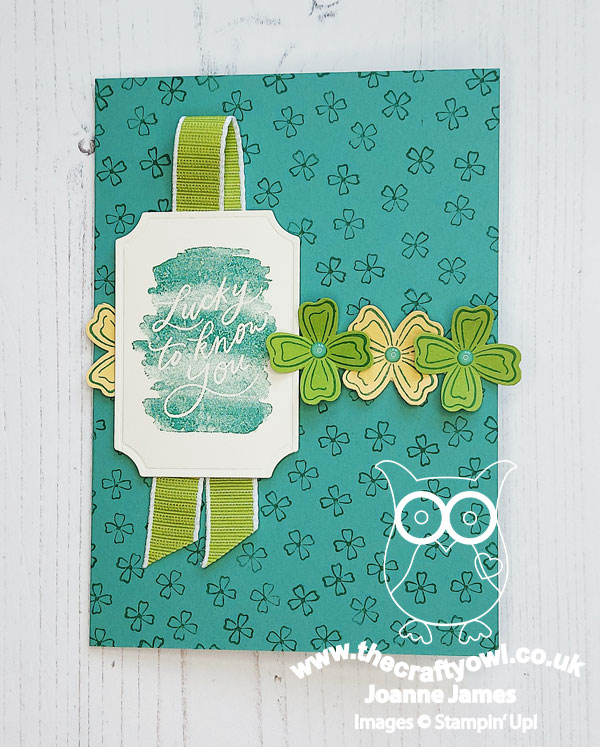
With St Patrick's Day coming up next Thursday, it's easy to see where the team at The Card Concept are coming from with their 'Wearing O' The Green' theme this week. I took a ton of inspiration from the cushion in their photo to create my clean and layered card - take a look:
Here's the low-down on today's card:
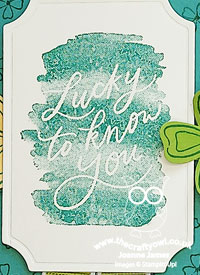
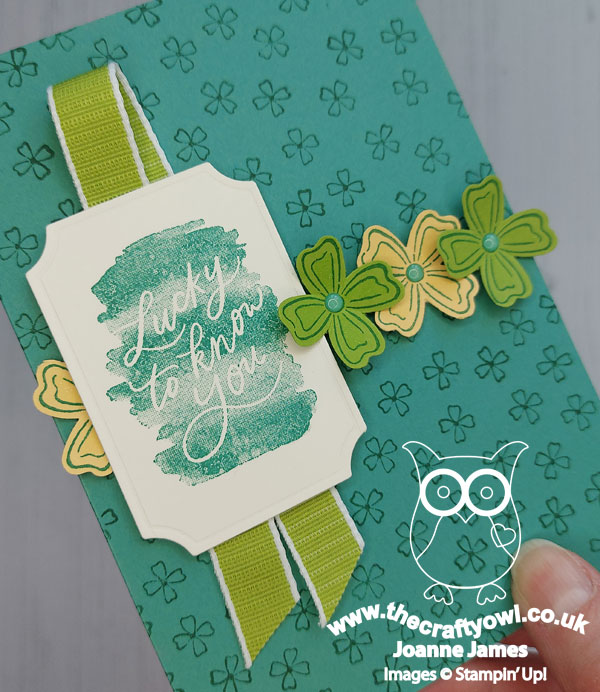
Lucky You - First up - all those shamrocks definitely needed a 'lucky' sentiment! I chose to use the watercolour effect stamp with the words 'lucky to know you' from the 'Lucky You' stamp set and stamped it onto a label cut using the Painted labels Dies (and trimmed slightly to it). I love the subtle watercolour effect of the sentiment stamps in this set and they are great when you want to make a feature of the words themselves.
Flowers of Friendship - I'm sure I have the perfect clover/shamrock in my retired stamp sets, but when I came to make this card I couldn't find one anywhere so I had to get creative! I wanted to include some shamrocks - or in my case my lucky four-leaf clover substitute! - so turned to the punch I used on this card to make my stencil yesterday, this time to stamp and punch a row of leaves in So Saffron and Granny Apple Green. The colours on my card today were also influenced by the inspiration photo - I like the mix of pale yellow and vanilla in with the greens, I think they really lift and elevate the card. I added Just Jade enamel dots to the centres of the leaves to tie them in with my card base.
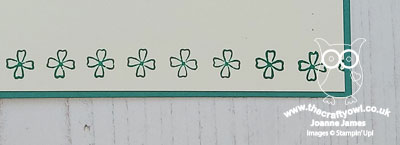
A Carpet of Clover - I originally left my card base blank, but my clean and simple heart still felt it was a little plain, so instead I created a carpet of clover by stamping little leaves all over to give a tone-on-tone effect. This stamp is actually a border stamp from the 'Flowers of Friendship' set - you can see it here stamped on the inside of my card:
To achieve the random effect on my cardfront I simply inked only the end two leaves each time I stamped, rather that the whole row.
How often do you find yourself getting properly creative with the items in your craft collection when you can't find the exact thing you're looking for? Do leave me a comment below - I'd love to hear how you've repurposed stamps or tools to create something different.
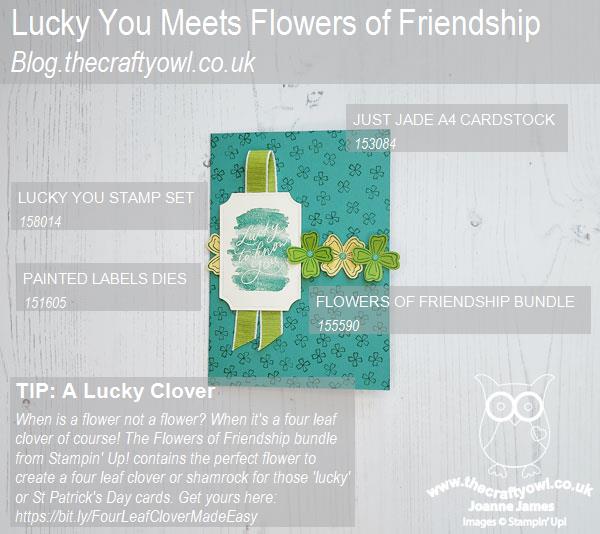
Here is the visual summary of the key products used on today's project for you to pin for easy reference:
You can see all of my 'How To' summaries on my 'How To - Tips and Techniques' Pinterest board in case you've missed any.
Both of the James Juniors are out on the hockey pitch today: one playing a single match, but miles away and the other with a full day of 3 back-to-back matches with both playing an dumpiring commitments. Last week's injury in our house to add to the tally was bruised hand, complete with ball dimple pattern - and a medical emergency involving another parent that had nothing to do with the play and which thankfully was dealt with swiftly by a trip to A&E. I'm hoping tomorrow will be less eventful! Enjoy your day and I'll be back tomorrow with another project where I am hosting this week's new challenge over at the Paper Players and I have a fresh colour challenge for you. Until then, happy stampin'!
Stampin' Up! Supplies Used: