Today it's Sunday and time for this week's new challenge over at The Paper Players! It's my turn to host this week and I've a colour challenge for you to work with:
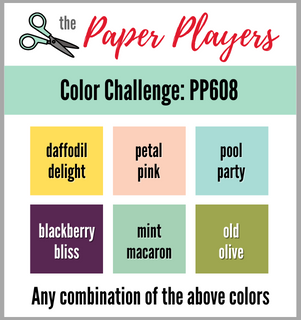

I decided to change things up for this week's challenge and instead of providing a restricted palette, I would choose 6 complimentary colours that you could choose any combination of on your project. Once again I used Jen B's sketch over at Freshly Made Sketches for my layout this week and ended up creating a card that was completely different to the one I originally had in mind. Take a look and I'll explain:
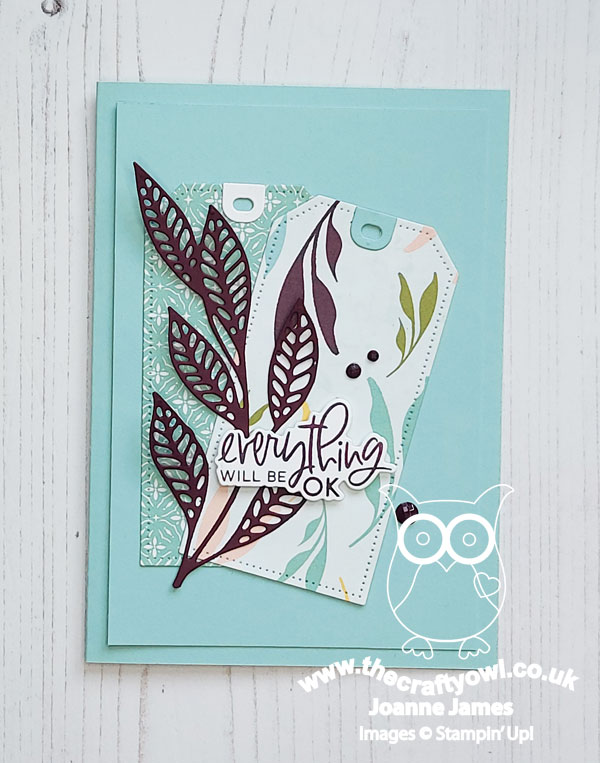
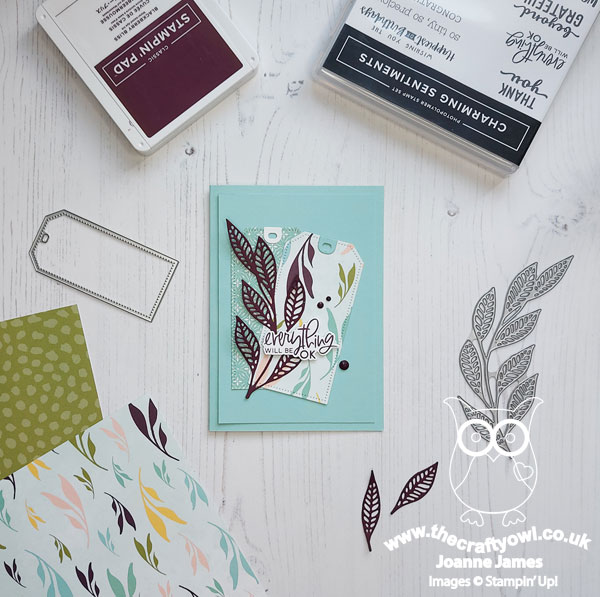
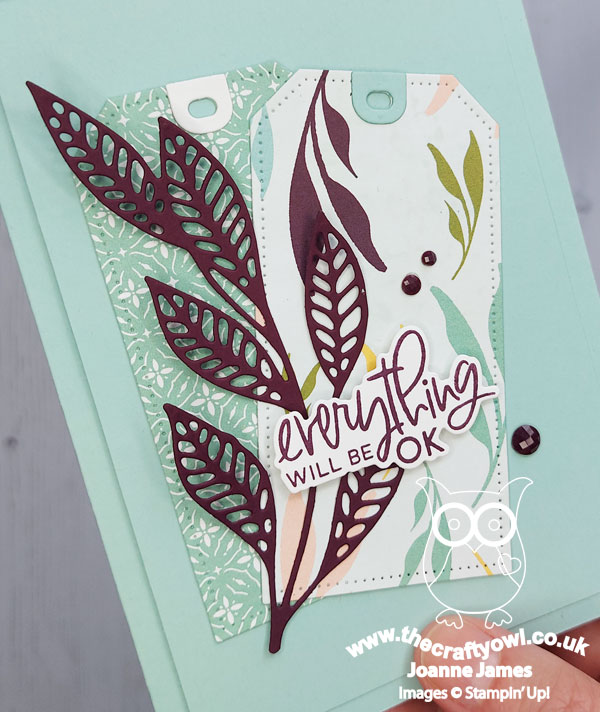
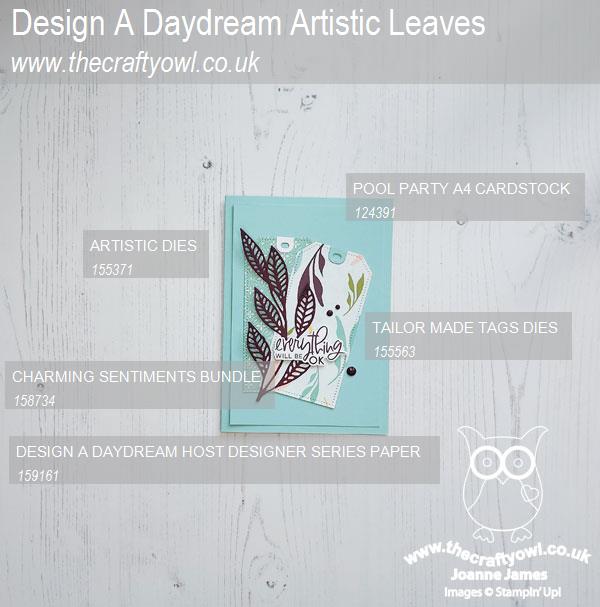
Here's the low-down on today's card:
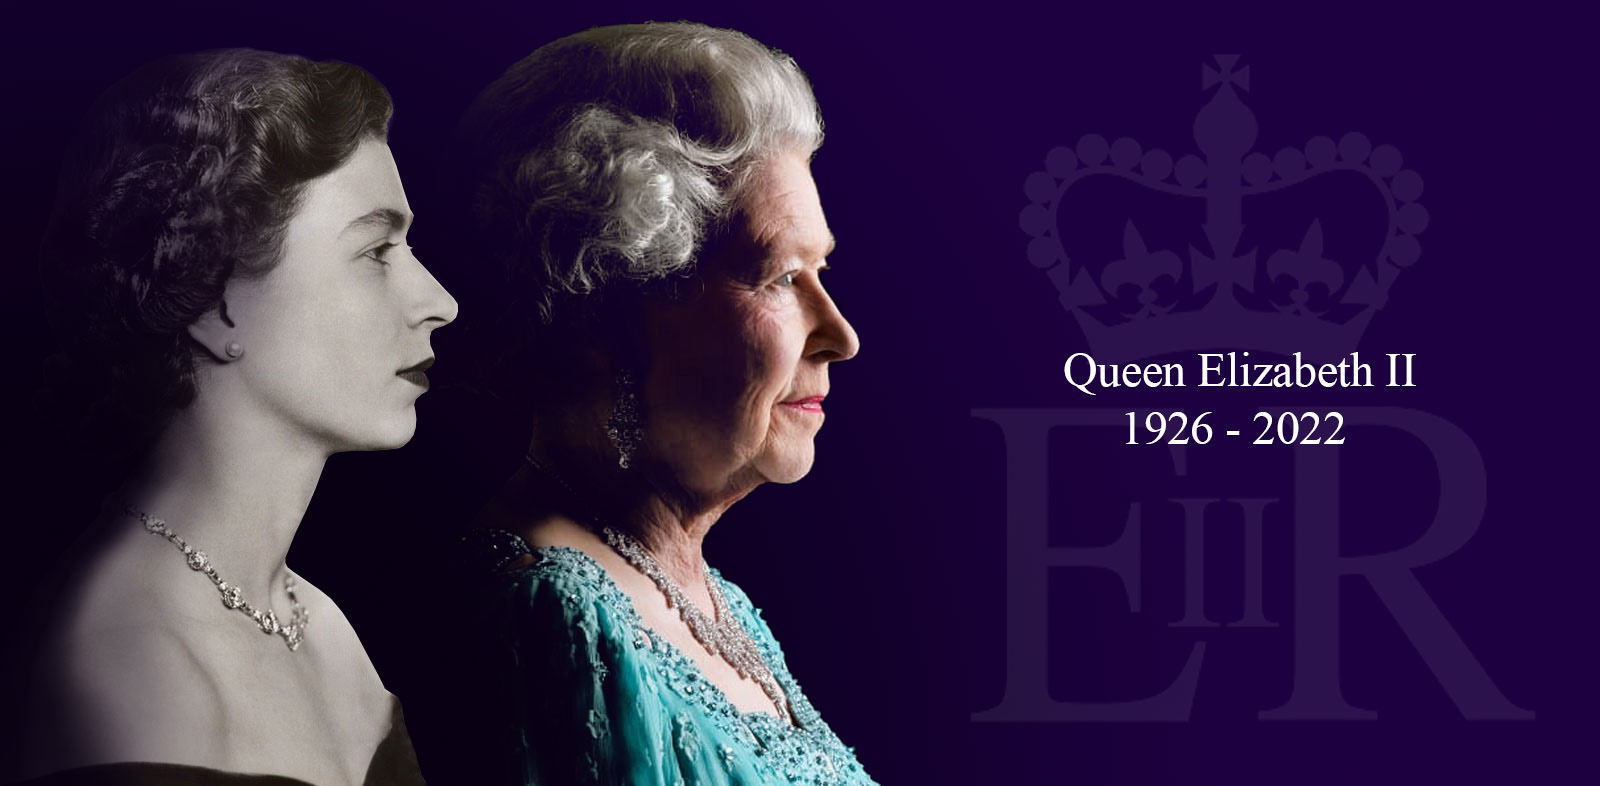
Design A Daydream - The eagle-eyed amongst you will notice that the colours I chose for our challenge this week can all be found in Stampin' Up!'s 'Design A Daydream' designer series paper pack. This is a bumper paper pack at 48 sheets of 12" x 12" (the number quoted in the catalogue is a misprint) for just £17 - and it can be yours when you place an order that qualifies for Host Rewards. It contains many beautiful prints and patterns and I knew immediately that this paper would feature somewhere on my card today. I was originally going to use the floral pattern that is probably my favourite in the set, however when I came to make my a few days ago, the death of Her Majesty Queen Elizabeth II had just been announced and I found myself in a more sombre mood,and was drawn towards the more tranquil Pool Party blue patterns, so changed tack.
A Sentiment Shift - I decided to use the simple leaf patterned paper and the two sketch panels enabled me to also showcase the reverse of this sheet for my second tag panel. I needed a sentiment and was drawn to this one from the 'Charming Sentiments' bundle; whilst not entirely unexpected, the death of the Queen was still a shock and has left us a nation mourning the loss of a unique and selfless monarch. Whilst this period of respect will continue for days to come, I thought this sentiment, with its implied acknowledgement of both a sense of loss along with the suggestion of hope seemed perfect to sum up the country's mood.
A Trio of Diecuts - Today's card is more diecuts than stamping: I used the Tailor Made Tags for my two panels and along with the die used to cut my sentiment (this is a great feature of the Charming Sentiments bundle) I used the detailed leaf branch from the Artistic Dies to add a simple accent and focal point. Just a few enamel dots as accents as I wanted to preserve the clean feel of my card:
I'm also linking today's card up with the team over at SUO Challenges where the current theme is 'Diecutting' and at The Alphabet Blog where they are at 'L is for Leaves'.
I never had the opportunity to meet the Queen, however feel privileged to have lived through her reign and witnessed the selfless devotion with which she served this country. She was an amazing female role model and certainly an example of a life well lived. She will be much missed - rest in peace, your Majesty.
Here is the visual summary of the key products used on today's project for you to pin for easy reference:
You can see all of my Product and 'How To' summaries on my 'How To - Tips and Techniques' Pinterest board in case you've missed any.
Before you reach for your ink and papers, check out what our amazing team has created to inspire you this week:
The Paper Players Design Team
Here's a quick recap of our challenge rules:
1. Create a new paper project
2. Upload your creation to your blog with a link back to us and provide a direct link to the post featuring your challenge submission.
3. Please link your card to no more than four challenges, TOTAL.
4. Have FUN!
Enjoy your day; we are out to lunch to quietly celebrate the second James family birthday of the month - lots of us are September babies - but are otherwise having an uneventful day. I'll be back soon with another project. Until then, happy stampin'!
Stampin' Up! Supplies Used: