
Today I'm sharing my design team card for our new challenge over at As you See It where the lovely Heather H had a speed stamping challenge for us:
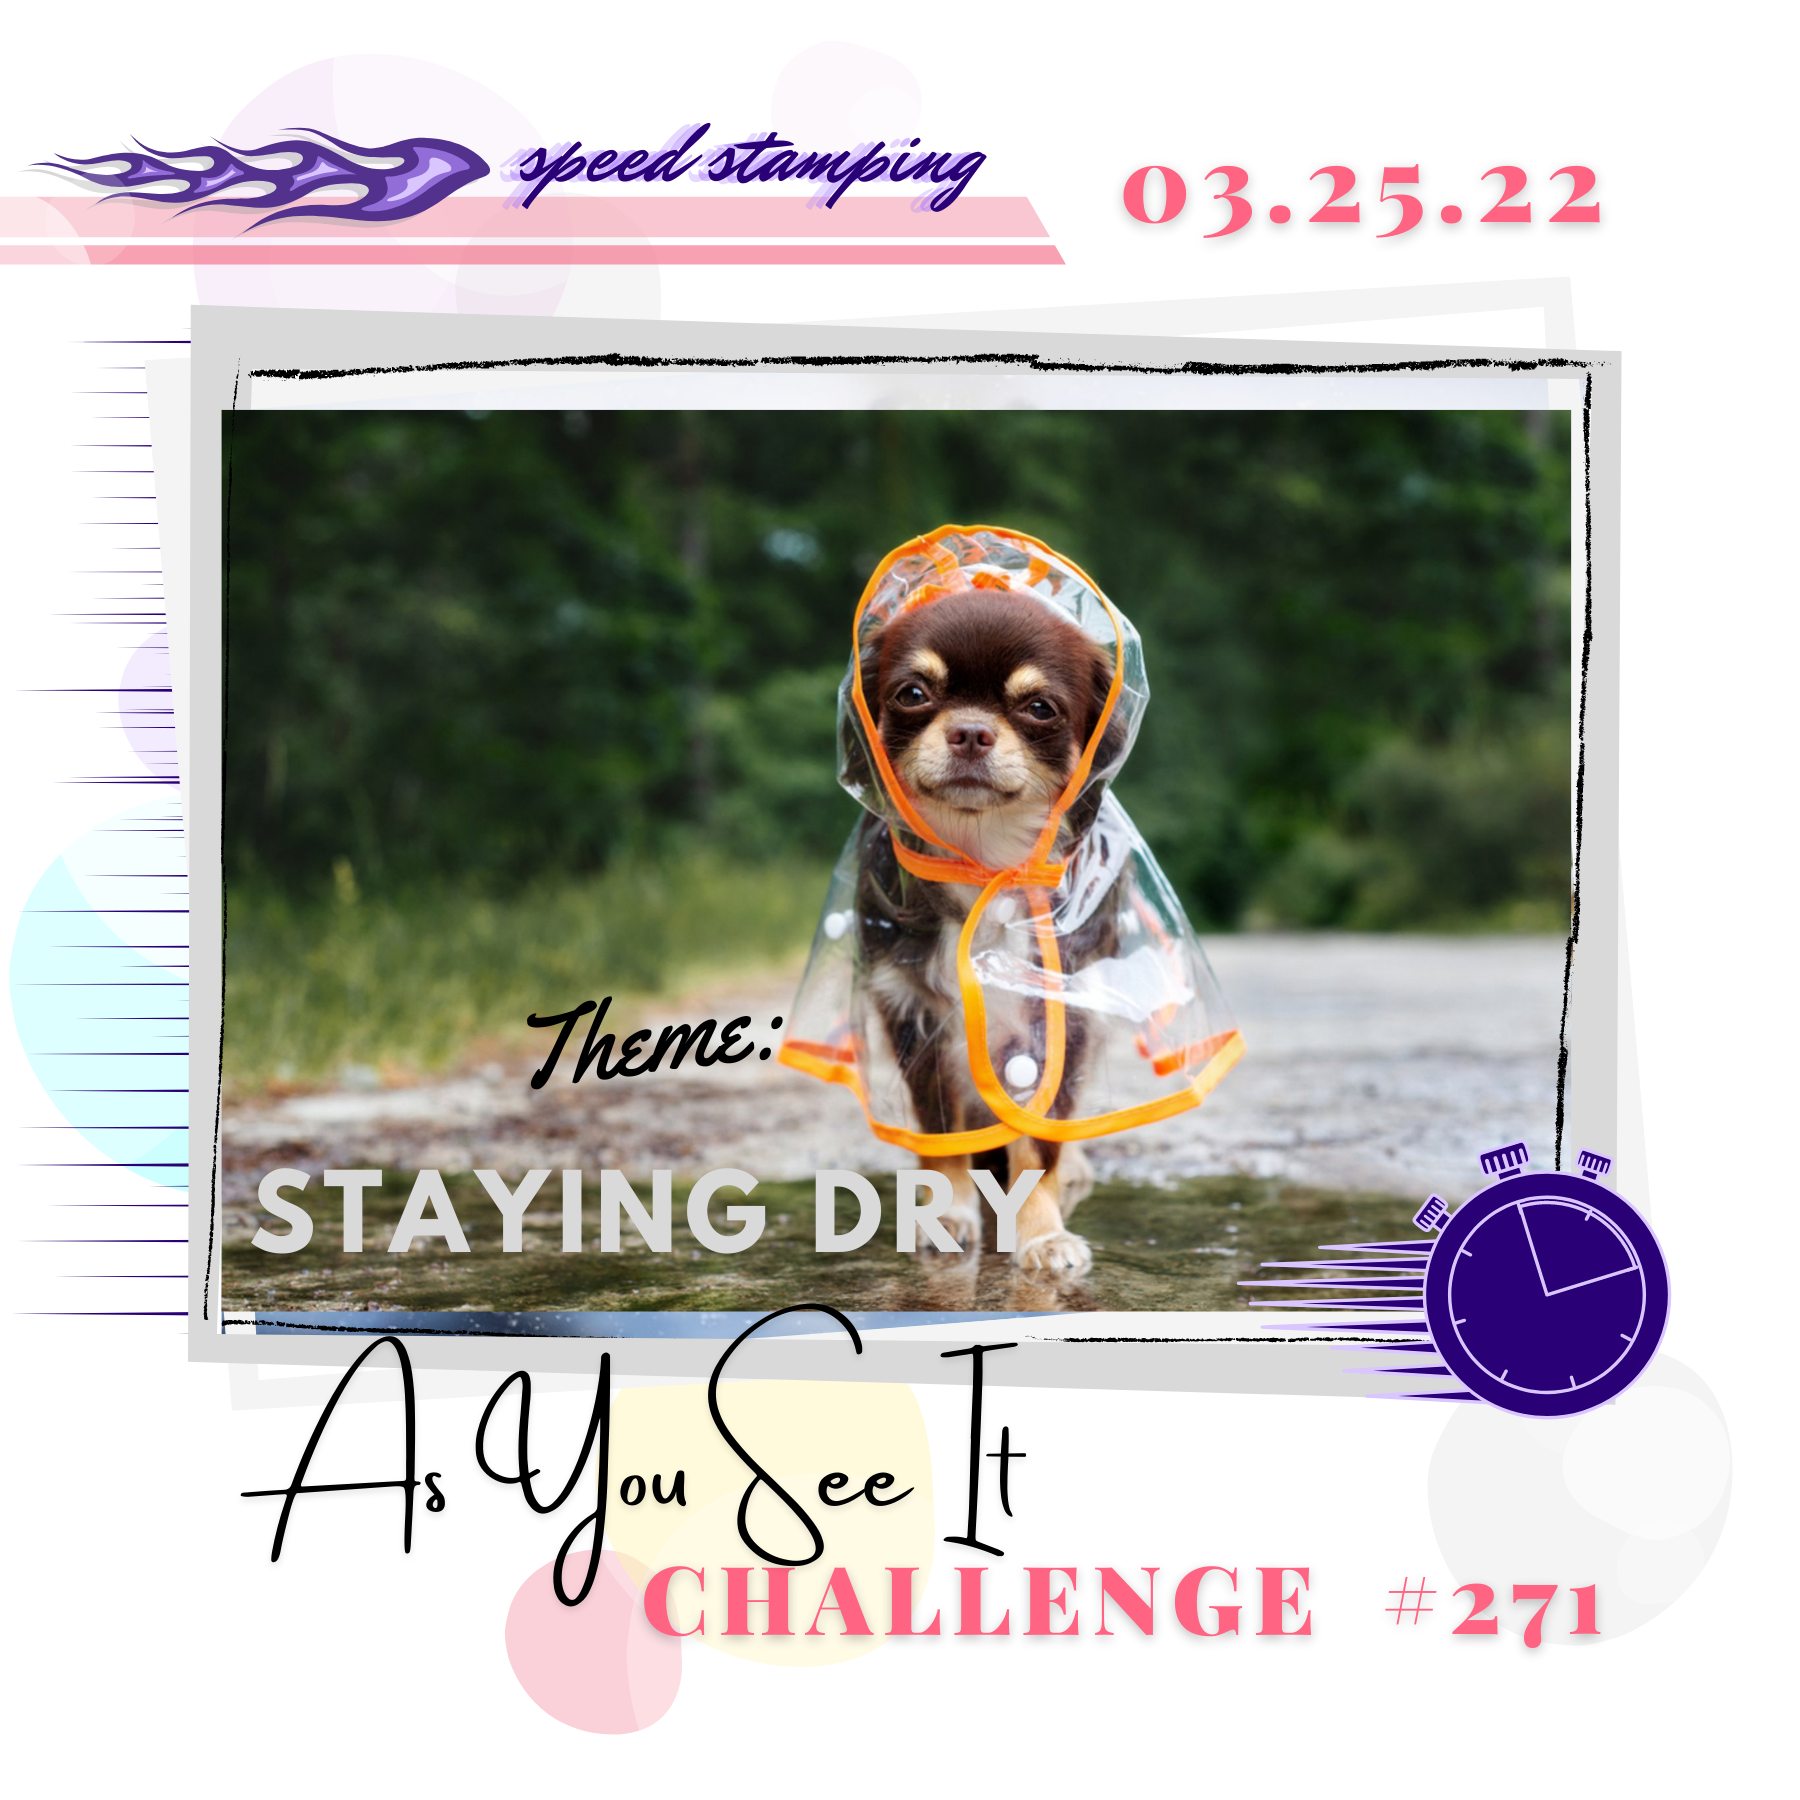
Heather's theme initially had me scratching my head this week, as I have no current stamps that are wellington boots or umbrellas; then I suddenly realised 'staying dry' can be as simple as taking the outside in! That thought led to another and I was away - take a look at what I came up with:
Here's the low-down on today's card:
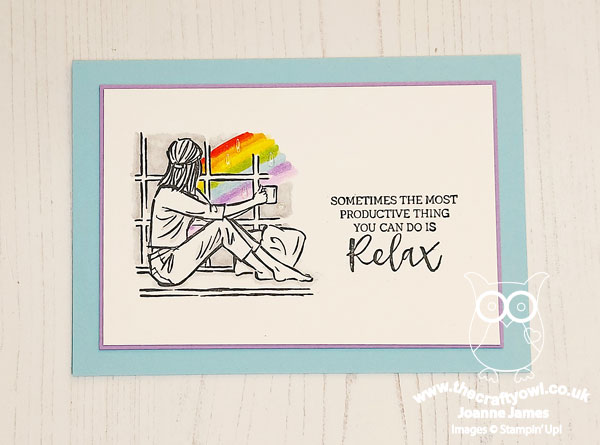
Yes, another rainbow for you today! I still had the 'In The Moment' stamp set out on my desk having prepped for my class using this set earlier this week. In my class, we looked not only at how to colour with Stampin' Blends, along with pencils, Stampin' Write markers and blending tips for each medium, but also different ways in which you can use line drawn images, including ways of colouring beyond the obvious. This card is a 'bonus' for the ladies that attended my class as it looks at another way to colour an image that might not be immediately obvious: here I've focused less on the inside and more on the outside - what can be seen beyond the scene, which in this case is the stormy grey sky and a beautiful rainbow through the window itself.
I used all 10 minutes of my allotted time for this week's speed challenge, first cutting my card base, mat and white pieces and stamping the image and sentiment in Memento Black, using my Stamparatus to get a nice solid image, then I used the remainder of the time to colour my image. I went with a traditional rainbow and coloured it with my Blends, simply drawing in the arch of colour and blending between each to get a smooth-ish finish. I added some clear Wink of Stella to give my rainbow some sparkle and a few clear enamel raindrops to add to the effect:
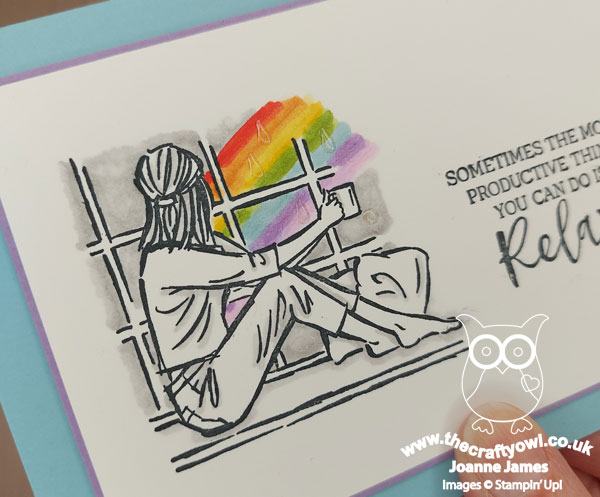
In the interests of time, I coloured the rest of my sky in Smoky Slate and added a few grey highlights to the image of lady, but that was all. I really like the effect - the lack of colour on the main image really draws the eye to the rainbow outside and the pop of colour it adds.
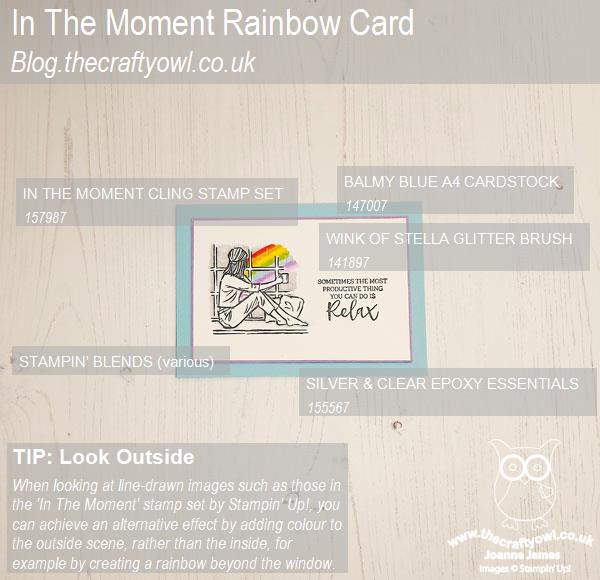
Here is the visual summary of the key products used on today's project for you to pin for easy reference:
You can see all of my 'How To' summaries on my 'How To - Tips and Techniques' Pinterest board in case you've missed any.
This is my second entry over at The Paper Craft Crew's rainbow colour challenge this week - traditional rainbow colours this time - and another entry for the rain/rainbow challenge over at Global Design Project #GDP335.


Here's a summary of our challenge rules:
- Create any card, scrapbooking page, 3D project or packaging project that fits the challenge.
- Please include the challenge graphic and link back to the challenge in your blog post. Turn off word verification so we can leave you lots of lovely comments. Make sure you link the post not the whole blog to the Linky. Use #AYSIXXX when uploading to a public gallery.
- If you’re unsure about ‘the rules’, check the details under the Challenge Guidelines tab on the As You See It Challenge homepage.
- In a speed stamping challenge, please time yourself and say in your post how long your card took to complete.
We look forward to seeing your creations in the AYSI gallery.
I hope you're enjoying my rainbows in all of their various guises this week because - spoiler alert! - I have another rainbow card for you tomorrow! Enjoy your day and I'll be back tomorrow with another project. Until then, happy stampin'!
Stampin' Up! Supplies Used: