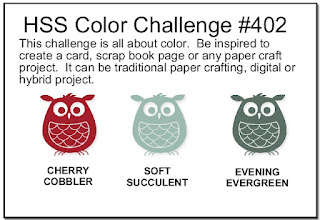
Today I'm sharing a card using the sketch layout over at Sunday Stamps and the Hand Stamped Sentiments colour palette:

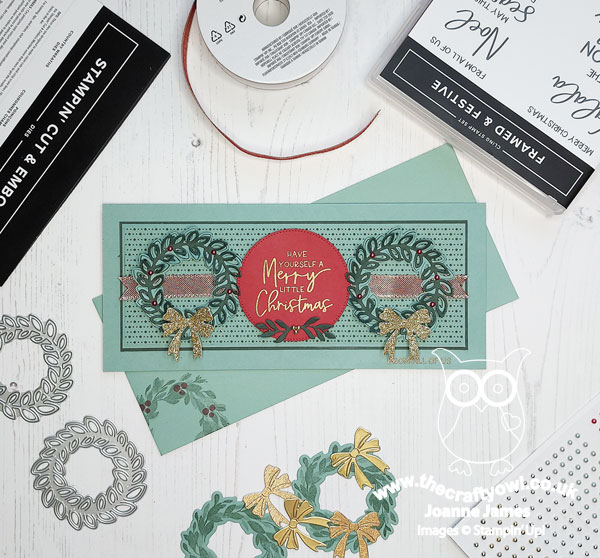
This is one of those cards that ended up looking nothing like it started out! I had a trio of stamped and diecut wreaths leftover from another project, so thought they would work nicely with the Sunday Stamps sketch. They were too large on a standard cardfront and I couldn't find a background I liked to accompany them, so in the end changed my colour scheme and went slimline and eventually came up with something I rather like - take a look:
Here's the low-down on today's card:
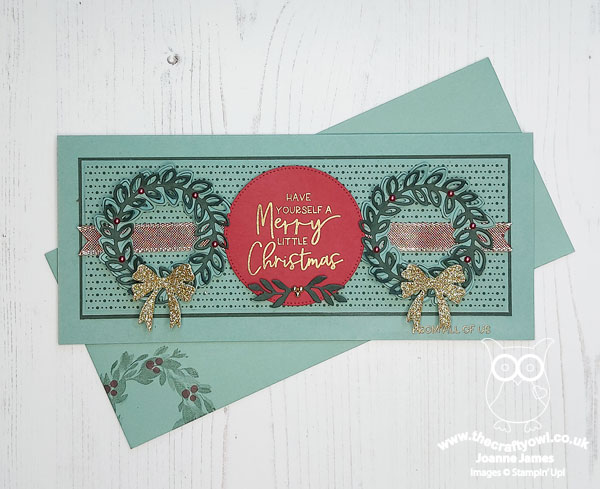
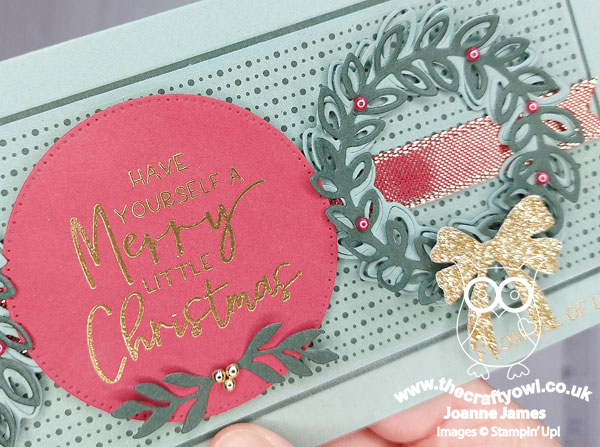
Country Wreaths - I initially restamped my wreaths green-on-green instead of green-on-white, but the stamped detail just got lost so instead I went for a layered wreath using the dicuts only and I like this much more. I added some Cherry Cobbler Festive Pearls and a gold glimmer bow to each, to tie in with my ribbon banner and central sentiment element. I did add some stamped detail to the envelope and inside of my card though:

Framed & Festive - Instead of three wreaths, I opted to add a circle with my main sentiment to the centre. My sentiment comes from the limited-time stamp set 'Framed & Festive' that co-ordinates with the Framed Florets bundle currently on early release from the new mini catalogue - I love the big, bold font. I heat embossed it in gold onto Cherry Cobbler cardstock and added a sprig of greenery and some gold pearls to decorate:
I almost ignored the banner detail on the original sketch, but there was the perfect stamp in the set to add a second sentiment part, so I added 'from all of us' heat embossed in gold directly onto the cardbase - you can just see it on the corner of the photo above.
A Neat Lights Aglow Trick - The eagle-eyed amongst you may have recognised that the background pattern I used comes from the Lights Aglow designer series paper pack. This is a 6"x6" paper pack - which is not wide enough for a slimline cardfront. The solution? I actually made my cardfront from two pieces of DSP, with the join running down the centre behind my red sentiment circle. I was careful to cut and line up the pattern perfectly and the presence of the circle means it is super difficult to see the join - if I hadn't just told you it was there, you wouldn't notice ;-).
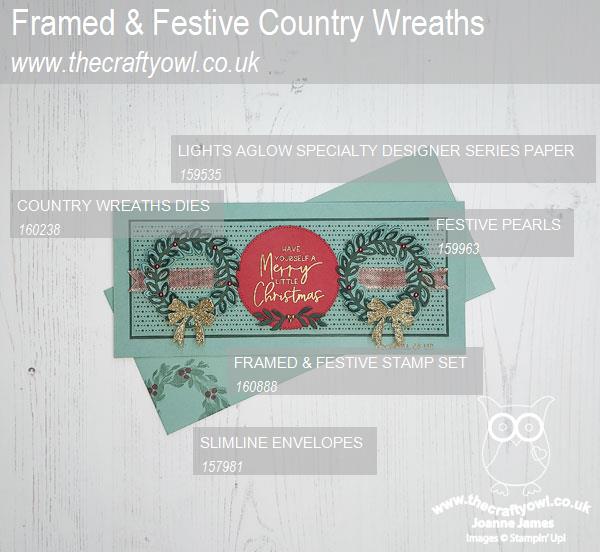
Here is the visual summary of the key products used on today's project for you to pin for easy reference:
You can see all of my 'How To' summaries on my 'How To - Tips and Techniques' Pinterest board in case you've missed any.
Enjoy your day; the bitter cold winds of winter seem to have arrived in force this week so I am hibernating! I hope you are warm and cosy wherever you are - and to all my American friends and readers, I wish you a wonderful Thanksgiving celebration today. I'll be back tomorrow with another project. Until then, happy stampin'!
Stampin' Up! Supplies Used: