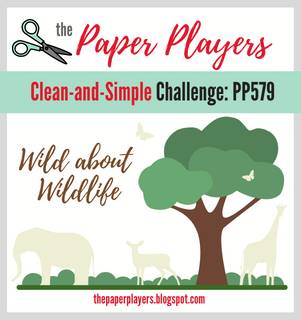
Today it's Sunday and time for this week's new challenge over at The Paper Players! It's the turn of the fabulous Ann to host this week and she has a clean and simple challenge for you to work with:

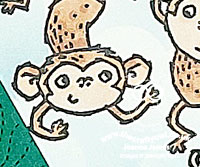
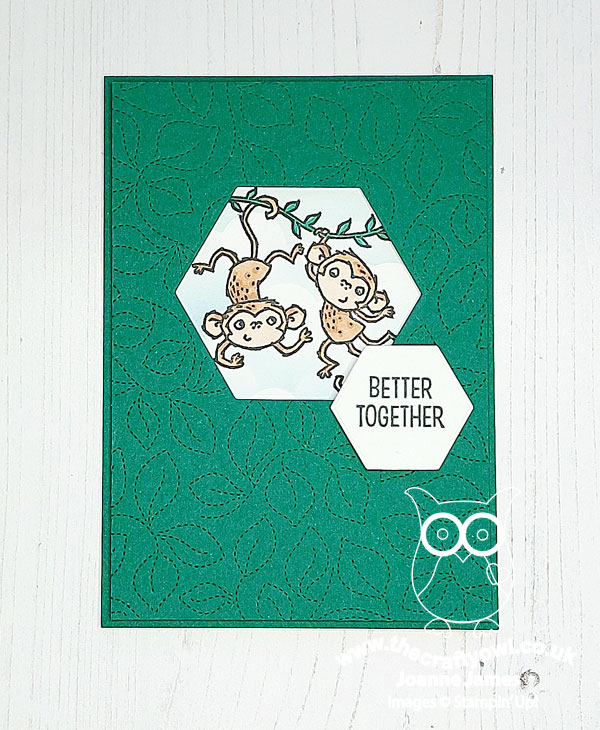
I decided to use the sketch over at Just Add Ink for my layout this week and used two overlappping hexagons, negative and positive, cut with the Beautiful Shapes Dies for my central shapes and chose to feature the two cute monkeys from the 'Catch You Later' stamp set for my wildlife - take a look:
Here's the low-down on today's card:
I stamped my monkeys onto some white cardstock and coloured them with my new skin tone Blends markers, then masked them off and used some Balmy Blue ink and a stencil I made using my Basic Borders Dies to create a soft and subtle background of clouds with my blender brush behind them:
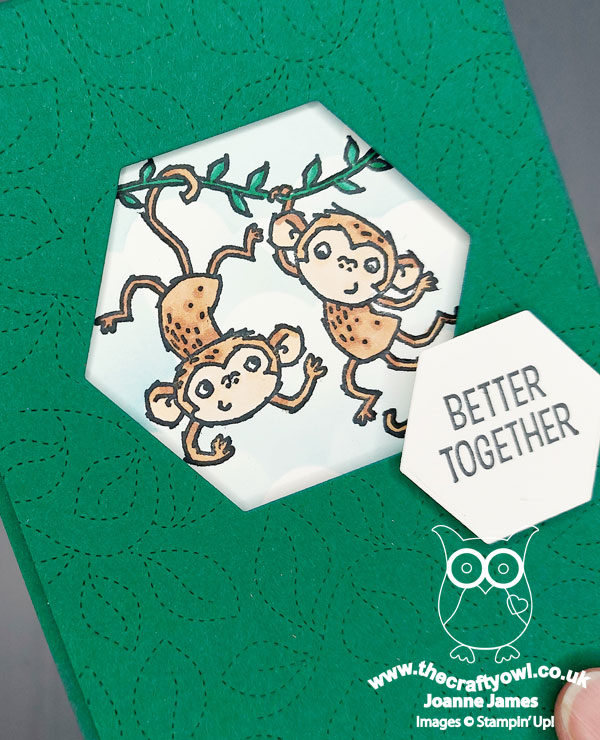
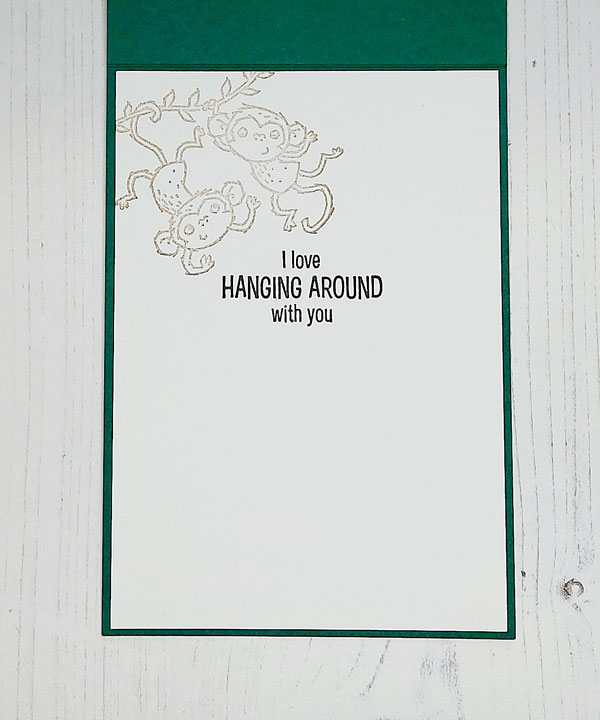
I added this to my Shaded Spruce card base and then added my top panel, which I ran through my diecutting machine with the Stitched Greenery Die before cutting out the hexagon shape and popping this panel up on dimensionals to frame my little jungle scene. I added a sentiment to another popped-up hexagon and finished my sentiment on the inside, with another stamped-off image of the monkeys too:
So what do you think? Cute, right?! It's my 23rd wedding anniversary today and whilst this didn't start out as a card for my DH, it may well be the one I send as he would appreciate the humour over sweet and smushy love hearts any day!
Here is the visual summary of the key products used on today's project for you to pin for easy reference:
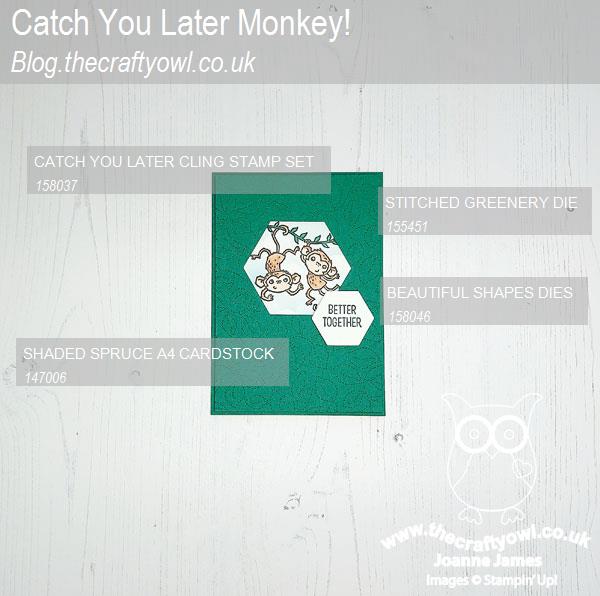
You can see all of my Product and 'How To' summaries on my 'How To - Tips and Techniques' Pinterest board in case you've missed any.
Before you reach for your ink and papers, check out what our amazing team has created to inspire you this week:
The Paper Players Design Team
Here's a quick recap of our challenge rules:
1. Create a new paper project
2. Upload your creation to your blog with a link back to us and provide a direct link to the post featuring your challenge submission.
3. Please link your card to no more than four challenges, TOTAL.
4. Have FUN!
Enjoy your day; one of the James Juniors had a friend stay for a sleepover yesterday, so apart from taking him home, we are having a quiet day indoors. The James girls definitely deserve it; as my regular readers know it is not uncommon for us to be out in all weathers either playing or watching hockey at the weekend. Well, despite storm Eunice and the incredible high winds and driving rain we've had here over the past few days, yesterday's match wasn't cancelled. We all turned up and despite a seriously waterlogged pitch, the umpires decided it was safe to play. The end result? Players and parents soaked to the skin and frozen to the bone - and just to give you a flavour of what I'm talking about, here's a photo I managed to snap during 'warm up' before the game started:
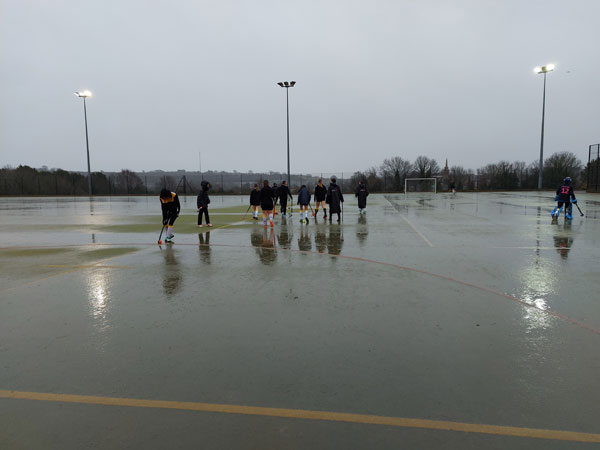
I have genuinely never known anything like it! To make things worse the girls lost 4-2, despite their best efforts. So today we are staying warm - I think we might actually huddle under a blanket and watch 'Encanto' - it's about time we discovered why no-one talks about Bruno!
I'll be back tomorrow with another project. Until then, happy stampin'!
Stampin' Up! Supplies Used: