by Joanne James19. April 2015 10:00It's Sunday - my favourite day of the week! - and time for a new challenge over at The Paper Players. Thanks to everyone who joined in with my colour challenge last week - the standard of entries was incredibly high. This week it's 'Clean and Simple' week and the amazingly talented Nance has chosen watercolouring as her theme:
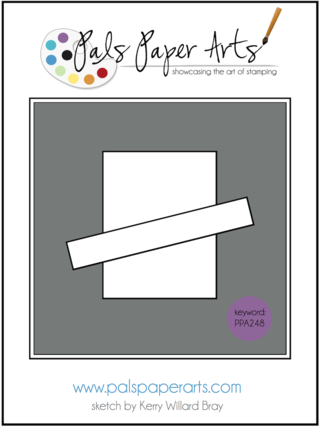
It's been ages since I did any proper watercolouring, so it was nice to dig out some paper, re-acquaint myself with my aquapainter and get painting. I played around with lots of different watercolouring techniques and once I had started, couldn't stop and ended up whiling away a pleasant few hours in my sunny creating a few different cards. Here's my clean and simple creation for today, using this week's sketch over at Pals Paper Arts, although with a little less slant to the horizontal element (hopefully I'll be forgiven for this slight stray from the sketch!):
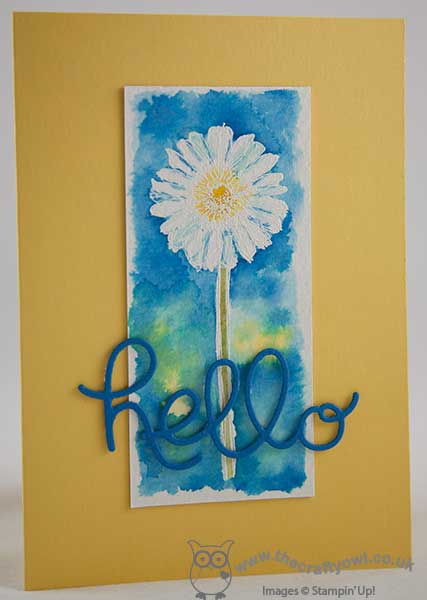
There really isn't much to explain here: I stamped the daisy from the Bloom with Hope hostess set in Versamark onto watercolour paper and heat embossed it in white, then using my aquapainter and a variety of inks I coloured my image. I adhered it to a base of Daffodil Delight and finished it with a bold Pacific Point blue 'hello' cut using my Expressions thinlits and adhered it using some rolled glue dots to give just a little dimension.
So before you reach for your paper and inks, check out what our amazing team has created to inspire you this week:
The Paper Players Design Team
Here's a quick recap of our challenge rules:
1. Create a new paper project
2. Upload your creation to your blog with a link back to us and provide a direct link to the post featuring your challenge submission.
3. Please link your card to no more than three challenges, TOTAL.
4. Have FUN!
I hope you like my creation - I'm already looking forward to seeing your watercolour cards and projects in our gallery this week. I love the bright colours of today's card, but if it's a little loud for you come back tomorrow to see an altogether more subtle watercoloured card!
Back tomorrow with another watercoloured card; until then, happy stampin'!
Stampin' Up! Supplies Used:
by Joanne James17. April 2015 20:22It's Friday and I almost don't know how I got here!! This week has been a busy one: the children are back to school following their Easter break, although Ben was only in for a day before departing for a three-day residential trip. He came home today, tired and a little grubby, but having had the best time! I've also had a couple of technique classes and my Project Life memory keeping group this week, and a couple of late nights, so it would be fair to say that I am happy that Friday is here and I'm looking forward to a lie-in in the morning, even if only a short one!
I haven't managed as much creative time this week as I would have liked, so today I thought I would share one of the cards I made at team training on Sunday. We made lots of projects using the Adventure Bound DSP stack; this is such a great stack for masculine cards and has some fabulous natural photographic prints. My card today though shows that these papers can equally be used for beautifully feminine cards - take a look:
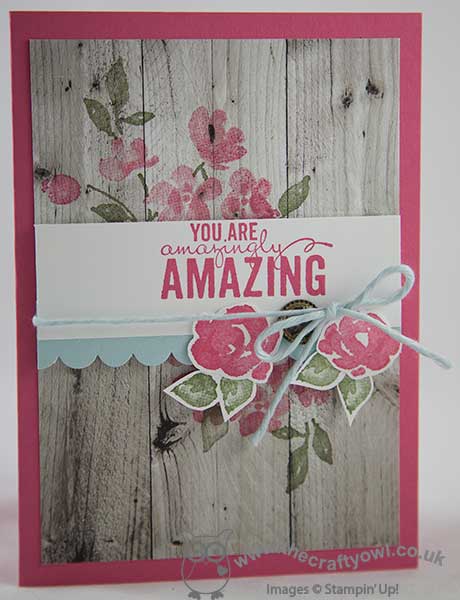
A piece of hardwood print was randomly stamped with the flowers and stems from the Painted Petals set in Strawberry Slush and Mossy Meadow and adhered to a base of Strawberry Slush. The same colour was used to stamp the sentiment on a piece of Whisper White and then this was edged with a piece of Soft Sky, with a scalloped edge, tied with some Painted Blooms cotton twine, then attached to the card with an antique brad. To finish, I stamped a couple of extra flowers and leaves and fussy cut them out and popped them up on a couple of dimensionals.
So what do you think of today's card? I rather like the hardwood background and it certainly shows how versatile this paper stack can be.
That's all from me today. Don't forget to check The Paper Players blog tomorrow if you would like to see who won headliner for my challenge this week. Back tomorrow with another project; until then, happy stampin'!
Stampin' Up! Supplies Used:
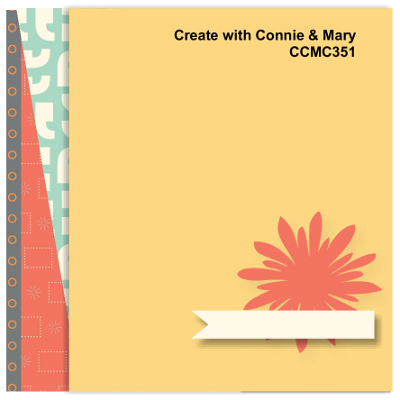
by Joanne James16. April 2015 08:05It's Thursday and time for another challenge over at Create With Connie and Mary, where this week we have a new sketch challenge for you:
I took quite an unusual approach with this card and decided to try out a new technique that was highlighted on a recent Splitcoast Stampers newsletter - paper tole, where you cut elements of your one layer card using a craft knife to create a raised almost 3D effect. Take a look at my card and then I'll share with you some tips:
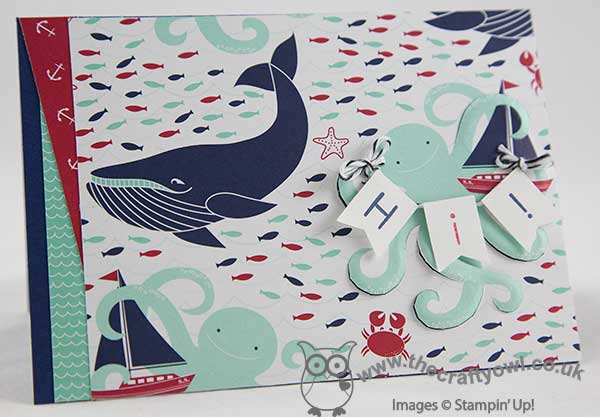
I decided to use a sheet of highly patterned Maritime Designer Series Paper for my card front; I haven't used this paper in a while and it is one of my favourites, so thought it opportune to give it some love again for a change! It also has lots of great co-ordinating patterns that made it easy to add my angled layers on the left hand side.
I decided to use the octopus as the focal point for my card, and based my cutting line around that. To create the paper tole effect, I cut some of the upper 'layers' of his legs and rubbed the reverse side with the rounded end of my pokey tool to create a raised cardfront, that is accentuated by placing dimensional behind the cut pieces. You can see that better in the photo below:
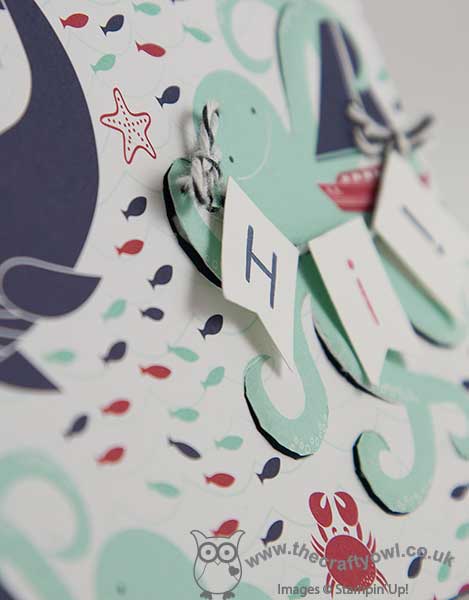
I wasn't sure this would work with DSP as the technique suits a thicker cardstock or watercolour paper, but it actually worked quite well and I'm pleased with the overall result. I included some minimal stamping, in the little banner that the octopus is holding, but otherwise, this card is all about the paper!
I was having an interesting discussion with one of my customers yesterday about sketch challenges and I thought I would just take the opportunity in my post to just mention a few of the things that we were talking about - if you've ever considered having a go at one, but were holding back because you weren't sure, you may find the following useful:
- The sketch is for inspiration - it should be used as a guide.
- You don't have to interpret the sketch literally, but your challenge card should bear a resemblance to it and share key elements. So for example, with the sketch above, I would expect to see a focal image, but it can usually be any shape and doesn't have to be exactly the same as the one in the sketch (I used the octopus) some form of flag/embellisment/sentiment banner (I used my Hi! banner garland) and some form of treatment on the left (I layered my DSP).
- The number of mats and layers isn't prescriptive; I did choose to go edge-to-edge with my DSP for this card, largely to fit everything in and because I didn't want a border to distract, however had I been using a punched image for my focal point, I might have created a bordered mat - that would have been ok too.
- You should take note of the challenge rules; all challenges are different, e.g. the Create With Connie and Mary Challenge requires you to use Stampin' Up! products only, others may restrict the number of challenge entries you can combine or have other guidelines to be adhered to.
You will notice that all of the design team have interpreted this week's sketch challenge differently, yet all of them bear a resemblance to the sketch - hence you get lots of additional creative inspiration on how to interpret the sketch and use your SU! products. So enough from me - go get your inks, stamps and paper and see what you can make of this week's sketch - we look forward to seeing your creations in the gallery.
That's all from me - back tomorrow with another project. Until then, happy stampin'!
Stampin' Up! Supplies Used:
- Maritime Designer Series Paper
- Back To Basics Alphabet Photopolymer Stamp Set
- Banner Punch
- Paper-Piercing Tool
- Stampin' Pierce Mat
- Basic Black Baker's Twine
- Night Of Navy Classic Stampin' Pad
- Night Of Navy A4 Card Stock
- Real Red Classic Stampin' Pad
- Whisper White A4 Card Stock
by Joanne James12. April 2015 10:00It's Sunday and time for a new challenge over at The Paper Players and this week we have a colour challenge for you and I am the hostess! Stampin' Up!'s 2013-15 In Colours will soon retire on the 2nd June, to make way for five new In-Colours in the new annual catalogue. Whilst we still have them though, I thought this week we would showcase three of my personal favourites:
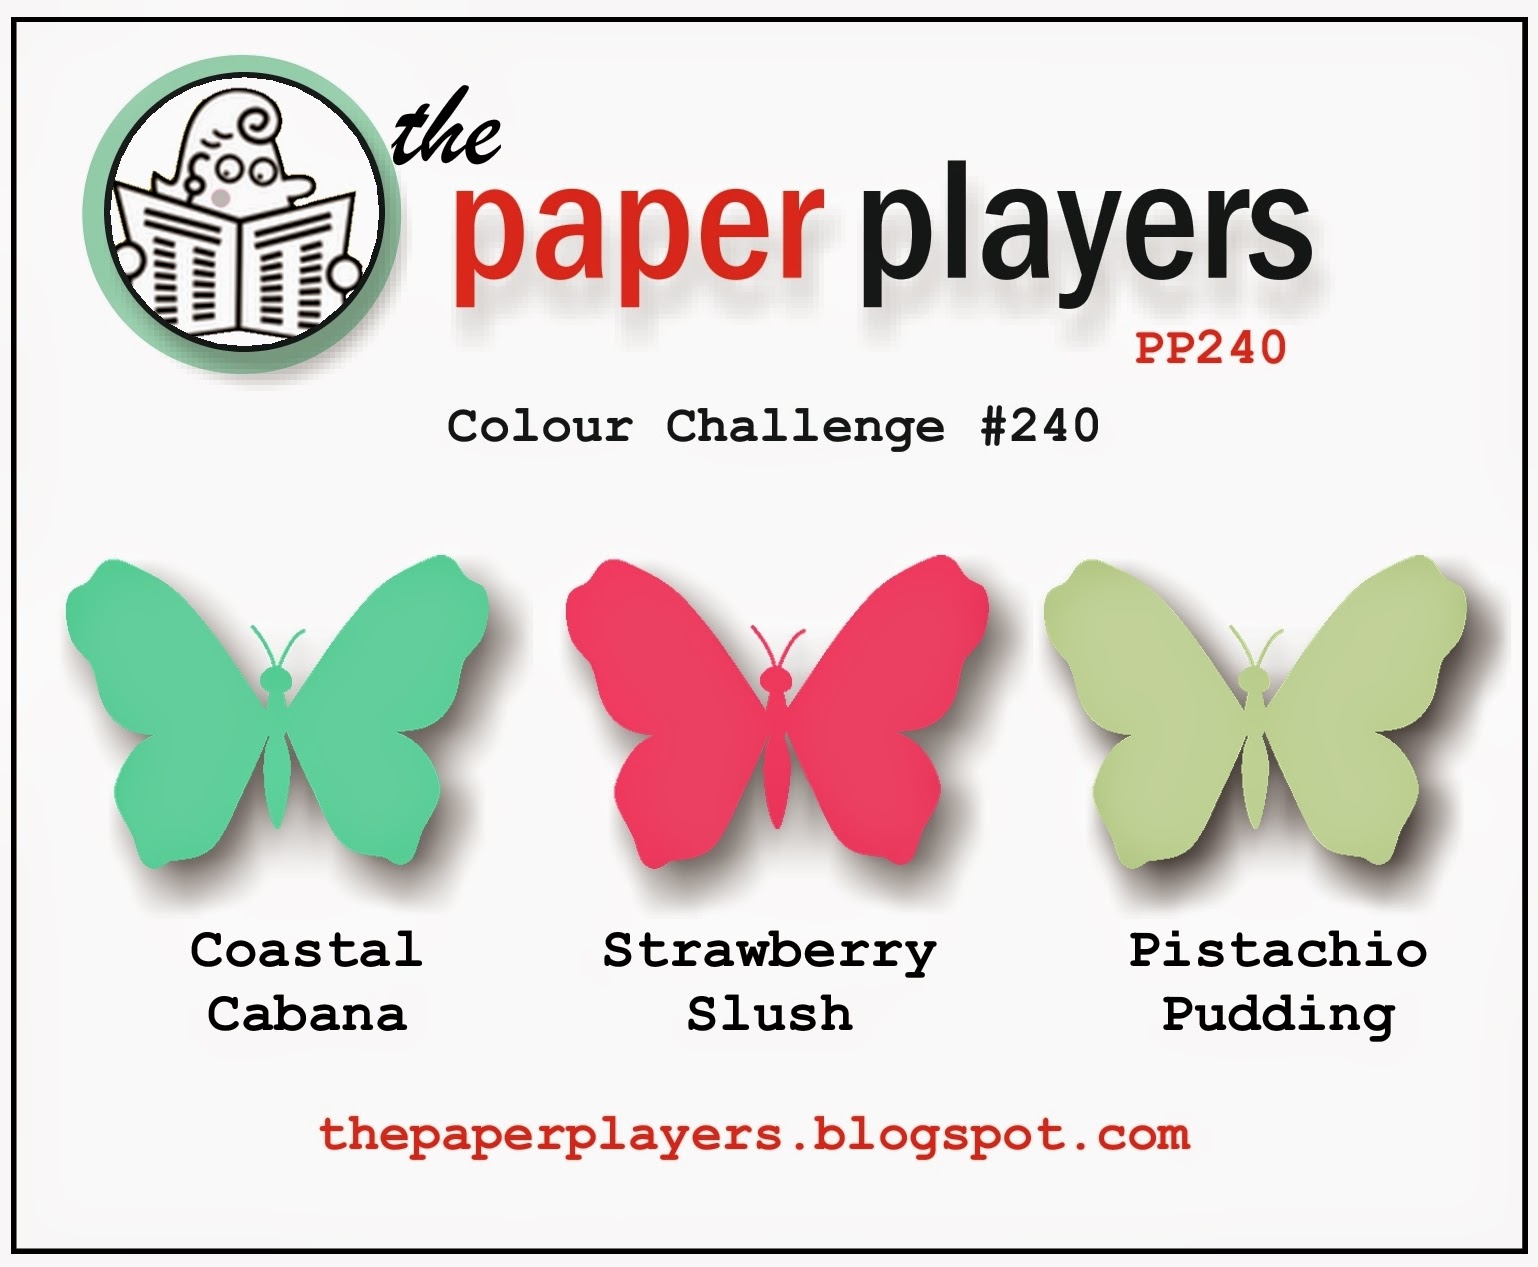
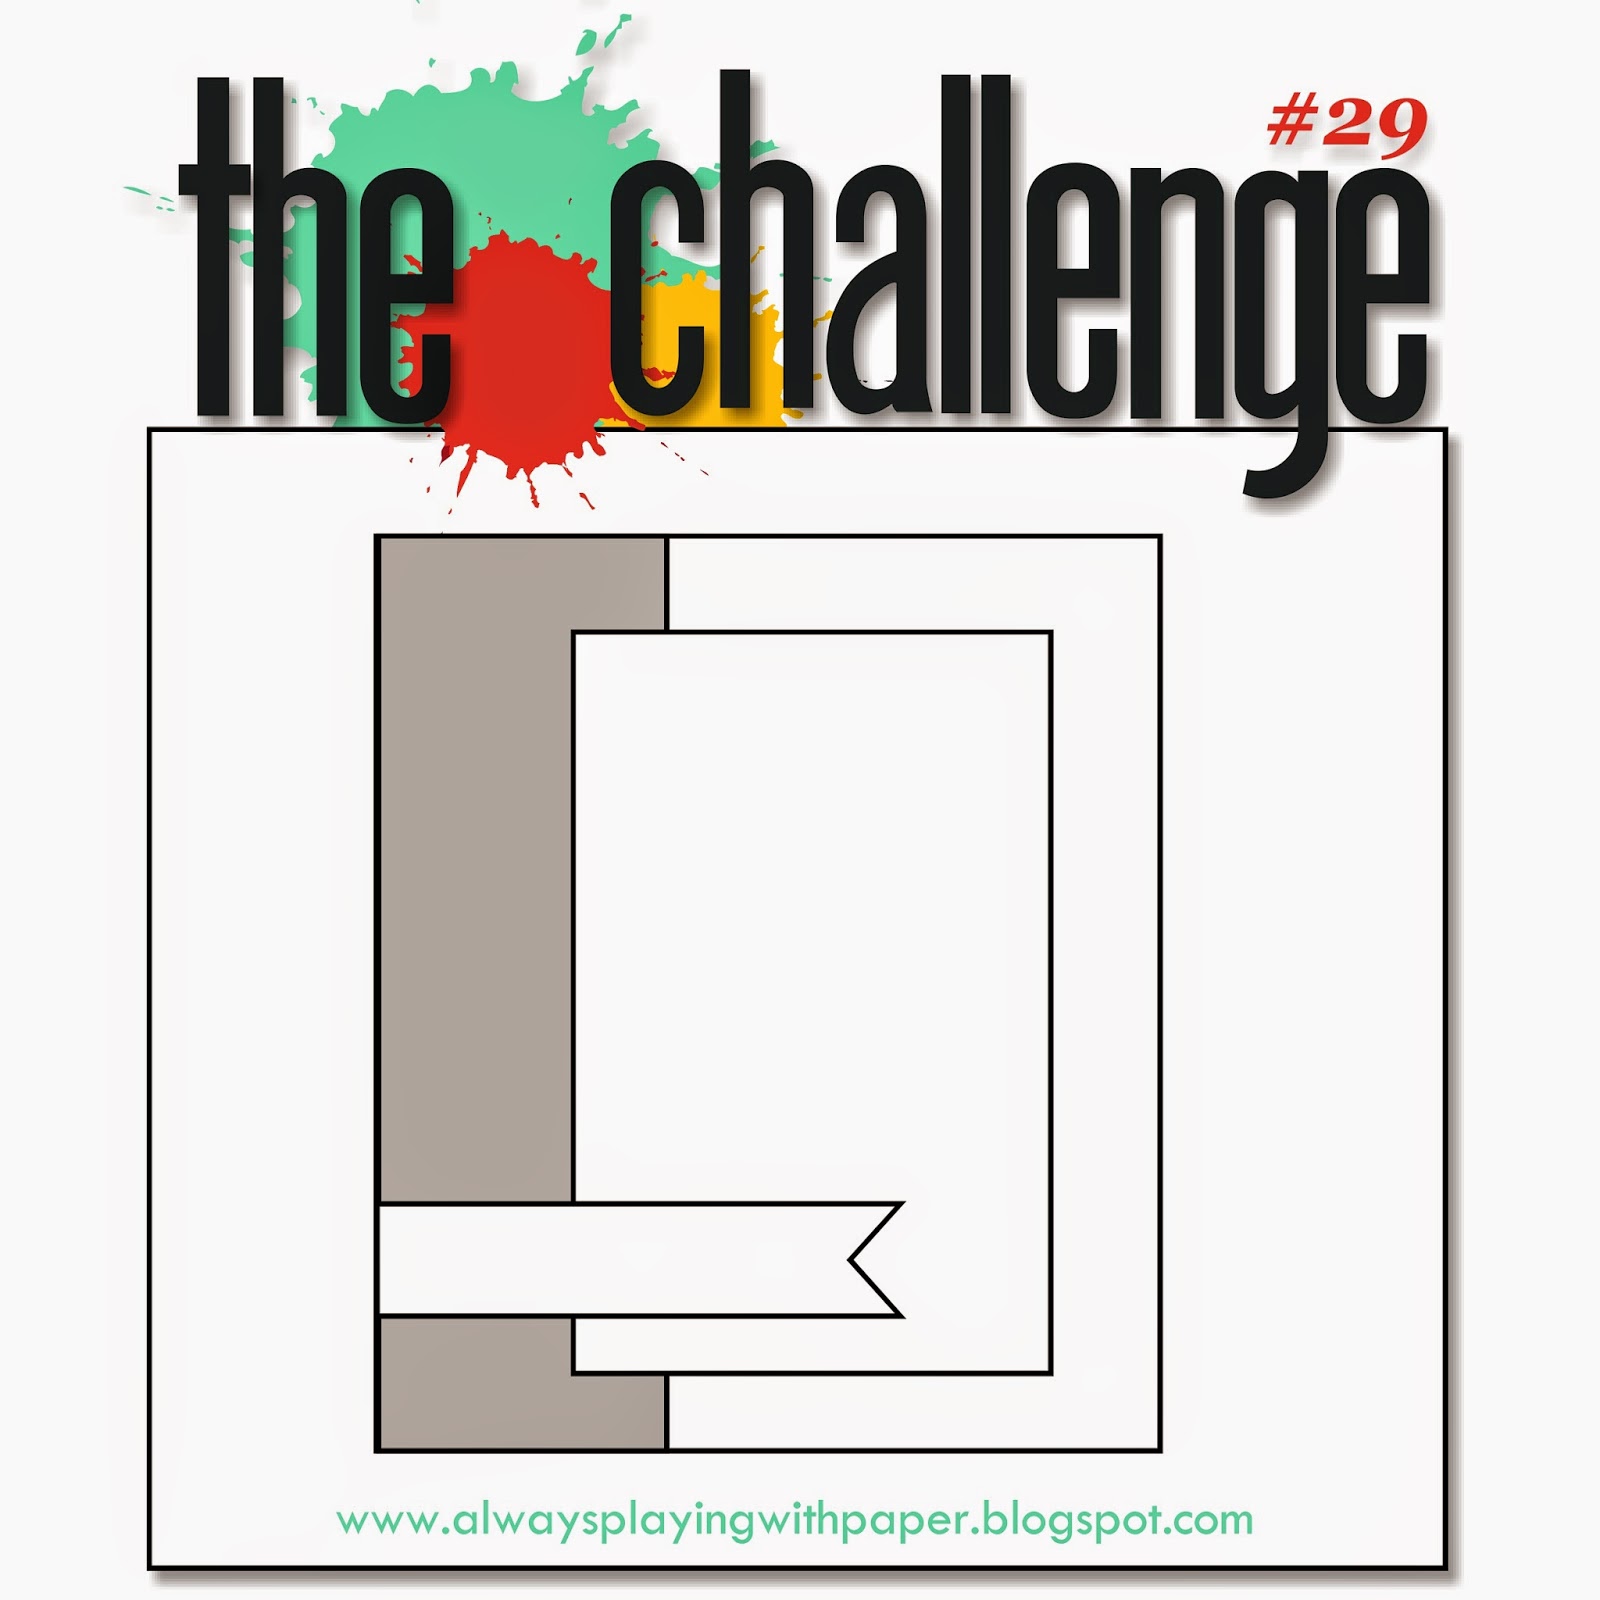
I'd like to take this opportunity to give a big shout-out to the fabulous Nance Leedy, who makes all of our challenge badges and does so much to ensure our weekly challenges run smoothly - Nance, you rock! - didn't she do a great job on my challenge badge this week? I used the sketch layout over at The Challenge for the layout of my card this week, and decided to go floral with my chosen colours - here's my card:
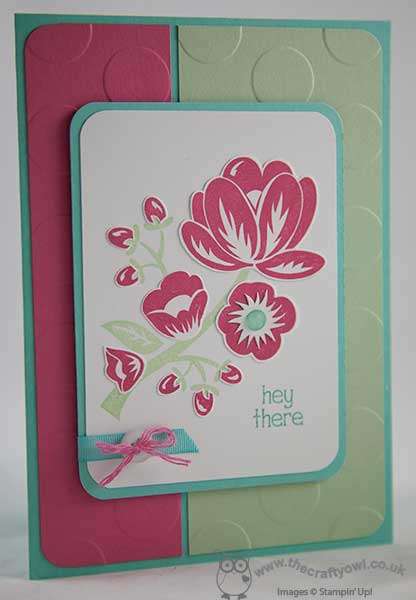
I have had the 'Hey There Buds' stamp set for edges and been dying to ink it up, so decided that today was the day! I used Coastal Cabana for my card base, then created a split mat panel of Strawberry Slush and Coastal Cabana, which I embossed with the large polka dot embossing folder. I matted my central panel of Whisper White on Coastal Cabana too (having rounded the corners of both pieces with my Project Life corner rounder), then on my piece of white I stamped the whole image in Pistachio Pudding, with the exception of the sentiment which I inked up separately with my Coastal Cabana Stampin' Write marker. I then stamped the whole image again on scrap cardstock in Strawberry Slush and fussy cut each of the blooms and stuck these onto the focal panel. I also stamped the central section of the open flower on a scrap of white in Coastal Cabana, and fussy cut around the spiky white section before adhering to the main image. I then added a blob of Crystal Effects to the blue flower centre for some extra dimension. I added a piece of Coastal Cabana ribbon (from the Sale-A-Bration Best Year Ever accessory set) and a white button tied with some split Strawberry Slush thick baker's twine to finish, before popping this panel onto the base using dimensionals.
So a little fussy cutting required, but it enabled me to get a more solid image than selectively colouring the image using markers and I think it was worth it. So before you reach for your paper and inks, check out what our amazing team has created to inspire you this week:
The Paper Players Design Team
Here's a quick recap of our challenge rules:
1. Create a new paper project
2. Upload your creation to your blog with a link back to us and provide a direct link to the post featuring your challenge submission.
3. Please link your card to no more than three challenges, TOTAL.
4. Have FUN!
I hope you like today's project - I'm so looking forward to see what you create with my chosen colour palette - I look forward to seeing your cards and projects in our gallery this week.
I'm off on an all day team training day today, which promises to be fun. I then have two days of classes to look forward to. The James juniors are back to school on Tuesday after the Easter holiday and whilst I will be sorry to see them go, it should at least mean that normal blogging will resume shortly thereafter. This week the call of the warmer weather here in the UK was simply too much and we spent our week outdoors; with the exception of making the samples for next week's classes, my ink pads have remained firmly shut!
Back tomorrow with another project; until then, happy stampin'!
Stampin' Up! Supplies Used:
ebb94aca-7f8e-4a48-98ff-56a8b7bddbba|0|.0|96d5b379-7e1d-4dac-a6ba-1e50db561b04
Tags: In Colours, Hey There Buds, Large Polka Dot TIEF, Big Shot, corner punch, Shop online, Stampin' Up, Stampin' Up Card, Stampin' Up Card ideas, Stampin' Up Supplies, The Paper Players
Cards | Shop Online | Stamping
by Joanne James9. April 2015 08:05It's Thursday and time for another challenge over at Create With Connie and Mary, where this week we have a great colour combination for you:
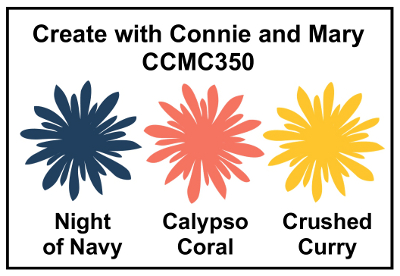
This colour combination appears in the Birthday Bash DSP and I couldn't resist using a piece of it on a fun-fold card for a humorous birthday greeting:
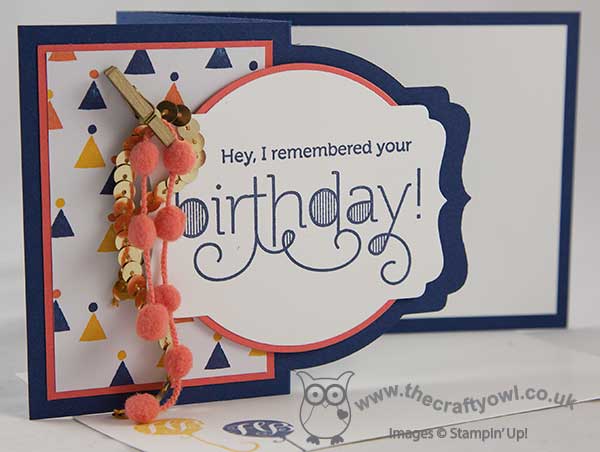
I used Night of Navy for my card base and created a fun-fold card using my Deco Labels framelits. I used Calypso Coral for my mats. I used a piece of the party hat paper for the front section beneath my main sentiment, a lovely curly script from the 'Age Awareness' stampset. I backed my sentiment panel with a circle cut with my circle framelits and popped this up on dimensionals, so that I could attach my Calypso Coral pompom trim and gold sequins to the front with a mini gold peg to add to the party feel. I continued the stamping inside my card, which today I remembered to photograph:
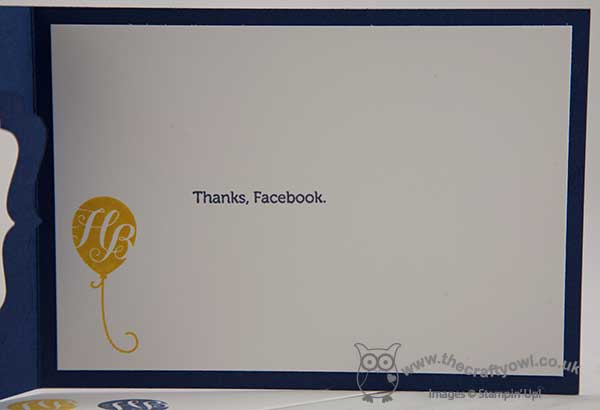
This card is for a good friend whose birthday I not only forgot last year, but worse still bumped into on the day and not even that triggered my extremely poor memory into remembering! Luckily the friend was gracious enough to forgive me, although he has ribbed me mercilessly about it ever since. Needless to say, his birthday isn't until next month but the card is ready and I will be making an extra effort this time around!
The Design Team has some amazing projects to share with you this week, with lots of great inspiration so do pop by their blogs and take a look. So grab your paper and inks and we look forward to seeing you in the gallery this week!
I'll be back tomorrow with another project hopefully; I have my monthly stamp-a-stack class in the morning and the Easter holidays mean I am getting a little less creative time than usual, but I'll do my best. until then, happy stampin'!
Stampin' Up! Supplies Used:
- Age Awareness Photopolymer Stamp Set
- Birthday Bash Specialty Designer Series Paper
- Calypso Coral Pompom Trim `
- Gold Sequin Trim
- Mini Metallic Clothespins
- Deco Labels Collection Framelits Dies
- Circles Collection Framelits Dies
- Big Shot Die-Cut Machine
- Whisper White A4 Card Stock
- Night Of Navy Classic Stampin' Pad
- Night Of Navy A4 Card Stock
- Calypso Coral A4 Card Stock
- Crushed Curry Classic Stampin' Pad
40d39189-44f7-4d94-a627-8d578aa3034d|1|4.0|96d5b379-7e1d-4dac-a6ba-1e50db561b04
Tags: Birthday Bash, Big Shot, Age Awareness, Deco Labels Framelits, Circles Framelits, Create With Connie And Mary, Fun Folds, Shop online, Stampin' Up, Stampin' Up Card, Stampin' Up Card ideas, Stampin' Up Supplies
Cards | Stamping
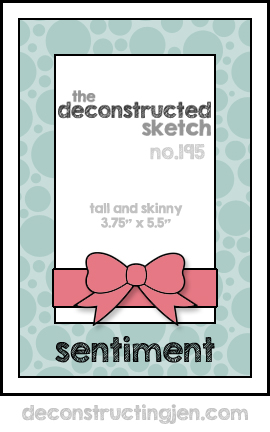
by Joanne James6. April 2015 10:29Happy Monday everyone! I am here nice and prompt today to share a card that I made using the same sketch as yesterday from the Deconstructed Sketch for my old friends over at Colour Me...! as I haven't played along with those lovely ladies in ages:
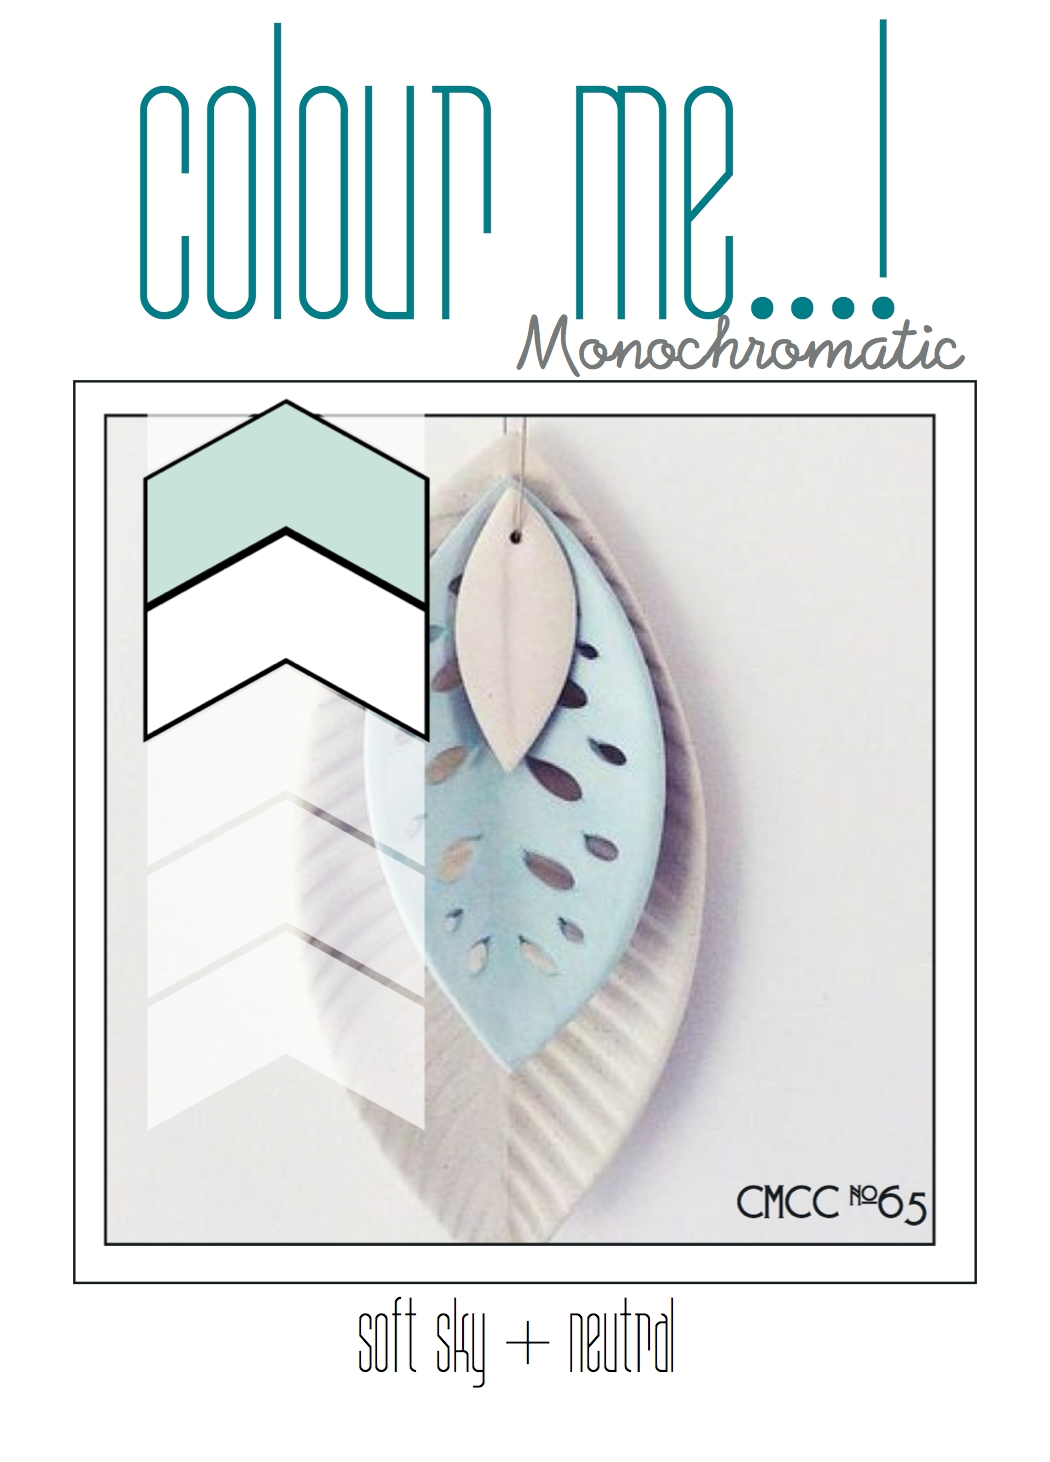
Sandy's card this week is so gorgeous it prompted me to get in the monochromatic groove. Here is my card using this week's colours:
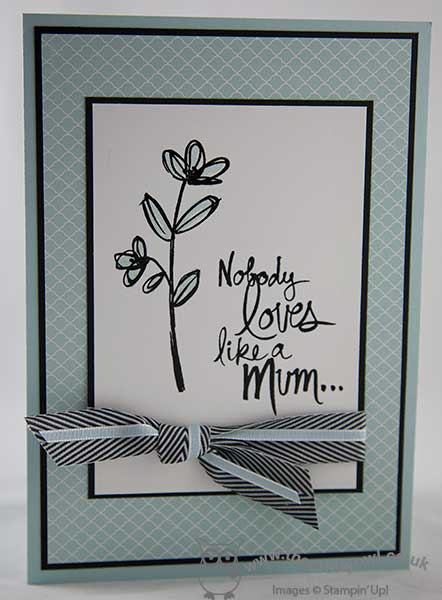
I made a slightly larger card than usual (A5 finished size) as I wanted to have plenty of space on my central panel. I used Soft Sky for my base and a piece of Soft Sky DSP from the Subtles paper stack for my patterned mat, along with some black mats to frame everything, then having stamped the base floral image in Soft Sky, I then stamped the top layer image and the sentiment in Versamark and heat embossed them with black embossing powder, which give a lovely sheen and glossy texture. I finished with a simple knotted bow using some black chevron ribbon overlaid with Soft Sky taffeta ribbon for a little touch of luxury. I decorated the inside of the card with the remaining half of the sentiment and some flowers (apologies - no photo!). I adore this stamp set - I love those two step stamping flowers, so easy to achieve with photopolymer, and the sentiment is just so heartfelt for a card to a mother - for Mother's Day, a birthday or 'just because'.
That's me done for today - I have some jobs to do and lunch to prepare before a pleasant bike ride to look forward to this afternoon, if the day turns out to be as nice as it looks right now. Back tomorrow with another project; until then, happy stampin'!
Stampin' Up! Supplies Used:
by Joanne James5. April 2015 18:00A quick extra post today to share my last Easter card with you - you can see my earlier post for The Paper Players here. I made this one using this week's Deconstructed Sketch for my layout and am also linking up with the 4 Crafty Chicks where the challenge is Easter and The Friday Mashup where their challenge is to use 'Easter Critters' on your card (I chose not to mashup with their colours):

I have yet to share a Cheerful Critter card with you, so since today is Easter Sunday it seemed like a good opportunity:
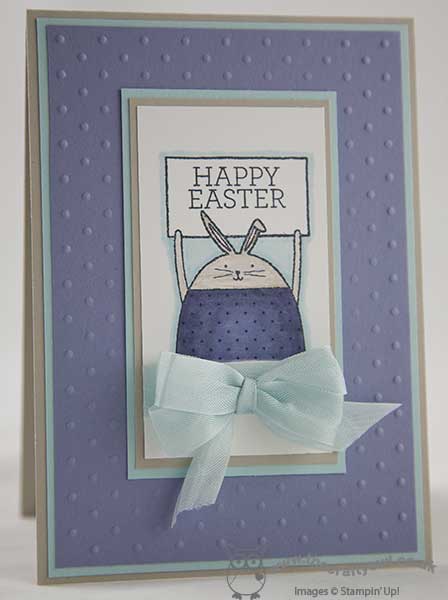
I decided on some simple layering in Sahara Sand, Soft Sky and Wisteria Wonder, with the main frame embossed with the Perfect Polka Dots Embossing Folder to echo the dots on the bunny's top. I coloured my bunny with the now discontinued Wisteria Wonder and Soft Sky Blendabilities and the bunny itself with a Sahara Sand marker and blender pen. I used two of the stamps from the 'Crazy About You' stamp set to create my custom sentiment. Lastly, I added a double bow in Soft Sky seam binding ribbon to finish my rather girly and feminine-looking card.
Before I go, I just thought I would share a quick photo of my very own Easter bunnies in the garden this morning, sporting some fun props we made from a variety of punches and dies:
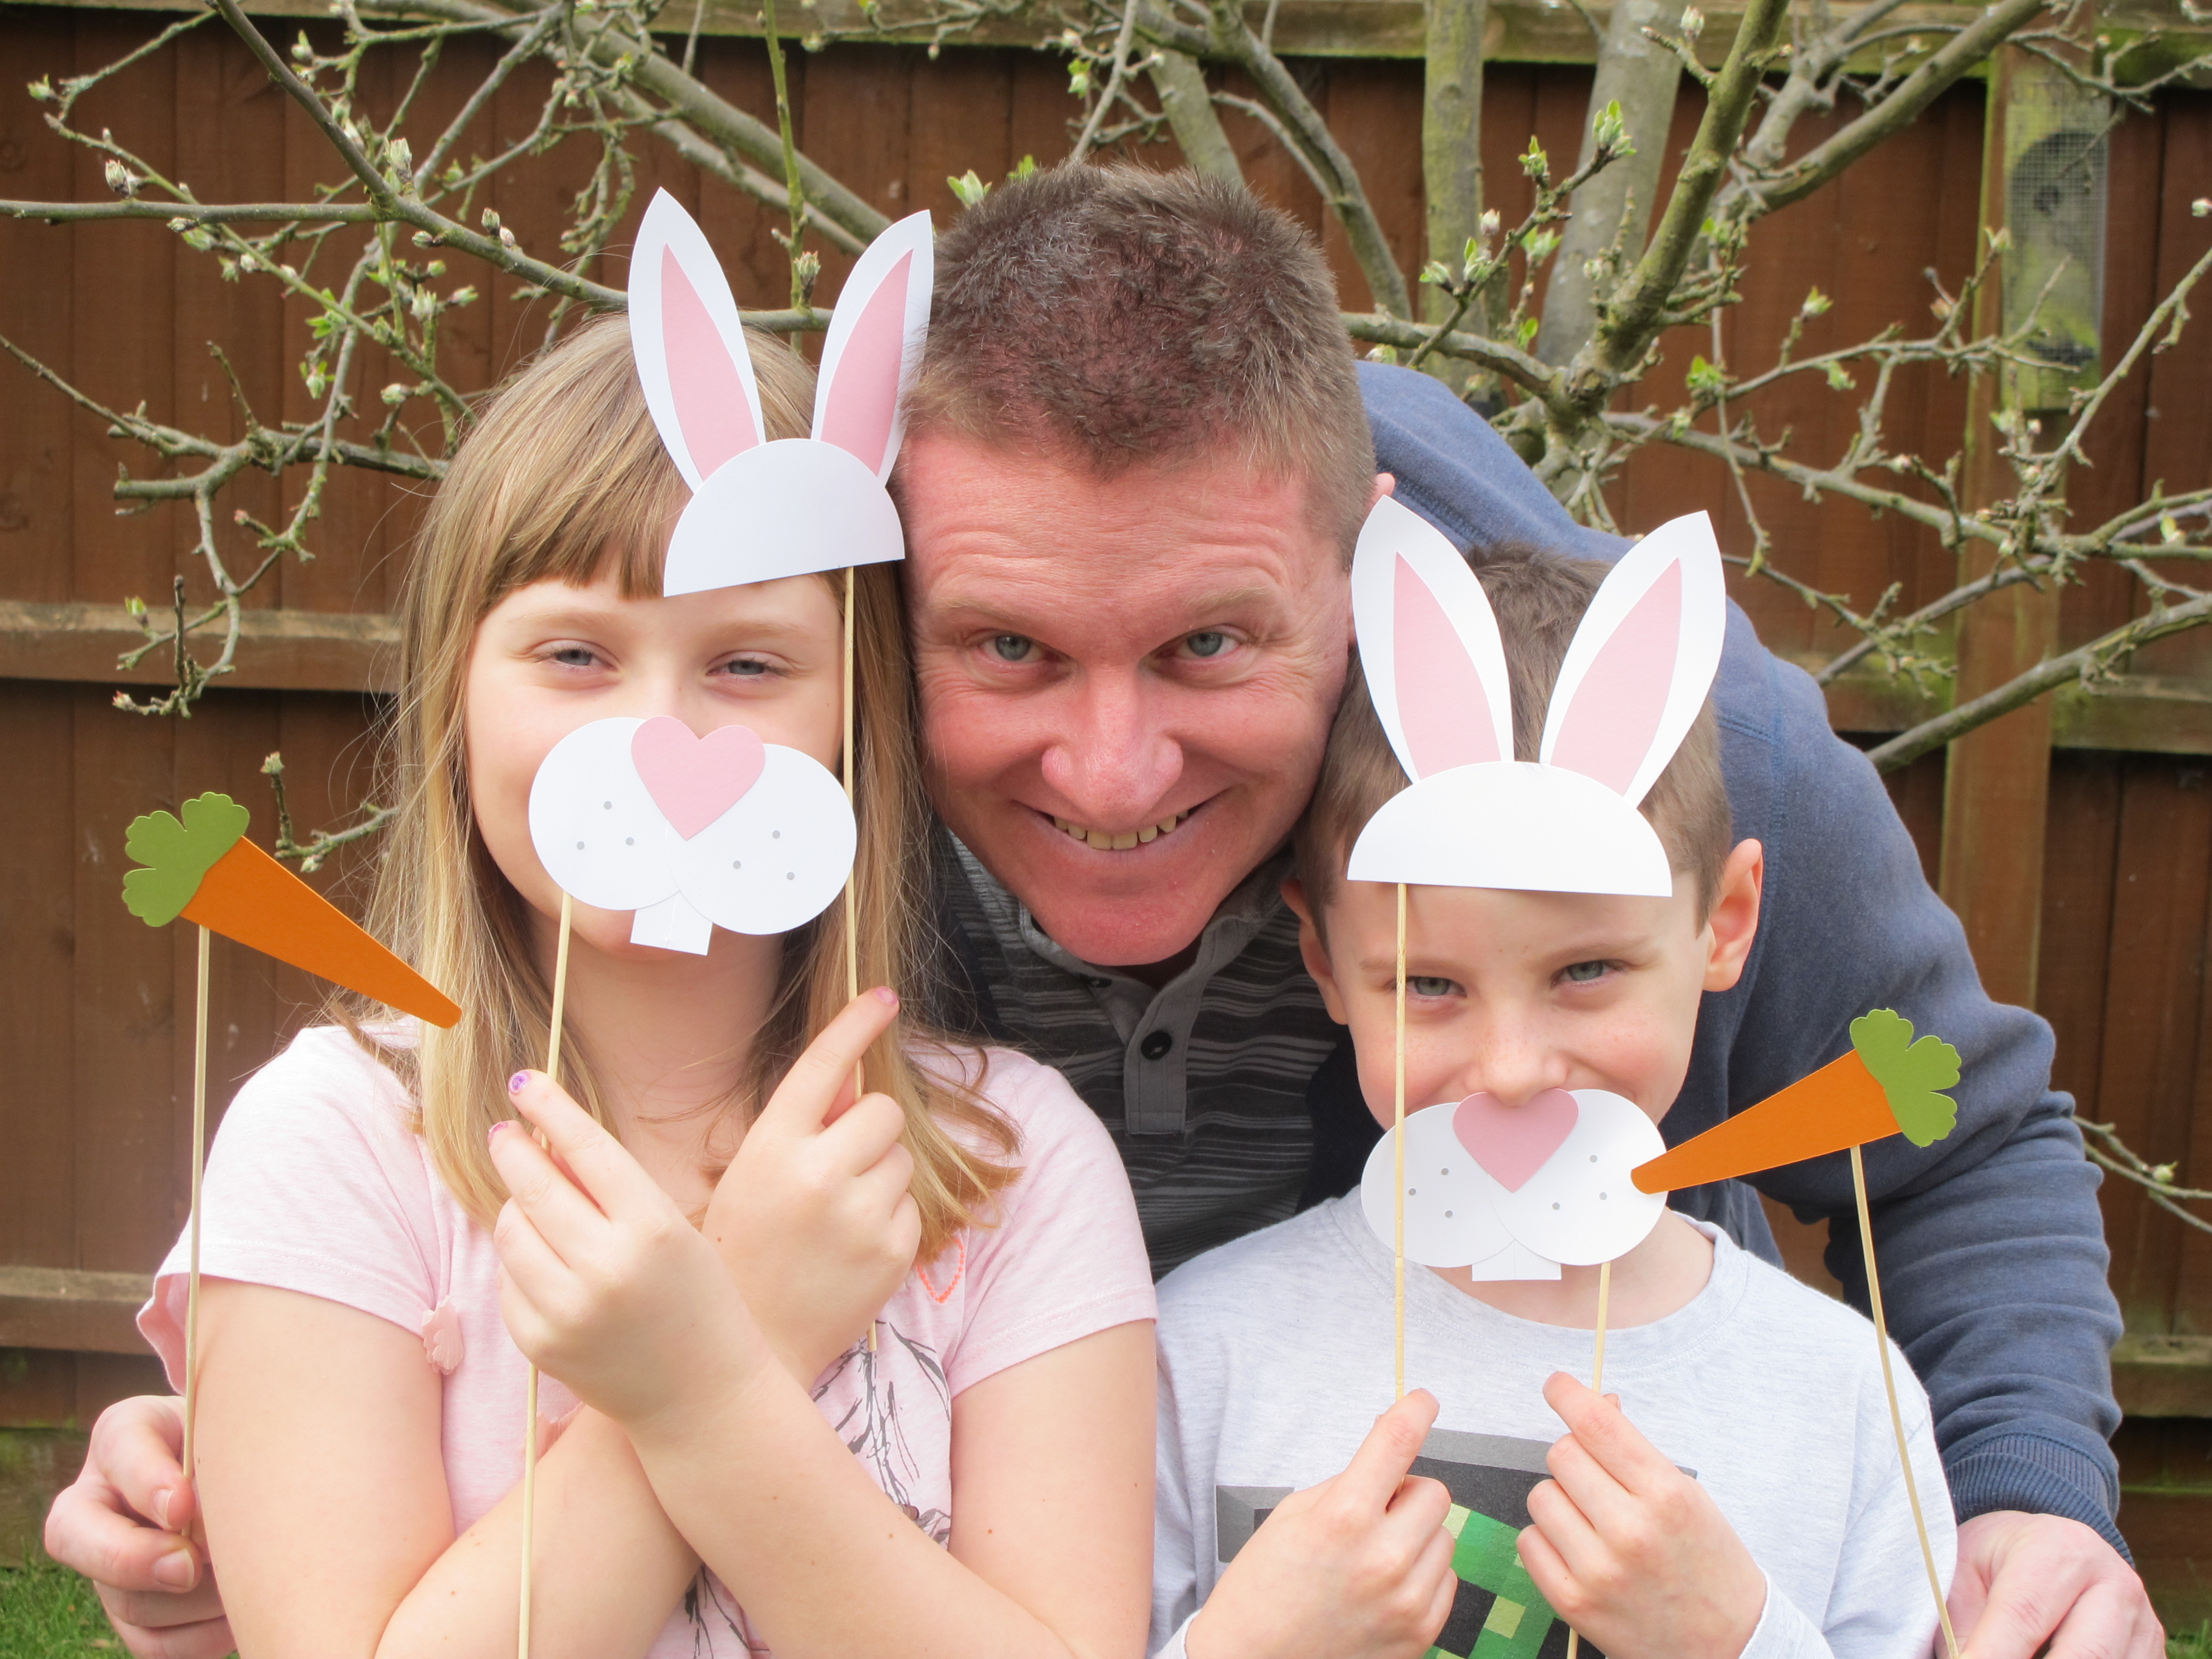
Cute, aren't they?! That really is all from me today; back tomorrow with antoehr project. Until then, happy stampin'!
Stampin' Up! Supplies Used:
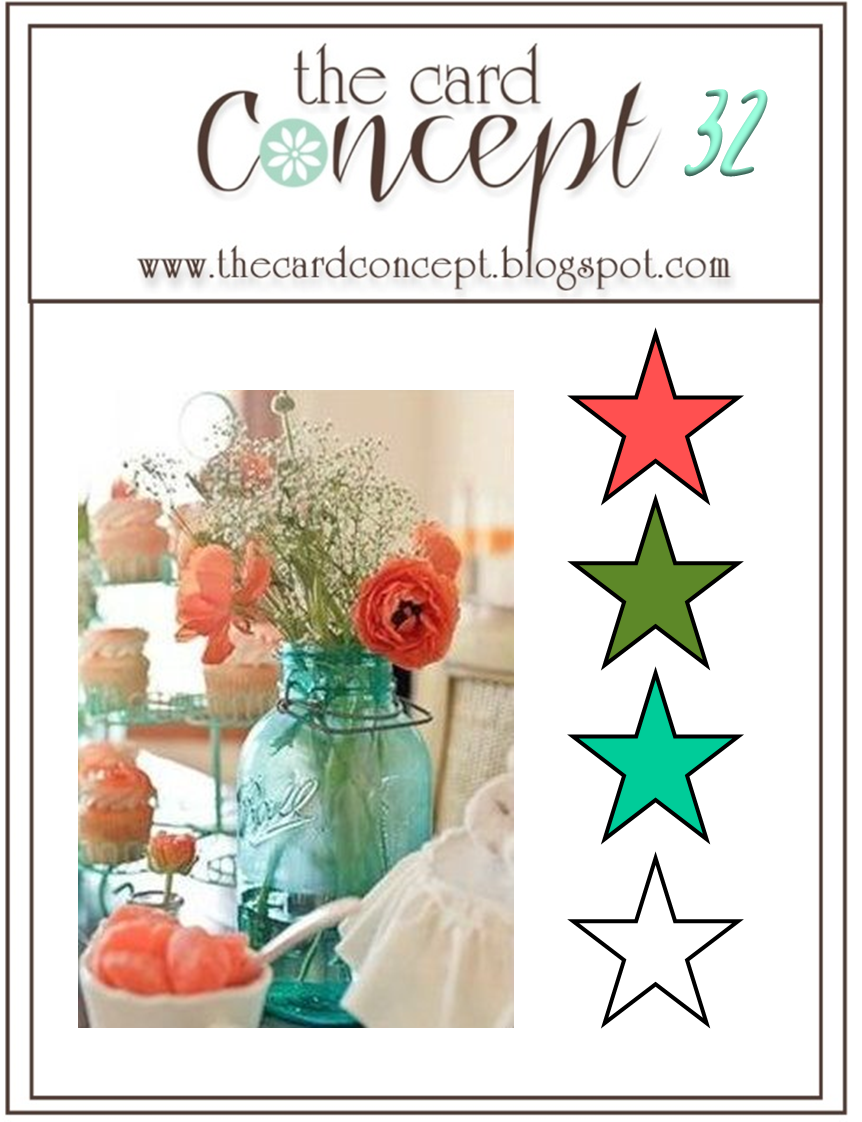
by Joanne James4. April 2015 10:00I have a couple of posts for you today - the first one is for this week's challenge over at SUO Challenges, where they have a 'fun fold' challenge going on. I was also inspired to use the colours over at The Card Concept - don't you just love that inspiration photo?
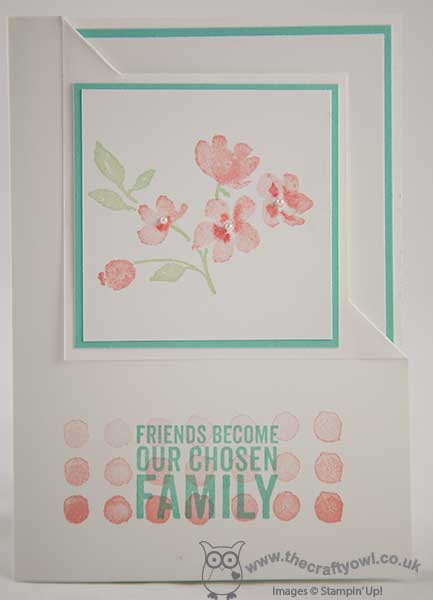
Now I don't often make fun fold cards, although I saw a really 'simple but effective' one over on LeeAnn Greff's blog here a couple of weeks ago (inspired by an original card by Darlene McCallum) that I really wanted to try. When I went to LeeAnn's blog to link up, she has today added a video tutorial here, although I had already made my card and used slightly different measurements to this as I was working in metric. Here is my version:
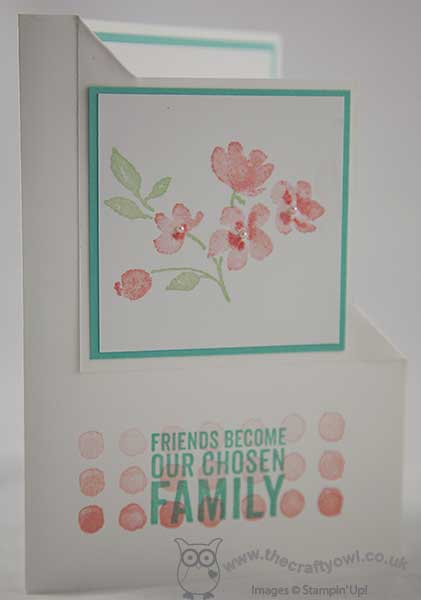
It wasn't too tricky to work out where to make the cuts using my Stampin' Trimmer to make the folded corner and once they were in place I could adhere the front panel, which featured my Painted Petals blooms, stamped in Pistachio Pudding and Crisp Cantaloupe, with a little detail added using a Calypso Coral Stampin' Write marker and some tiny pearls and matted onto a piece of Coastal Cabana. I created an ombre border using the dot stamp in Crisp Cantaloupe along the bottom, starting with the bottom row and working upwards, stamping each time without reinking. I then overstamped my sentiment in Coastal Cabana.
I need to add a couple more photos showing this card from the inside and so that you can better see it with the front face closed against the back panel. I love this fun fold - it enables me to maintain my 'clean and layered' look whilst adding an unexpected twist.
Back later with another fun Easter project; until then, happy stampin'!
Stampin' Up! Supplies Used:
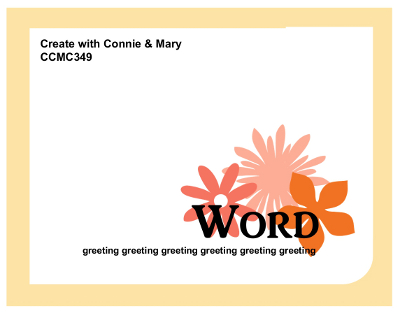
by Joanne James2. April 2015 08:05It's time for a new Thursday challenge over at Create With Connie and Mary and this week we have a great sketch challenge for you:
Here is my card today:
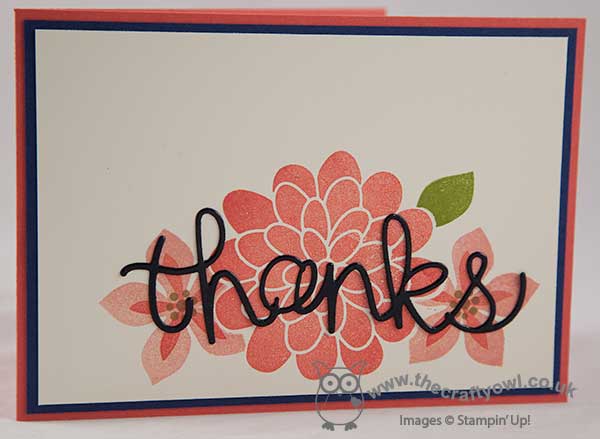
I decided to make a simple floral background for my word with a trio of flowers from the 'Flower Patch' stamp set, stamped in Calypso Coral, Crisp Cantaloupe and Baked Brown Sugar. I stamped the large central flower first, then created a mask using a post-it note and the co-ordinating Flower Fair framelits to create a mask before stamping the outer flowers, so that they appeared behind the central bloom.
For my sentiment, I chose a 'thanks' cut with my 'Hello You' thinlits dies out of Night of Navy cardstock, but before adhering to my card I coated it in Versamark and heat embossed it in clear embossing powder several times, until it became beautifully shiny and glossy. One of those 'it looks much better in real life' moments I'm afraid, as the photo doesn't really show just how pretty this looks!
Don't forget to check out what the rest of the team have in store for you - we look forward to seeing your creations in the gallery this week!
Stampin' Up! Supplies Used:
- Flower Patch Photopolymer Bundle
- Big Shot Die-Cut Machine
- Embossing Buddy
- Versamark Pad
- Clear Stampin' Emboss Powder
- Heat Tool - Uk Plug
- Hello You Thinlits Dies
- Baked Brown Sugar Classic Stampin' Pad
- Crisp Cantaloupe Classic Stampin' Pad
- Old Olive Classic Stampin' Pad
- Calypso Coral Classic Stampin' Pad
- Calypso Coral A4 Card Stock
- Night Of Navy A4 Card Stock
- Very Vanilla A4 Card Stock
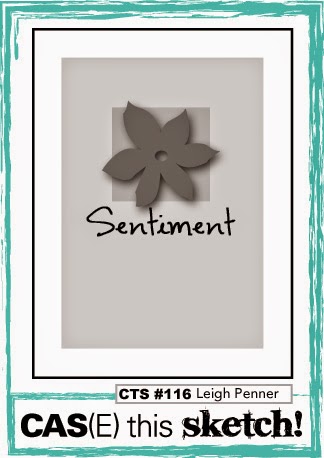
by Joanne James1. April 2015 14:07Time for today's creative post and I have a fun masculine card, using this week's layout over at CAS(E) This Sketch and the current challenge over at Less Is More, where the task is to combine any 3 previous challenges:
I haven't managed to play along with the lovely ladies over at Less is More for a few weeks, so today's card was a great opportunity to combine some of their previous challenges for my card - I chose:
- Week 7 - theme - masculine
- Week 121 - recipe - humour
- Week 127 - colour - 50 shades of grey
Here's the card I came up with:
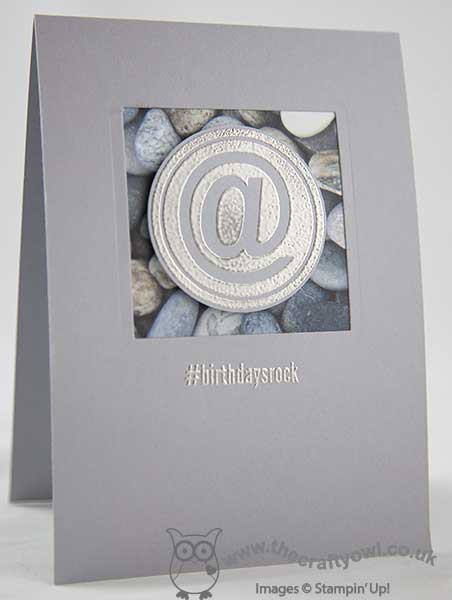
I decided the sketch was perfect to use a small piece of DSP, something I don't often use on my LIM cards, but this card has sufficient 'white space' that I can get away with it. I love the natural patterned papers in the 'Adventure Bound' DSP stack and having seen so many with a fun 'play on words' with those pebbles, I thought it was about time I shared my version. My card really is quite simple: a base of Smoky Slate and an aperture cut using my Big Shot and the Squares Framelits - on offer as one of this week's Wednesday Weekly Deals for just £17.21, bargain! - and backed with a piece of the pebble-patterned paper (there must be at least 50 shades of grey in there!) and a simple sentiment consisting of an '@' stamped in Versamark and heat embossed in Pewter embossing powder, punched out with a 2" circle punch and popped up on some dimensionals and paired with the '#birthdaysrock' sentiment from the same #Hello stamp set, also heat embossed in pewter.
A simple yet fun card, perfect for a man with a sense of humour!
Back tomorrow with this week's card for the new Thursday Challenge over at Create With Connie and Mary. until then, happy stampin'!
Stampin' Up! Supplies Used: