You Did It! With Giggle Greetings

by Joanne James7. February 2016 09:00

Did you miss me? Apologies for the lack of blog posts over the last couple of days. I've had plenty of projects, just not enough time to write up! However today it's Sunday and time for a new challenge over at The Paper PlayersThis week it is the turn of my talented friend LeAnne to host and she has a fun theme challenge for you to play along with:


This proved something of a tricky week for me! As someone known for not being the world's biggest pet lover, I don't have much in the way of cats or dogs in my stamp collection. I'd been thinking about what I was going to do for this challenge all week, wondering whether I should get creative with some punch art, when I had a 'light bulb' moment and thought I would use my Balloon Builders set and build a dog. When I looked at my finished attempt, I wasn't sure about it; my husband poked his head round my office door, looked at it and said "Well, maybe it could pass for Wylie Kyote ... are you SURE you don't have any cat or dog stamps??" and proceeded to go searching along my shelves! So needless to say the balloons got tossed aside in favour of this card, as my dear husband had a 'Eureka!' moment and discovered my long-unused Giggle Greetings set:


I used this week's Colour Q palette and coloured my dog with my retired Blendabilities and created some fun layers with some embossing using my large polka dots embossing folder on the top one. I framed my stamped piece using my Circle Framelits, added a few banners from some retired scraps of designer series paper and some thick Cherry Cobbler baker's twine and my card is complete.

A fun puppy dog that as it turns out was perfect for the job and since I needed a few congratulations cards too I got one of those into the bargain! That will teach me to get all creative and not check my collection thoroughly first!! (edited to add: I did decide to put the balloon animal to good use, although balloon dog might be considered a stretch! You can find him here - let me know what you think!)

Before you reach for your ink and papers, check out what our amazing team has created to inspire you this week:

The Paper Players Design Team
 
 
Here's a quick recap of our challenge rules:
 
1.  Create a new paper project
2.  Upload your creation to your blog with a link back to us and provide a direct link to the post featuring your challenge submission.
3.  Please link your card to no more than four challenges, TOTAL.
4.  Have FUN! 


I look forward to seeing what you create with this week's theme. We have a day of sport today, with basketball and hockey in store and then some time this afternoon making Tudor costumes for Ben's current school history project.

Back tomorrow with another project; until then, happy stampin'!


Stampin' Up! Supplies Used: 

Table built using Product Table Builder by The Crafty Owl - Independent Stampin' Up! Demonstrator.

Doodling with Dots Decorative Mask For A Teacher Thank You Card

by Joanne James7. July 2015 08:00

Today I have a card using the sketch challenge over at Paper Craft Crew and the colours over at Pals Paper Arts as the inspiration for my teacher thank you card:

Paper Craft Crew Card Sketch 151. #stampinup #papercraftcrew   PPA 258 Jul. 2

Now I know I entered a teacher thank you card into last week's challenge over at Pals Paper Arts (if you missed it you can see that card here) but what can I say - I need lots of them! I love the bright colour combination here so took the opportunity to do a little doodling - take a look:

I used Night of Navy for my card base which measures 5 3/4" x 5 3/4" and matted a strip of Cucumber Crush striped envelope paper with a strip of Watermelon Wonder cardstock. For my central panel, I embossed a piece of Whisper White with the large polka dot embossing folder for added texture, although difficult to see in the photograph, and then overlaid this with my circle stencil and used my Watermelon Wonder Stampin' Write Marker to doodle an apple shape. I added my stem and leaves freehand and finished with a navy seam binding ribbon bow, some Cucumber Crush lace trim and a trio of white candy dots. I finished with the thank you sentiment from the 'Tin of Cards' stamp set - this is such a great set, I've used it lots already and haven't even made my tin of cards yet!! - stamped in Night of Navy on Watermelon Wonder, and finished with a juicy green apple punched using my tree builder punch. 

I think the colours of this card really pack a punch and my non-standard card size meant a custom envelope would be the order of the day. What better way to finish than with a co-ordinating envelope made from the gorgeous new Cucumber Crush envelope paper? This lightweight paper makes beautifully crisp envelopes and with the aid of my trusty Envelope Expert from The Crafty Owl it was easy to work out what size paper and punch markings I required (9 1/4" and 4 5/8" respectively, in case you were wondering!)

I hope you like today's card; I'll be back tomorrow with a new set of Wednesday Weekly Deals and another project for you. Until then, happy stampin'!


Stampin' Up! Supplies Used:

Table built using Product Table Builder by The Crafty Owl - Independent Stampin' Up! Demonstrator.


In Colour Work Of Art Thank You Cards

by Joanne James3. July 2015 22:03

A quick post from me today as I've had a full-on busy day: each of the James Juniors has had a birthday party to attend today, followed by a swimming gala, the first for Ben at this venue. Both had great swims with some great personal best timings, so a god day had by all. Today's trio of cards are another entry for the Fab Friday challenge where in colours are the order of the day:

I wanted to create a card that use all five colours and decided to go with a simple design that showed off the fabulous new in-colour lace trim - take a look:

I used a card base of extra thick Whisper White cardstock, matted with an in colour (this one is Cucumber Crush), followed by a Whisper White panel embossed with the Large Dolka Dot Textured Impressions Embossing folder then a random colour pattern of dots using all of the in colours with the spot from the Work of Art stamp set. I finished with a co-ordinating piece of in colour lace trim, tied with a bow of white baker's twine. I wanted to make a couple of cards that were post-friendly and this lace trim is great for a non-bulky trim, however it also makes a beautiful bow - take a look at the Delightful Dijon bow below:

Isn't that just so pretty? I also made a post-friendly version in Watermelon Wonder: 

Since the outside is sentiment-free, I wanted to be sure to include one on the inside:


These are thank you cards destined for some of my customers so a big 'thank you' is definitely appropriate! Do you love this year's new in colours? Which one is your favourite? Do let me know in your comments below.

Back tomorrow with a new challenge over at The Paper Players; until then, happy stampin'! 


Stampin' Up! Supplies Used:

Table built using Product Table Builder by The Crafty Owl - Independent Stampin' Up! Demonstrator.

Wetlands Thinking Of You

by Joanne James18. June 2015 08:00

It's Thursday and time for this week's new challenge over at Create With Connie and Mary. This week we have a colour challenge for you:

I found this quite a difficult colour combo to work with (I think it was the brown and grey together that did it for me), although the brown and grey duo did remind me of Canadian geese, so in the end I went with a rather safe masculine card using my Wetlands set: 

I combined this trusted favourite, which I stamped in Chocolate Chip on watercolour paper and coloured in all three inks using my Aquapainter, with some of the new Chocolate Chip Neutrals DSP Stack with the polka dot pattern. My Island Indigo circle is also embossed with the Large Polka Dots embossing folder, although it is difficult to see in the photo. A little background Gorgeous Grunge, some threads of jute ribbon and a candy dot finish my card.

Do pop over and see what the other designers have come up with  - there are some great examples of how this trio can be combined on your cards! Don't forget to check out the challenge rules too before entering :-)

I'll be back tomorrow with a bright and colourful birthday card; until then, happy stampin'!


Stampin' Up! Supplies Used:

  • Big Shot
  • Magnetic Platform
  • Wetlands Clear Stamp Set
  • 2" Circle Punch
  • Watercolor Paper
  • Aqua Painters
  • White 1-1/4" (3.2 Cm) Jute Ribbon
  • Gorgeous Grunge Clear-Mount Stamp Set
  • Polka Dot Textured Impressions Embossing Folder
  • Island Indigo Classic Stampin' Pad
  • Island Indigo A4 Cardstock
  • Chocolate Chip Classic Stampin' Pad
  • Chocolate Chip A4 Cardstock
  • Smoky Slate Classic Stampin' Pad
  • Smoky Slate A4 Cardstock
  • Regals Candy Dots


2013-15 In Colour Hey There Buds Card for The Paper Players

by Joanne James12. April 2015 10:00

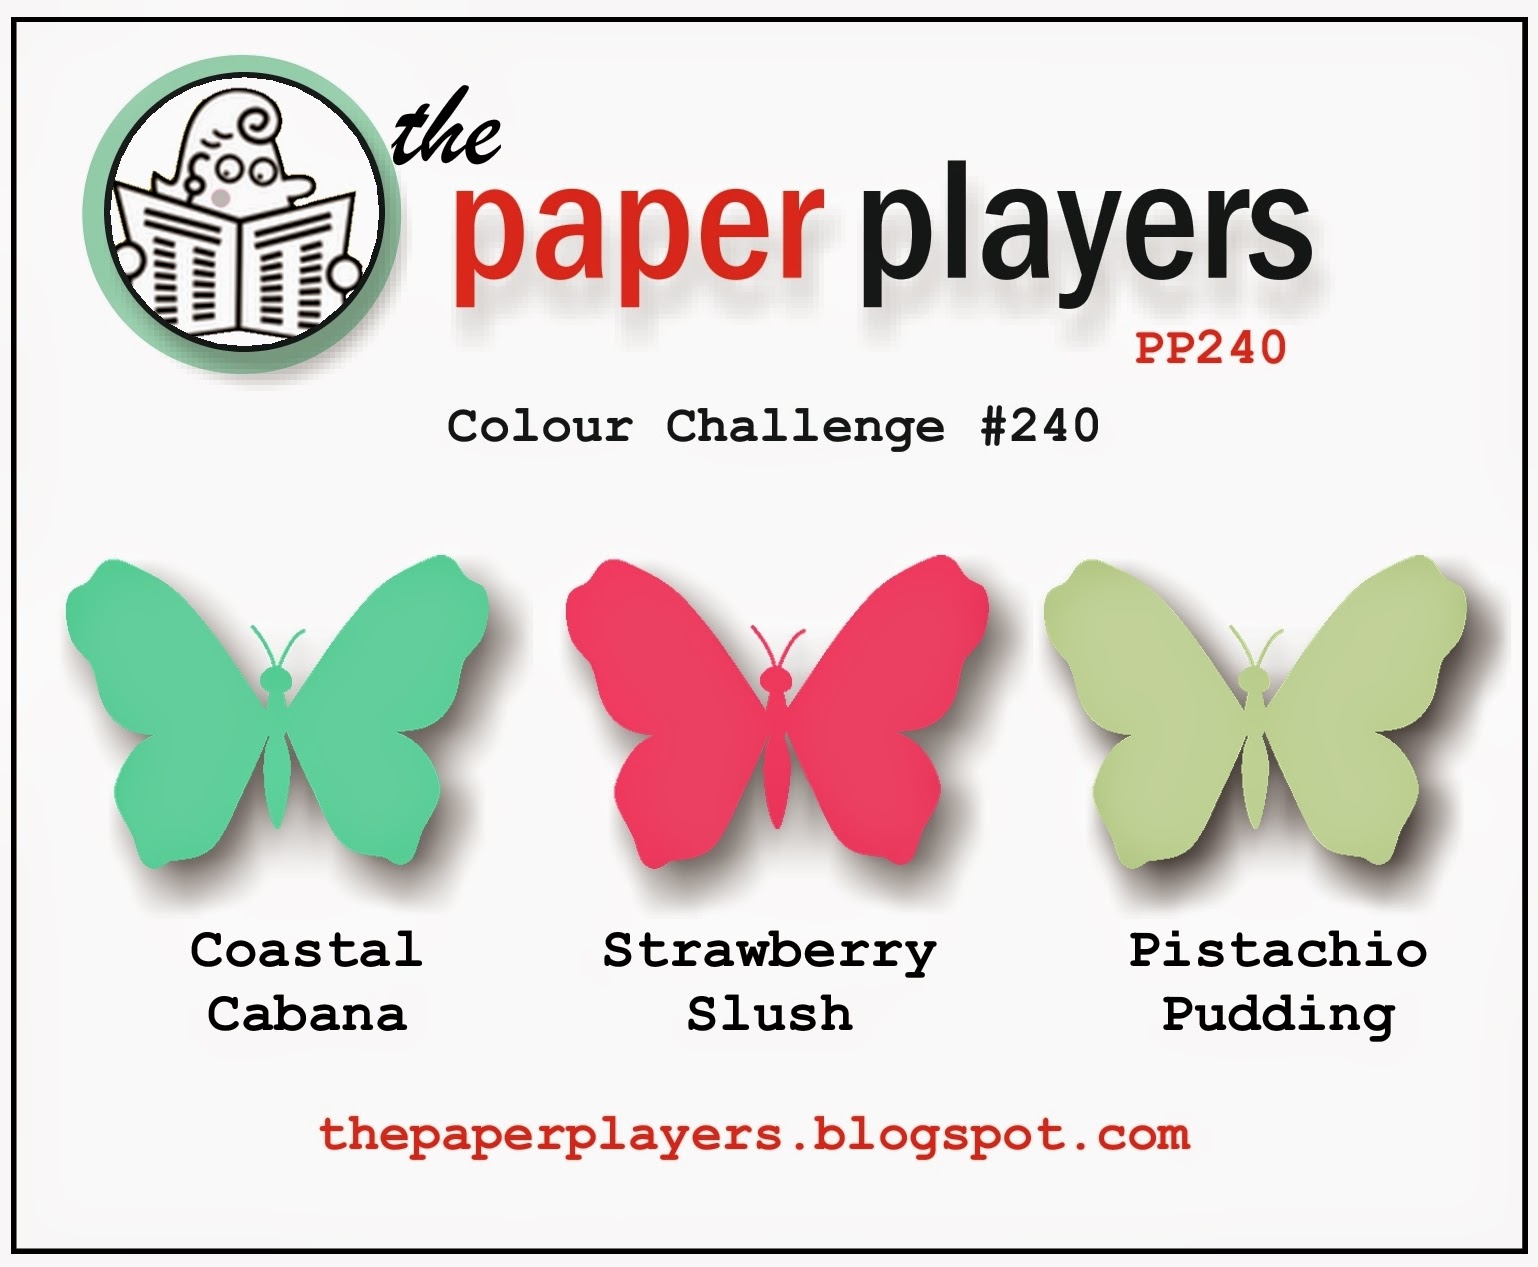
It's Sunday and time for a new challenge over at The Paper Players and this week we have a colour challenge for you and I am the hostess! Stampin' Up!'s 2013-15 In Colours will soon retire on the 2nd June, to make way for five new In-Colours in the new annual catalogue. Whilst we still have them though, I thought this week we would showcase three of my personal favourites:


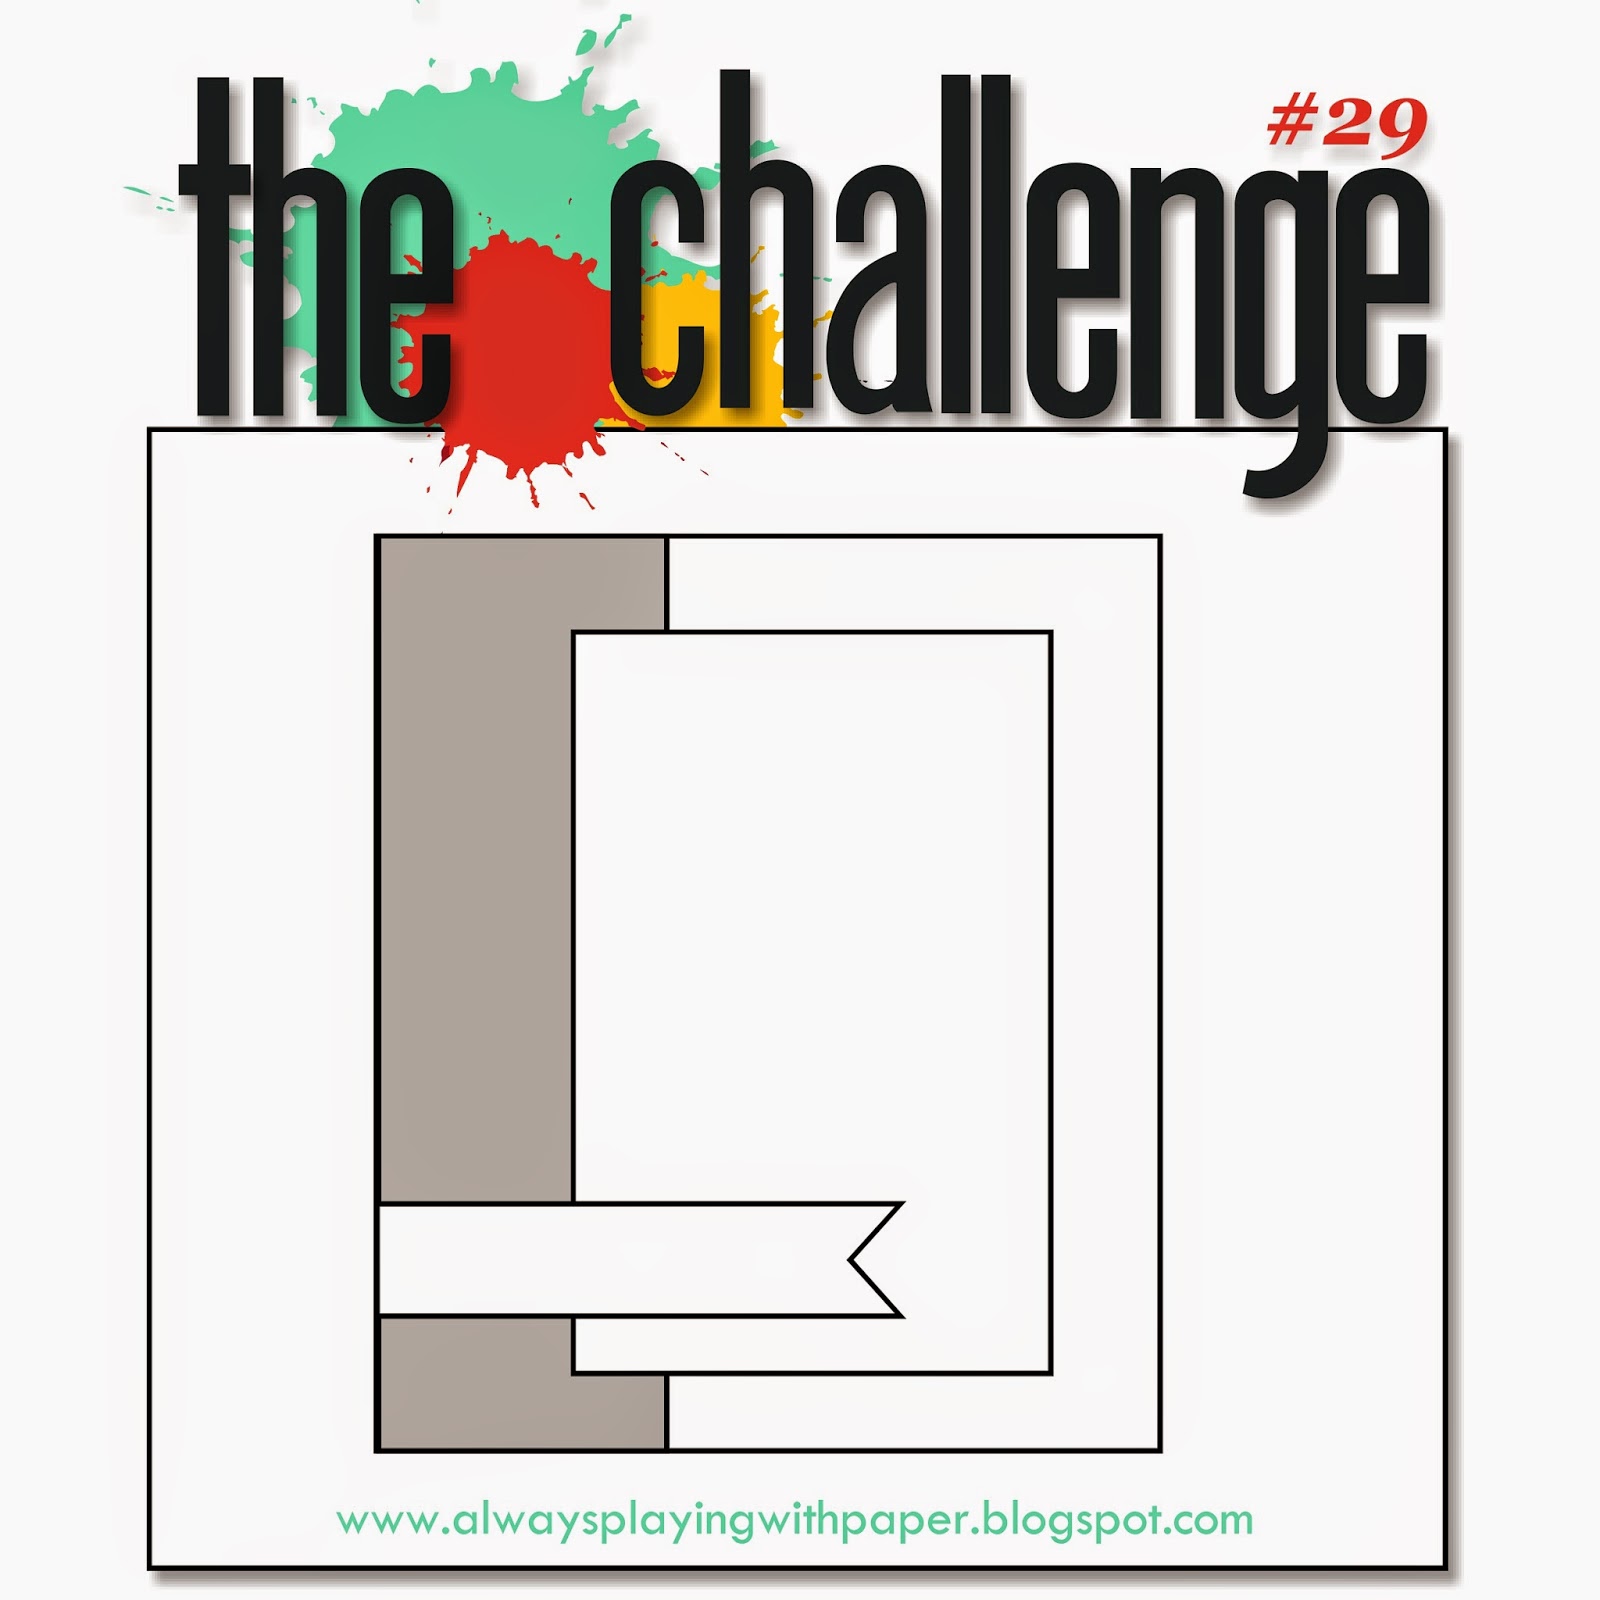
I'd like to take this opportunity to give a big shout-out to the fabulous Nance Leedy, who makes all of our challenge badges and does so much to ensure our weekly challenges run smoothly - Nance, you rock! - didn't she do a great job on my challenge badge this week? I used the sketch layout over at The Challenge for the layout of my card this week, and decided to go floral with my chosen colours - here's my card:

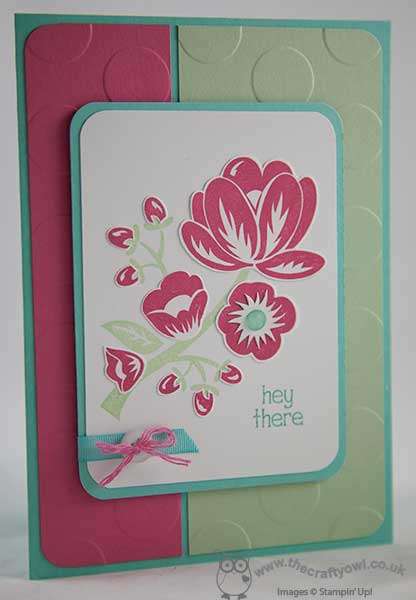
I have had the 'Hey There Buds' stamp set for edges and been dying to ink it up, so decided that today was the day! I used Coastal Cabana for my card base, then created a split mat panel of Strawberry Slush and Coastal Cabana, which I embossed with the large polka dot embossing folder. I matted my central panel of Whisper White on Coastal Cabana too (having rounded the corners of both pieces with my Project Life corner rounder), then on my piece of white I stamped the whole image in Pistachio Pudding, with the exception of the sentiment which I inked up separately with my Coastal Cabana Stampin' Write marker. I then stamped the whole image again on scrap cardstock in Strawberry Slush and fussy cut each of the blooms and stuck these onto the focal panel. I also stamped the central section of the open flower on a scrap of white in Coastal Cabana, and fussy cut around the spiky white section before adhering to the main image. I then added a blob of Crystal Effects to the blue flower centre for some extra dimension. I added a piece of Coastal Cabana ribbon (from the Sale-A-Bration Best Year Ever accessory set) and a white button tied with some split Strawberry Slush thick baker's twine to finish, before popping this panel onto the base using dimensionals.

So a little fussy cutting required, but it enabled me to get a more solid image than selectively colouring the image using markers and I think it was worth it. So before you reach for your paper and inks, check out what our amazing team has created to inspire you this week:

The Paper Players Design Team
 
Here's a quick recap of our challenge rules:
 
1.  Create a new paper project
2.  Upload your creation to your blog with a link back to us and provide a direct link to the post featuring your challenge submission.
3.  Please link your card to no more than three challenges, TOTAL.
4.  Have FUN! 

I hope you like today's project - I'm so looking forward to see what you create with my chosen colour palette - I look forward to seeing your cards and projects in our gallery this week.

I'm off on an all day team training day today, which promises to be fun. I then have two days of classes to look forward to. The James juniors are back to school on Tuesday after the Easter holiday and whilst I will be sorry to see them go, it should at least mean that normal blogging will resume shortly thereafter. This week the call of the warmer weather here in the UK was simply too much and we spent our week outdoors; with the exception of making the samples for next week's classes, my ink pads have remained firmly shut!

Back tomorrow with another project; until then, happy stampin'!


Stampin' Up! Supplies Used:

Table built using Product Table Builder by The Crafty Owl - Independent Stampin' Up! Demonstrator.


Flower Fair Easter Bunny

by Joanne James29. March 2015 20:52

Good evening blog readers - I am sneaking in an extra post today - you can see my earlier Paper Players post here - to make up for my lack of one yesterday. I had my card ready and had fully intended to write up my post last night, when I got back from taking both James juniors to their swimming gala, however the swim meet was really busy and we didn't get home until much later than usual and I was beyond writing anything other than gibberish at that point! 

So this card is for a couple of challenges: I used the sketch only over at Fusion and the colours from Colour Q this week:


I love this week's Colour Q palette, so perfect for an Easter card, which I still need a few more of. This card is something I've been playing around with for a while. My daughter had a colouring book for Christmas that was full of animals, made from patterns, and I wondered if I could make an abstract bunny using floral images. I've had a few attempts, and this is my favourite so far:

I used Wisteria Wonder for my base and mat layer, embossing this with the large polka dot embossing folder, then cut an oval using my Big Shot and Oval Framelits, having partially cut the ears with the leaf shapes from the Flower Fair framelits first and allowed them to overhang. I then stamped the various flower stamps from the Flower Patch set to make an abstract face, with ears, eyes and nose.

So, opinion in our house is divided over this card: both James juniors recognised it as a rabbit immediately; my abstract art is however lost on my husband, who thinks this is just a bunch of random flower patterns! Either way, with the addition of some Wisteria Wonder chevron ribbon and a bow, I like it! Do leave me a comment and let me know what you think to my unusual creation.

Back tomorrow with another project; until then, happy stampin'!


Stampin' Up! Supplies Used:

Table built using Product Table Builder by The Crafty Owl - Independent Stampin' Up! Demonstrator.


Pink and Pretty Sheltering Tree Card

by Joanne James19. January 2015 10:45

It's Monday and I am filled with the enthusiasm of a new week! I managed to get some quality crafting time yesterday afternoon, so I'm hoping to tick off a few 'back burner' jobs this week. Today I'm sharing a card using this week's sketch over at Freshly Made Sketches, where Jen Timko has this sketch for us (and a great interpretation of it - you should really check out both her card and those of the other FMS designers):

I stuck with the circle for my shape and decided to go with a pink and pretty card today using the fab 'Sheltering Tree' stamp set from the new Spring-Summer catalogue. Here is my card:

I used Crumb Cake for my base and adhered a layer of Crumb Cake DSP with polka dots from the Neutrals DSP stack to the front. I stamped my tree on Whisper White in Crumb Cake, and the leaves twice, once in Pink Pirouette and once in Blushing Bride, then added some tiny pink hearts punched with my Confetti Heart Border Punch. The swing and sentiment are stamped in Chocolate chip for a little contrast and I embossed the top layer with the large polka dot embossing folder before adhering to my card with dimensionals. A small punched heart and tiny pearl complete the look. This stamp set offers so many possibilities; it was one of those sets that I bought 'for me' as I know I will get lots of use out if it. It's also photopolymer, so aligning the images is a doddle - no stamp-a-ma-jig required.

I am also linking today's card up with SUO Challenges where the current theme is dots; mine are subtle, but they are definitely there! This card would make a lovely Valentine's card or even a birthday or other occasion for a special little girl - I know my daughter would love it, although her fascination with the little bicycle that comes with this stamp set may require me to change out the swing with a two-wheeler!

Back tomorrow with another project; until then, stay warm (it's cold in the UK today!) and happy stampin'!


Stampin' Up! Supplies Used:

Table built using Product Table Builder by The Crafty Owl - Independent Stampin' Up! Demonstrator.


Hello Best Year Ever Card - Well Let's Hope So!

by Joanne James3. January 2015 21:02

I finally feel like I'm nearing the end of our Christmas celebrations today: we have enjoyed our annual visit to the pantomime with friends (and Granny!) and as much as I love the holiday season, I'm looking forward to taking our decorations down, which is I think a job for tomorrow. Today I'm sharing a card I made for Julee's sketch this week over at Mojo Monday:


It is 'tall and skinny' week so I made my card to the dimensions 3.5" x 5.5" and since I'm having a complete run on 'Best Year Ever' Sale-A-Bration designer series paper, I just had to use it again on my card today:

I used the large polka dot embossing folder on my card base, then having first paper-pierced the edges of my strip of Crushed Curry, created a belly band to wrap around the front of my card to which I attached my focal point - the hello stamp from the '#hello' stamp set, stamped in Calypso Coral on Whisper White and mounted on two offset scalloped circles.

To finish, I even made a bespoke envelope to match my tall and skinny card, also using the Best Year Ever paper - so easy with the help of my Envelope Expert Tool, this makes any bespoke envelope size a breeze.

Back tomorrow with my first card of the year for The Paper Players, this time as a permanent member of the design team too - woohoo! We have a great challenge for you to start the year, so do come back and find out all about it tomorrow. Until then, happy stampin'!


Stampin' Up! Supplies Used:

*Best Year Ever Designer Series Paper - available 6th January - 31st March 2015 Sale-A-Bration.

Table built using Product Table Builder by The Crafty Owl - Independent Stampin' Up! Demonstrator.


Amazing Birthday Card for Colour Me...! Card Challenge

by Joanne James26. November 2014 10:00

Today's card is for this week's Colour Me...! card challenge where we have are working with a playful palette of pinks and purples with a spot of Coastal Cabana:

I took the opportunity to ink up my Amazing Birthday stamp set for the first time. This was one of the sets I received free at Stampin' Up! Convention in Brussels this year and it was really tough not to buy it before I went, as I think it's a really versatile stamp that will get lots of use. Here's today's card:


I used Elegant Eggplant for my card base, then mounted a panel of Perfect Plum that I had dry embossed with the large polka dot embossing folder. I tied some thick Coastal Cabana baker's twine around the embossed panel before adhering to my card base. I stamped the main image in Elegant Eggplant on Whisper White, but also stamped it separately in Rose Red and Costal Cabana and fussy cut a couple of panels and overlaid them onto my main panel to add a pop of colour. To finish, I added a couple of rhinestones to my main panel which I first coloured wit my Coastal Cabana Blendabilities and a trio of Rose Red candy dots to the embossed panel. 

This card could be made in lots of different colourways and would make a great 'storecupboard standby' that works for both male and female. As someone who is a big fan of purple though, this colour combination really works for me. I might have to go and make a few more! 

Feel free to leave a comment on today's card, before hopping over to check out the amazing cards by the rest of the Colour Me...! team:

And our talented guest designer for November - Anita Bowden
 
We look forward to seeing your playful creations - what do these colours inspire you to create? 
 
Back tomorrow with another project; until then, happy stampin'!
 
 
Stampin' Up! Supplies Used:
Table built using Product Table Builder by The Crafty Owl - Independent Stampin' Up! Demonstrator.
 

Giggle Greetings Birthday - My First Blendabilities Coloured Card!

by Joanne James26. July 2014 23:24

A late post from me today - I returned late yesterday evening from a family mini break and seem to have spent all day today washing and ironing, isn't that always the way?! That's not strictly true - I did manage to get some long overdue gardening done this afternoon and fit in a grocery shop; all in all a very productive day! I made this card earlier in the week for my brother-in-law's  birthday; it's not until next week, but as he doesn't read my blog I know I'm safe to share! I used this week's Mojo Monday sketch challenge as the inspiration for my layout:


I've spent some time practising with my Blendabilities this week and thought today's card would be a great opportunity to show you just how great these fabulous markers are for achieiving a blended coloured image. Here is my card:


Since my Bro' is officially 'post 40' this year, this image and sentiment from the 'Giggle Greetings' set seemed rather appropriate. I coloured the candle and cheese with my Daffodil Delight and Coastal Cabana sets of markers and echoed these colours elsewhere in my card. I am loving these new pens - they allow for beautiful shading with seamless colour blending and are so easy to use - no previous expertise necessary, although if you're the type of person who liked to colour as a child, you may find them rather addictive! I also embossed the top layer of my card with the Large Polka Dot embossing folder - it kind of reminded me of the holes in the cheese, albeit a little too regular in design. Lastly, I went with thick baker's twine for my bow detail - as a true 'man's man', I'm not sure my brother-in-law would appreciate anything more fancy!

Back tomorrow with my design team card for the Paper Players this week when we have a great sketch challenge for you - and another card using my Blendabilities markers!

Until then, happy stampin'!


Stampin' Up! Supplies Used:

Table built using Product Table Builder by The Crafty Owl - Independent Stampin' Up! Demonstrator.

Mini Catalogue

BROWSE THE CATALOGUE

The mini catalogue is now live! Read and download your copy here.

Shop Online

Access my online shop 24 x 7, 365 days of the year:

Current March hostess code:

S9F2XJJW

Shop Online

Join My Team

It's always a great time to join Stampin’ Up! New team members can get £130 worth of products for only £99 + free business supplies + free shipping + all the fun being a part of Stampin’ Up! Stampin' Up! has something for everyone: join my growing team and benefit from my support to enjoy Stampin' Up! however you choose.

If you're interested, call me for a chat to understand how I can help you realise your goals. Alternatively, if you have already decided to sign up and you just can't wait, please click here for the link to the online form where you can sign up and order your starter kit right away! 

Latest Kit!

Stampin Cut and Emboss

The Rock Legend Kit has all you need to make 8 cards with coordinating envelopes. Along with the new Panda Friends Kit, both are available from January 4th for just £14 each - get yours here!

2023-24 Annual Catalogue

BROWSE THE CATALOGUE

Click on the catalogue for a full list of current SU! supplies - if you would like to order any of the items featured, please drop me a line at [email protected] or give me a call on 07773 421446 - I'd be happy to help.

New Online Exclusives

There will be new products available exclusively in the online store from 5 March - check them out here.

About Me

Hi I'm Joanne and live in Northampton and when I'm not looking after my husband and two beautiful children, am an avid crafter with a passion for all things Stampin' Up!

I must confess that I have never been a big rubber stamper - until I discovered Stampin' Up! that is. I love the fact that I can get such great results with co-ordinating stamps, inks, papers and punches - the possibilities are endless! Join me on my stamping journey as I share the things I love and be inspired to create amazing things yourself!

Follow Me

Monthly Newsletter

Box Builder

Click the button above to use Box Buster to create your custom box design using the Envelope Punch Board!

Kits Collection Now Available!

Stampin Cut and Emboss

The new Kits Collection from Stampin' Up! is now available!

Click here to see the current kits available and order yours online today.

I Design For


Stampin' Up Stuff

This is my personal blog and is not endorsed by Stampin’ Up! I hope you find it a plentiful source of ideas and personal inspiration but please don't copy my designs for contest submission or use for classes, publication or sale without express permission.