by Joanne James10. April 2014 21:48Good evening everyone! If you are a regular reader of my blog, you will remember the flowerpot card I designed for the Pals Paper Arts Colour Challenge a few weeks ago (click here if you would like to see the card). I was thrilled that this card was chosen as a Pals Paper Arts Top Pick that week (check out my Pinterest Board here if you would like to see which of my other cards are challenge winners!). I made this card with Mother's Day in mind, but it would work equally well for a female birthday card for someone special.
Well, I got so many email requests for a tutorial on how I made this card, I made another card in an alternative colourway and recorded a video tutorial as I made it to show you exactly how it's done. It has taken me a little while to get it online, because although I recorded the video promptly the editing then took a back seat, along with a few other tutorials that are still waiting for the magic touch! Anyway, all done now and better still - the Secret Garden Framelits are available at the bargain discount price of £15.71 this week as part of the Stampin' Up! Wednesday Weekly Deals offers, so if you fancy having a go at making this card now is the time to snap them up! Here is a picture of my second version of my flowerpot card:
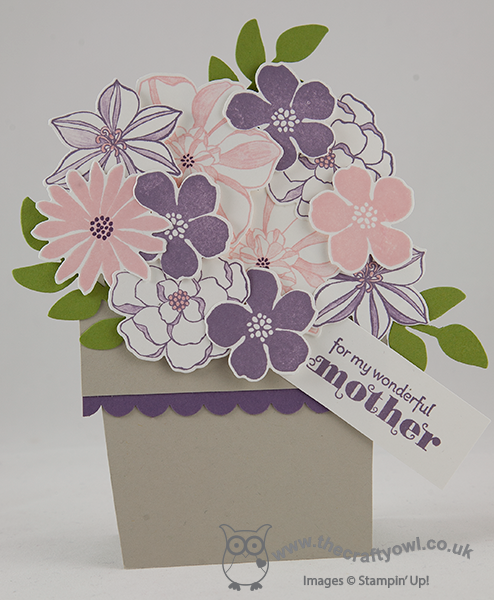
My original card was made in Crumb Cake, Rose Red, So Saffron and Wild Wasabi; this alternative version is made in Sahara Sand, Perfect Plum, Blushing Bride and Old Olive. The finished card measures 6" x 6" square and will fit a standard envelope (make sure you don't stick the central leaf shape too high!). The video also shows what the card looks like on the reverse (especially for you, Cindy B ;-) ) in case you're curious.
So without further ado, here is the video tutorial - enjoy!
Back tomorrow with another project; until then, happy stampin'!
Stampin' Up! Supplies Used:
by Joanne James7. April 2014 21:18When I saw the colour combo over at Dynamic Duos this week, I just knew I was going to have to make a card for this challenge! Of all the colour collections, Brights is my most favourite and this pink and blue combination just rocks!

Here is my card:
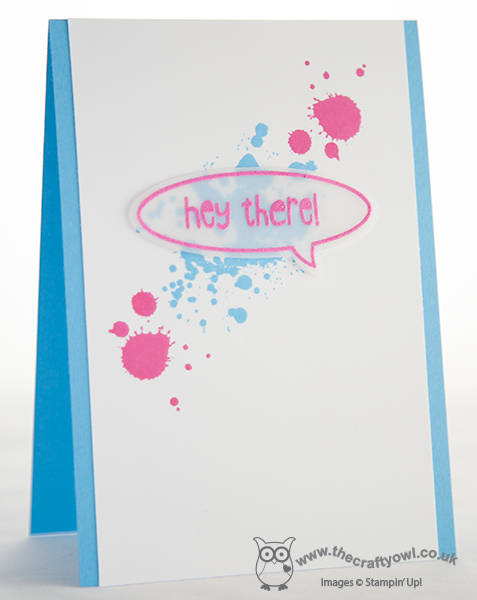
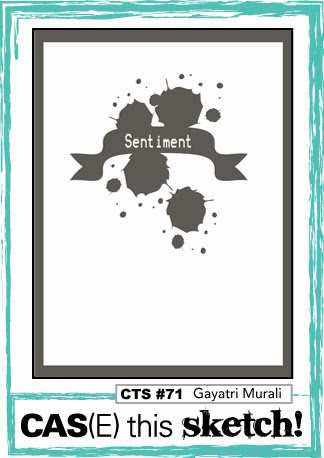
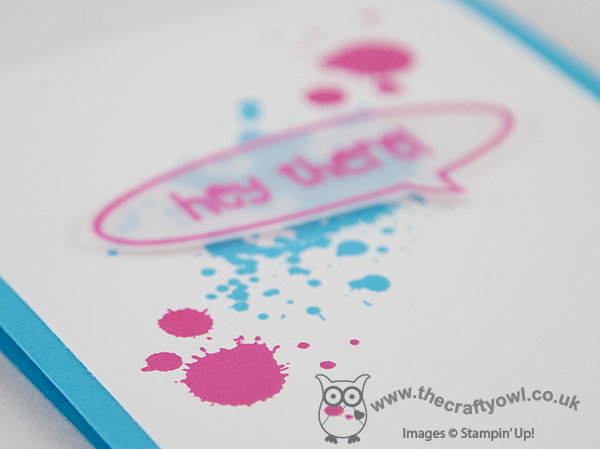
I decided to combine it with the sketch over at CAS(E) This Sketch this week too, where I decided to use the pattern literally and stamp my background with Gorgeous Grunge. For my sentiment I wanted something contemporary and in keeping with the grunge look, so I decided to go with a word bubble, stamped in Versamark onto vellum then heat embossed with Melon Mambo embossing powder - the photograph really doesn't do this justice, in real life it has a lovely raised sheen. The word bubble was adhered using rolled glue dots, hidden along the stamped outline; this gives just enough height but doesn't allow them to show through the vellum.
I think this would make a great card for a teenager, or just a general card to cheer someone up. I like this minimalist card so much, I might have to make a few more in alternative colour combinations!
Back tomorrow with another project and some important Stampin' Up! news that you won't want to miss; until then, happy stampin'!
Stampin' Up! Supplies Used:
a8d33050-087e-4244-b437-fc6f055ff41d|0|.0|96d5b379-7e1d-4dac-a6ba-1e50db561b04
Tags: Gorgeous Grunge, Embossing, Just Sayin', Word Bubbles Framelits, Big Shot, Magnetic Platform, Shop online, Stampin' Up, Stampin' Up Card, Stampin' Up Card ideas, Stampin' Up Supplies
Cards | Stamping
by Joanne James27. March 2014 22:12It's all go in the office of The Crafty Owl - I've been busy finishing my last Mother's Day cards today and I've recorded two video tutorials, along with all of the other things mothers do in a day. I won't bore you with that list, but I'm sure lots of you are reading this thinking "I know what you mean!" :-) Anyway, today I have a Mother's Day card to share with you, which I made using this week's sketch over at The Paper Players. This is Sandy's sketch:
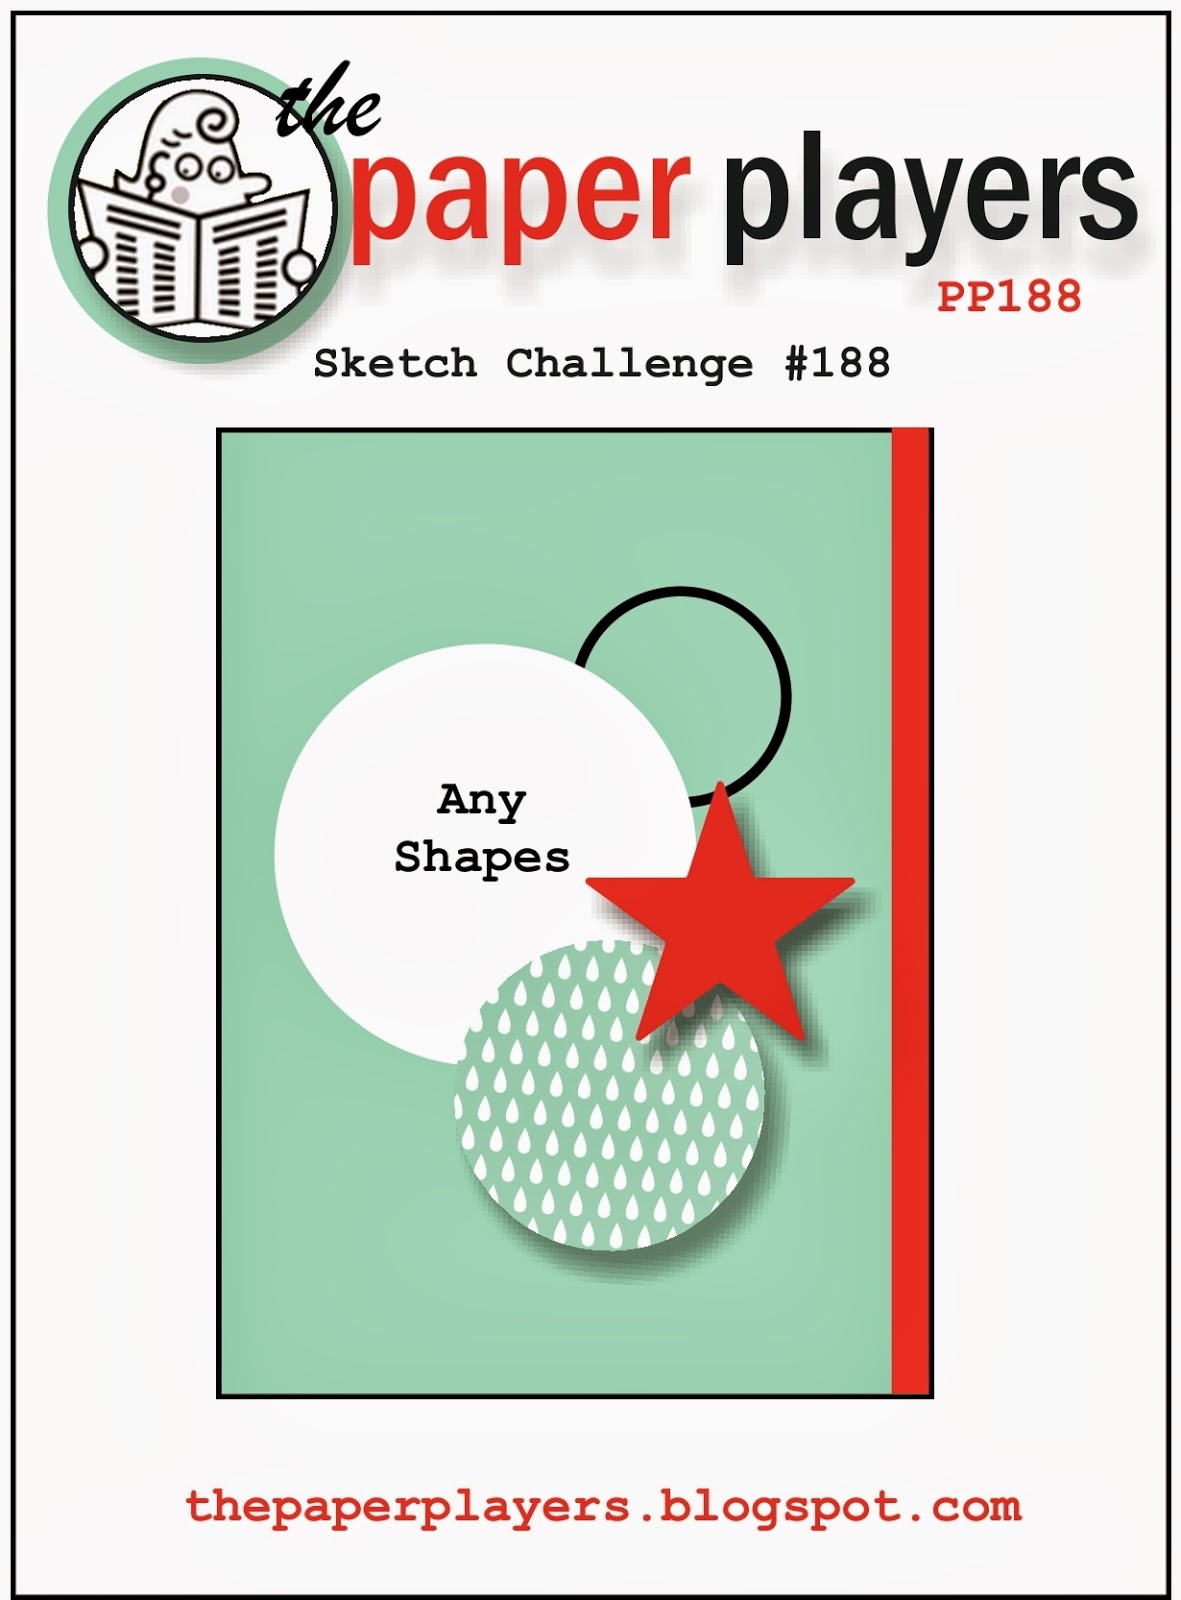
I loved the layered circles on this sketch and it allowed me to get out on paper an idea I've had floating around in my head for a while (love it when that happens!) So here is my card:
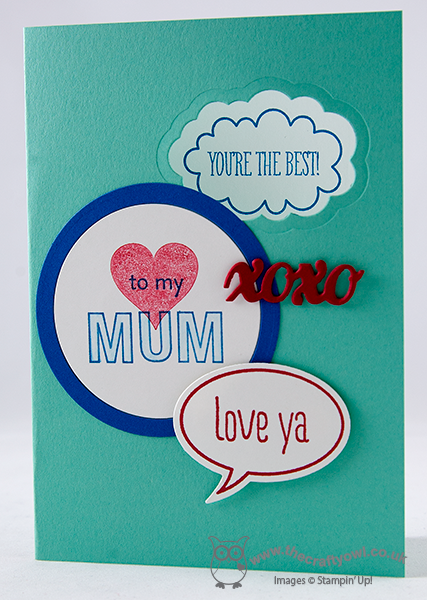
I used Coastal Cabana for my base, then cut out a 'window' using my Word Bubble framelits through to the stamped sentiment "You're the best!" on the inside, used my largest circle for my bespoke 'Mum' sentiment where I used two circles cut with my Circles framelits to create an inset so that I have a border without an extra layer here. I then added an ‘xoxo’ cut out with my Circle Card thinlit set, attached with rolled glue dots, and lastly my final layer with the ‘love ya’ word bubble, stamped, cut and mounted with dimensionals for height. The cut-out on the front gives a glimpse of what’s inside – here’s the close-up:
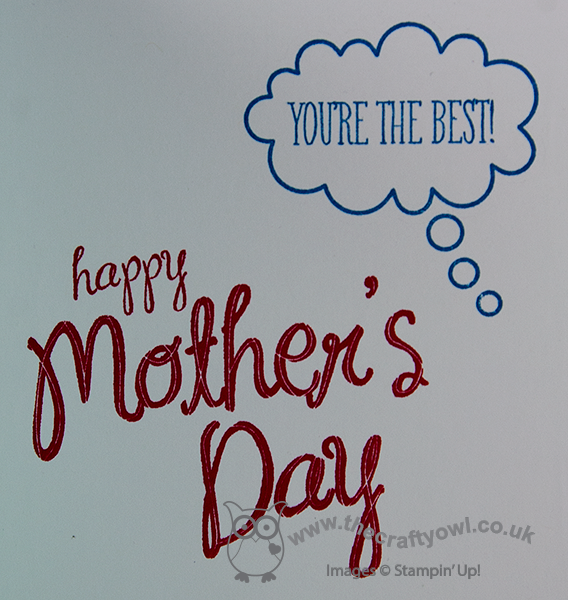
Now I know this is not such a typical Mother's Day card: not traditional colours, no flowers in sight. It's quite clean and graphic in nature, but I really like it! I think it’s a great card for a Mum who likes something a little different; I for one would be thrilled to receive this card (hint, hint James Juniors!)
That’s me for today; come back tomorrow to see my entry for this week’s Less is More challenge. Until then, happy stampin’!
Stampin’ Up! Supplies Used:
b7fea6a2-dd41-4749-bcf6-cf25637c1f2e|0|.0|96d5b379-7e1d-4dac-a6ba-1e50db561b04
Tags: Just Sayin', Magnetic Platform, ABC-123 Sketch Alphabet & Numbers, Big Shot, Perfect Pennants, Circles Framelits, My Mother, Mother's Day, Shop online, Stampin' Up, Stamp-a-ma-jig, Stampin' Up Card, Stampin' Up Card ideas, Stampin' Up Supplies
Cards | Stamping
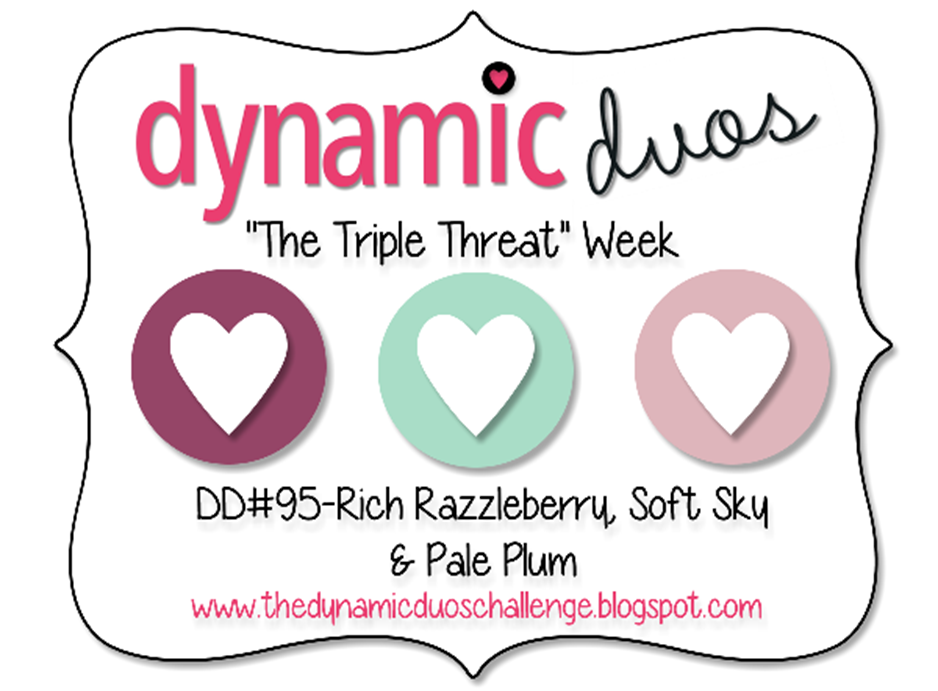
by Joanne James26. March 2014 21:28Another busy day today and my third night out in a row: today to a school concert, which was very entertaining with lots of singing and instrumentals. Now I'm back and today's card uses the colours over at Dynamic Duos this week, where it's actually 'Triple Threat' week and this week's sketch over at Retrosketches, which has an interesting decorative element:

And here is my card:
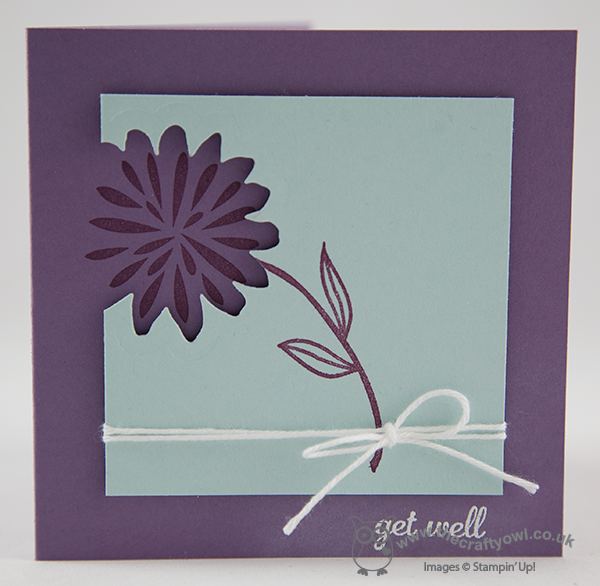
My card uses a single flower from the 'Simple Stems' stamp set and I printed the offset flower head on the base layer and the stem on a layer of Soft Sky, having cut out the area around the flower using the co-ordinating Secret Garden framelit. The Soft Sky layer was layered with dimensionals to give depth and allow a simple white baker's twine bow to be wrapped around the base.
As Pale Plum is a retired SU! colour, I substituted with Perfect Plum. I was a little concerned that it wouldn't have enough pink in it to work with the Rich Razzleberry, especially I had decided to experiment with stamping the Rich Razzleberry onto the contrasting Perfect Plum cardstock. I don't generally take two tones of the same colour and use them together in this way, but I quite like the effect - the Razzleberry 'warms' the Plum I think. I thought I would include a picture of my test card to show you how the effect differs depending on the colour ink you use:

The flowers are stamped clockwise from bottom left in Elegant Eggplant, Perfect Plum then Rich Razzleberry on Perfect Plum cardstock - it's interesting to see how different they each look, don't you think?
Anyway, back to my card! I finished it with a little 'get well' sentiment that I stamped in Versamark and heat embossed in white. This card will be sending get well wishes to one of my lovely customers who is having major surgery at the end of this week; if you're reading this Chris, I hope you're up and about again soon!
That's all from me today - I'm off to catch up on my beauty sleep! Back tomorrow with another project; until then, happy stampin'!
Stampin' Up! Supplies Used:
6ecb3bac-f56d-4451-8bd2-10848e8f6755|0|.0|96d5b379-7e1d-4dac-a6ba-1e50db561b04
Tags: Big Shot, Magnetic Platform, Stampin' Up Supplies, Stampin' Up Card ideas, Stampin' Up Card, Stampin' Up, Stamp-a-ma-jig, Shop online, Secret Garden Framelits, Simple Stems, Express Yourself
Cards | Stamping
by Joanne James5. February 2014 18:33A quick early post from me today as I'm out for my second class of the week this evening. Today's card is for this week's challenge over at The Paper Players, where the lovely Ann-Marie has chosen a 'sweet treat' theme:

When I saw the theme of the challenge, I knew immediately what I was going to create - don't you just love it when that happens?! Here's my card:
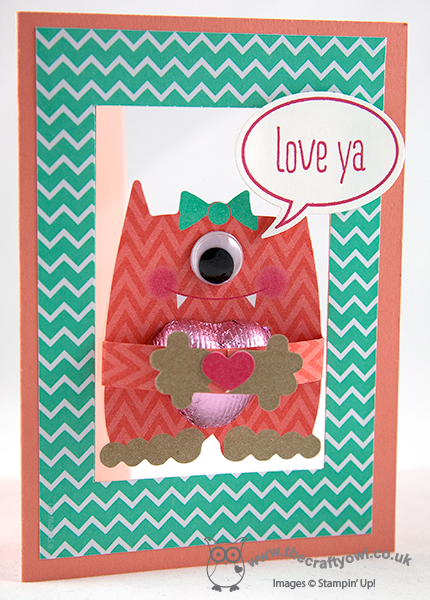
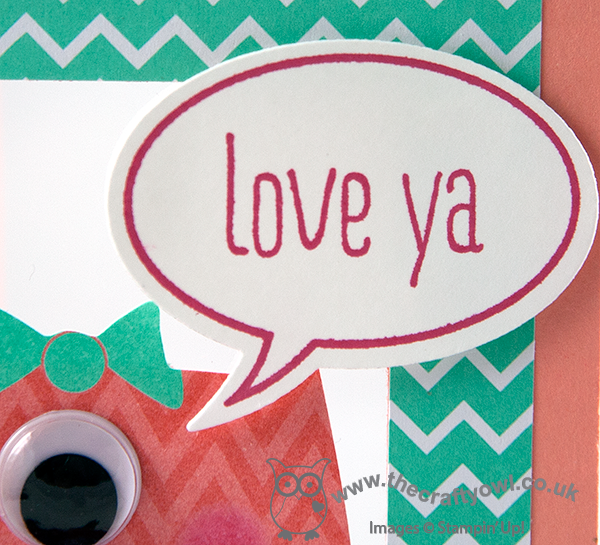
Quite a simple exterior with a border cut from the Fresh prints paper stack, the addition of a nice fat chocolate heart and one of those lovely Just Sayin' speech bubbles - here's a close up:
But the real fun element to this card is that she is mounted on a window sheet. Why? Well, because this way you get to see her behind (literally!!) - this is the inside reverse of the first image above:
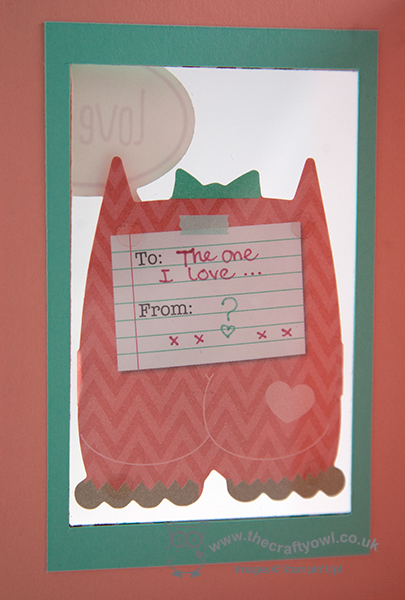
How cute is that?!!! It seemed such a shame to lose the reverse by sticking it straight onto cardstock - these are such fun kits and it's so great that the 'Whole Lot of Love' promotion has now been extended right through to Valentine's Day, so these cute little gals (and guys!) are still available to purchase.
Hop on over to The Paper Players to see what everyone else has created this week - there are some great cards and 3D projects to see. I've also linked up to the monthly challenge over at Catherine and Cathy Create, where the theme is 'hearts a flutter' and love.
Right, I'm off to class! Back tomorrow with another project; until then, happy stampin'!
Stampin' Up! Supplies Used:
404f1a76-76e7-4bfa-911d-ff0979f532eb|0|.0|96d5b379-7e1d-4dac-a6ba-1e50db561b04
Tags: Just Sayin', Word Bubbles Framelits, Big Shot, Monster Hugs, Magnetic Platform, Fresh Prints DSP Stack, Valentine's, Shop online, Stampin' Up, Stampin' Up Card, Stampin' Up Card ideas, Stampin' Up Supplies
Cards | Promotions | Stamping
by Joanne James21. January 2014 20:39Good evening blog readers! I had lots of jobs to do today, but after a morning of paperwork I decided the housework could wait and I spent the afternoon cardmaking instead (oops!!) Today I'm sharing another Valentine's card, this time with a more masculine feel. I used the colours from this week's challenge over at Create with Connie and Mary as my starting point:
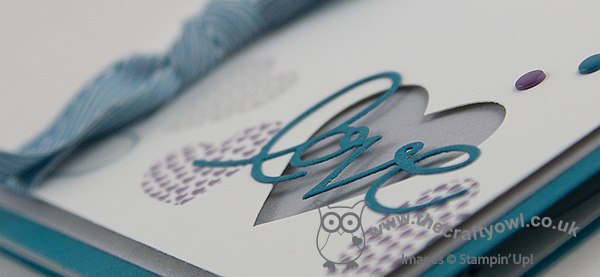
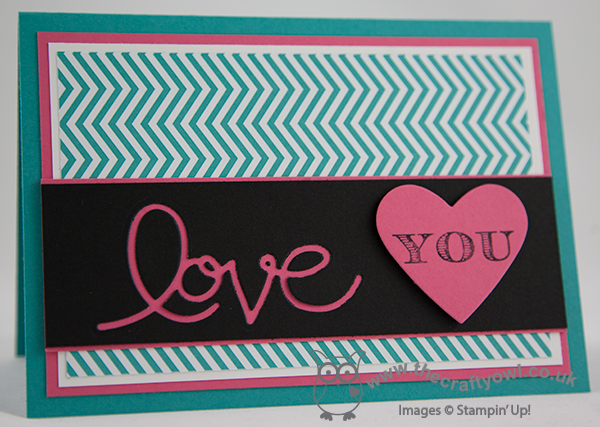
I decided to use my 'Hearts A Flutter' stamp set, as although this is one of my favourite sets and one I use a lot all year round, I haven't used it on any of my Valentine's cards yet this year. Here is my card:
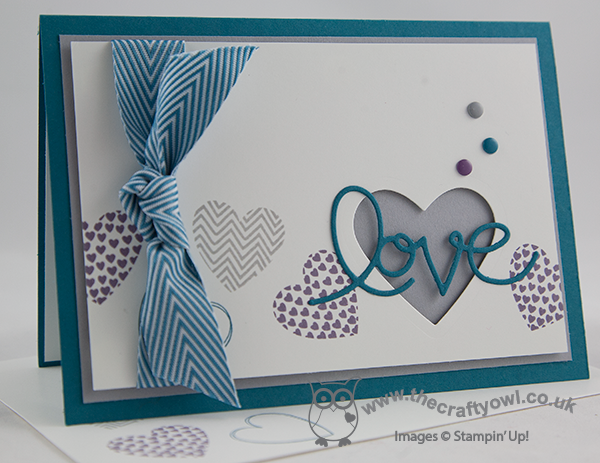
I stamped my hearts somewhat randomly across the lower half of my card, either side of my focal point. I mounted the top layer of cardstock on dimensionals for two reasons: firstly, to make the ribbon easier to attach and secondly so that the heart that I cut out (I used my hearts framelits for this) would have some depth and my die cut 'love' would have more impact. I deliberately chose to use Smoky Slate for my middle layer, as I wanted the heart to have a more masculine appeal, especially as I used ribbon on my card too; Island Indigo Chevron Ribbon isn't too girly, but adds a luxurious feel to the card. A few candy dots to finish just to add balance and done.
Whilst I designed this card with a man in mind, I think it would work equally well for a woman, especially if you're not the kind of person who is into all things pink and red.
Back tomorrow with another Valentine's themed card; until then, happy stampin'!
Stampin' Up! Supplies Used:
3b716918-6b62-4e10-9759-5e7a63b00c72|0|.0|96d5b379-7e1d-4dac-a6ba-1e50db561b04
Tags: Anniversary, Candy Dots, Hearts a Flutter, Hearts Framelits, Expressions Thinlits Dies, Magnetic Platform, masculine cards, Shop online, Stampin' Up, Stampin' Up Card, Stampin' Up Card ideas, Stampin' Up Supplies, Valentine's
Cards | Stamping
by Joanne James7. January 2014 19:49Today I am sticking with the 'love' theme, but no Flowerfull Heart today. I'm taking my colour scheme from the challenge palette over at Create with Connie and Mary this week, which requires a card made with the following colours:
I thought this was a great modern colour combination so decided to create a card with one of my other favourite products, the 'love' from the Expressions Thinlits Dies. Here's my card:
I used the negative space from the thinlit cut out, rather than the word 'love' itself (don't worry, I didn't bin it - if you keep your eye out you'll see it appear on another card someday soon). I've done this before and like this effect almost as mush as the delicate cut out words that you get with these dies. I then contrasted the black top layer with the Strawberry Slush heart which I stamped in black with the word 'you' from the stamp I used on yesterday's card from the 'Follow My Heart' stamp set. Not necessarily the most romantic of colour combinations perhaps, but I think this card would definitely appeal to a trendy teenager. Don't forget, the Expressions Thinlits Dies feature in the Autumn-Winter seasonal catalogue and will only be available to order until the 1st February, so if they're still on your wishlist, don't leave it too late to order them; just click on the product link in the table below and hop on over to my online store.
So, my voice is still absent - the rest of the James household is loving it! It's good preparation for the children's return to school tomorrow, the first few days back always seem really quiet. Don't forget to hop on over to see what the designers at Create With Connie and Mary came up with in response to this week's colour challenge.
Back tomorrow with another card; until then, happy stampin'!
Stampin' Up! Supplies Used:
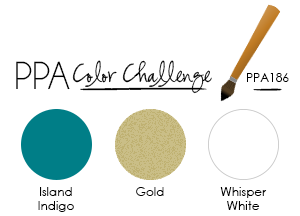
by Joanne James6. January 2014 21:09Today has been a fun day, with my first class of the year. A fun - if quiet! - time was had by all, with all my ladies being very accommodating of my continued voiceless state. I'll share more on our class makes later in the week, but today I'm sharing a card that I am entering for this week's Pals Paper Arts challenge, PPA186, which is to use the following colours:
With this in mind, I inked up my Flowerfull Heart stamp again but this time made a slider card - take a look:
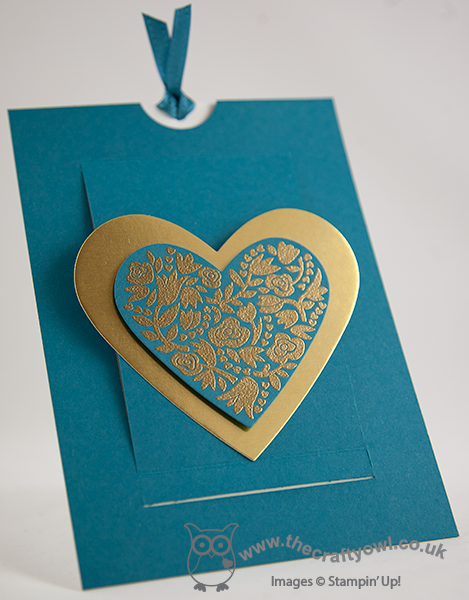
I stamped the heart in Versamark and heat embossed with gold embossing powder, then layered the heart on another one made from gold foil. When the ribbon end is pulled, it reveals the message inside:
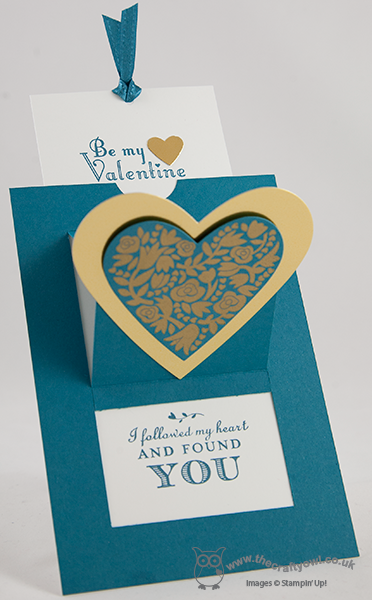
The inside of the slider card is stamped with my favourite stamp from the 'Follow My Heart' set on the lower inside panel, and the valentine stamp from the 'Delightful Dozen' on the extending top section (I replaced the stamped heart with a gold foil one). I think this would make a lovely masculine valentine's card; the gold foil and embossing adds a real luxurious feel.
I will be sharing a video tutorial on how to make this card as soon as my voice returns, so stay tuned. Meanwhile, check out the inspiration from the designers and participants over at Pals Paper Arts here.
Back tomorrow with another card; until then, happy stampin'!
Stampin' Up! Supplies Used:
1aaaf41f-cd5c-4638-ad4c-132b9f354924|0|.0|96d5b379-7e1d-4dac-a6ba-1e50db561b04
Tags: Big Shot, Flowerfull Heart, Heart Punch, Hearts Framelits, Delightful Dozen, Magnetic Platform, Follow My Heart, Embossing, Valentines, Shop online, Stampin' Up, Stampin' Up Card, Stampin' Up Card ideas, Stampin' Up Supplies
Cards | Stamping
by Joanne James5. January 2014 20:39Today I'm sharing another card using my current 'stamp of the moment', the Flowerfull Heart, but this time on a non-romantic card that could be used for a birthday or just to send someone 'happy post'. I've also got a sneak peek of some new product that will be available at the end of the month as part of this year's Sale-A-Bration promotion. Excited? Well, let's take a look! Here's my card:

Aren't those Spring colours so fresh, after the darker winter colours that we've been using so much of in recent months? The base of my card is Crisp Cantaloupe, one of the feature colours of the Designer Series Paper that I've used, which is one of the products that will be available during Sale-A-Bration this year. I used Sahara Sand for my flag, which I embellished with an In-Colour Boutique Detail and some Calypso Coral baker's twine, but the star of the show is once again the Flowerfull Heart. Sale-A-Bration is always a great time to earn additional products and benefits, and is one of the best times of the year to host a party. I am already taking booking for parties during the Sale-A-Bration period, which runs from 28th January - 31st march 2014, so if you'd like to get in on the action, call me on 07773 421446 or email me joanne@thecraftyowl.co.uk to arrange a party today.
A busy day for me tomorrow, with the first of this month's classes. Likely to be something of a challenge, as I have been completely without voice for the last 2 days, nothing more than a faint whisper. I'll let you know how it goes - I think I might have to take a whistle!
Back tomorrow with another project; until then, happy stampin'!
Stampin' Up! Supplies Used:
041ff602-6e15-440a-a1c1-bc12e6a8cea7|0|.0|96d5b379-7e1d-4dac-a6ba-1e50db561b04
Tags: Flowerfull Heart, In Colours, Sale-a-bration, Sale-a-bration 2014, Hearts Framelits, Big Shot, Magnetic Platform, Shop online, Stampin' Up, Stampin' Up Card, Stampin' Up Card ideas, Stampin' Up Supplies
Cards | Stamping
by Joanne James3. January 2014 21:35I've another busy day today, so a quick post from me with another 5" square card made using the Flowerfull Heart stamp. This time paired with Strawberry Slush Core'dinations cardstock. So here is today's card:
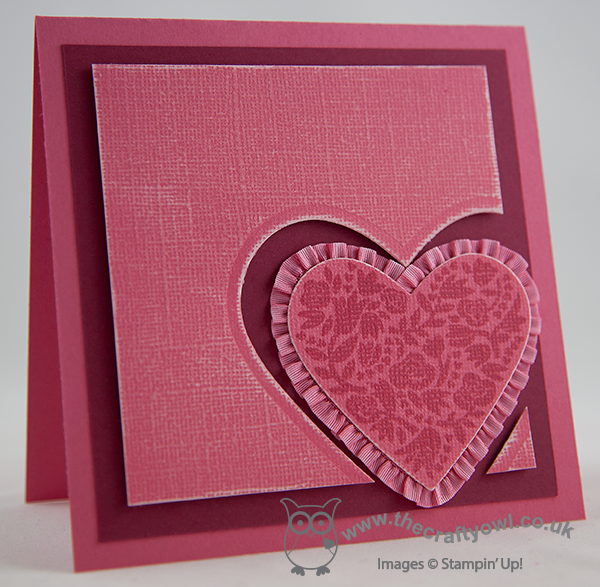
This card has a lovely textured surface and can be sanded to reveal a monochromatic inside layer which can add real interest to a card. I also like the effect you get when you stamp on it as a result of the textured surface. I edged my heart in Strawberry Slush Ruffle Stretch Trim, which gives this card a rather feminine look. I must confess this card is a little pink and frilly for my taste, but as anticipated, when my daughter looked through my recent samples she declared this card her out and out favourite. Knowing her as I do, there are only two things that could be added to improve further: glitter and sequins!! Maybe not this time, but perhaps that should be my starting point for another card ...
Hoping for a quieter day tomorrow that will allow some time for crafting. Either way my blog post is prepared so I will have something lovely to share with you. Until then, happy stampin'!
Stampin' Up! Supplies Used:
a1aa941f-8b98-4201-b71f-708a7ab22f7b|0|.0|96d5b379-7e1d-4dac-a6ba-1e50db561b04
Tags: Big Shot, Hearts Framelits, Flowerfull Heart, Magnetic Platform, Valentine's, Valentines, Core'dinations, Shop online, Stampin' Up, Stampin' Up Card, Stampin' Up Card ideas, Stampin' Up Supplies
Cards | Stamping