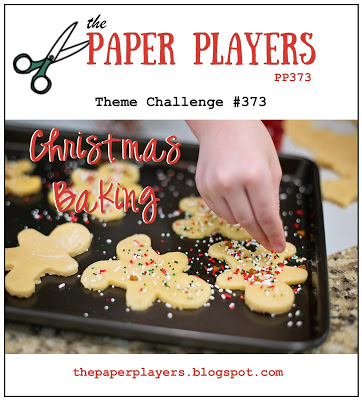
It's Sunday and time for this week's new challenge over at The Paper Players! The lovely Laurie is the hostess this week and she has a rather delicious seasonal theme for us to work with:

I'm also linking up with the team over at Stamp Ink Paper this week who are looking at Christmas wrapping and packaging solutions. I love to make gingerbread at this time of year but it's still a little early for me to have baked and wrapped creatively, so instead I decided to share with you a little something that I've been preparing for Ben's school Christmas Fayre the week after next that fits Laurie's theme perfectly. They are having a 'Jam Jar Tombola' stall, so I've been busy making up jars of all kinds for the children to win, including some jars of dry ingredients that they can use for their own festive baking. Here's one of my jars for gingerbread cookies - take a look:
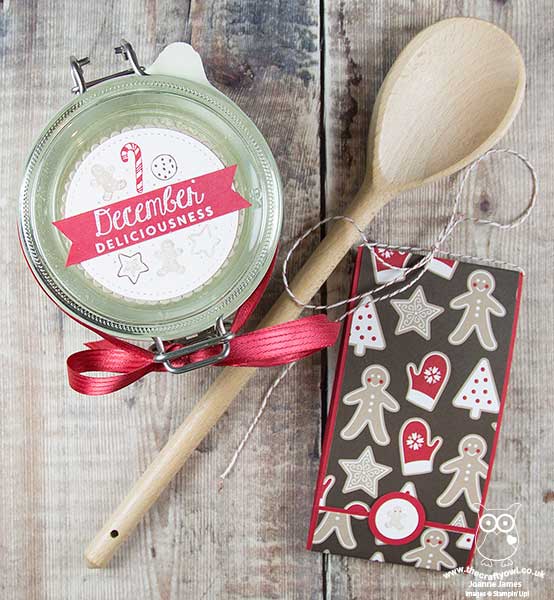
These really are so easy to make: you simply layer the dry ingredients into a kilner jar, then decorate and add a tag with the details of any ingredients you need to add and the method.
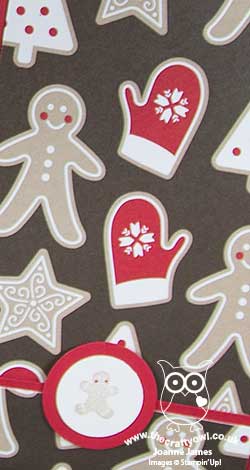
I used the 'December Deliciousness' stamp from the 'My Little Things' stamp set to decorate my jar, using my markers to selectively colour each of the elements in and adding a heat-embossed sentiment banner across the middle to create a decorated top to my jar. I paired it with some retired paper that fits perfectly with my theme for a folded tag that includes the ingredients and recipe, some ribbon and a wooden spoon that I will be tying to the side of the jar too ready for stirring - you could also add a gingerbread cutter if you have one.
I'm a big fan of homemade gifts at Christmas and there is no limit to the things you can put in a jar; with a little decoration this kind of thing can make a thoughtful, presentable gift.
If you would like to make a jar like mine, I've included the details from the inside of my folded tag below:
Easy Gingerbread Biscuits
This jar contains:
- 100g soft light brown sugar
- 1 tsp ginger, ¼ tsp allspice
- ¼ tsp cinnamon, 225g plain flour
- ½ tsp baking powder
- ½ tsp bicarbonate of soda
You will need to add:
- 150g melted butter
- 1 tbsp golden syrup
- 1 egg yolk
Method:
- Mix 150g melted butter with 1 tbsp golden syrup and 1 egg yolk.
- Add to the dry ingredients, mix well, then knead to a dough.
- Chill for 15 mins then roll out.
- Cut into biscuits and bake at 200C/180C fan/gas 6 for 8-10 mins. Cool on a wire rack.
Here is the visual summary of the key products used on today's project for you to pin for easy reference:
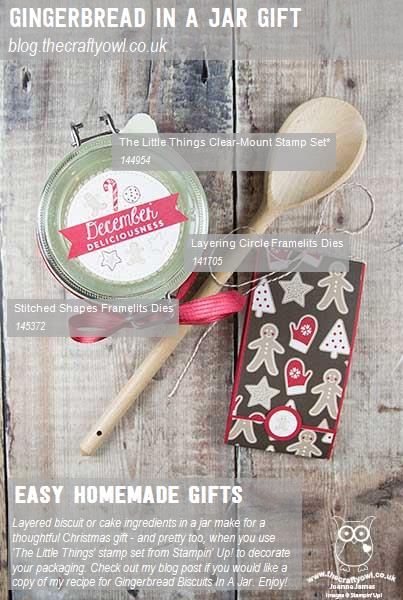
You can see all of my Product and 'How To' summaries on my 'How To - Tips and Techniques' Pinterest board in case you've missed any.
Before you reach for your ink and papers, check out what our amazing team has created to inspire you this week:
The Paper Players Design Team
Here's a quick recap of our challenge rules:
1. Create a new paper project
2. Upload your creation to your blog with a link back to us and provide a direct link to the post featuring your challenge submission.
3. Please link your card to no more than four challenges, TOTAL.
4. Have FUN!
I look forward to seeing what you create with this week's theme. Enjoy the rest of your weekend as it will be over all too quickly; my Christmas festivities have truly started in earnest this week and I am busier than ever! I am off to run a pre-Christmas Stampin' Up! party for a customer and her friends this afternoon, then will be returning home to put the finishing touches to my class preparations for my Delightful Daises Technique Class tomorrow and complete my 100 card challenge for the Ronald McDonald Christmas Cheer campaign that is happening in the UK this weekend.
I'll be back as soon as time allows with more projects; until then, happy stampin'!
Stampin' Up! Supplies Used: