
It's Sunday and time for a new challenge over at The Paper Players! It's the turn of our fearless leader Nance to host our challenge this week and she has a fun theme challenge for you to play along with:

For my card this week I decided to do something a little different and make a card featuring a couple of my Project Life cards. As a family we do a lot of cycling and it often features in my memory keeping, so it was a tough decision to actually part with this one and use it on a card! When I saw Ginger's sketch layout over at Pals Paper Arts this week it was perfect for showcasing an alternative use for my Project Life cards so I 'bit the bullet' and this is what I came up with:
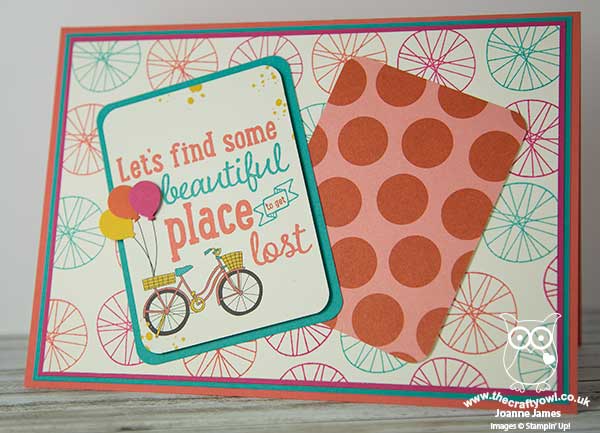
My card is A5, so slightly larger than usual, in order to accommodate my pair of Project Life cards, yet it really was quite straightforward to put together as the Project Life cards do so much of the creative work. That said, there are a few things worth highlighting:
Let's Get Away - The Project Life cards featured on today's card are from the 'Let's Get Away' box set. This set is perfect for documenting your travels, near and far and contains lots of transport, including cars, aeroplanes and bicycles. What's more, this set is retiring so now is the perfect time to pick it up at a bargain price. The card I chose is perfect for today's challenge, with illustration and sentiment all in one. Here's a closer look at it in all its glory:
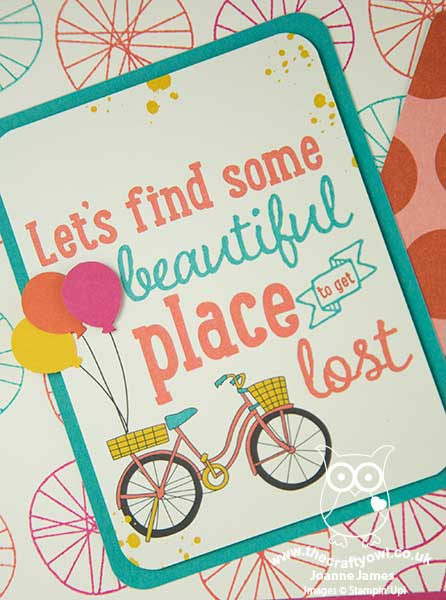
I mounted it onto a mat of Bermuda Bay for added definition and rounded the corners using my Project Life corner rounder punch. The second large polka dot card is one of the filler cards from the same set.
Bicycle Wheel Background - The stamp that I've used for my background is from the 'Balloon Celebration' set in the seasonal catalogue. I'm not exactly sure what this stamp is intended to be, but to me has always felt like a bicycle wheel - although I've no idea what that has to do with balloons! The open design works well to create interest in the background and incorporate my base and mat colours, which ties it in with my feature cards.
Balloon Trio - As an added detail, I punched out a trio of coloured balloons using the mini balloon punch in the Party Punch Pack (you are so going to snap this up before it retires at the end of this month!) and adhered them over the top of the original ones that decorated the Project Life card, popping the pink one on a dimensional. They are slightly larger than the printed ones, so create a nice overhang and cover completely the printed balloons without any further work being required.
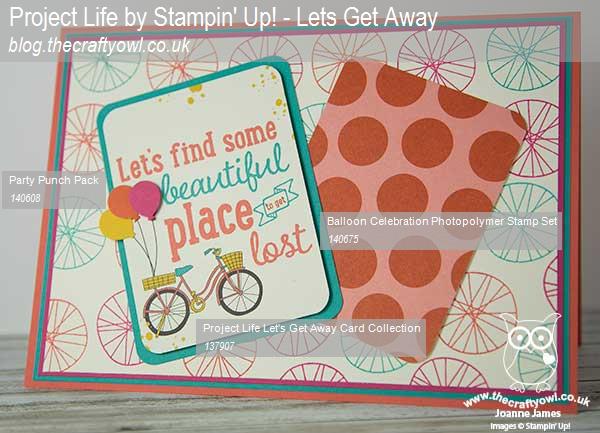
Here is the visual summary of the key products used on today's project for you to pin for easy reference:
You can see all of my 'How To' summaries on my 'How To - Tips and Techniques' Pinterest board in case you've missed any.
Before you reach for your ink and papers, check out what our amazing team has created to inspire you this week:
The Paper Players Design Team
Here's a quick recap of our challenge rules:
1. Create a new paper project
2. Upload your creation to your blog with a link back to us and provide a direct link to the post featuring your challenge submission.
3. Please link your card to no more than four challenges, TOTAL.
4. Have FUN!
I look forward to seeing what you make of our theme this week. We are off to basketball this morning but no hockey today as the season has officially ended. If the weather forecast is correct and we are in for an afternoon of rain, we will be snuggling up on the sofa for a family movie afternoon watching the classic 'The Wizard of Oz'. Rebecca has an audition for a role in a school production of this musical this week, so is keen to 'gen up' on all aspects. Her practising of 'Somewhere Over the Rainbow' is coming along nicely - Judy Garland, eat your heart out!
Back tomorrow with another project; until then, happy stampin'!
Stampin' Up! Supplies Used: