by Joanne James2. July 2015 08:05Good morning everyone! It's Thursday and time for a new challenge at Create with Connie and Mary where we have a great colour challenge for you this week:

I chose to use this week's layout over at CAS(E) This Sketch for my card this week and went for some bold pops of colour against my neutral background:
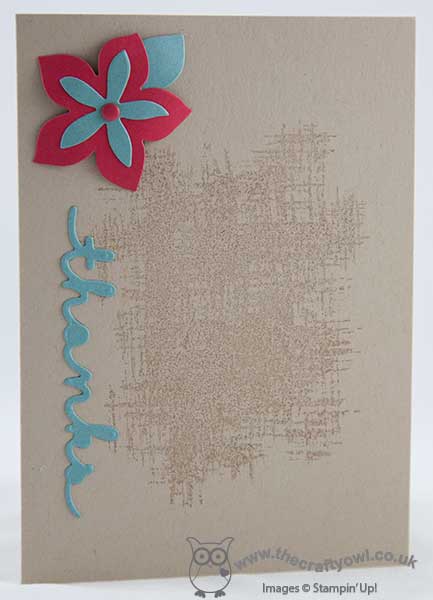
I used Crumb Cake for my card base, and instead of leaving it completely plain, I stamped the hatched background stamp from 'You've Got This' in Crumb Cake to add a little interest to the main body of the panel. This is such a useful stamp and can be used in so many ways, not just with the flower in the set with it. I then added a layered flower cut with the Flower Fair framelits and finished with a Real Red candy dot (I get through these faster than any other colour!) and my die cut sentiment. Super simple and very easy to recreate and would work in lots of other colourways too.
Short and sweet from me today - do check out what the rest of the DT have been up to and I look forward to visiting your gallery creations this week. I'll be back tomorrow with another project; until then, happy stampin'!
Stampin' Up! Supplies Used:
- Greetings Thinlits Dies
- Flower Fair Framelits Dies
- You've Got This Stamp Set
- Crumb Cake A4 Cardstock
- Real Red A4 Cardstock
- Lost Lagoon A4 Cardstock
- Crumb Cake Classic Stampin' Pad
- Brights Candy Dots
by Joanne James30. June 2015 09:54Good morning everyone! I have had a most enjoyable morning with two of my newest Stampin' Up! team members carrying out some induction training, all finished off with a little cream tea to reward them for their efforts! Today is the last day of the '2 free stamp sets' sign up offer where you can get any 2 catalogue stamp sets of your choice for free in addition to your £130 of goods for £99.

You don't want to miss out on this opportunity! You can get the full scoop here or if you're ready to sign up, just click here to join my team. If you're on the fence and are still wondering if my team is for you, then do give me a call for a chat before making your decision - I would love to tell you more.
Today I have a quick post for you to just squeeze in an entry to this week's challenge over at Pals Paper Arts where they have a great sketch challenge this week:

My card this week was very much inspired by the one that Mary Fish made using this sketch - you can see her card here, I just love her clean and graphic style - and I knew this layout offered me the perfect opportunity to add to my stash of end of term teacher thank you cards with a really quick make - take a look:
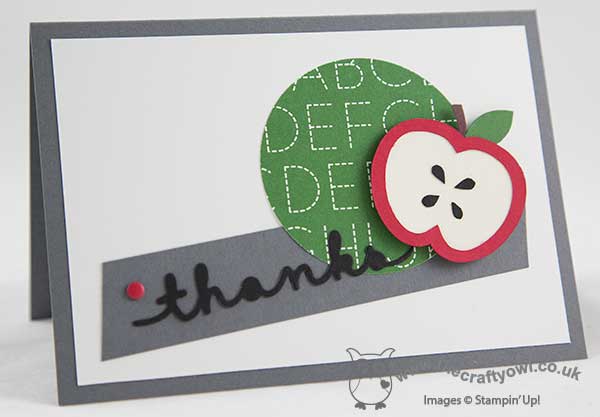
I decided to add to my collection of teacher thank you cards and combined a card base of Basic Grey with a mat and strip of Whisper White and a 2 1/2" circle of the Schoolhouse DSP in the alphabet pattern with an apple that I cut with my Silhouette Cameo e-cutter and a 'thanks' die cut using the new Greetings Thinlits in Basic Black.
Super simple, ultra modern and easy to re-create if you've lots of cards to make.
I hope you like today's card; I'll be back tomorrow with another creative project and news of this week's weekly deals, which from tomorrow until 4th August will be even better than usual, with lots more items with 30% off until the allocated stock at that price is gone, when it will revert back to standard catalogue price. The Clearance Rack is also due to update, with many items 60% off, so keep your eye out for some bargains!
Until then, happy stampin'!
Stampin' Up! Supplies Used:
by Joanne James29. June 2015 09:49Happy Monday everyone! Well, we didn't manage to barbeque yesterday as it was the worst weather day of the week here in the UK, but no matter - this week is supposed to be a scorcher, despite the fact that it's the start of Wimbledon Tennis Fortnight (a sure recipe for rain!) so I'm sure there will be lots of opportunity. My week is shaping up to be a busy one - with only three weeks until the end of the school term, there is something on pretty much every other day between now and the end of term so forgive me if my blogging becomes brief! Anyway, a good start to the week as I've two cards to share today! This first is my card for this week's challenge over at Colour Q:

Don't you just love those flip flops?! The colours along with the butterflies prompted me to create a fun 'cutting edge' card that I am also linking up with the current challenge over at SUO Challenges where they are asking us to create a card that features a cut edge that is something other than a straight line. This is what I came up with:
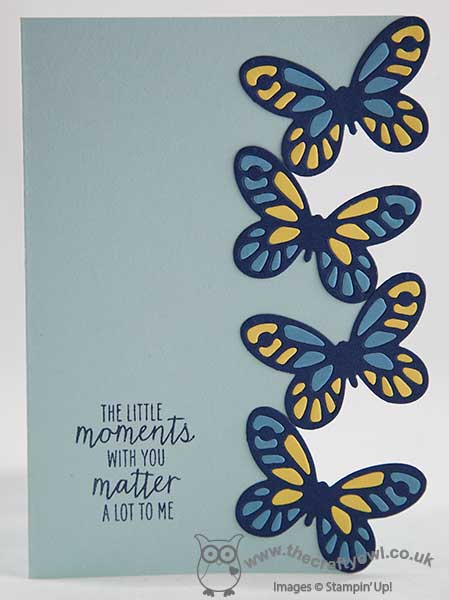
I used Soft Sky for my card base, then diecut four butterflies in Night of Navy using the smallest butterfly in the new Bold Butterfly framelits and adhered them to the edge of my card, carefully cutting around them by hand to remove the edge of the card base and expose the back panel. I then cut another two butterflies each in Daffodil Delight and Marina Mist and paper-pieced the small pieces into the navy butterflies. I stamped the sentiment from Watercolour Wonder onto the front of my card in Night of Navy and stamped the spotty strip repeatedly along the back inside edge of the card in Soft Sky for some added detail behind the butterflies, although you can't see this in the above photo as it's not flat and only visible when closed (I need to take another picture which I will add to this post later - these type of cards are so tricky to photograph!). This card looks so pretty in real life - the fussy cut edge really lifts this card and makes it something special.
My second card today is using this week's sketch over at Freshly Made Sketches where the lovely Jen Mitchell has a great sketch that would work so well for so many layouts:
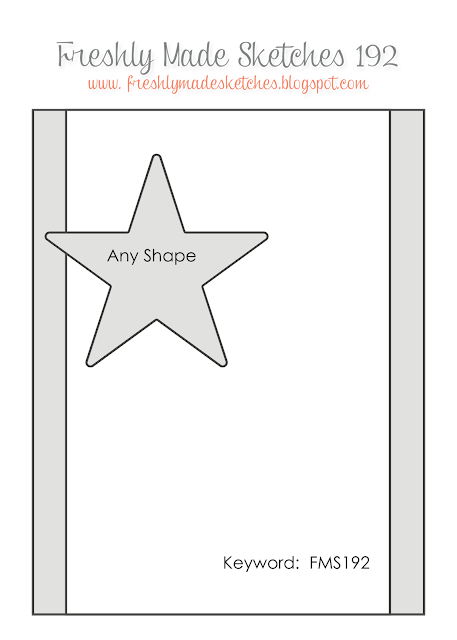
I flipped the sketch through 180 degrees (it's allowed!) to create a rather topical card that was inspired by a cupcake of all things that appeared in my Facebook feed over the weekend, commemorating the decision by the US Supreme Court over the weekend to legalise same sex marriage across all US states:
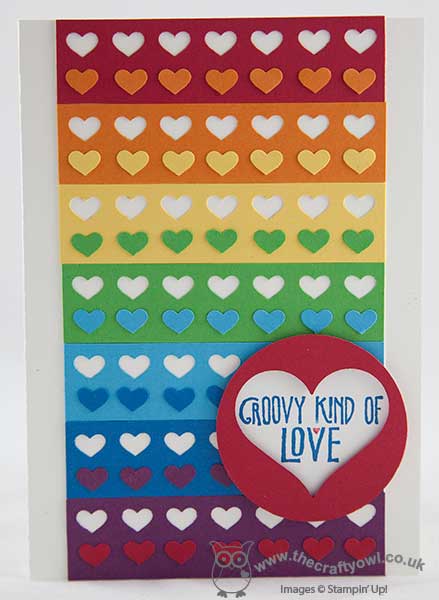
I used a rainbow of strips of cardstock, punching each with my Hearts Border punch before adhering to my base of extra-thick Whisper White cardstock (love this for card bases!) I then took the punched out hearts and adhered these individually in a row beneath the negative punched space on the strip above. My focal point is a couple of 2" circles, the first in Whisper White and stamped with one of the sentiments in the 'Groovy Love' stamp set, inked up with Pacific Point and Real Red Stampin' Write markers. The second circle was punched from Real Red cardstock, with a heart punched out of the centre using the Sweetheart punch so that the sentiment could show through the negative space and popped up over the first on Dimensionals for added depth. Very 'gay pride' with the hearts and rainbows, don't you agree? I am also entering this card into a demonstrator-only challenge that Stampin' Up! are currently running with the tagline #punchitup where we have to use a combination of two of four specific punches and as you can see, I went with hearts!
That's my creative post for today; I will be back tomorrow with another project and may be back in the meantime with other news, depending on how far I get through today's 'to do' list so do pop back later! Until then, happy stampin'!
Stampin' Up! Supplies Used:
Card One:
Card Two:
cf37e0b6-0757-4f9a-aa8f-aef99f5fa071|0|.0|96d5b379-7e1d-4dac-a6ba-1e50db561b04
Tags: Bold Butterfly Framelits, Watercolour Wonder, Big Shot, Hearts Border Punch, Stampin' Up, Stampin' Up Card, Stampin' Up Card ideas, Stampin' Up Supplies, Sweetheart Punch, circle punch, Punch Art, Groovy Love
Cards | Punch Art | Stamping
by Joanne James28. June 2015 11:00It's Sunday and time for our new challenge over at The Paper Players! I really enjoyed our gallery full of summer treats last week; this week should be easier on the waistline though, as the lovely Nance has a great sketch challenge for us:
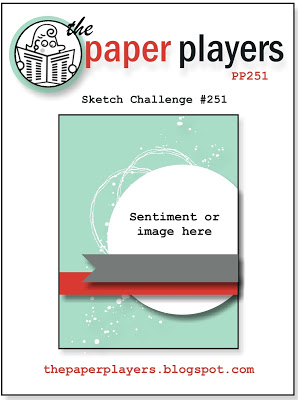
My card features an altogether more healthy treat this week in the form of apples, on a tree created with the Sprinkles of Life stamp set and co-ordinating tree builder punch:
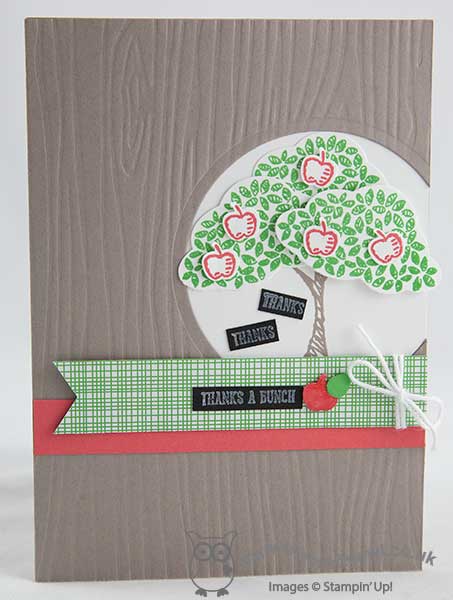
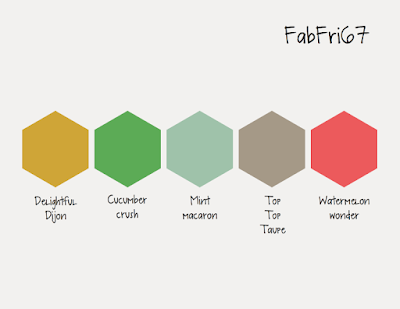
My card also features three of the five new in-colours: Tip Top Taupe, Cucumber Crush and Watermelon Wonder so I am also linking up with the team over at Fab Friday as their challenge is all about the new in-colours this week. I used Tip Top Taupe for my card base, then adhered a piece of Whisper White to the card front. I embossed another piece of Taupe with my woodgrain textured embossing folder then using my Big Shot and Circles Framelits cut away a partial circle from one side before adhering this on top of the white layer. I stamped the tree trunk in Taupe onto the white panel, then stamped my leaves in Cucumber Crush and my apples in Watermelon Wonder onto Whisper White and punched them out with the co-ordinating tree builder punch. I wanted a full tree so punched three treetops and layered them to create my tree, adding the last one with a dimensional to create some lift. For my banners I used a strip of Watermelon Wonder and a piece of green patterned paper from the Cherry on Top DSP stack, tied with white baker's twine and flagged with the triple banner punch. I stamped my sentiment in white Stazon onto Basic Black and cropped it tightly. I finished with another punched apple, which I covered in Crystal Effects to make it nice and shiny, although it's hard to see in the photo above. The Sprinkles of Life Stamp stamp set is so versatile with so many creative options; not only that, every purchase benefits the Ronald McDonald House Charity too as £2 is donated for every stamp set purchased.
With only three more weeks until the end of the school year, I am needing to make more and more teacher thank you cards, so this one is definitely heading for the teacher pile. Well, an apple for the teacher as the saying goes - or in this case, six!
Before you reach for your ink and papers, check out what our amazing team has created to inspire you this week:
The Paper Players Design Team
Here's a quick recap of our challenge rules:
1. Create a new paper project
2. Upload your creation to your blog with a link back to us and provide a direct link to the post featuring your challenge submission.
3. Please link your card to no more than three challenges, TOTAL.
4. Have FUN!
I love a good sketch challenge so I look forward to seeing what you make of this one in the gallery this week. If the weather holds we may manage to squeeze in another weekend BBQ - keep your fingers crossed for me!
Back tomorrow with another project; until then, happy stampin'!
Stampin' Up! Supplies Used:
6e32ab29-0f39-4427-a972-b210a9b3e2d1|0|.0|96d5b379-7e1d-4dac-a6ba-1e50db561b04
Tags: Sprinkles Of Life, Tree Builder Punch, Thankyou cards, Teacher Thank Yous, The Paper Players, Woodgrain TIEF, Stampin' Up, Stampin' Up Card, Stampin' Up Card ideas, Stampin' Up Supplies, Big Shot, Circles Framelits
Cards | Stamping
by Joanne James27. June 2015 21:18It's the weekend and following a glorious day here in the UK, today I have a card to share for this week's Mojo Monday challenge where this week's sketch is all about the layers:

The minute I saw this sketch I knew exactly what I was going to do with the central circle; I bought the 'Hello Life' stamp set for the big feature sentiment but don't get to use it often on cards because it's quite large, so this layout gave me the perfect opportunity:
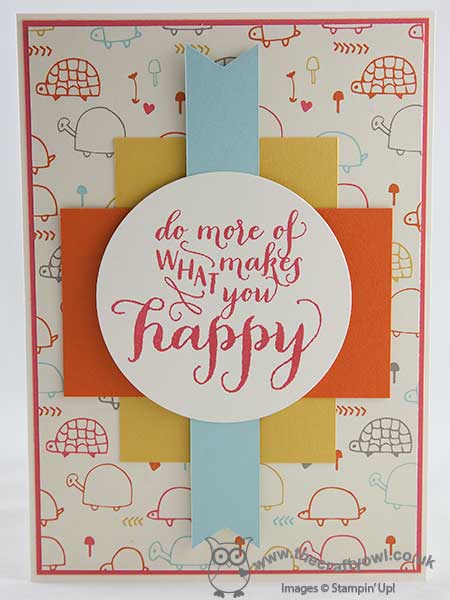
I stamped my sentiment in Watermelon Wonder onto Very Vanilla and decided to use another of the pieces of Designer Series Paper from the Sweet L'il Things pack as my background, then used the featured colours as bold blocks of colour for my rectangular layers and my banner. I love the patterns in this pack - whilst this does feature some cute animals, I think it is quite a fun pattern, that works for non-baby cards too. Truth is, as I was perusing I decided this paper makes me happy - so I went with it!
Short and sweet from me today; I'll be back tomorrow with a card for this week's new challenge over at The Paper Players. Until then, happy stampin'!
Stampin' Up! Supplies Used:
b928be2e-2807-4b33-907f-d7195f85e3d9|0|.0|96d5b379-7e1d-4dac-a6ba-1e50db561b04
Tags: Big Shot, Circles Framelits, Hello Life, Stampin' Up, Stampin' Up Card, Stampin' Up Card ideas, Stampin' Up Supplies, Sweet L'il Things, Triple Banner Punch, Shop online, Shop Stampin' Up online
Cards | Stamping
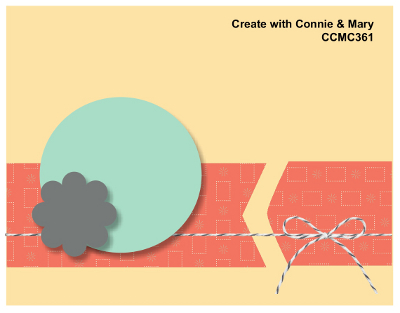
by Joanne James25. June 2015 08:00It's Thursday and you know what that means: time for a new challenge over at Create With Connie and Mary! This week we have a sketch challenge for you:
I decided to go with another card featuring the Pretty Petals DSP; this time, one of the really bold patterns in the stack:
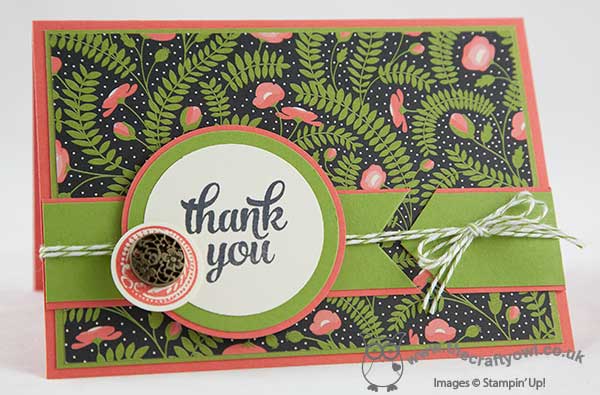
I used Calypso Coral and Old Olive for my mat and base layer and the band across the front of the card, then used the bold patterned DSP to cover my card front. After adhering the band, I tied two lengths of Old Olive baker's twine around the front of my card before adhering my layered circle. Given how busy the pattern of the paper is, I decided to leave my focal point 'clean' and stamped the thank you sentiment from the 'Tin Of Cards' stamp set onto a circle of Very Vanilla. For my embellishment, I stamped the round stamp from the 'Awesomely Artistic' stamp set in Calypso Coral onto Very Vanilla and punched it out with my 1" circle punch. I added an antique brad (deliberately offset) before adhering to my card.
This paper is quite different to the one I used on yesterday's card, but equally lovely I think. I can see me getting through this stack quite quickly!
That's all from me today; do check out the other DT member cards and we look forward to seeing you in the gallery this week.
I'll be back tomorrow with another project; until then, happy stampin!
Stampin' Up! Supplies Used:
- Pretty Petals Designer Series Paper Stack
- Tin Of Cards Photopolymer Stamp Set
- Awesomely Artistic Clear-Mount Stamp Set
- Calypso Coral A4 Cardstock
- Old Olive A4 Cardstock
- Stampin' Dimensionals
- Big Shot
- Magnetic Platform
- Circles Collection Framelits Dies
- 1-3/4" Circle Punch
- 2" Circle Punch
- Antique Brads
- Tuxedo Black Memento Ink Pad
- Old Olive Baker's Twine
- Calypso Coral Classic Stampin' Pad
- 1" Circle Punch
by Joanne James23. June 2015 22:47I'm late today so a quick blog post from me, but none the less an important one; I finally made a card for the TGIF Challenge Throwdown that doesn't break any rules! It's similar to my first attempt (you can read all about that one here) albeit using a different thinlit and no contraband product from my pantry! Here's a reminder of the basket and pantry items:


Once again I managed to use all of the basket items for my card, along with some of the pantry items - here's my card:
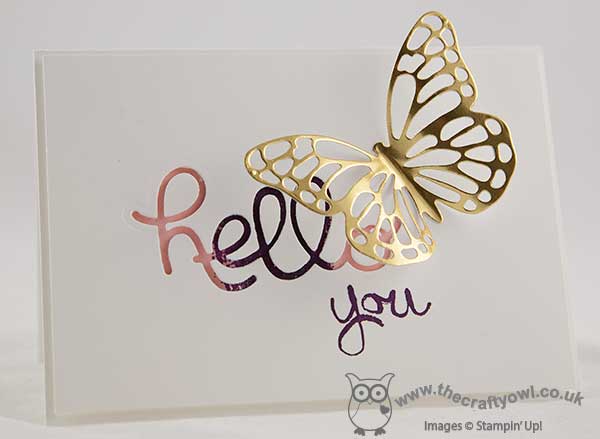
I went with a simple white card base, this time stamped with the smaller, squat Work of Art stamp three times across the middle, then die cut my 'hello' out of a top layer of Whisper White and used the negative space so that the colour swatches show through. I finished my sentiment with the 'you' from Work of Art, and added a larger than life, rather over the top gold thinlit butterfly to finish.
I love using the negative space of thinlits as much as the positive and this sentiment combination reminds me of a particular friend of mine who always says this to me by way of greeting and it never fails to make me smile. The butterfly is such a statement against the clean lines of the rest of the card, yet it looks as if it has just flown in and landed there over the greeting.
Simple, yet not without considerable thought! If you would like to see lots of other ways to use the above product combinations, do pop over to the #TGIFCTD01 page and check out the work of both the design team and the other gallery entrants - there is some great inspiration to be had.
That's me done for today; back tomorrow with another project. Until then, happy stampin'!
Stampin' Up! Supplies Used:
by Joanne James20. June 2015 20:58Hello lovely blog readers! Today I have a card to share that is for this week's Mojo Monday challenge. Before I share it though I wanted to give a congratulations shout out to Justin Krieger and Lori Tecler who were both recently selected to become members of the Mojo Monday Design Team. I admire both of their work and am so pleased they will be joining with the talented Julee and other DT members to provide Mojo inspiration. So here is this week's sketch:

I decided those circles would be great to try something I've had in mind ever since I saw the Cherry on Top DSP stack - take a look:
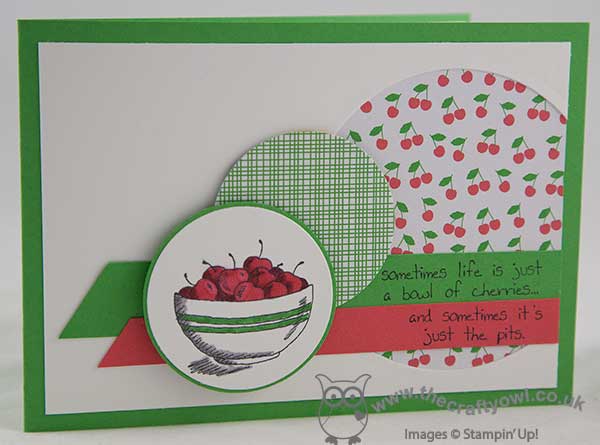
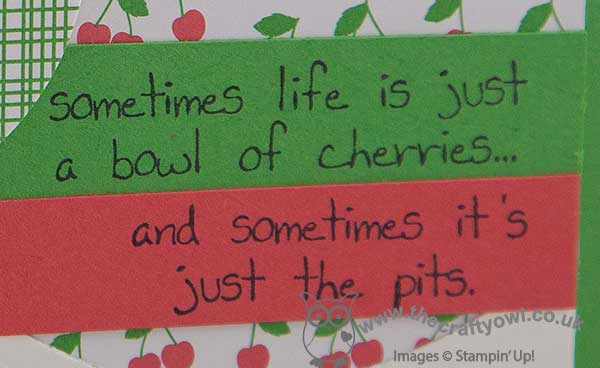
I've been wanting to pair that bowl of cherries image from the Giggle Greetings stamp set with the cheery DSP in the Cherry on Top DSP stack and this layout was a great way to try it out. I used Cucumber Crush for my base then cut a partial circle out of my Whisper White mat using my Circles Framelits and placed a piece of cherry DSP beneath it. I added the flags in Cucumber Crush and Watermelon Wonder and stamped the sentiment in two parts, one on each, having masked off the rest of the stamp:
I added another circle of patterned paper from the Cheery on Top DSP stack and then lastly added the circle with the bowl of cherries, which I stamped in Memento Black onto Whisper White and coloured with a combination of my Blendabilities for the cherries and my Stampin' Write markers and mounted on a circle of Cucumber Crush.
I love this fresh colour combo and such a fun way to combine old and new product. That's all from me today; I'm off to catch a movie! Back tomorrow with a new challenge over at the Paper Players; until then, happy stampin'!
Stampin' Up! Supplies Used:
14b5f5c3-6ed1-4cfb-b2c4-b45a27e27764|1|5.0|96d5b379-7e1d-4dac-a6ba-1e50db561b04
Tags: Big Shot, circle punch, Circles Framelits, Cherry on Top, Giggle Greetings, Shop online, Shop Stampin' Up online, Stampin' Up, Stampin' Up Card, Stampin' Up Card ideas, Stampin' Up Supplies
Cards | Stamping
by Joanne James18. June 2015 08:00It's Thursday and time for this week's new challenge over at Create With Connie and Mary. This week we have a colour challenge for you:
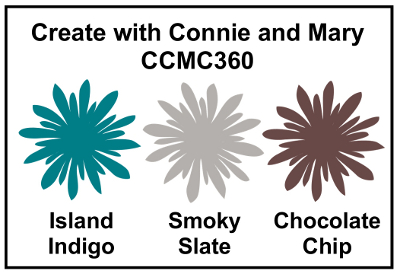
I found this quite a difficult colour combo to work with (I think it was the brown and grey together that did it for me), although the brown and grey duo did remind me of Canadian geese, so in the end I went with a rather safe masculine card using my Wetlands set:
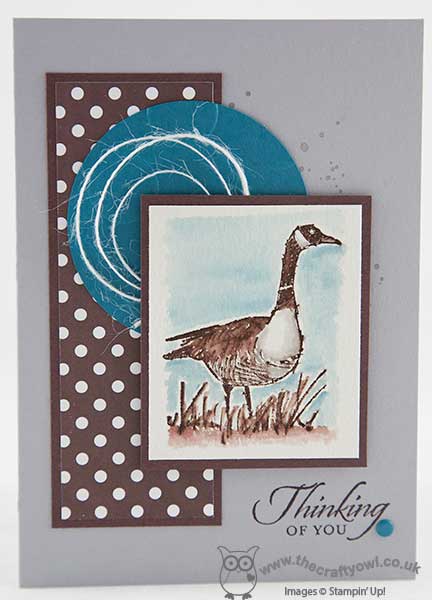
I combined this trusted favourite, which I stamped in Chocolate Chip on watercolour paper and coloured in all three inks using my Aquapainter, with some of the new Chocolate Chip Neutrals DSP Stack with the polka dot pattern. My Island Indigo circle is also embossed with the Large Polka Dots embossing folder, although it is difficult to see in the photo. A little background Gorgeous Grunge, some threads of jute ribbon and a candy dot finish my card.
Do pop over and see what the other designers have come up with - there are some great examples of how this trio can be combined on your cards! Don't forget to check out the challenge rules too before entering :-)
I'll be back tomorrow with a bright and colourful birthday card; until then, happy stampin'!
Stampin' Up! Supplies Used:
- Big Shot
- Magnetic Platform
- Wetlands Clear Stamp Set
- 2" Circle Punch
- Watercolor Paper
- Aqua Painters
- White 1-1/4" (3.2 Cm) Jute Ribbon
- Gorgeous Grunge Clear-Mount Stamp Set
- Polka Dot Textured Impressions Embossing Folder
- Island Indigo Classic Stampin' Pad
- Island Indigo A4 Cardstock
- Chocolate Chip Classic Stampin' Pad
- Chocolate Chip A4 Cardstock
- Smoky Slate Classic Stampin' Pad
- Smoky Slate A4 Cardstock
- Regals Candy Dots
912593bc-da8a-4614-b021-7ff3ecdebea3|0|.0|96d5b379-7e1d-4dac-a6ba-1e50db561b04
Tags: Big Shot, Create With Connie And Mary, Large Polka Dot TIEF, Watercolouring, Wetlands, Shop online, Shop Stampin' Up online, Stampin' Up, Stampin' Up Card, Stampin' Up Card ideas, Stampin' Up Supplies
Cards | Stamping
by Joanne James14. June 2015 10:00It's Sunday and time for a new challenge over at the Paper Players. Thank you to everyone who played along with my challenge last week - your entries were awesome! This week it is the turn of the super talented Sandy and she has a fun colour challenge for us:
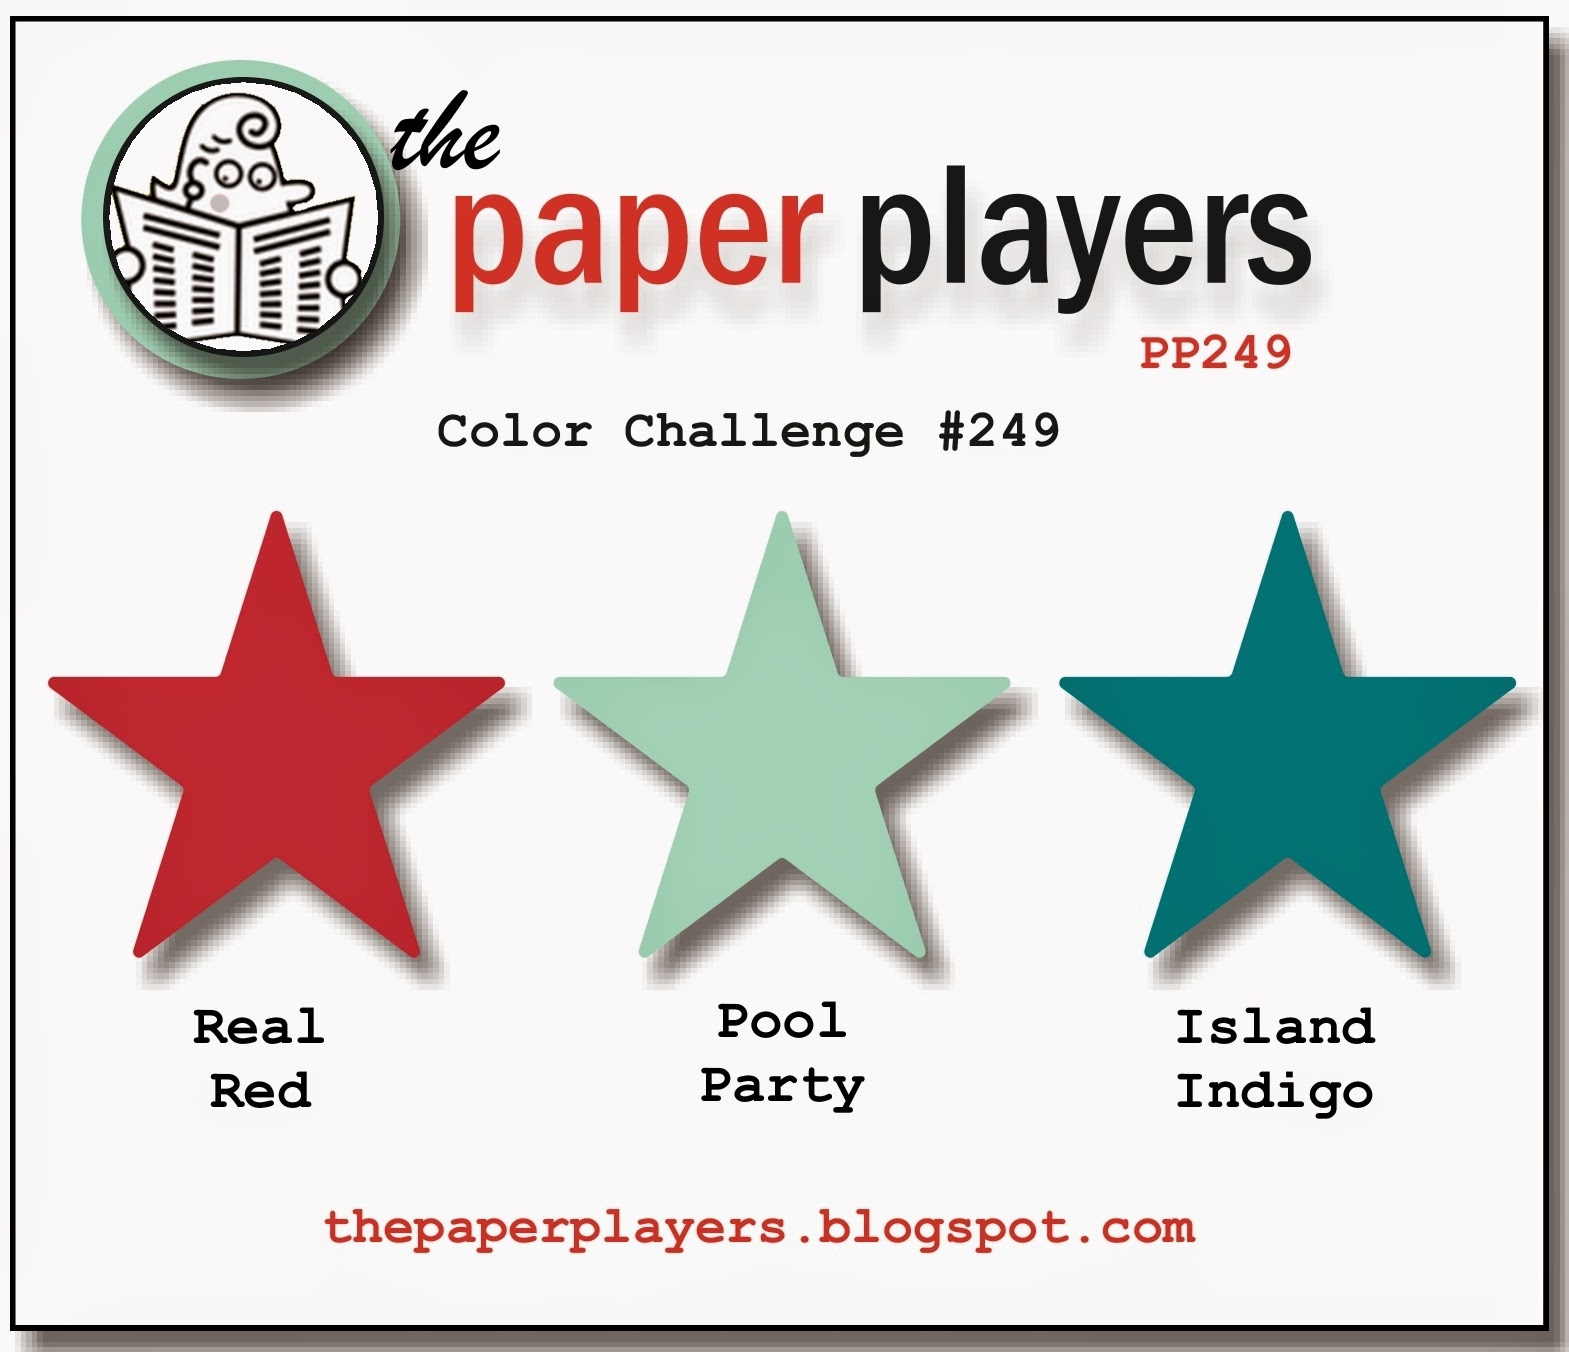
With the 4th of July not far away, there are lots of patriotic themed cards floating about the internet. Thought of American independence and the stars on this week's badge inspired me to create my card this week:
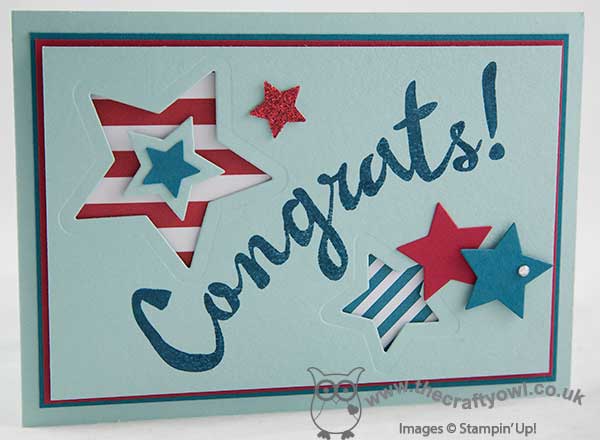
I chose to use the Congrats! stamp from the 'Bravo!' stamp set as my focal sentiment, stamped in Island Indigo onto my Pool Party base, and die cut some stars around it using my Big shot and Stars framelits to decorate. I used a couple of snippets of retired DSP behind the negative space (the indigo stripes are from the 'All Abloom' pack and the red stripes from the 'Fresh Prints' DSP stack) and popped some stars up on dimensionals for a little extra lift. A red glimmer star punched with my Itty Bitty star punch and a single rhinestone finish my card.
This card is ready for one of my lovely team who is close to promoting this month; I am willing her to get there so am thinking positively and I know I'll be sending this out real soon. I'm also linking up to SUO Challenges where the challenge is appropriately 'stars and stripes'. Before you reach for your ink and papers, check out what our amazing team has created to inspire you this week:
The Paper Players Design Team
Here's a quick recap of our challenge rules:
1. Create a new paper project
2. Upload your creation to your blog with a link back to us and provide a direct link to the post featuring your challenge submission.
3. Please link your card to no more than three challenges, TOTAL.
4. Have FUN!
I look forward to seeing your colourful creations in the gallery this week. I'm off to begin a couple of days of birthday celebrations - we are starting early and making the most of it - after all, you're only 10 once!
Back tomorrow with another project; until then, happy stampin'!
Stampin' Up! Supplies Used:
6189c6d4-96db-45f4-a16e-86d644692005|0|.0|96d5b379-7e1d-4dac-a6ba-1e50db561b04
Tags: Bravo, Big Shot, Magnetic Platform, Shop online, Shop Stampin' Up online, Stampin' Up, Stampin' Up Card, Stampin' Up Card ideas, Stampin' Up Supplies, Star Framelits, The Paper Players, Fresh Prints DSP Stack, All Abloom
Cards | Stamping