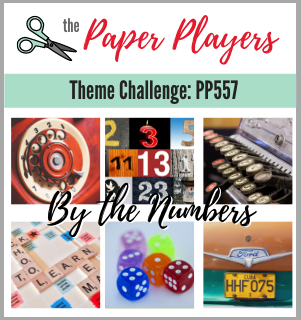
Today it's Sunday and time for this week's new challenge over at The Paper Players! It's the turn of the fabulous LeAnne to host this week and she has a fun theme challenge for you to work with:
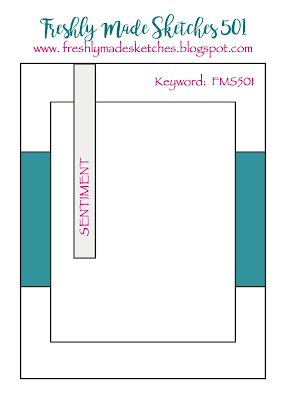

LeAnne's theme was a timely one for me this week since my 'better half' celebrates a milestone birthday early next month so this gave me the perfect opportunity to make his birthday card. I thought the colours over at Just Add Ink were perfect for a fresh, masculine card and I absolutely love Kim's sketch over at Freshly Made Sketches so I used this for my layout (albeit I created my card in a landscape orientation in order to fit all the words in! So first up - take a look at my card:
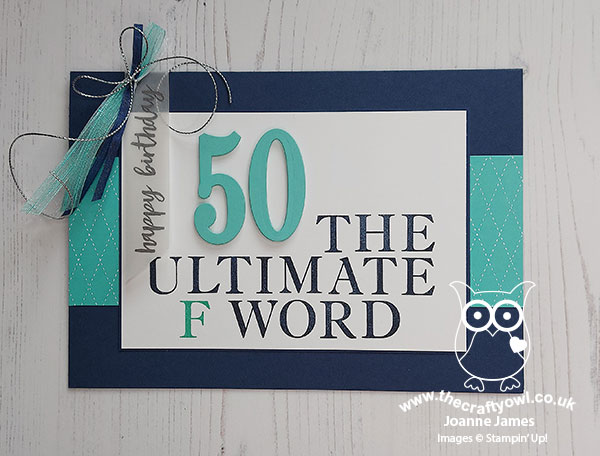
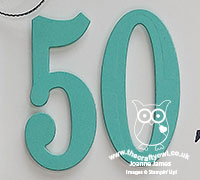
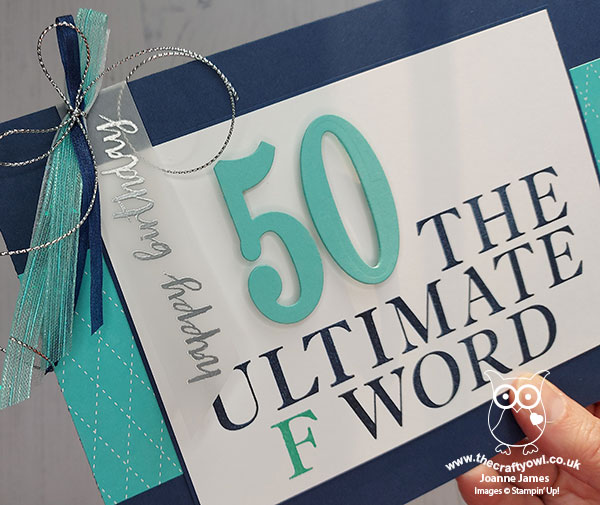
Whilst browsing the internet for birthday inspiration, I saw a pin badge that had the above phrase on it and I thought it would be perfect for a milestone birthday card and I know Jason will appreciate this kind of sideways humour. I stamped the phrase in Night of Navy using my retired 'Sophisticated Serif' stamp set with the 'F' highlighted in Coastal Cabana, which I carried through to my '50', diecut using my retired Large Number Framelits, and used for contrast on my background panels in some retired Brights DSP in a masculine argyle pattern.
Kim's sketch also features a vertical sentiment banner, which was the perfect place to add a happy birthday greeting (stamped using my retired 'Milestone Moments' stamp set) which I heat-embossed in silver on vellum so that it wouldn't obscure the message on my central panel. This was also the perfect place to add an embellishment of a trio of retired co-ordinating ribbons tied with silver twine:
My card is otherwise very clean and uncluttered, but I figured it might be a masculine card but a milestone birthday needs a little pizzazz, right?!
Before you reach for your ink and papers, check out what our amazing team has created to inspire you this week:
The Paper Players Design Team
Here's a quick recap of our challenge rules:
1. Create a new paper project
2. Upload your creation to your blog with a link back to us and provide a direct link to the post featuring your challenge submission.
3. Please link your card to no more than four challenges, TOTAL.
4. Have FUN!
You can see all of my 'How To' summaries on my 'How To - Tips and Techniques' Pinterest board in case you've missed any.
Enjoy your day; the forecast here is for a warmer day so we are hoping for one last BBQ before the James Juniors return to school and the summer well and truly leaves us for good. I'll be back tomorrow with another project. Until then, happy stampin'!
Stampin' Up! Supplies Used:
This card uses mostly retired products apart from the current colours so there is no supplies list today.